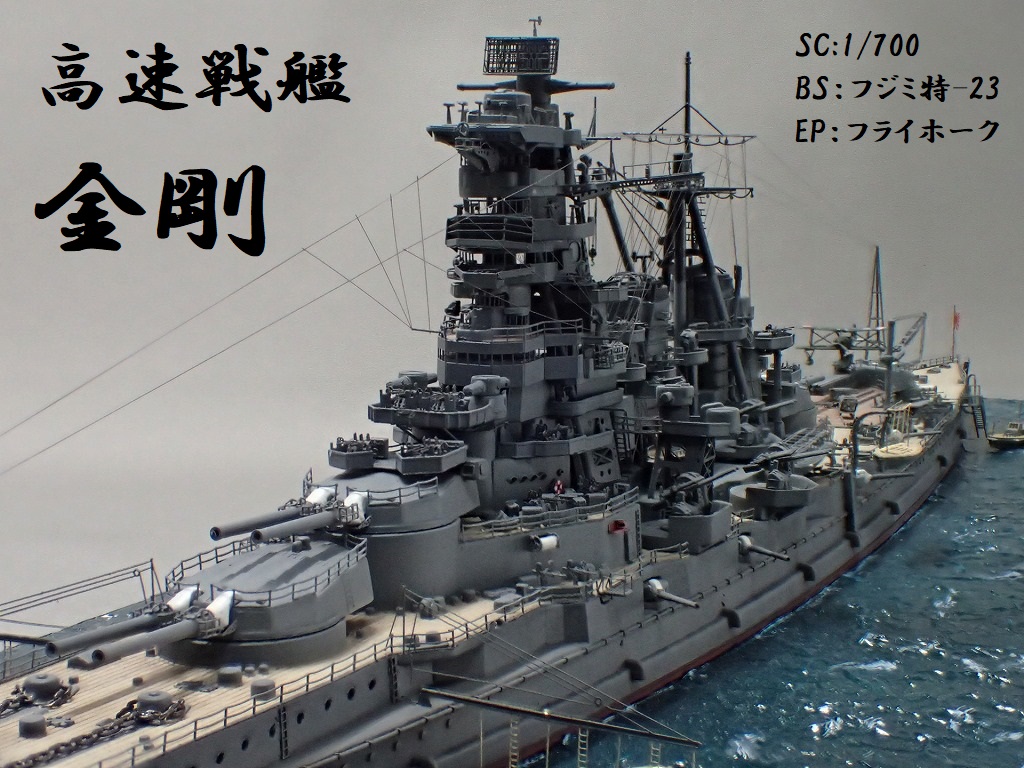
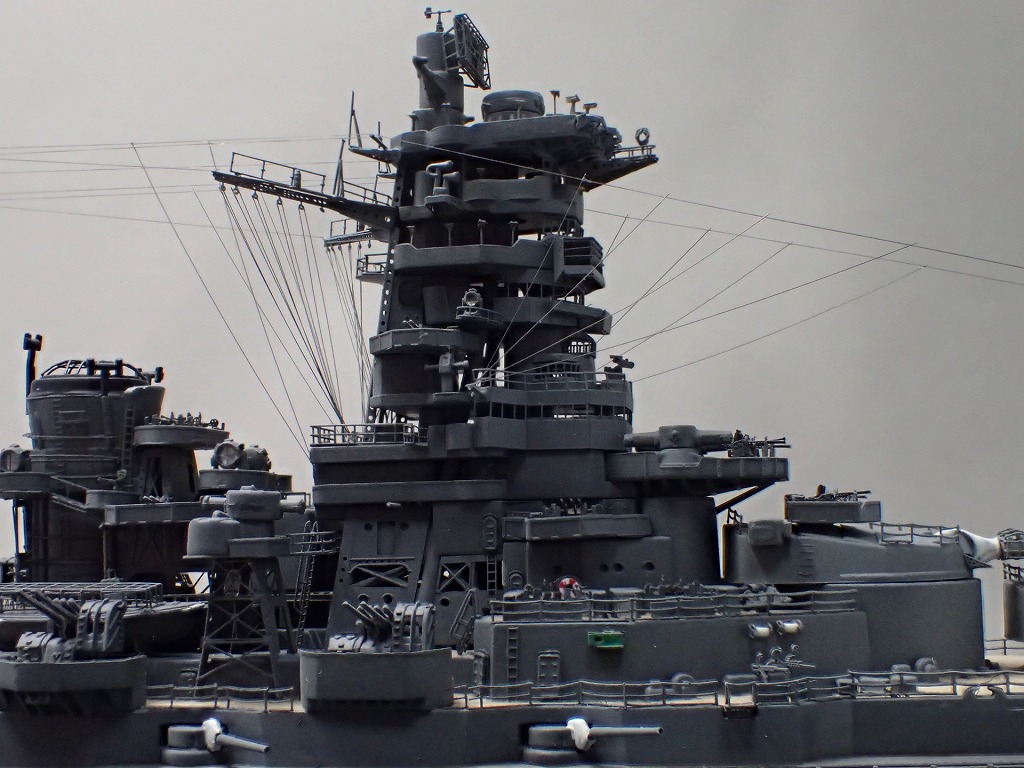
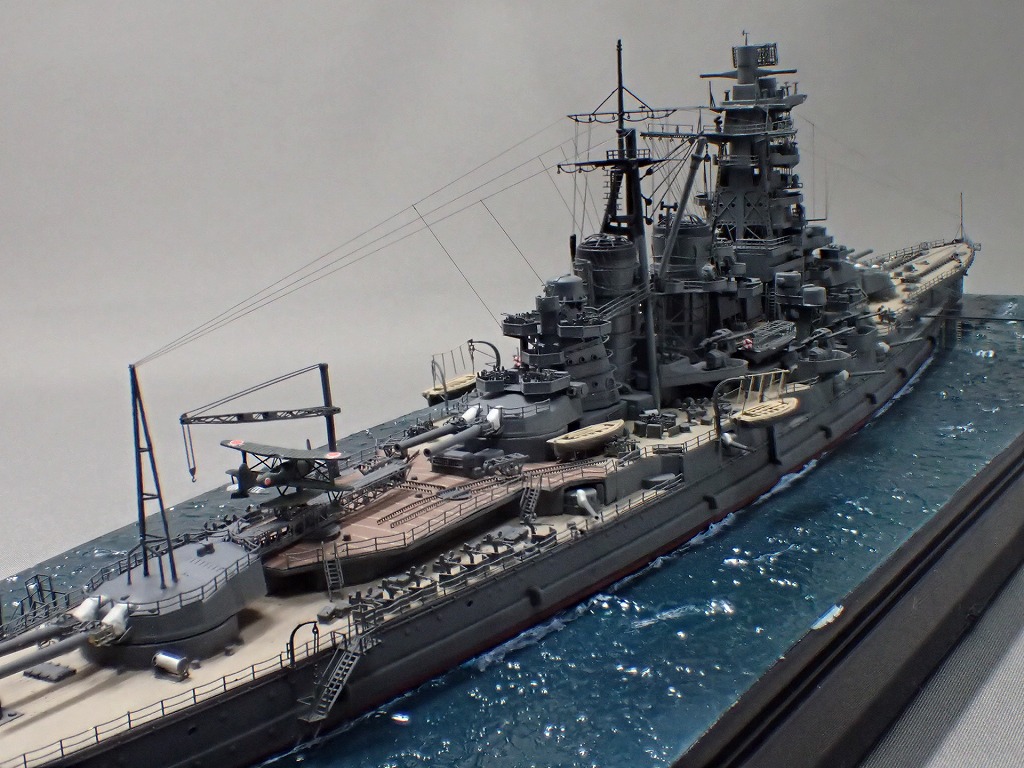
フジミの特シリーズNo.23日本海軍高速戦艦「金剛」をフライホークのエッチングセットを使用して製作しました。さすが戦艦級のフライホークなだけあって製作難易度も作業量を鬼レベルでしたが、頑張ったかいもありとても素晴らしい作品に仕上がりました。
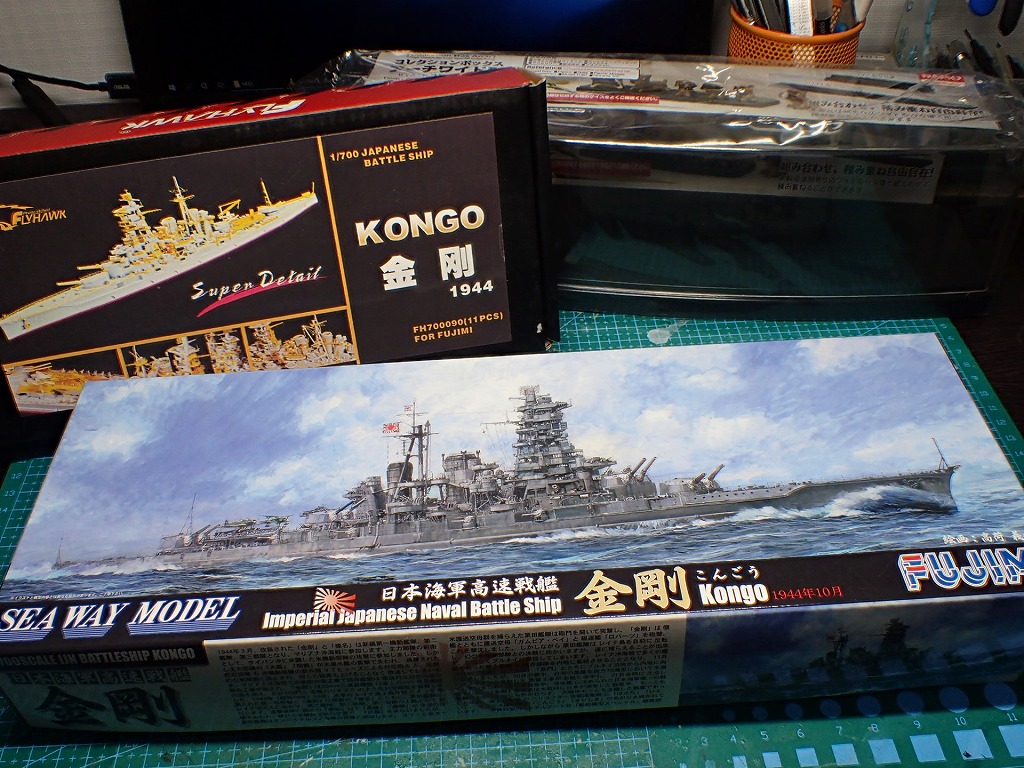


使用キット

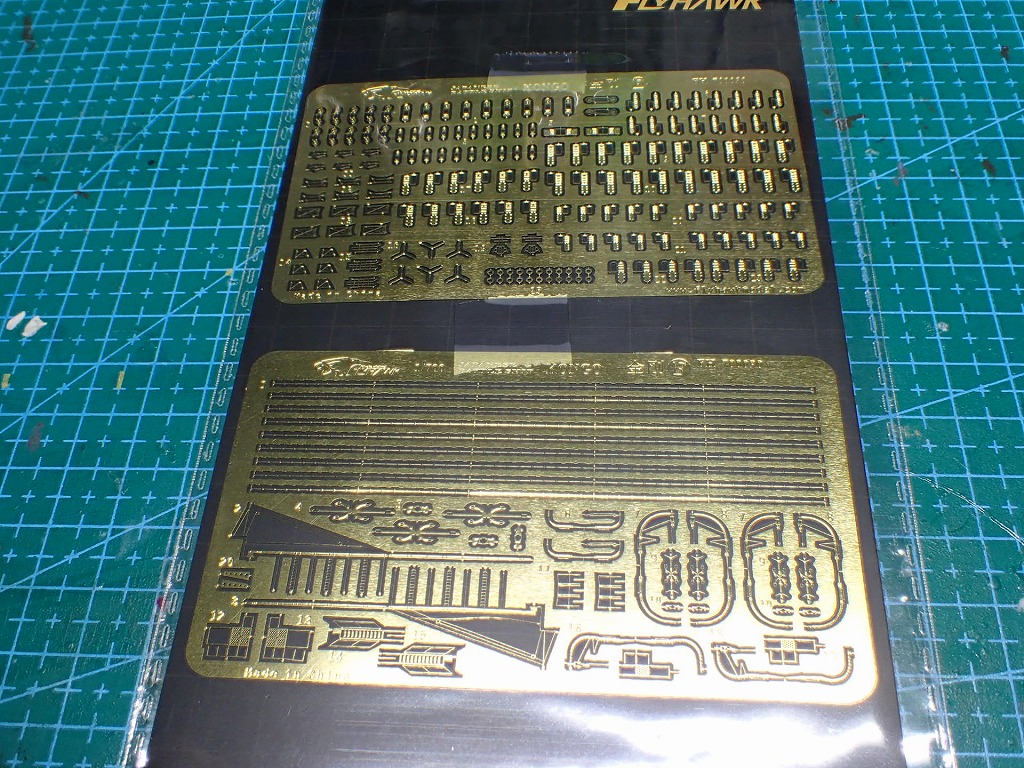
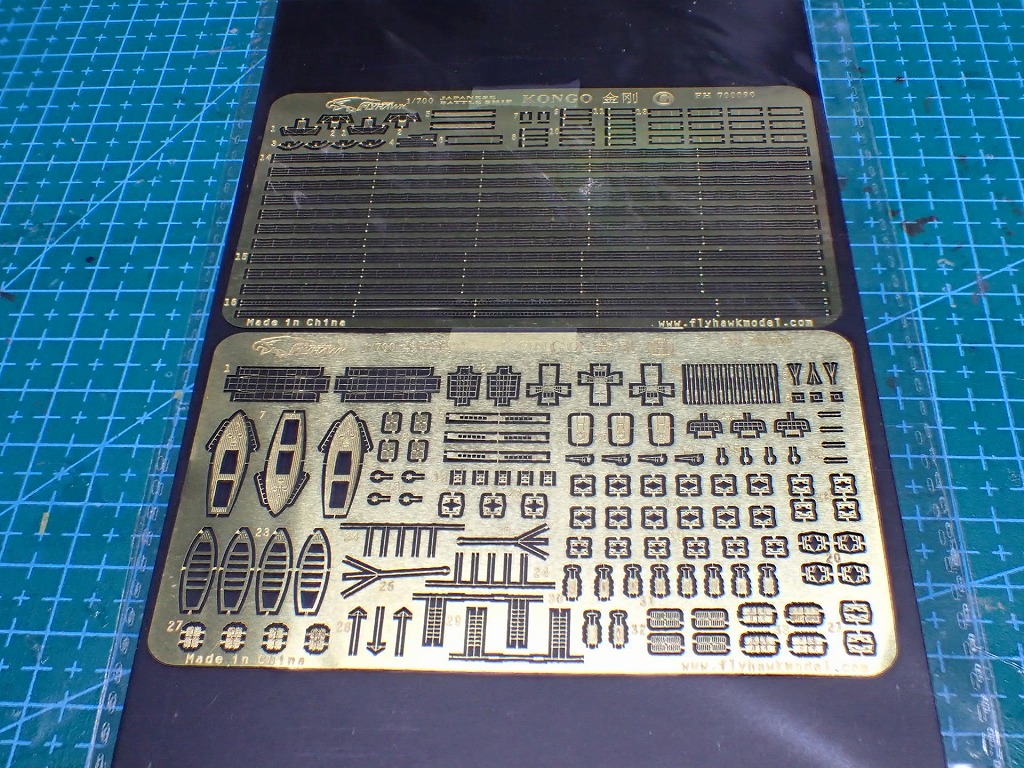
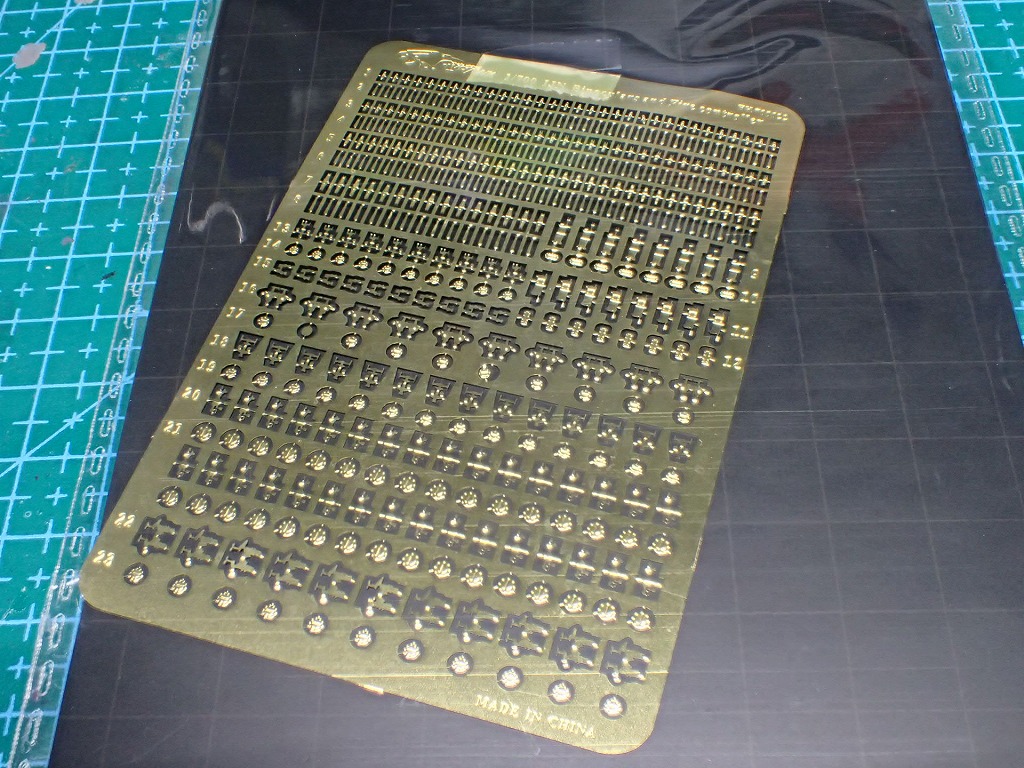
まずはじめに、このフライホークのエッチングセットを使用する際の注意事項がいくつかありましたので、これからこのエッチングセットを製作する予定の方の参考になればと思いご報告しておきます。
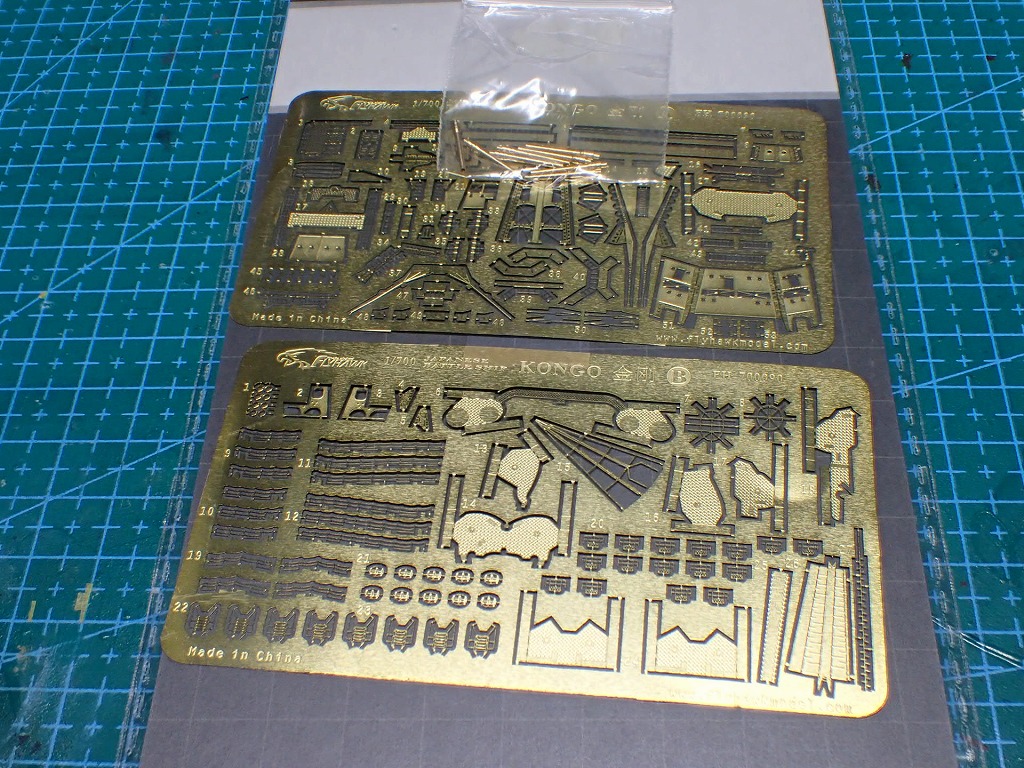
(1)手すりのパーツがまったく足りません。
普通のエッチングセットであれば1隻作るのに必要な分の手すりは含まれているようなものですが、このエッチングセットは、まったく足りませんでしたので、追加で手すりセットを準備する必要があります。
汎用手すりのエッチングパーツはメーカーによって太さもピッチも微妙に違いがあるのでフライホークの汎用手すりを用意するのが望ましいです。
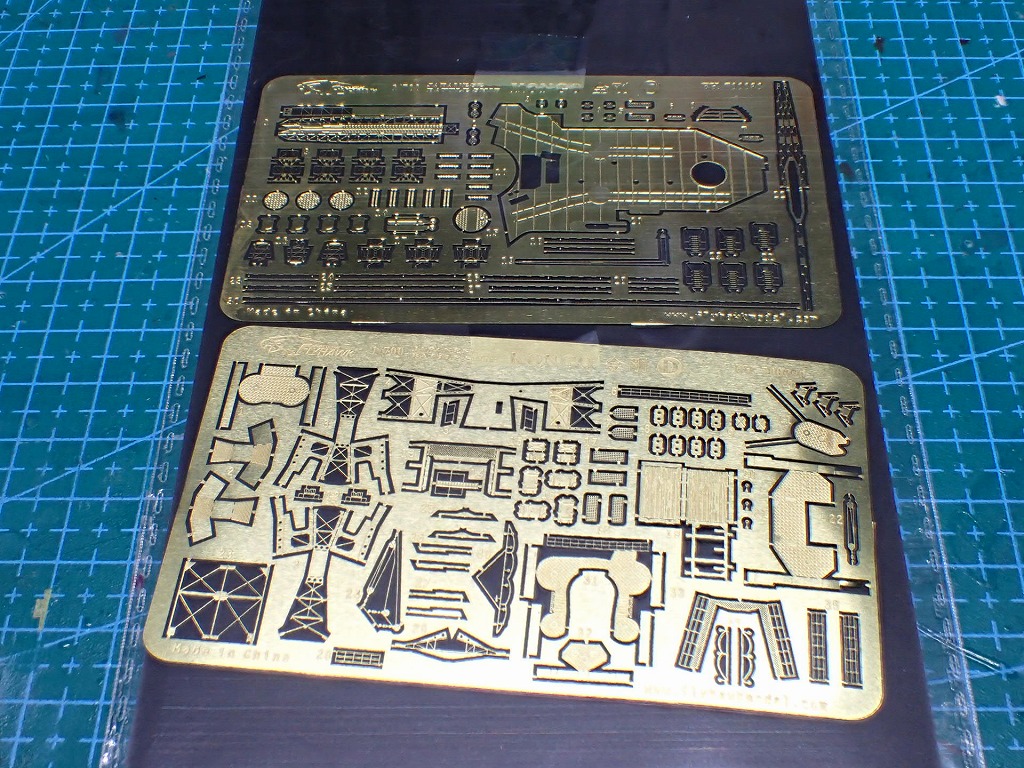
(2)機銃関係のエッチングパーツが含まれていません。
機銃だけ純正プラパーツというわけにはいかないので、別途で社外品を準備する必要があります。
必要な数量は以下の通りです。
九六式25mm三連装機銃・・22基
九六式25mm連装機銃・・4基
九六式25mm単装機銃・・30基
こうなってくると、高角砲も社外品に交換したくなりますよね。
八九式12.7cm高角砲・・6基
ここまでくると、次は副砲が気になってきます。
主砲については、エッチングセットに金属砲身8問が付属されているので、副砲用の金属砲身を準備しましよう。
50口径砲身・・8本
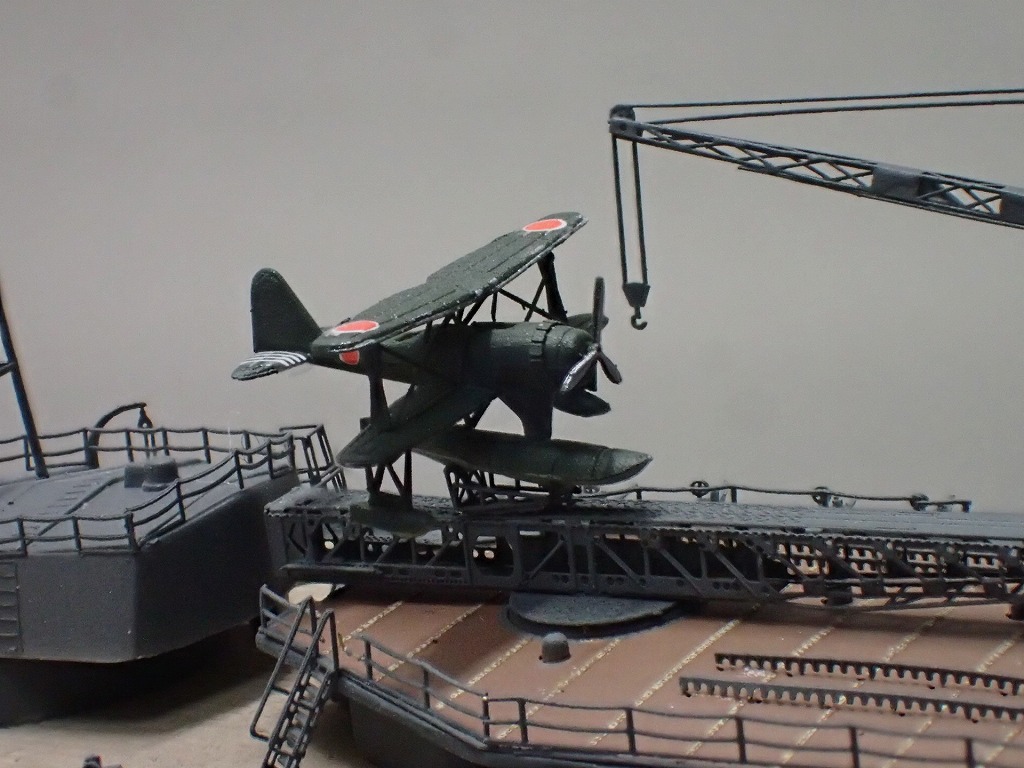
(3)零式水上観測機のエッチングパーツが使えません。
一応、付属されているのですが、形状が合わないので使えません。今回はレインボーのエッチングセットを使用しました。
以上です。
これだけ揃えるとなると、結構な追加予算がかかりますのでこのエッチングセットを製作される際にはご注意下さい。私が使用したパーツ類は後程紹介させて頂きます。
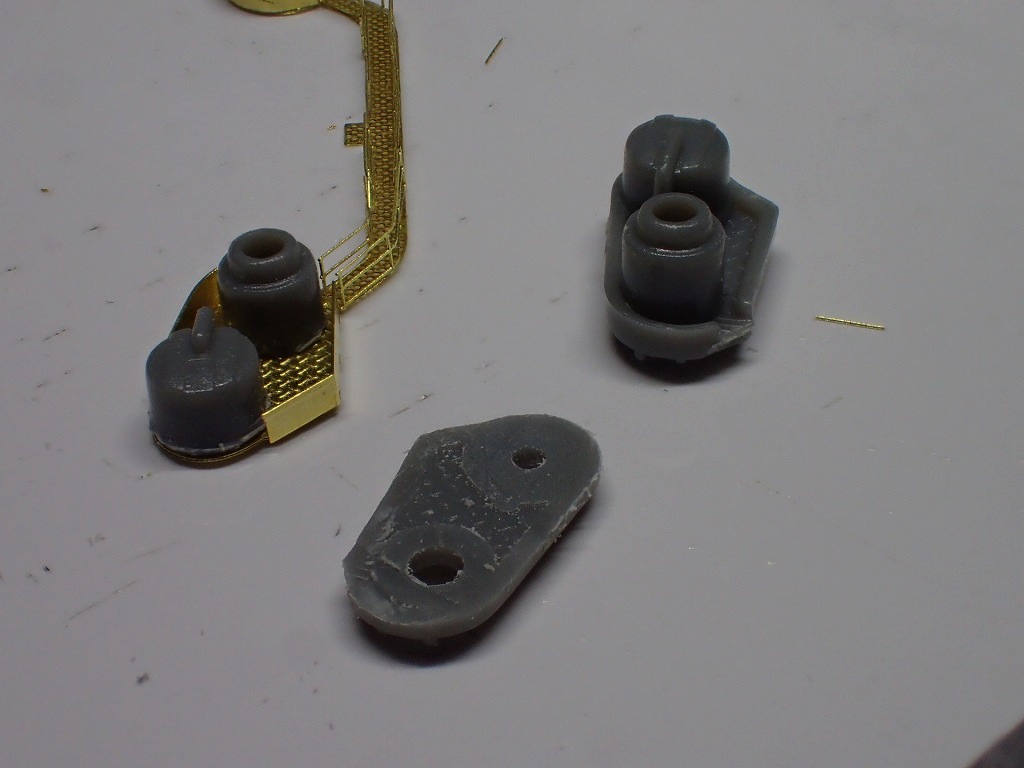
あと、今作では、パラベーンや探照灯なども社外品に交換してあります。
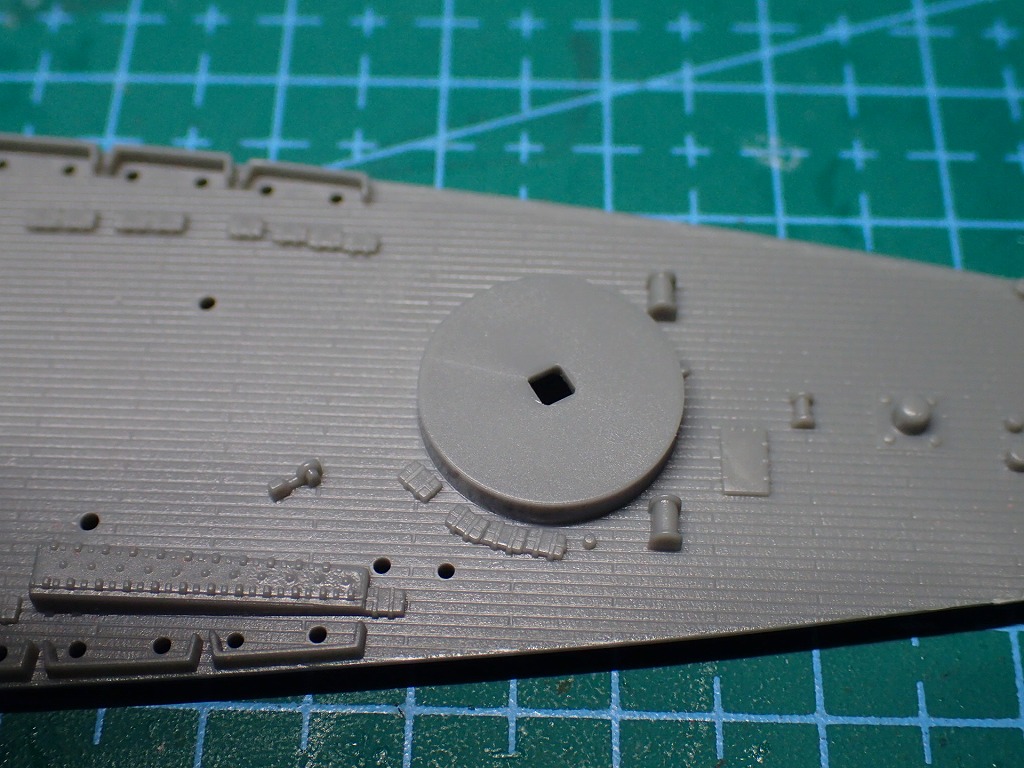
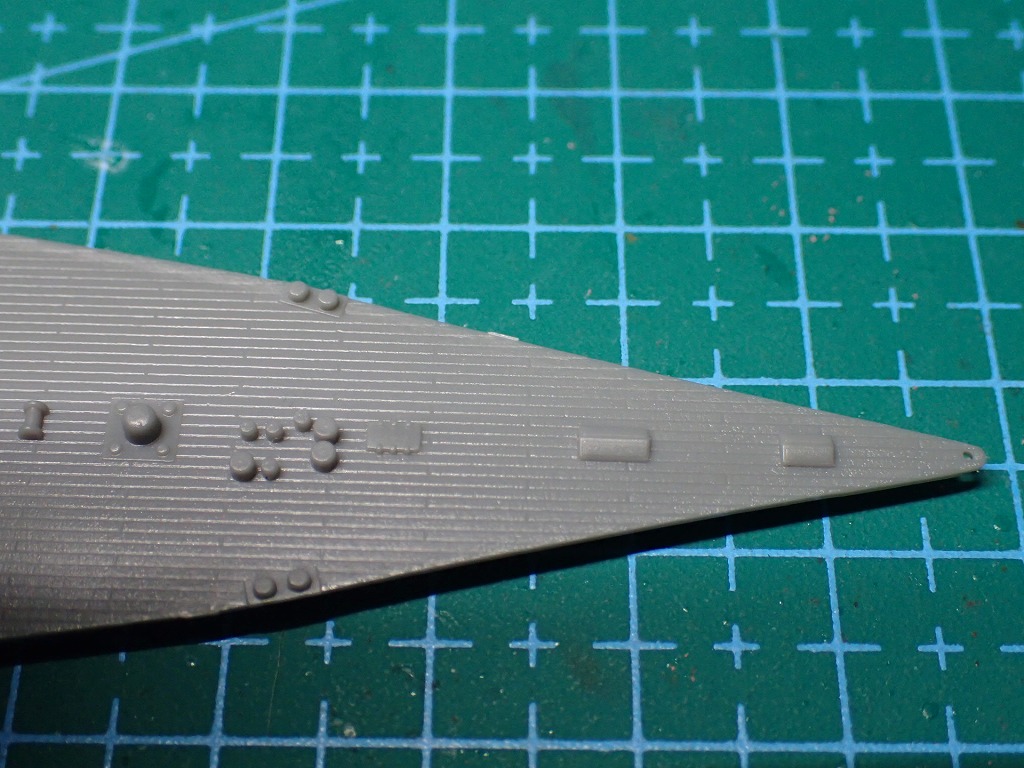
とくにパラベーンは半分甲板に埋まったようなモールドですので交換したくなります。

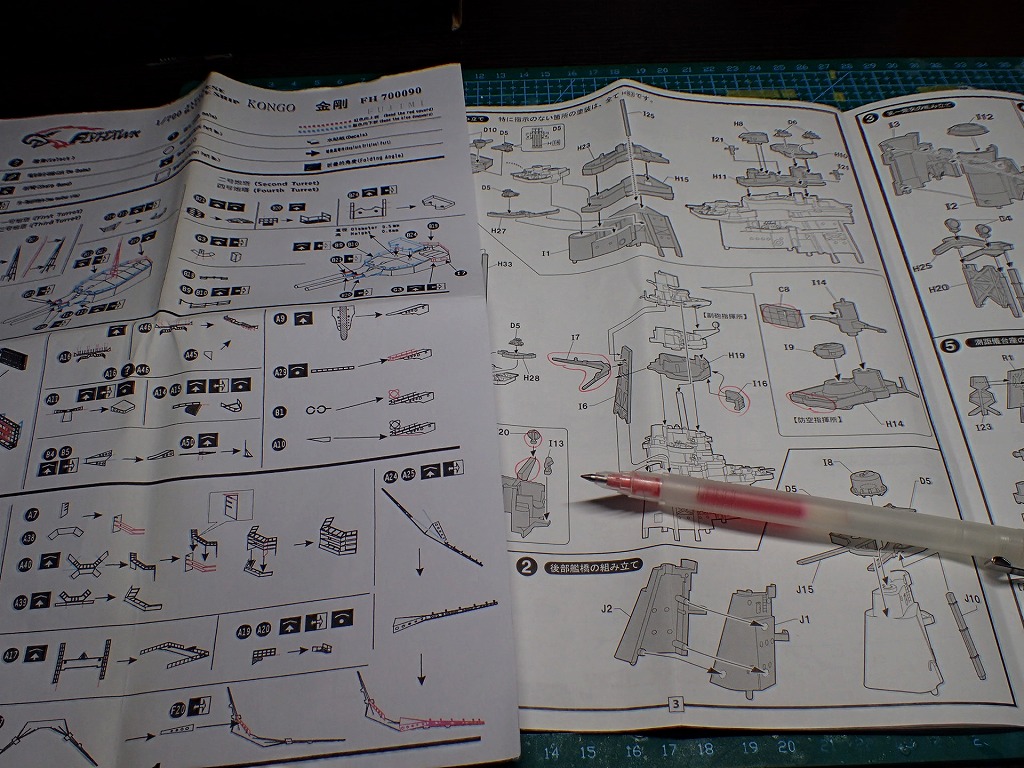
エッチングの説明書とキットの説明書をよく見比べて、エッチングパーツに交換されるパーツや削るモールドなどをチェックしておきます。

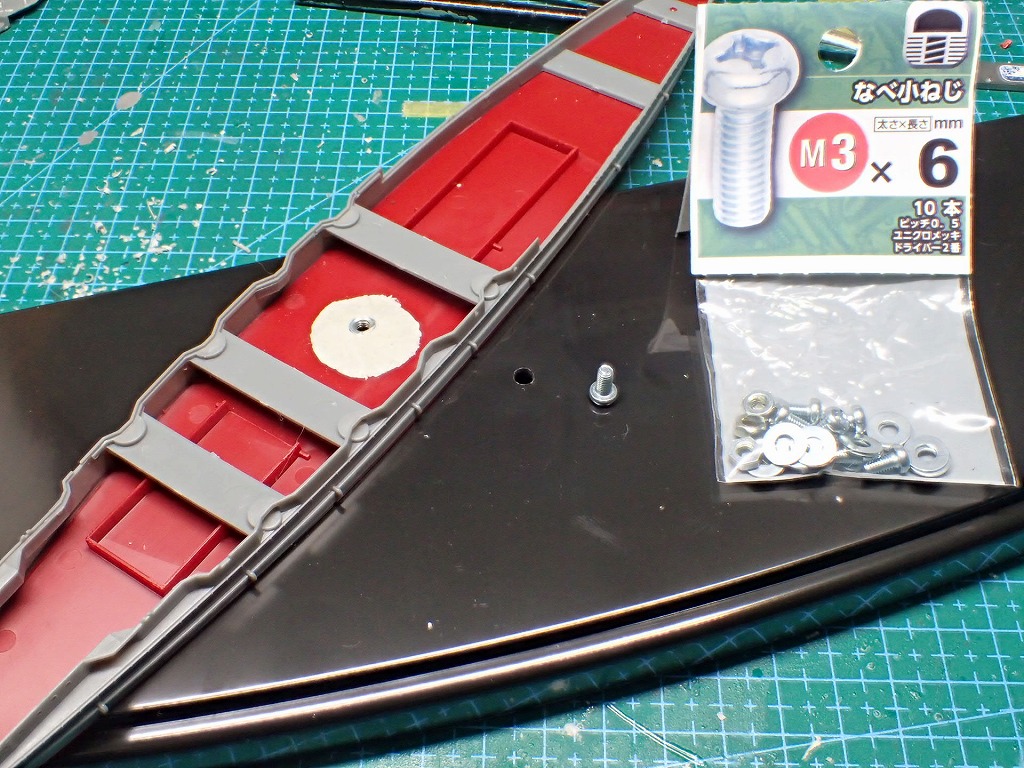
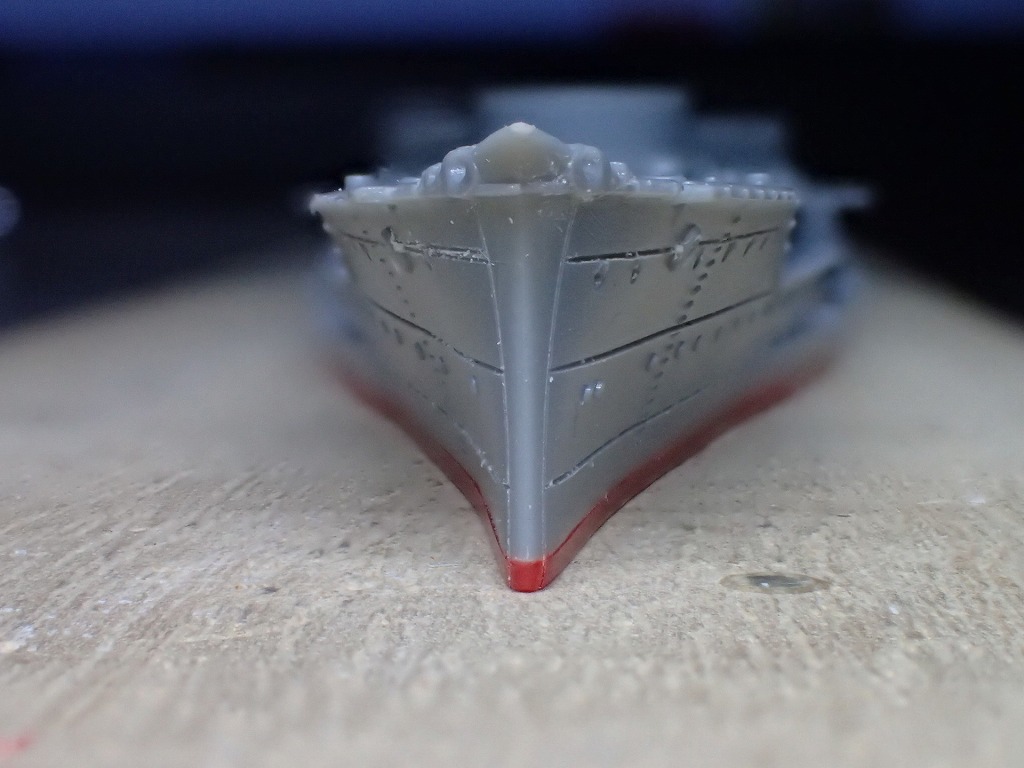
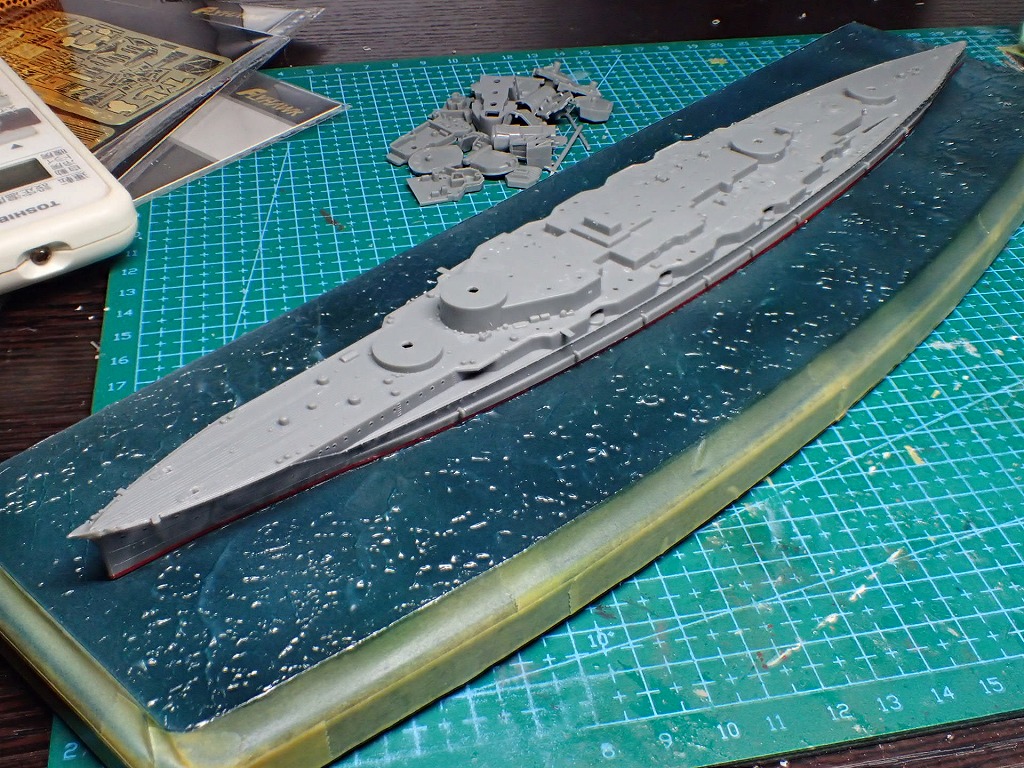
当て木を行い、船体の反りを修正しながら、艦底パーツを接着します。
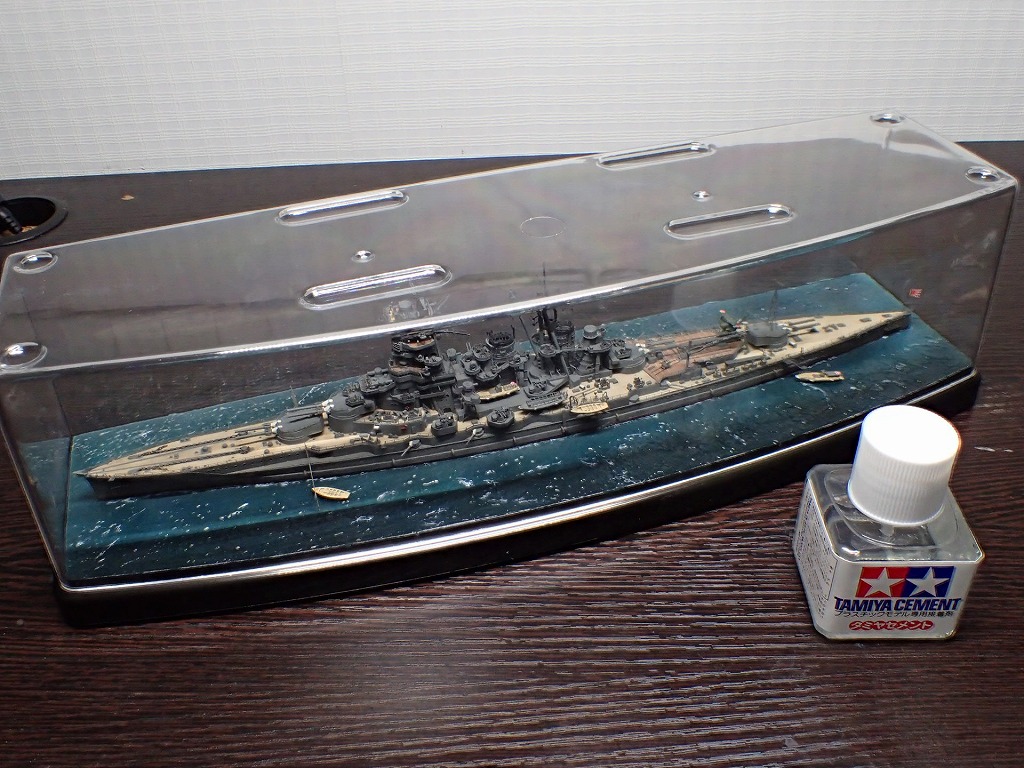
船体接着後、ケース固定用のナットを艦底に仕込みます。

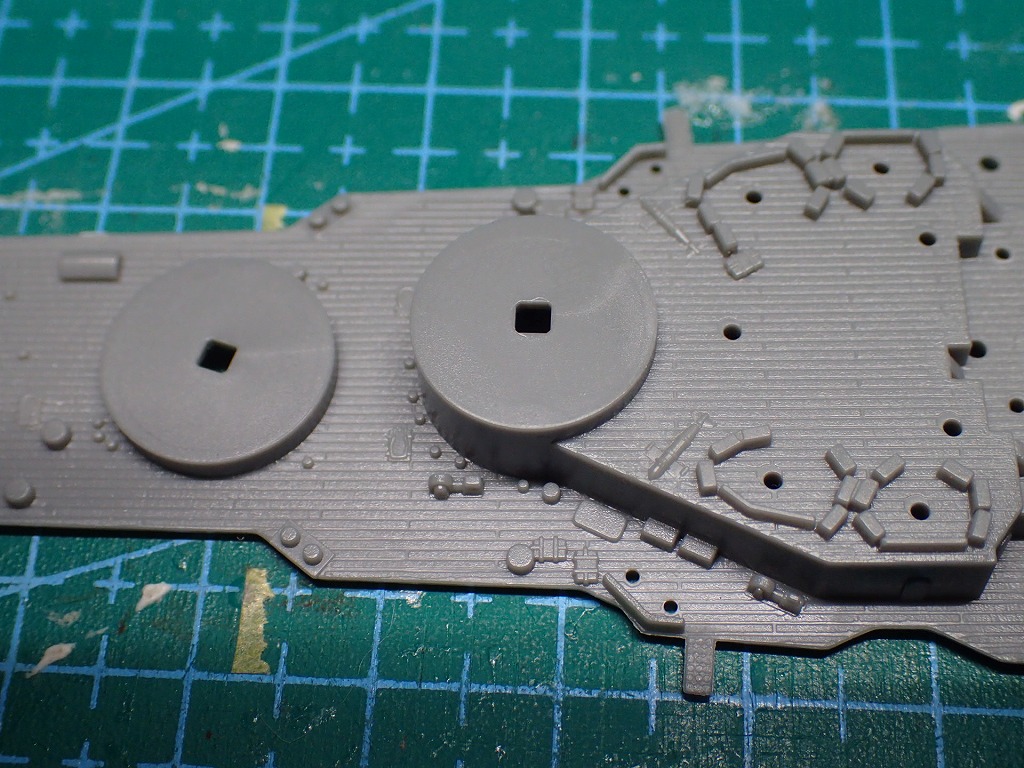
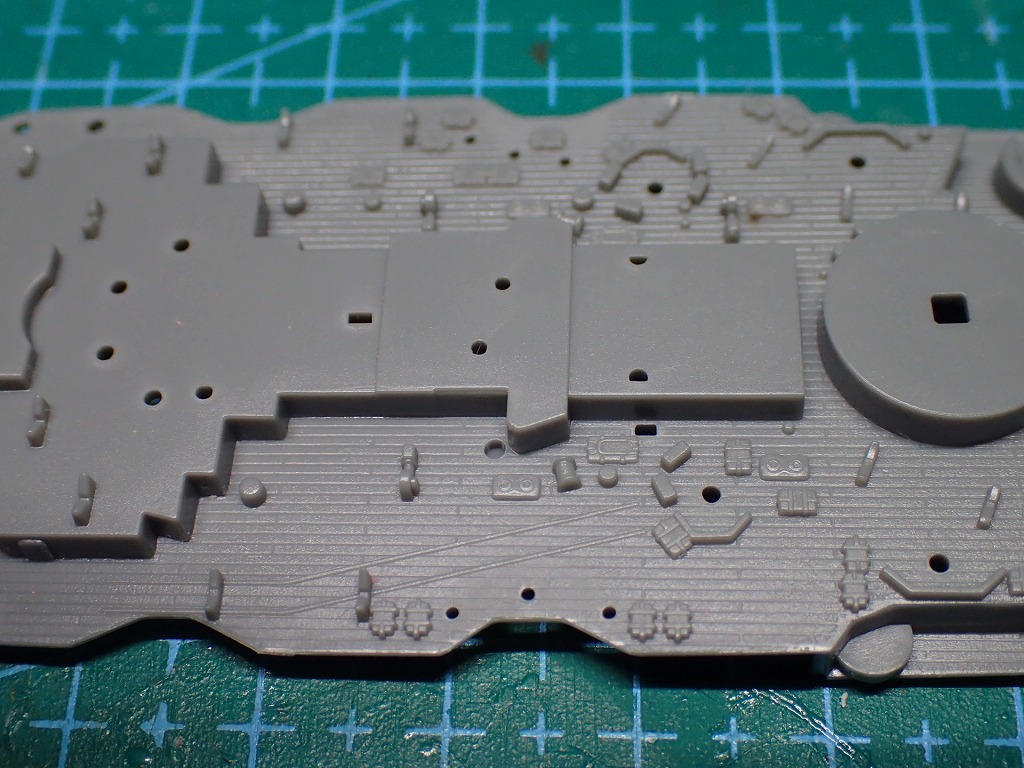
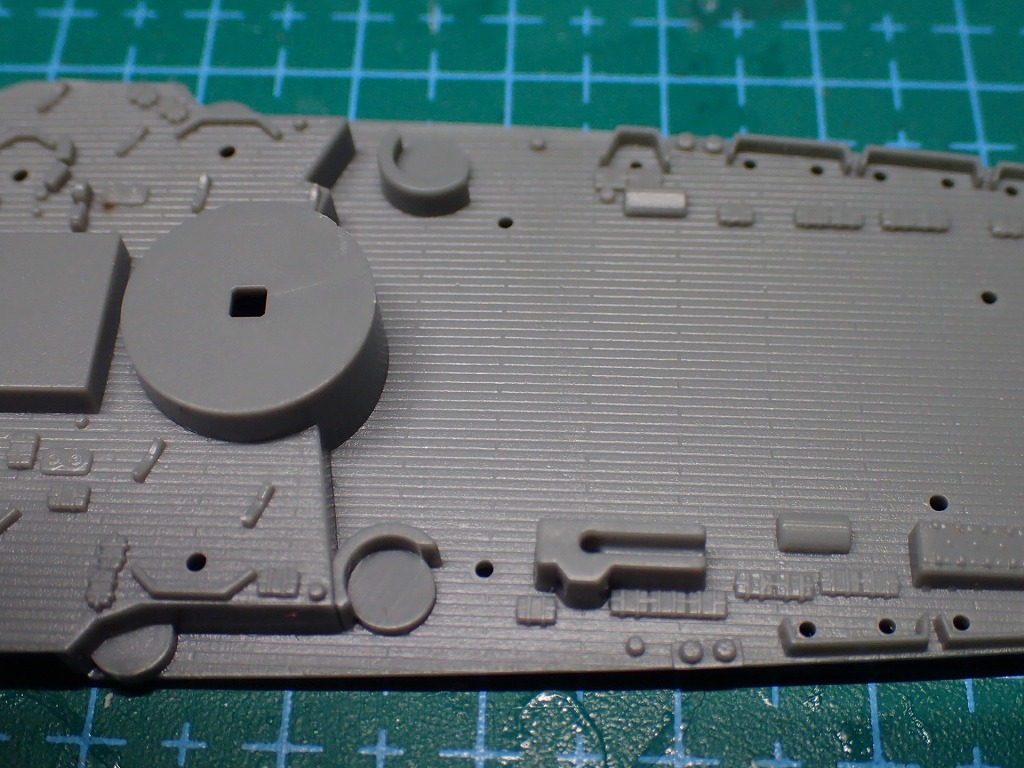
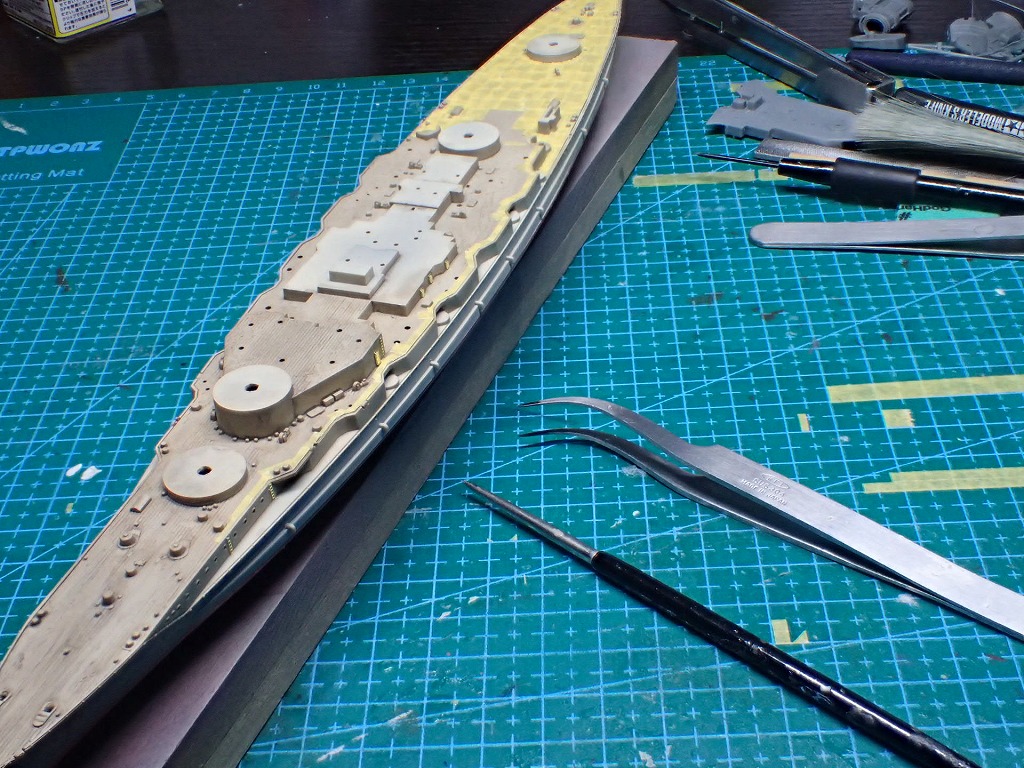
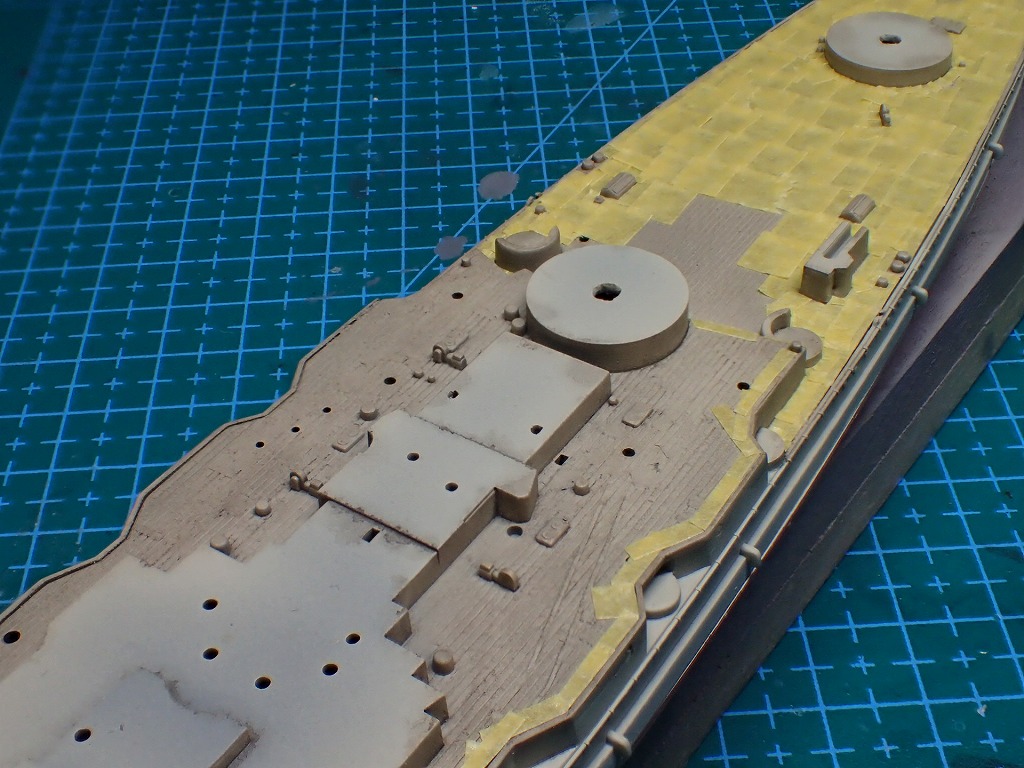
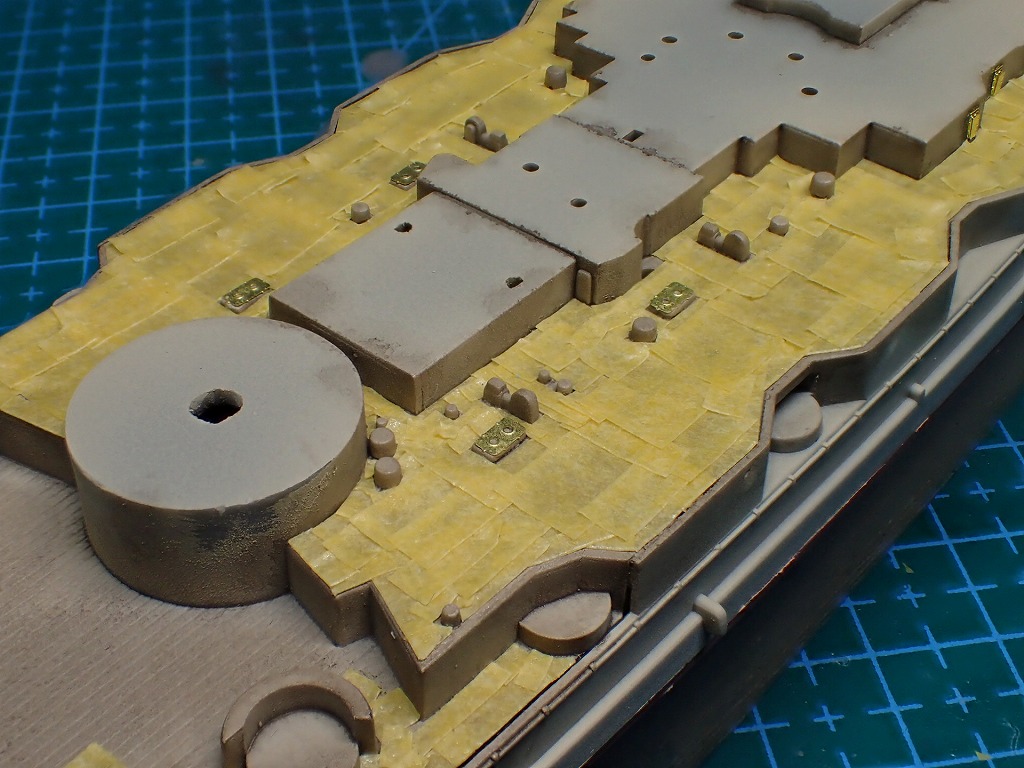
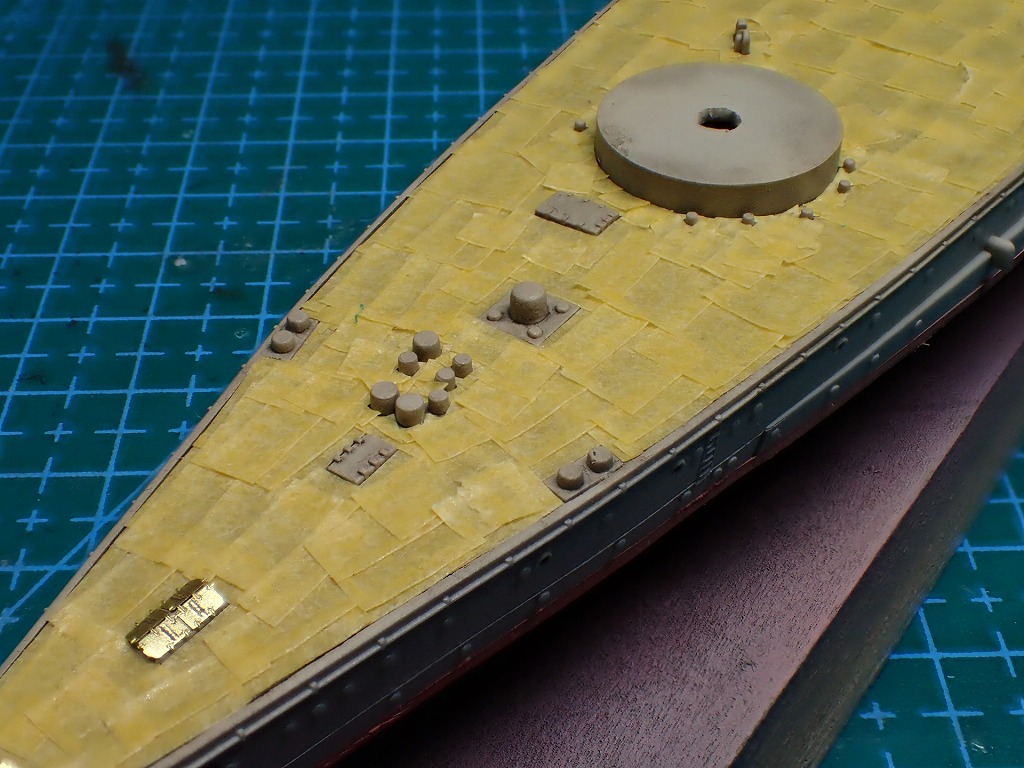
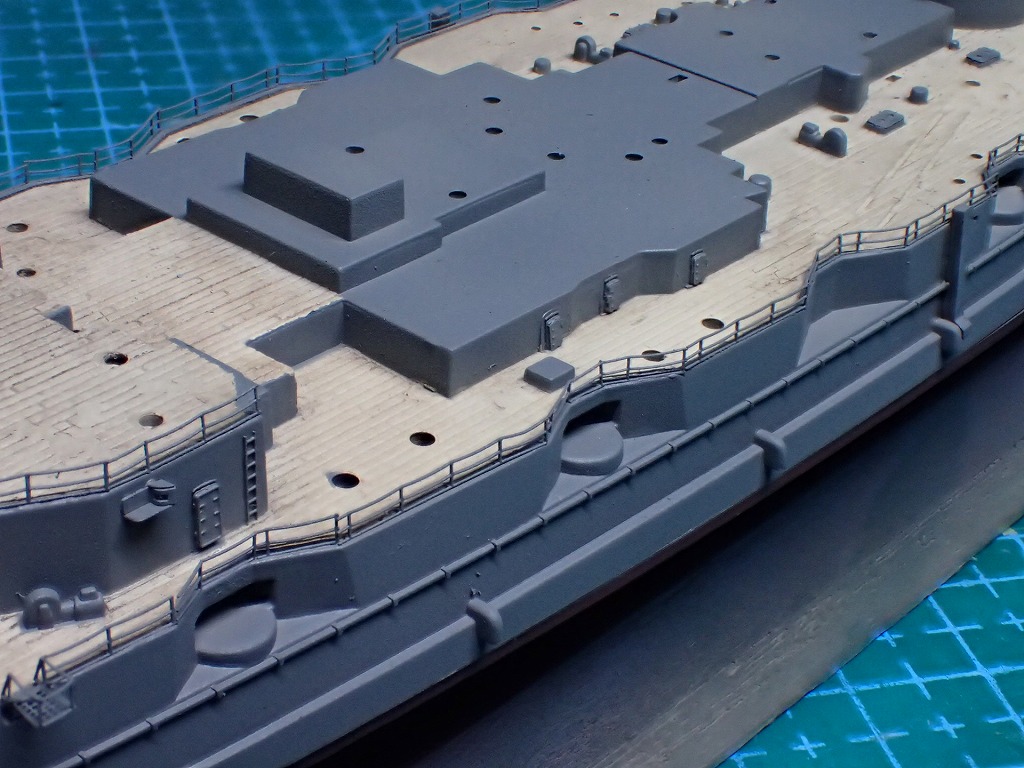
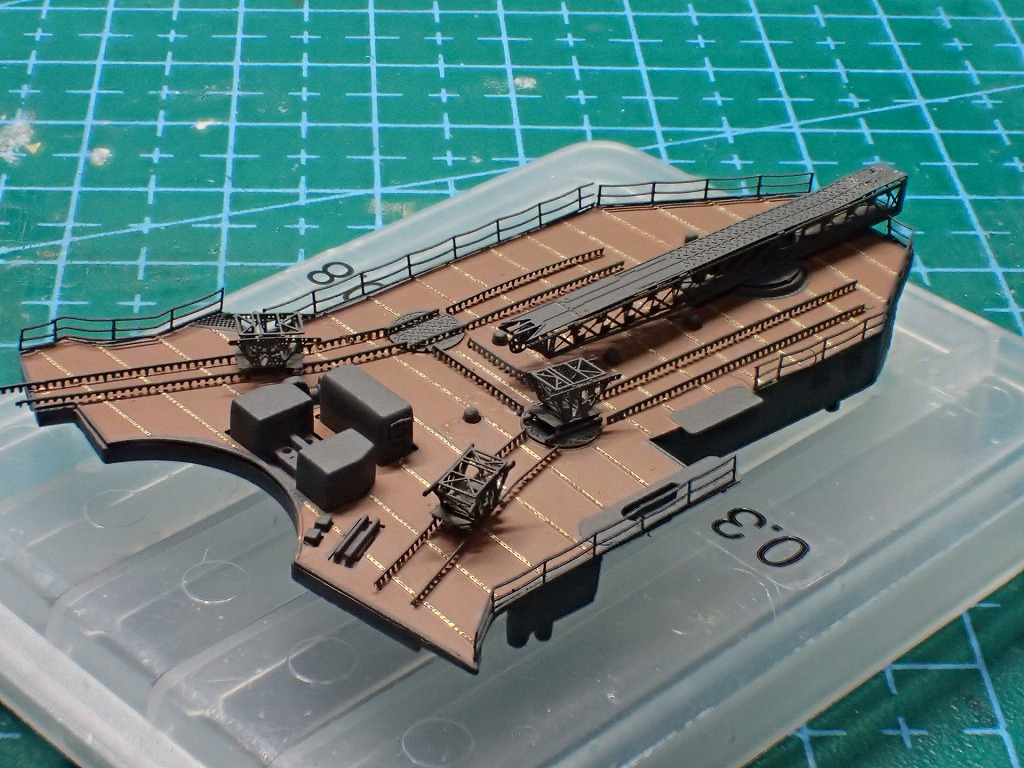
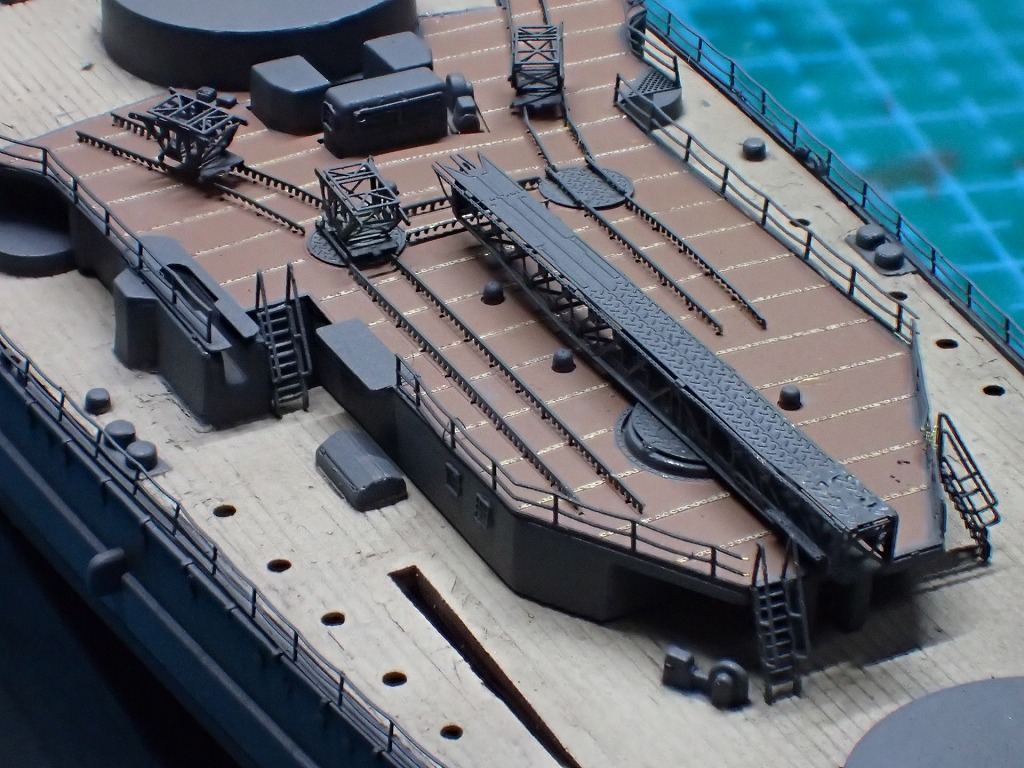
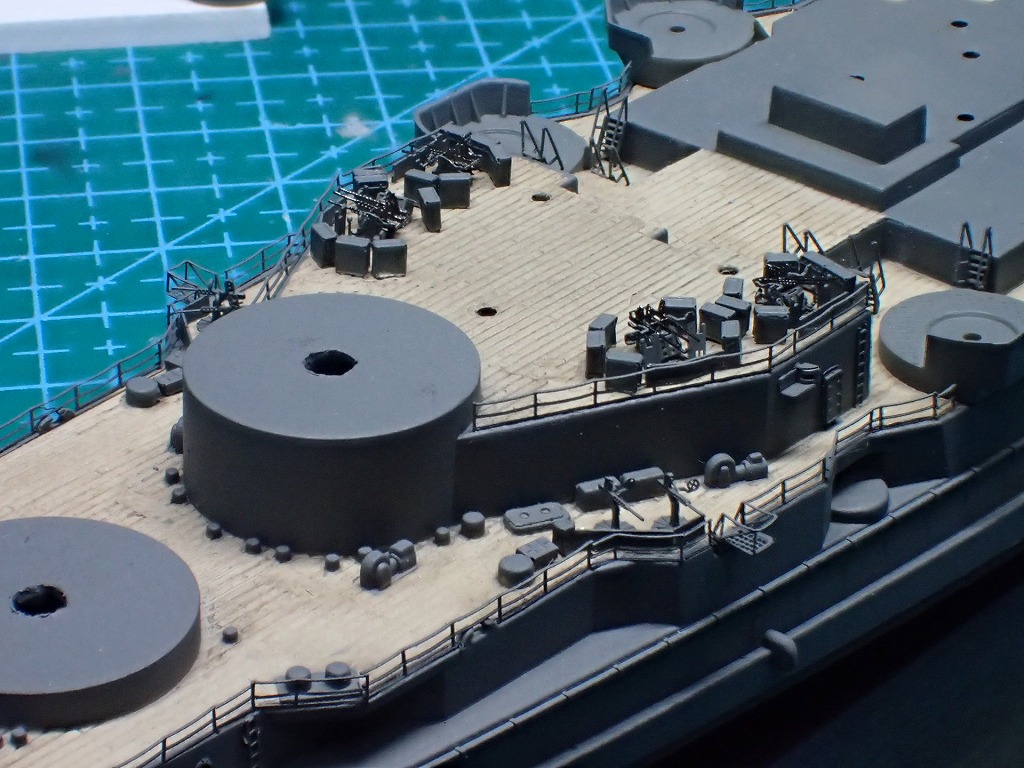
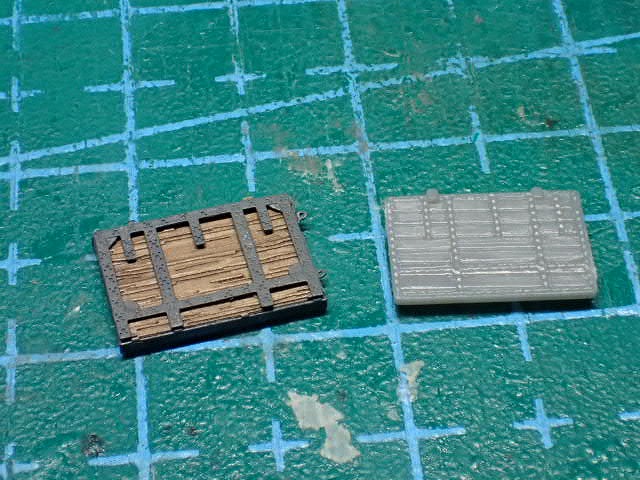
ラッタル、弾薬箱、ホーサーリール、防盾、架台、軌条等がエッチングパーツに交換されます。モールドを削る前に作業前の甲板の状態を写真に残しておくと良いです。特に弾薬箱の位置は写真があってとても助かりました。
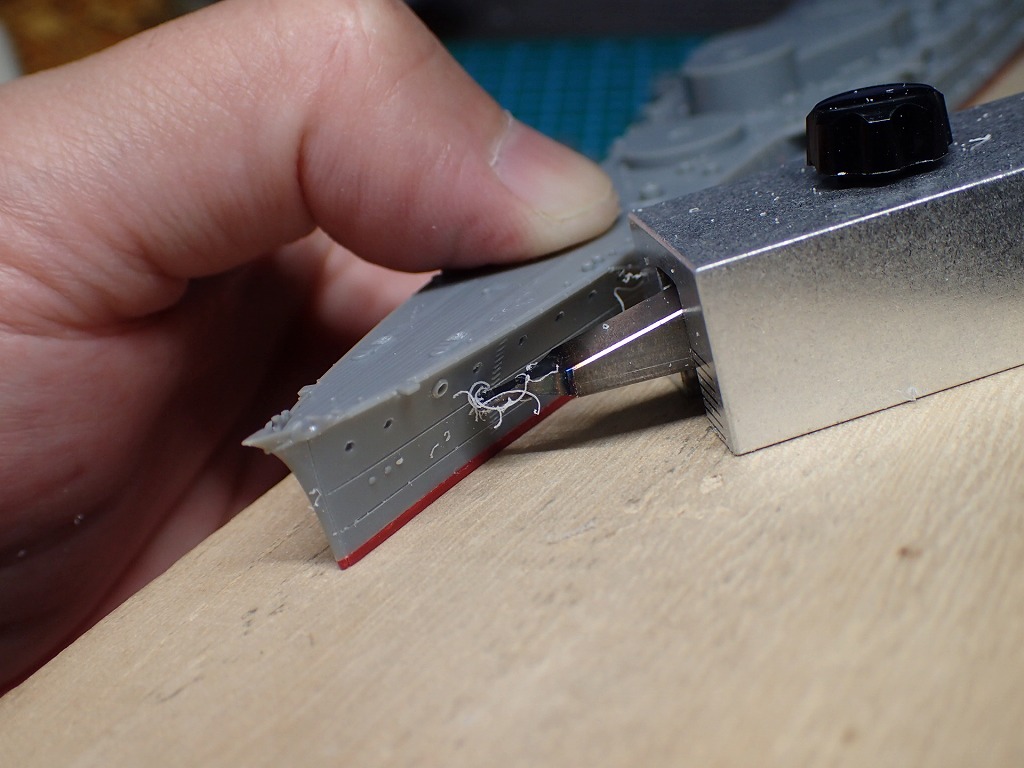
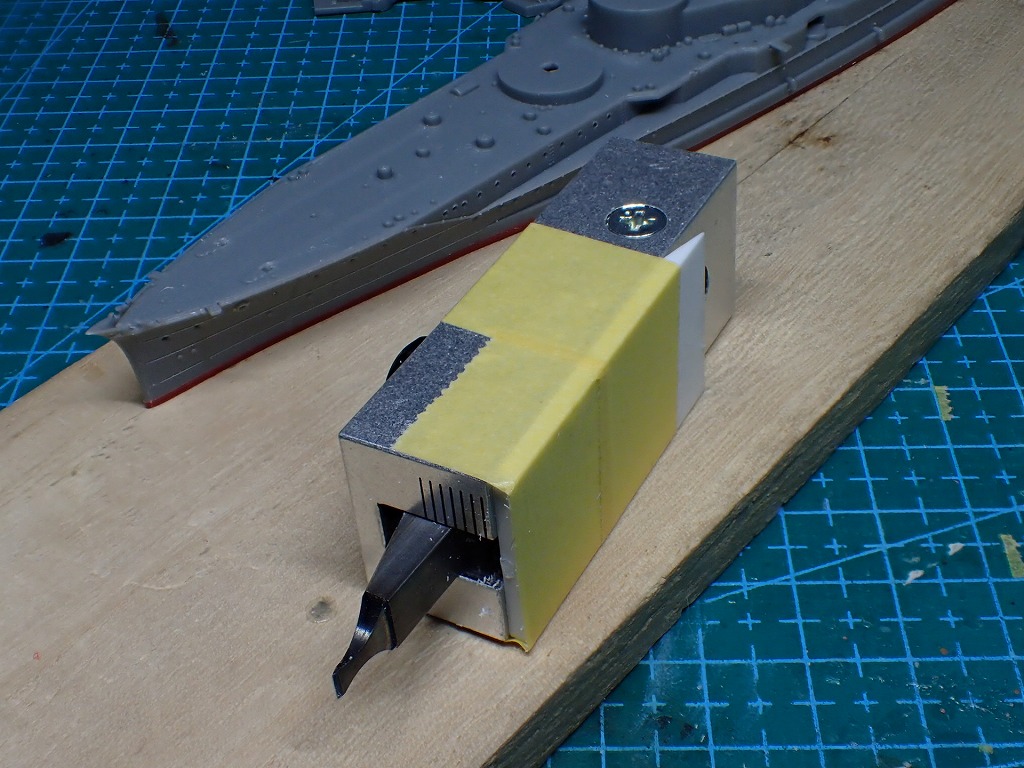
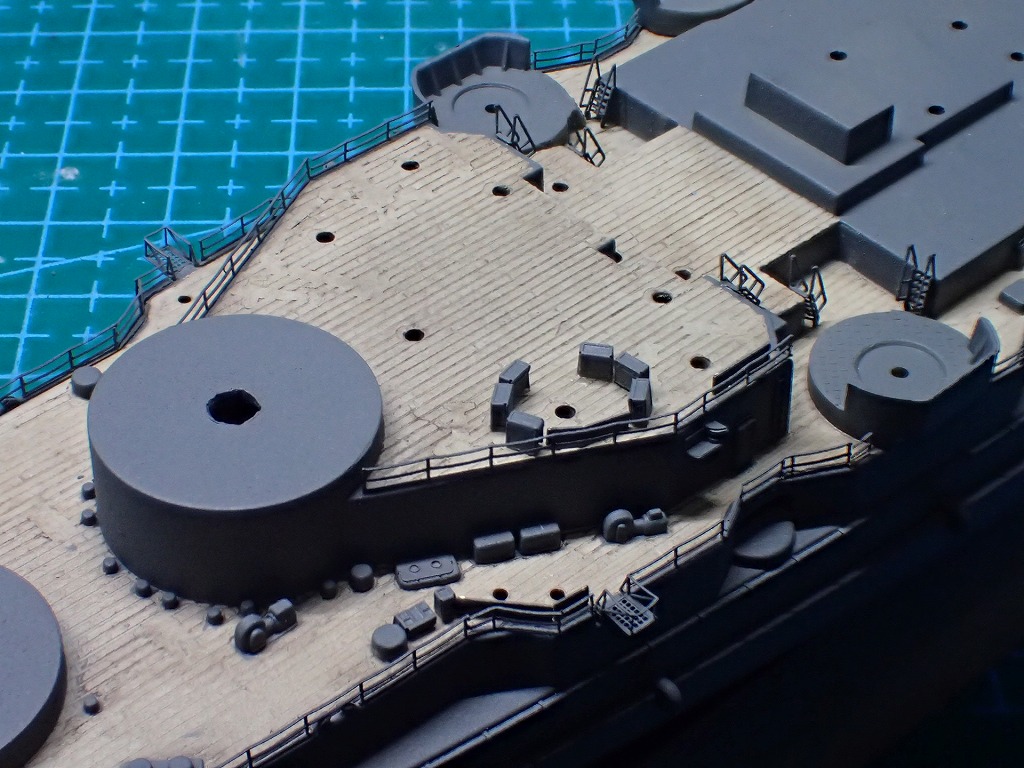
船体の鉄板の継ぎ目をMr.ハルモールドチゼルを使って再現していきます。
この工具は、本当に便利ですね。ただし、戦艦クラスになると刃の仰角が足りないのでプラパンで底の嵩増しが必要です。


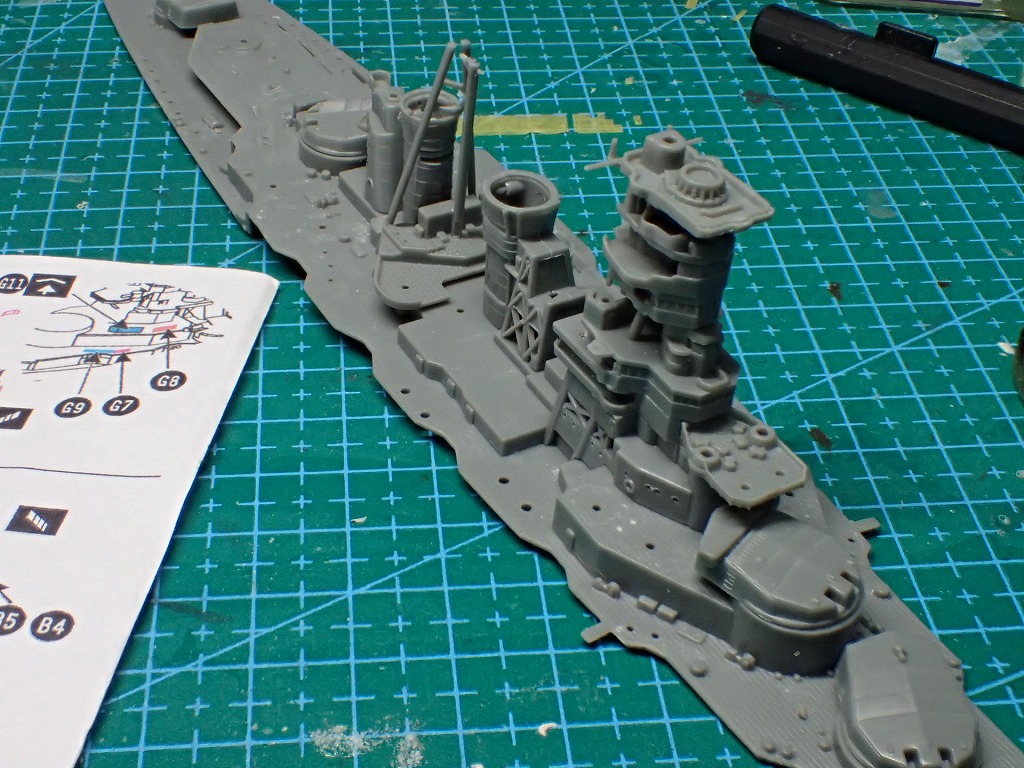
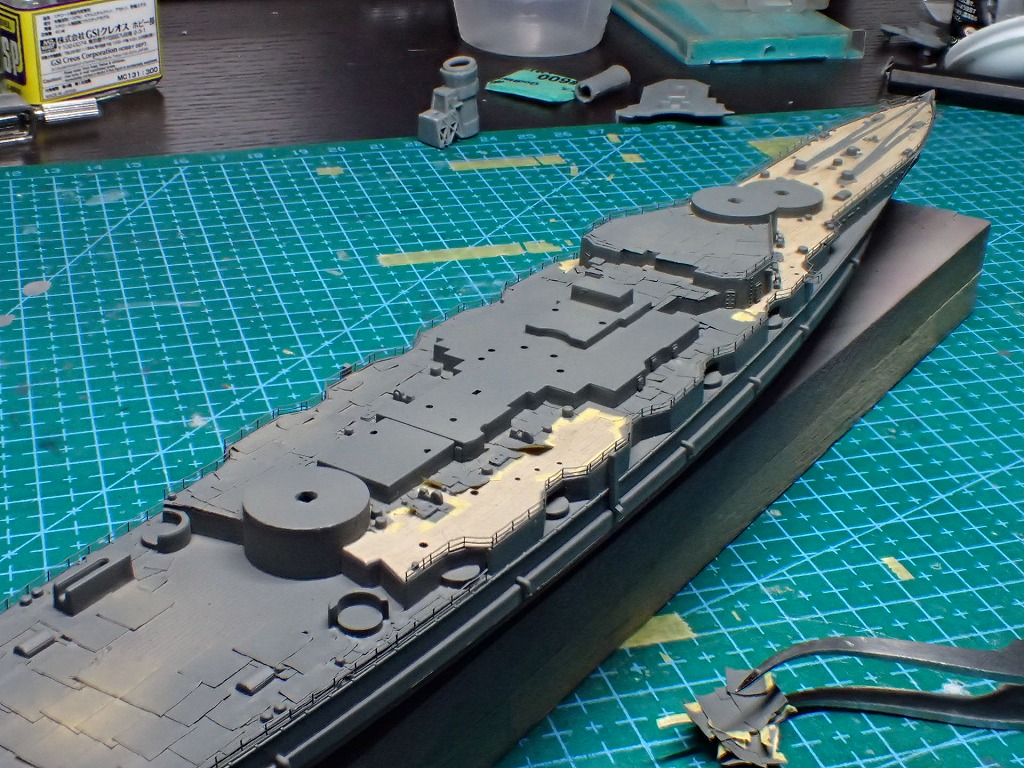
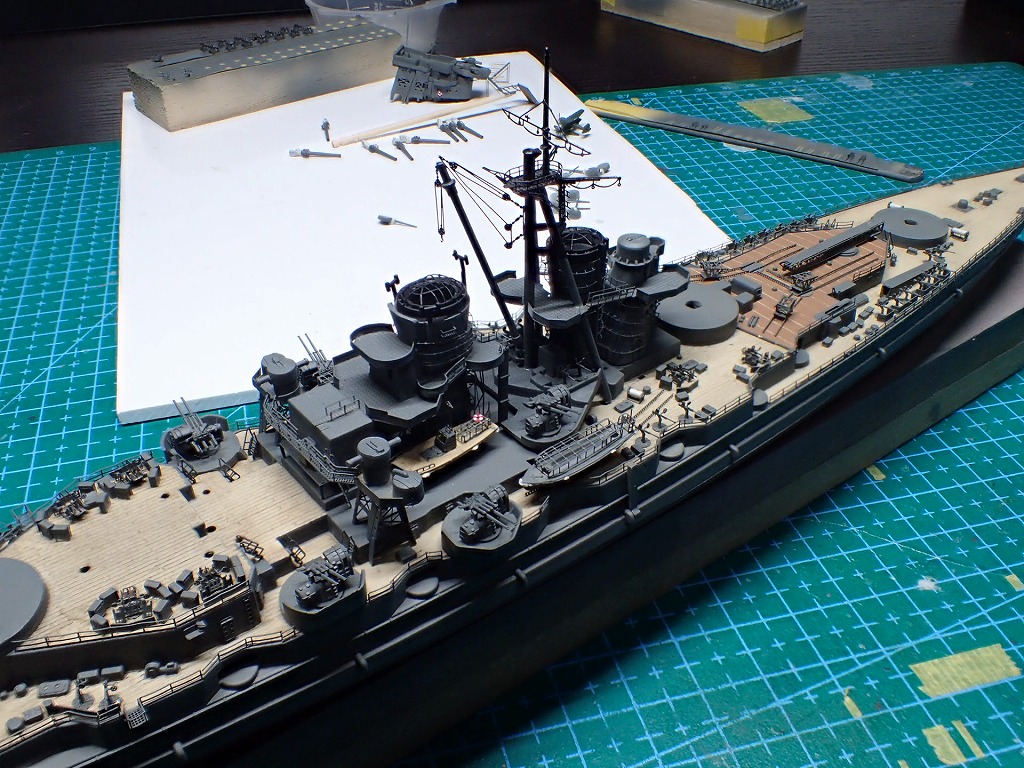
仮組してきます。
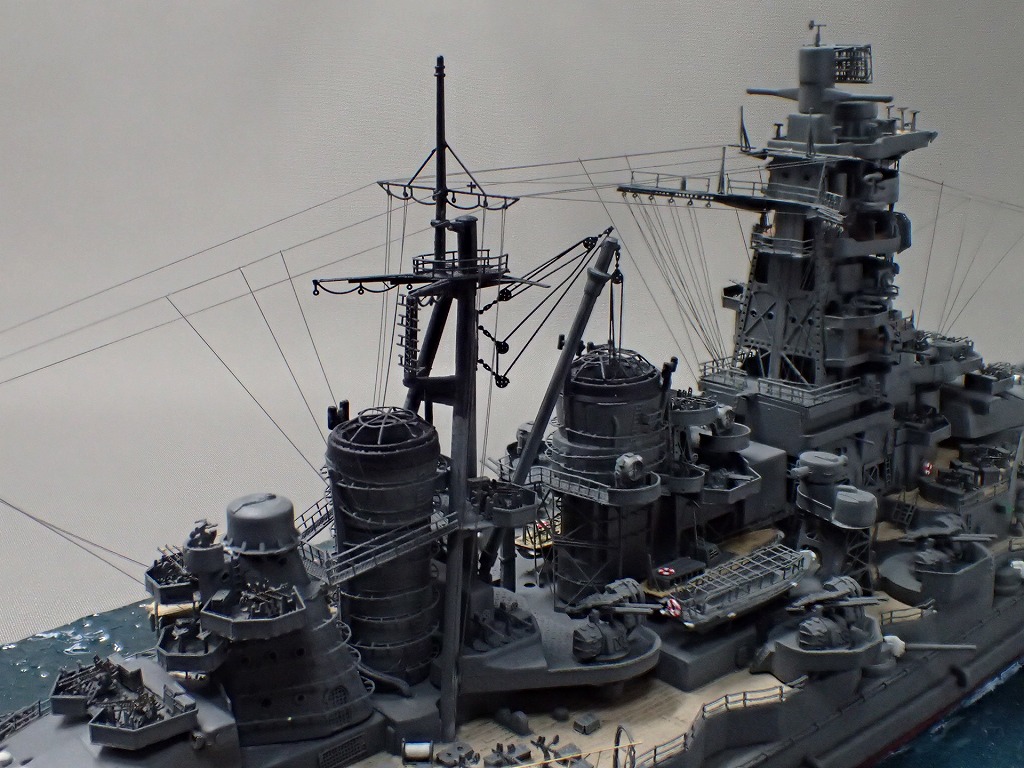
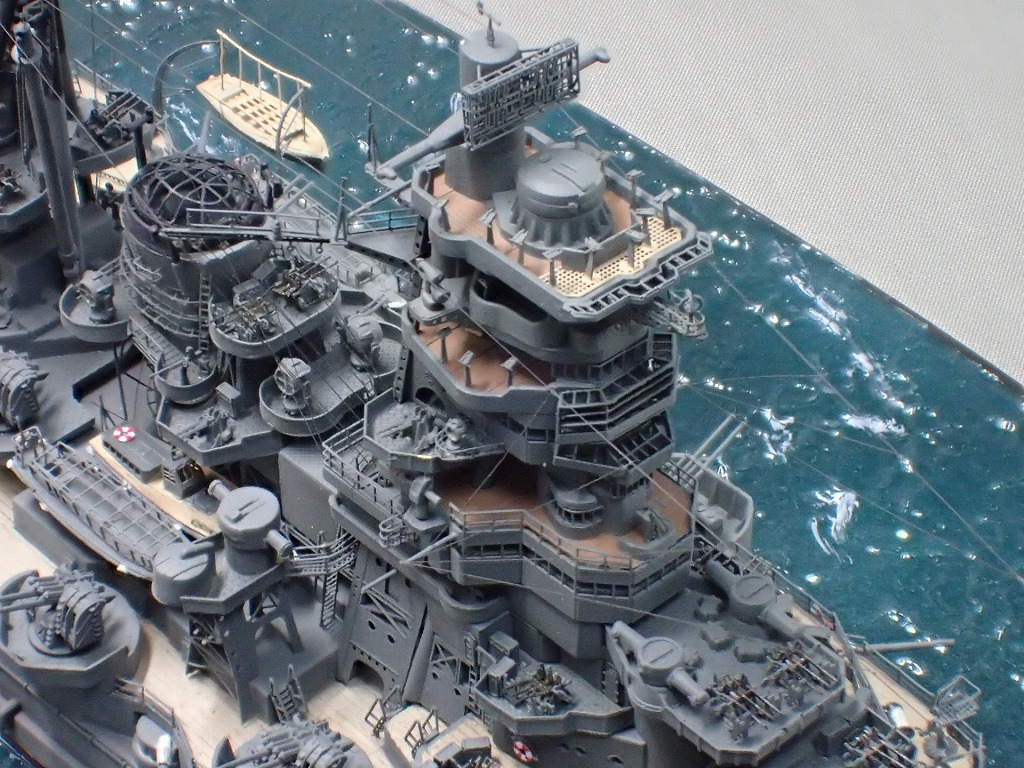
戦艦金剛は、艦橋と第一煙突周辺と第二煙突とマスト周辺が密集しているので、エッチングパーツを組み込む前に一度仮組を行い構造を確認しておくと良いです。
フジミの戦艦を作る際のワンポイントアドバイスですが、艦橋に通す3本の支柱の穴は少し広げておくと良いです。理由は、艦橋を積み上げていく際の水平、平行の歪みを微調整するための調整幅を持たすためです。あと、主砲のピン穴もキツイので広げておくと良いです。
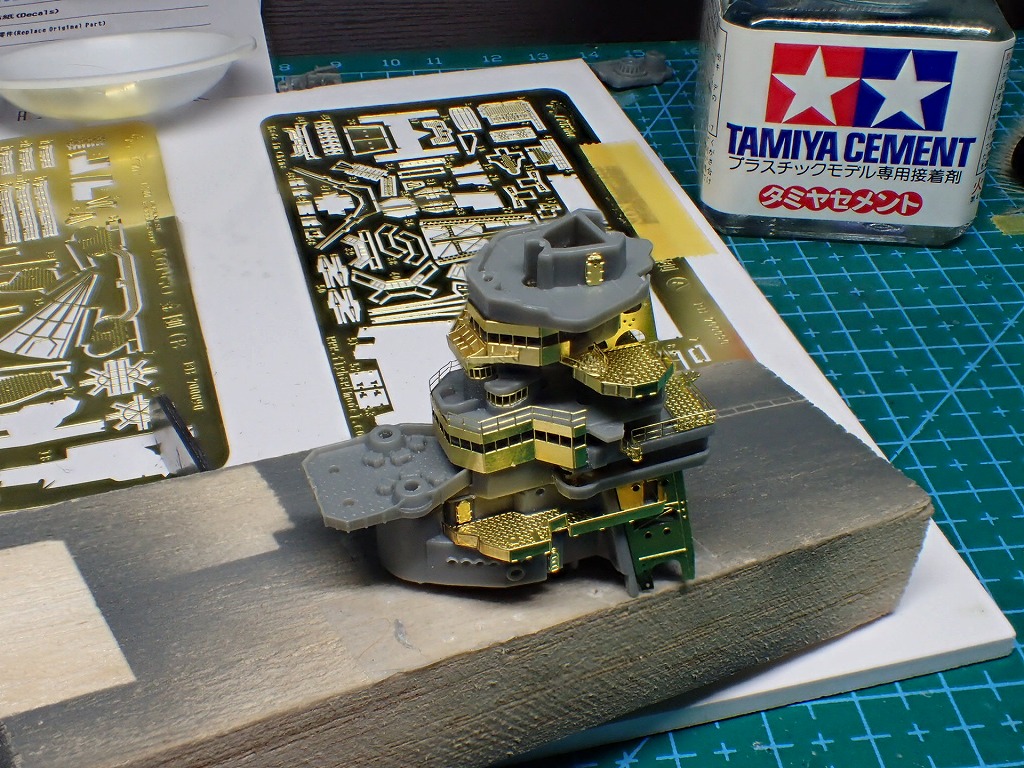
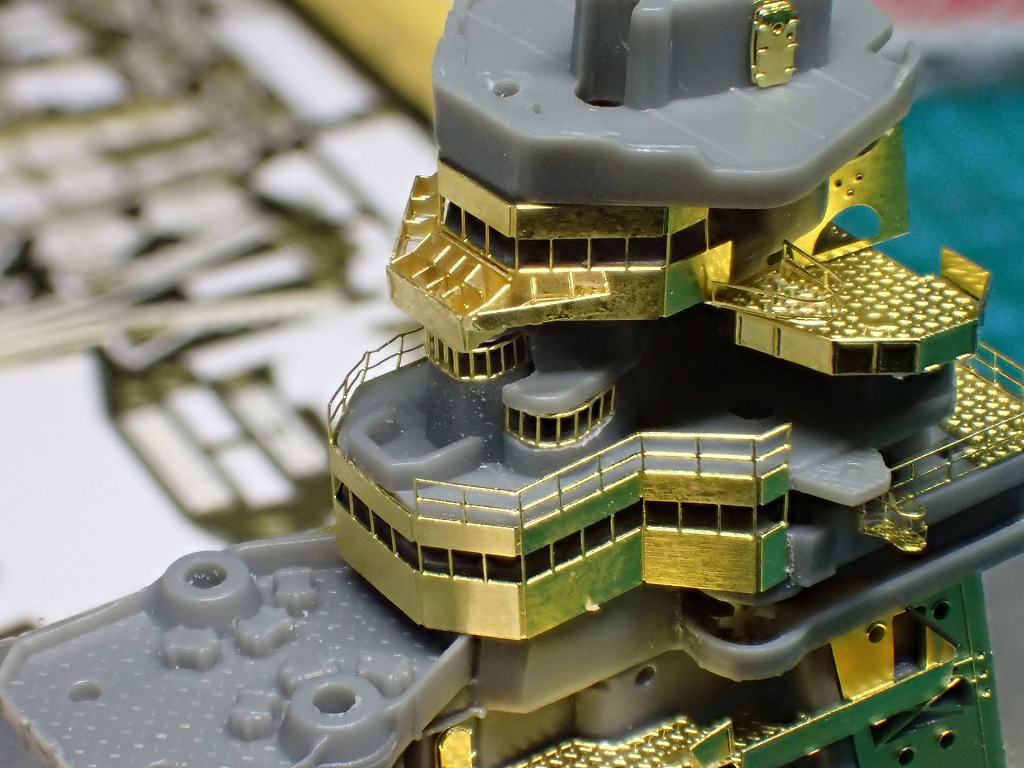
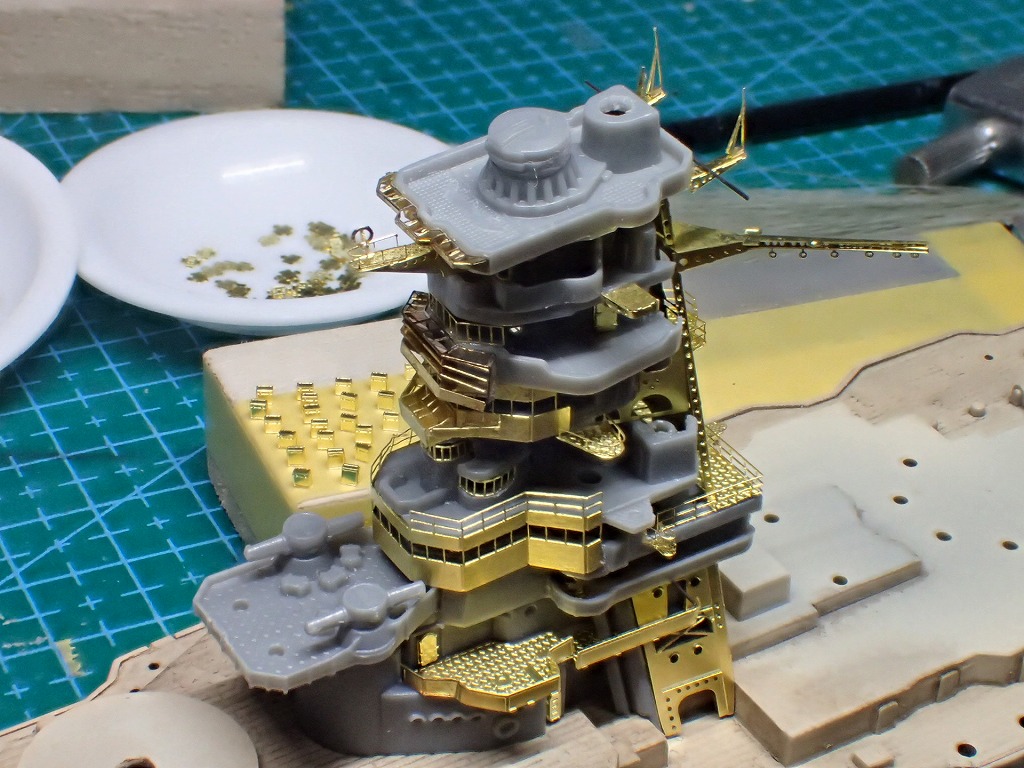
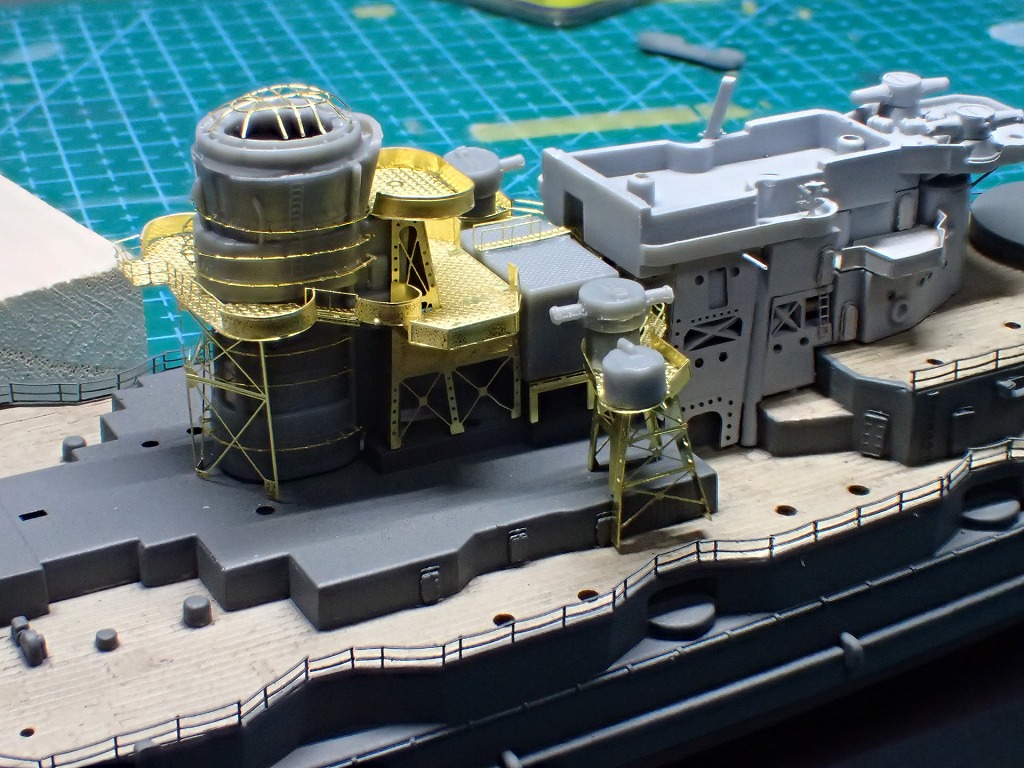
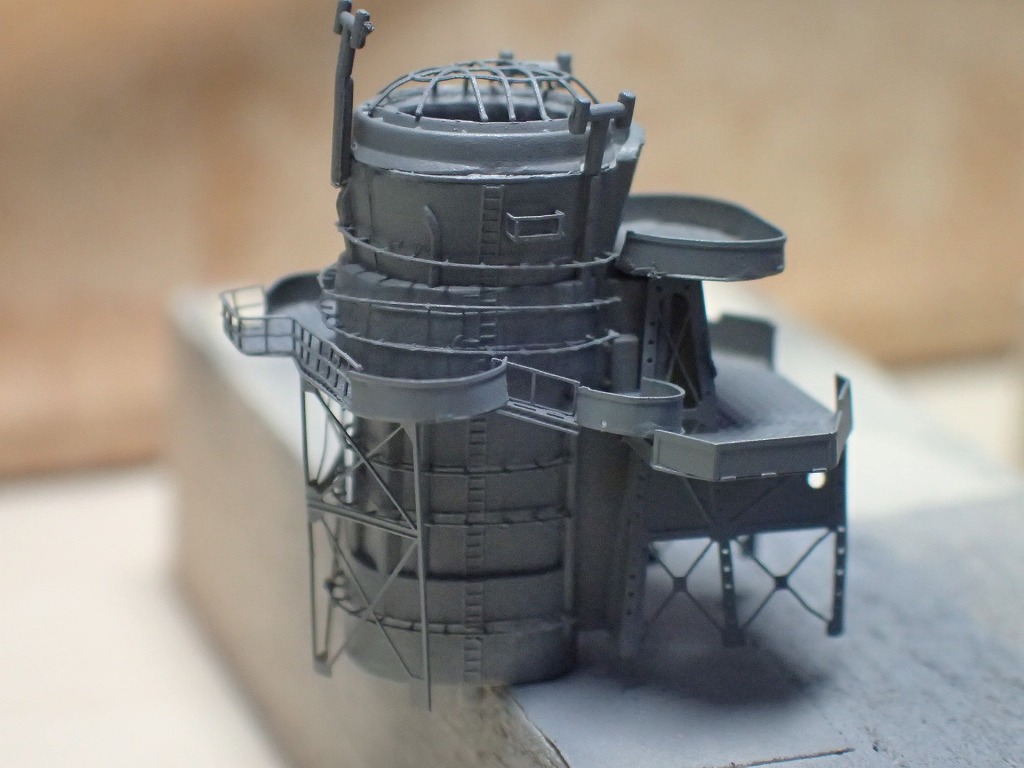
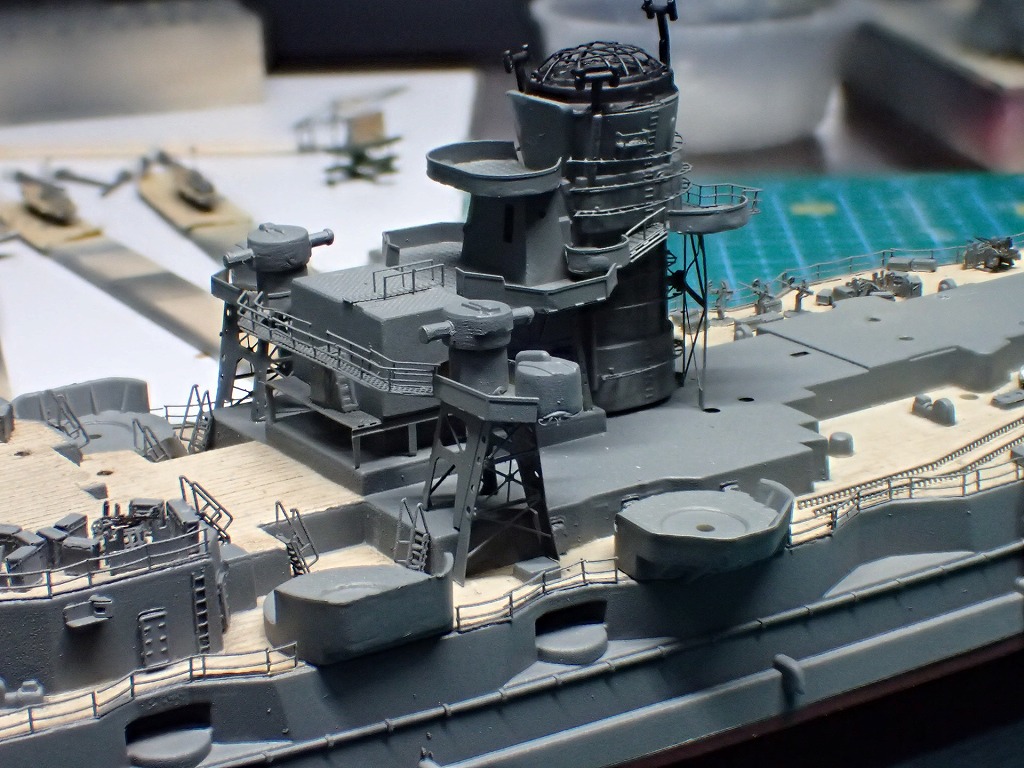
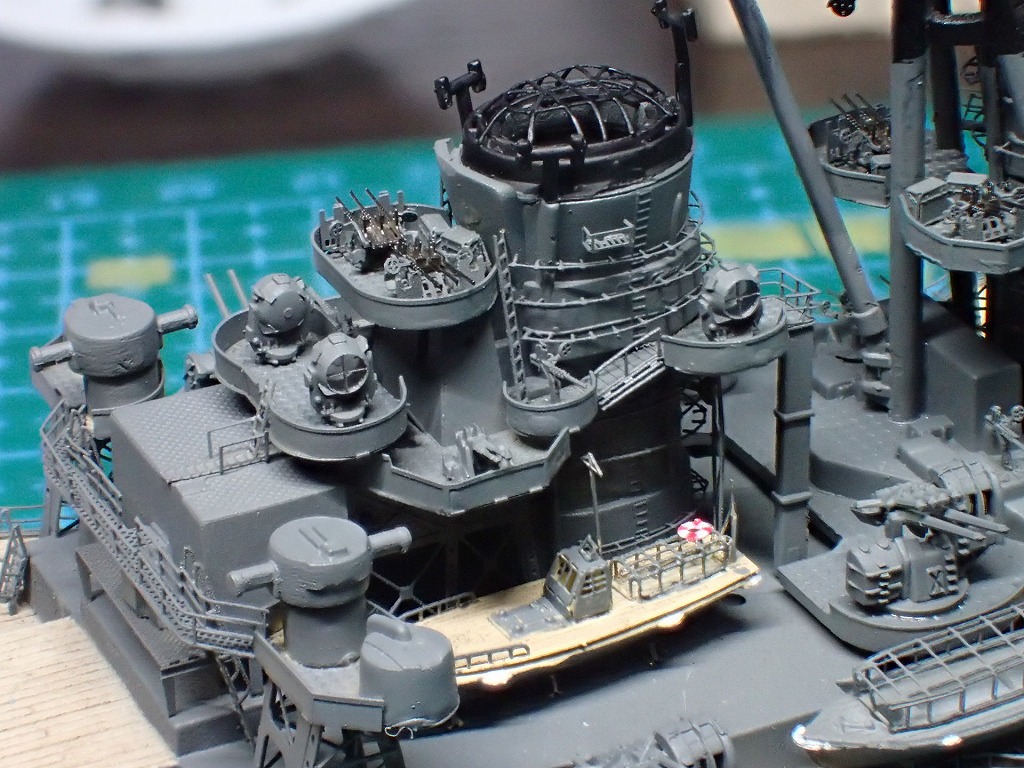
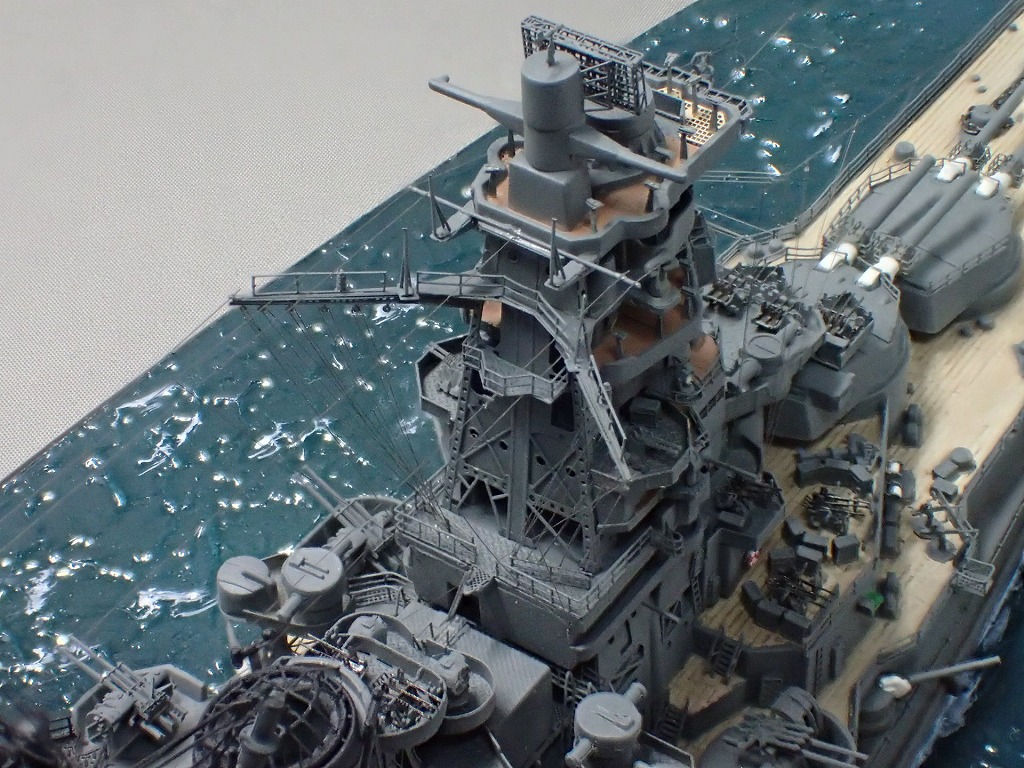
艦橋にエッチングパーツを組み込んでいきます。
この工程の最大の難所は、遮風装置の組立でした。このパーツの組立に4時間ほど悪戦苦闘してました。とても難しく何度も修正を繰り返す内に曲げた部分が千切れてしまい諦め寸前まで追い込まれましたが、何とか形になりました。
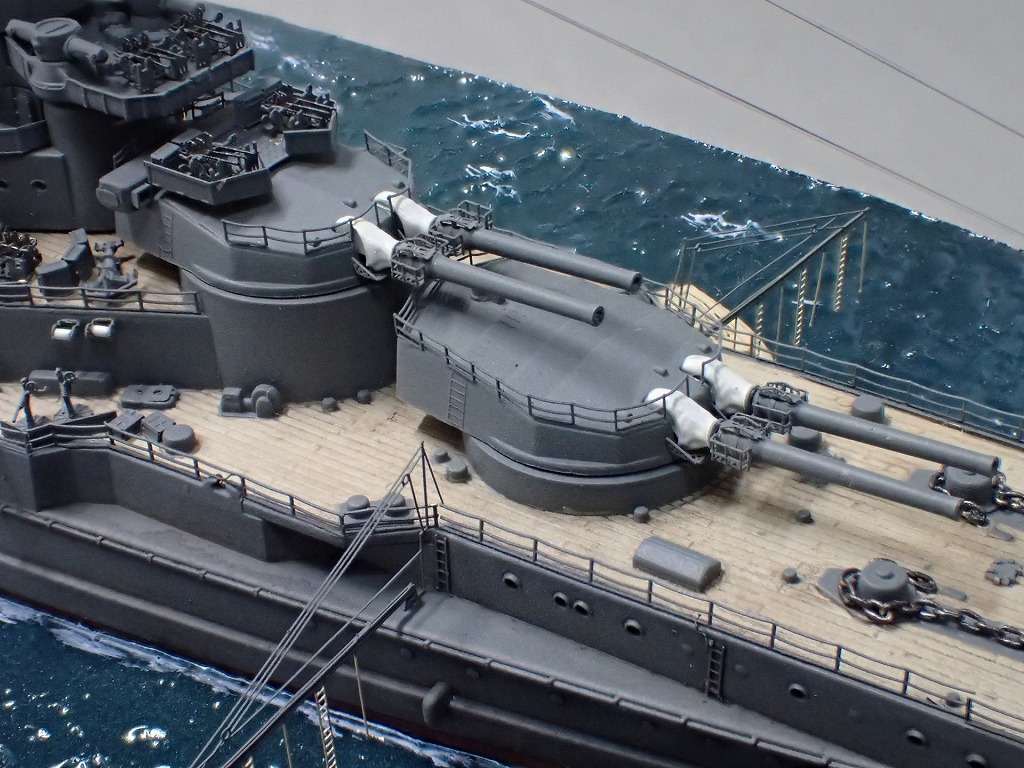
主砲に関しては、砲身の操作台の取り付けが少し難しいです。キャンバスから砲身の垂直方向を見極め水平、平行に注意しながら取り付けます。操作台を取り付けたら、一度砲塔に仮組して位置を確認すると良いです。
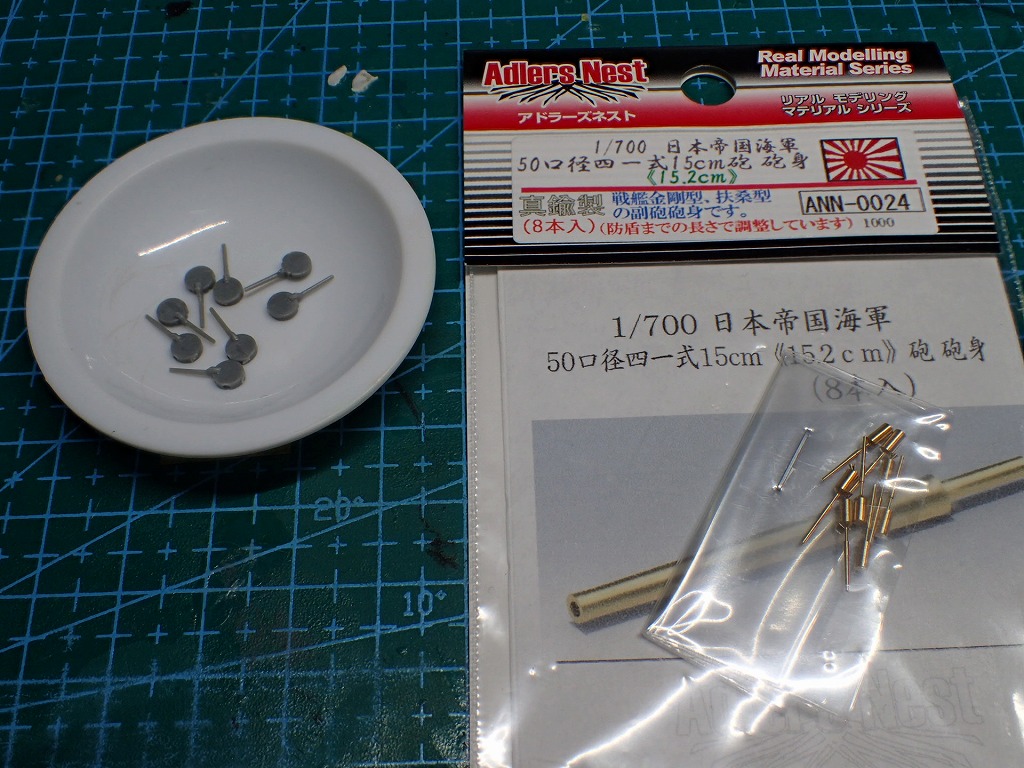
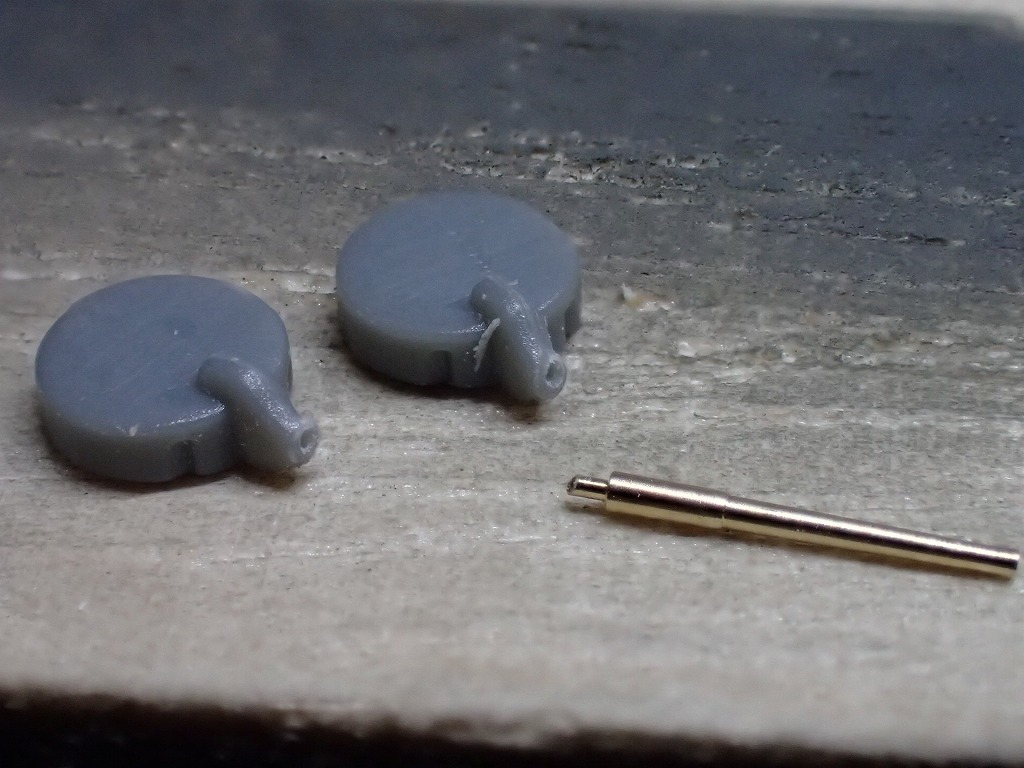
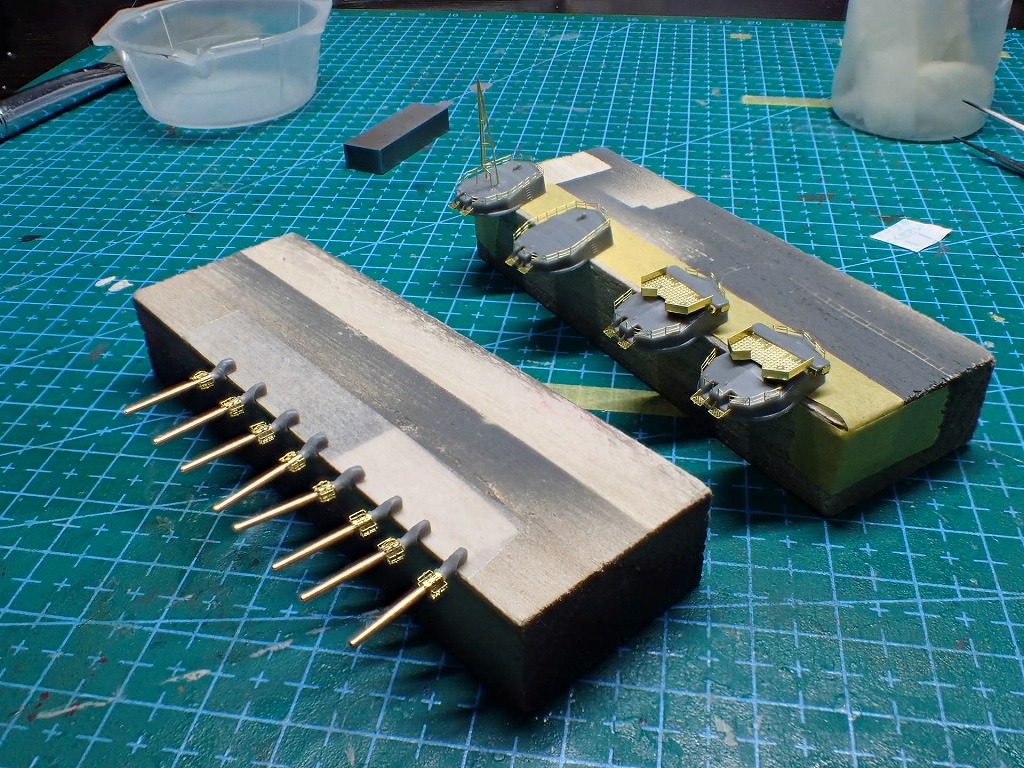
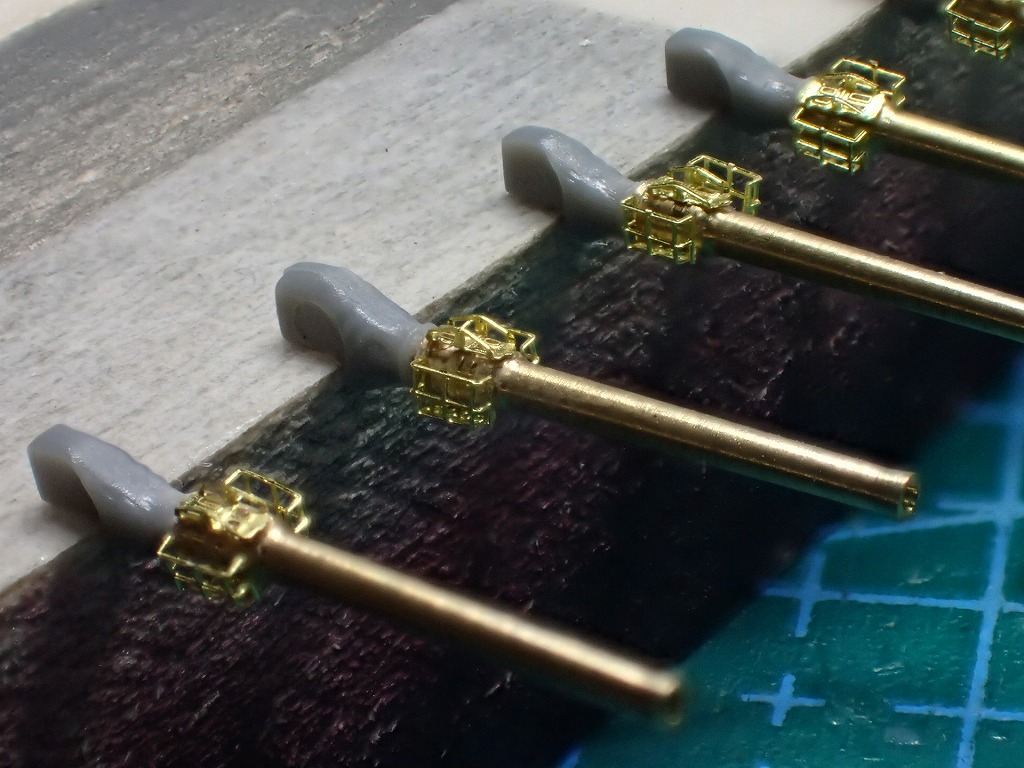
副砲も金属砲身に交換しておきます。
使用したパーツは、アドラーズネストの1/700 50口径 四一式15cm 《15.2cm》砲 砲身 8本入です。


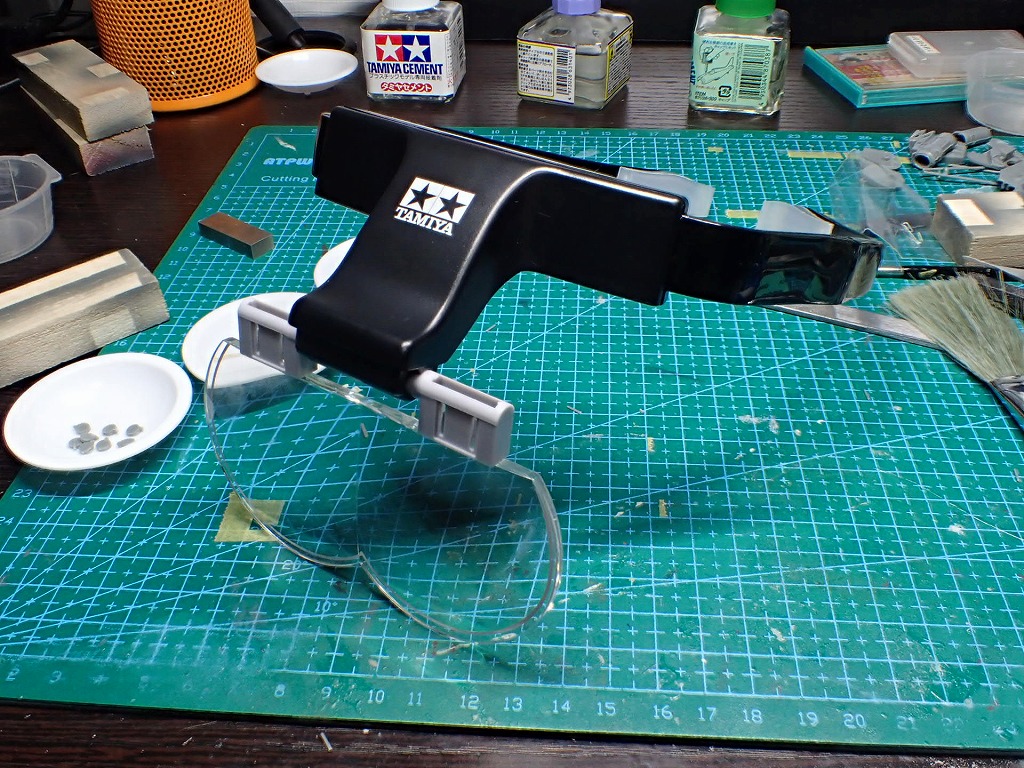
さすがにこのサイズになると穿孔位置が肉眼では確認しずらいのでヘッドルーペを使用しました。タミヤのヘッドルーペは視界も広くとても使いやすいです。慣れるまでは、視界の変化に酔うかもしれませんが、慣れるとすごく快適に作業ができます。


艦船模型の一番面倒な作業に取り掛かります。
弾薬箱などの甲板上のモールドは半分以上削ってあるのでだいぶ作業が楽になりましたが、素組の場合だと構造物が密集した甲板のマスキングになるためかなりの苦行になりそうです。
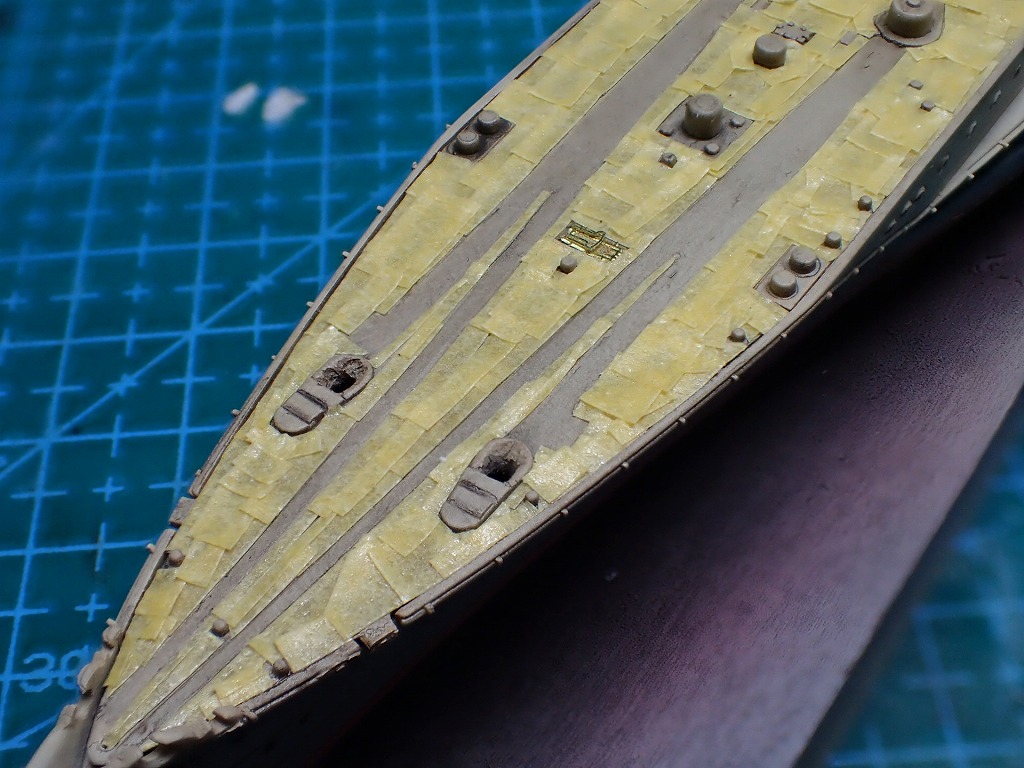
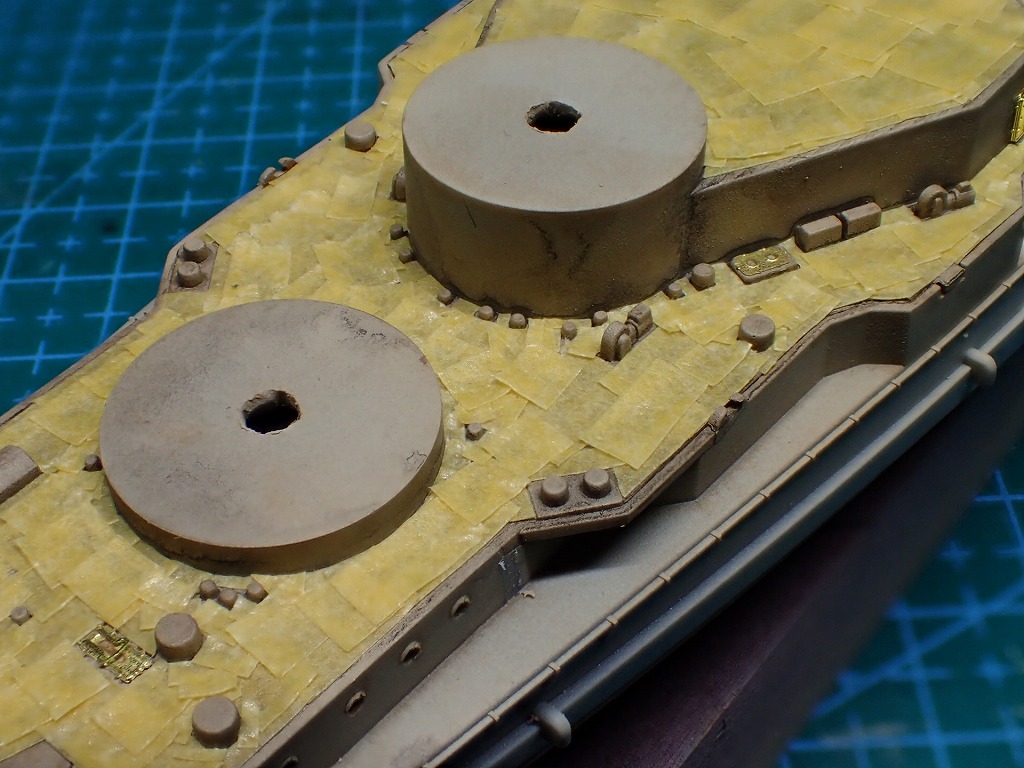
マスキング完了です。
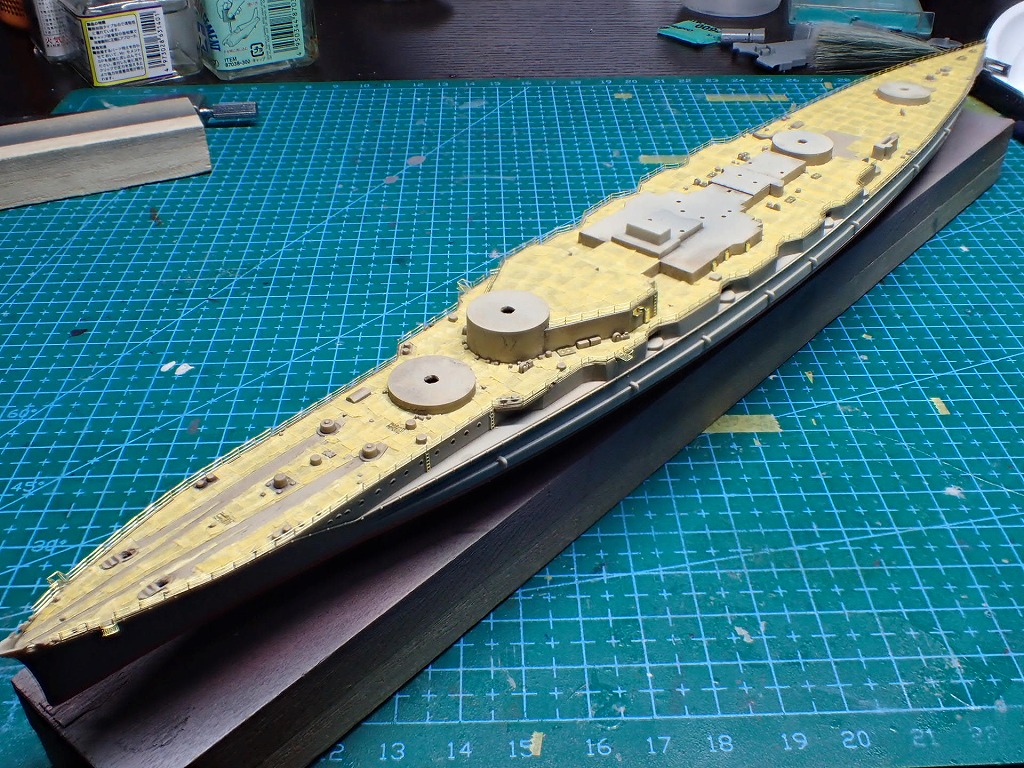
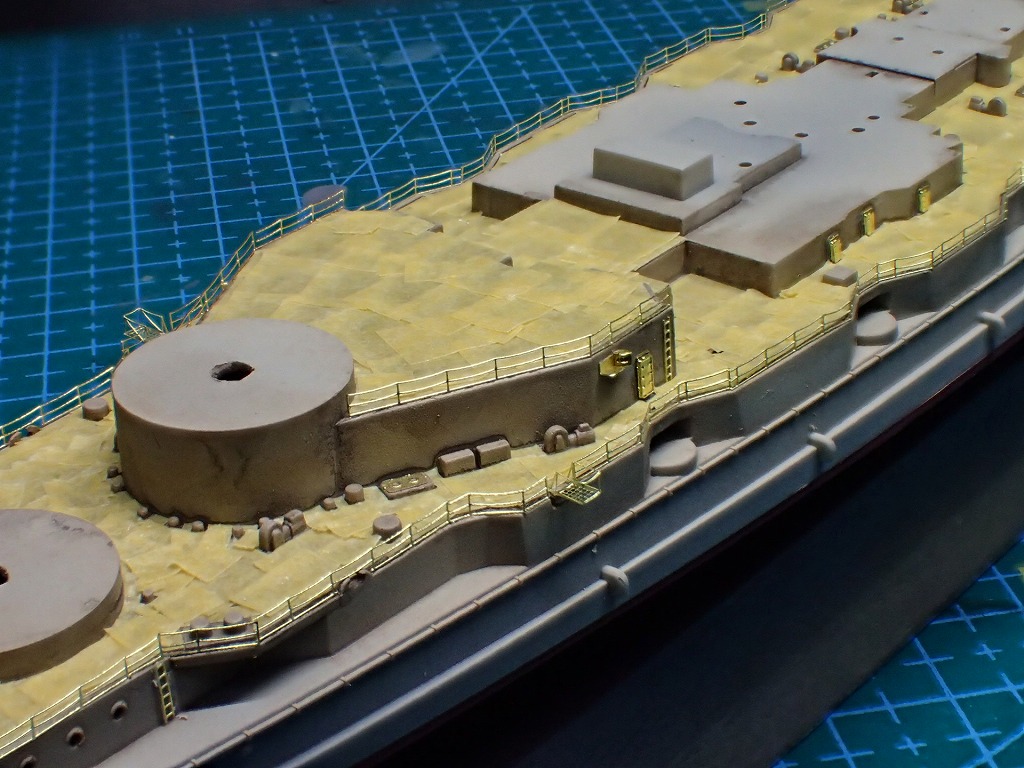
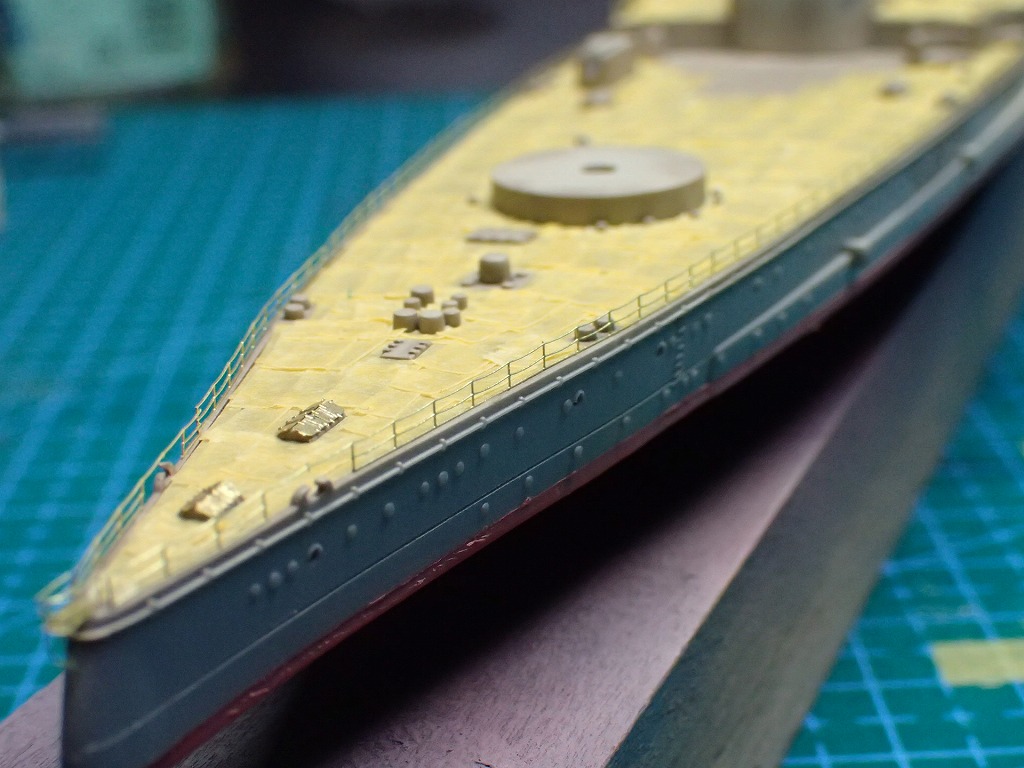
手すりの取り付けタイミングは、作るキットによて最善を考えて決定します。今作の金剛ではこの段階で手すりを取り付けても問題ないと判断しました。船体と一緒に塗装してしまうのが一番楽ですよね。
※この段階では高角砲の台座部分の手すりを抜くのを忘れてます。

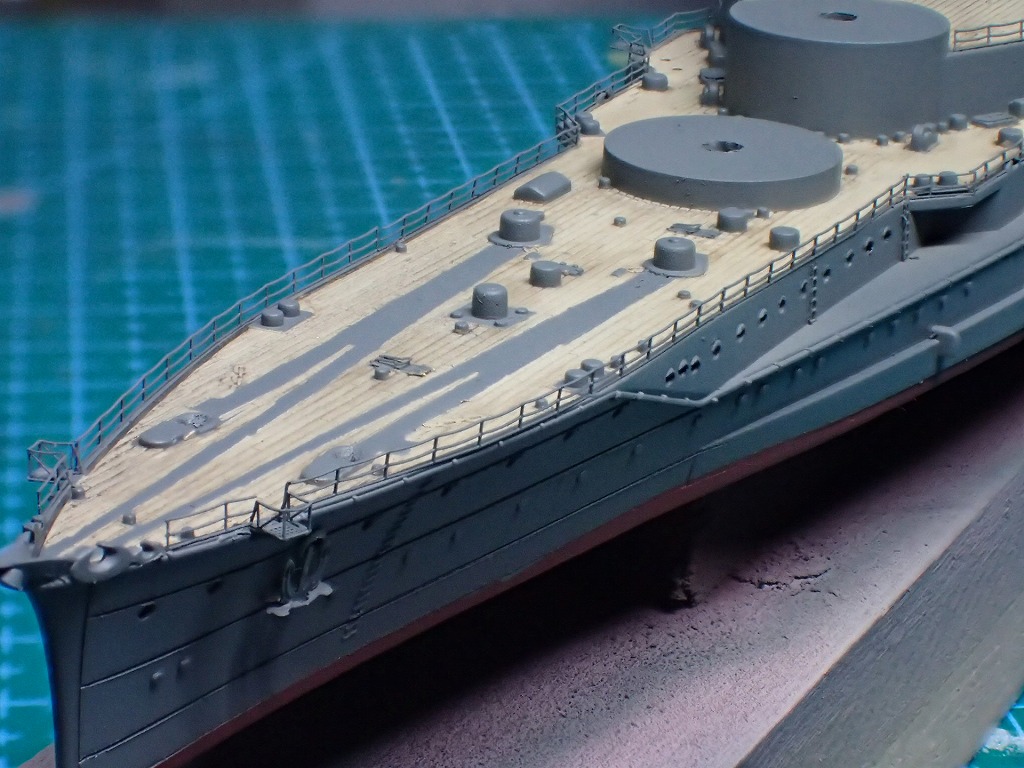
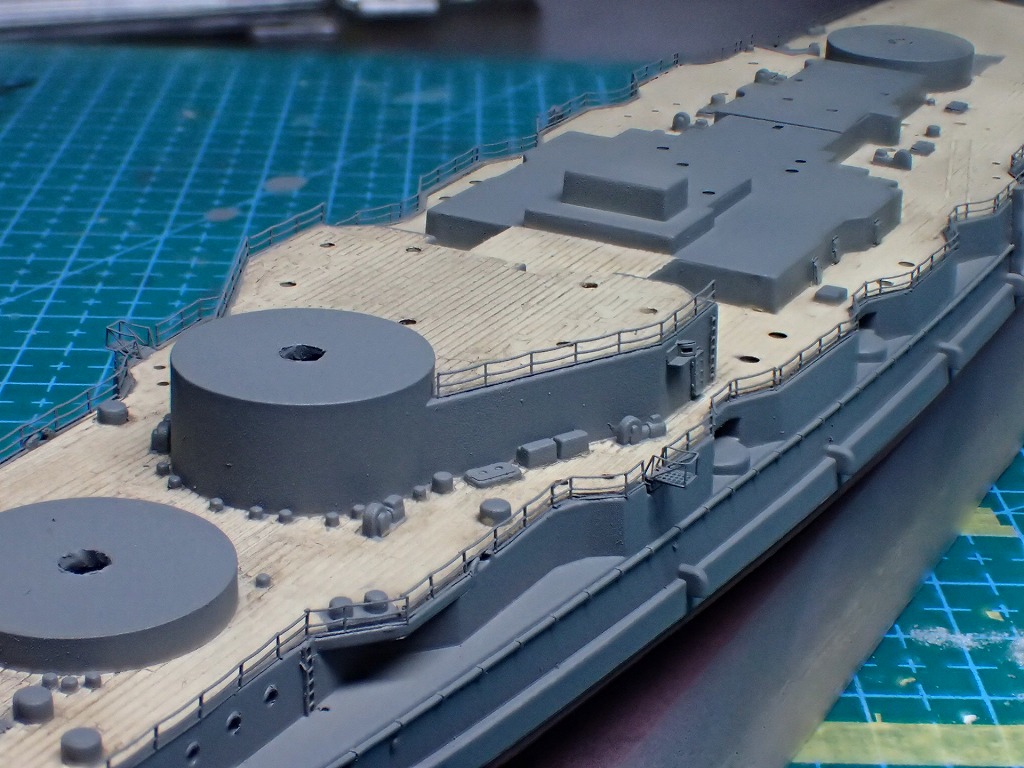

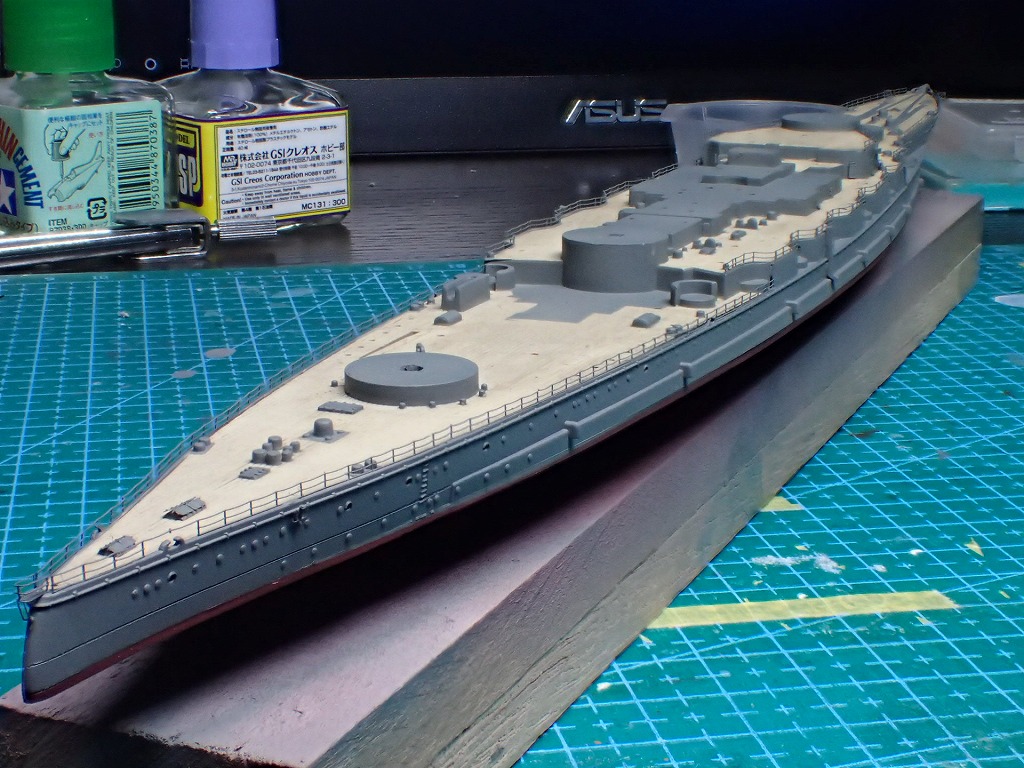
船体の塗装完了です。
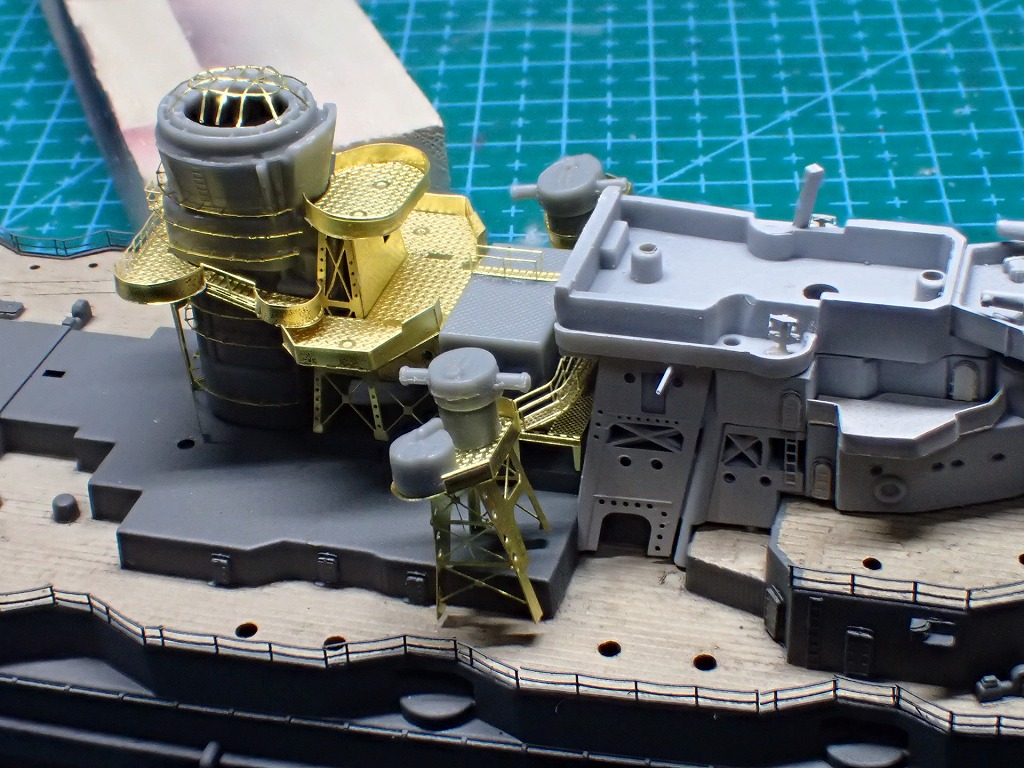
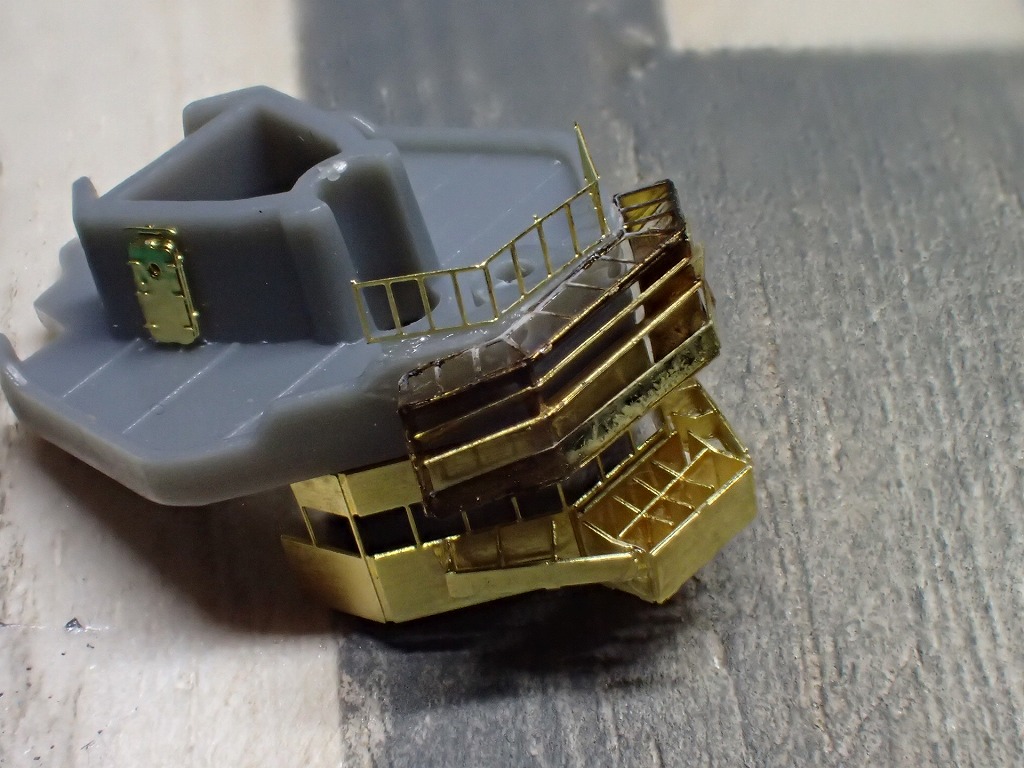
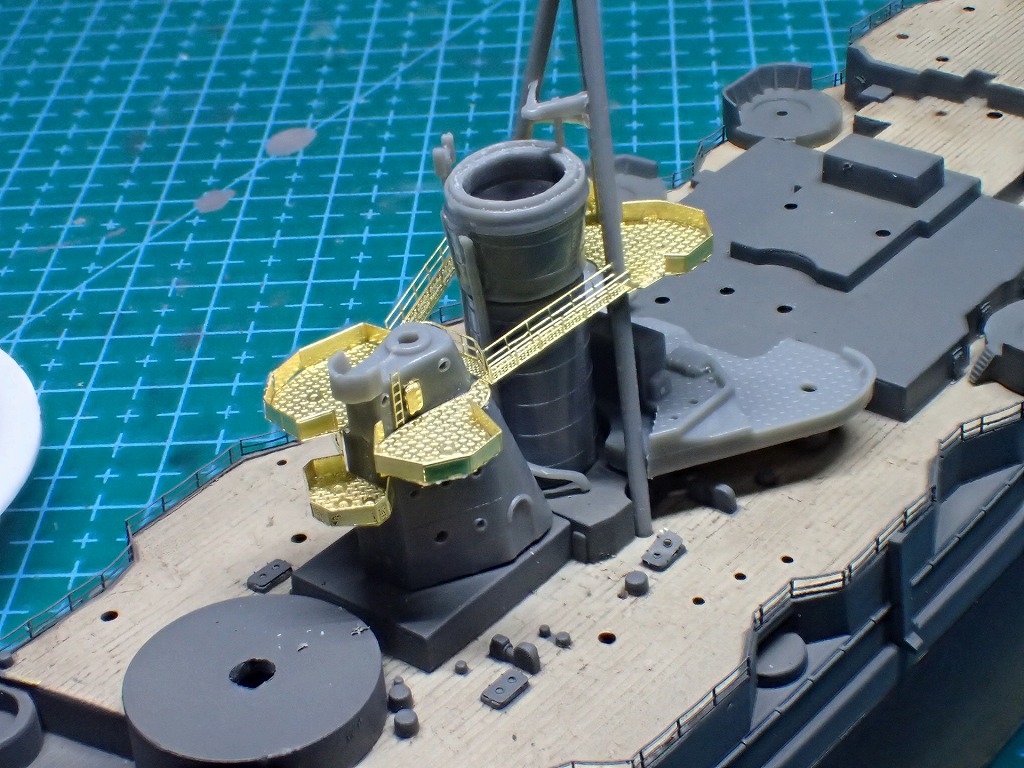
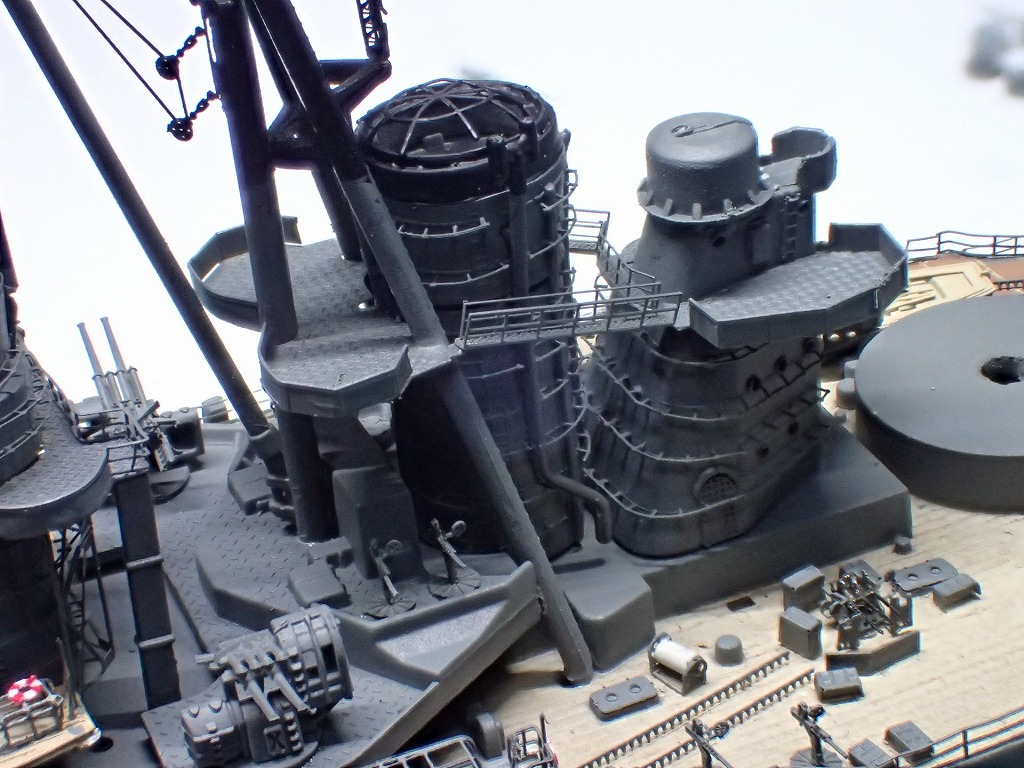
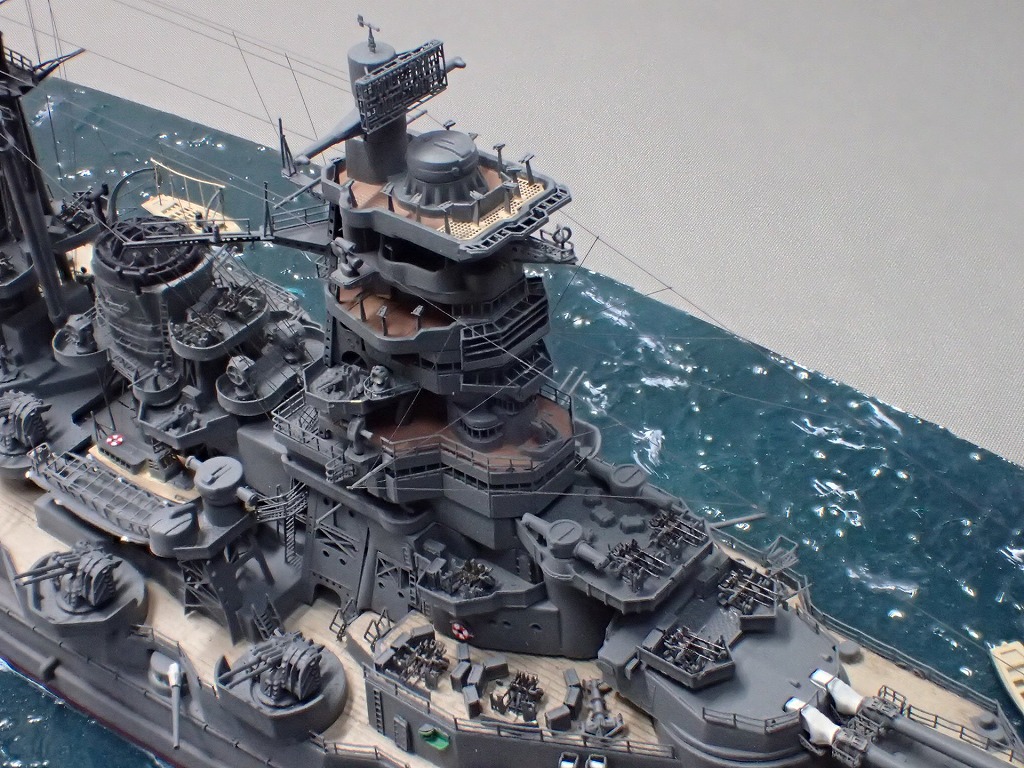
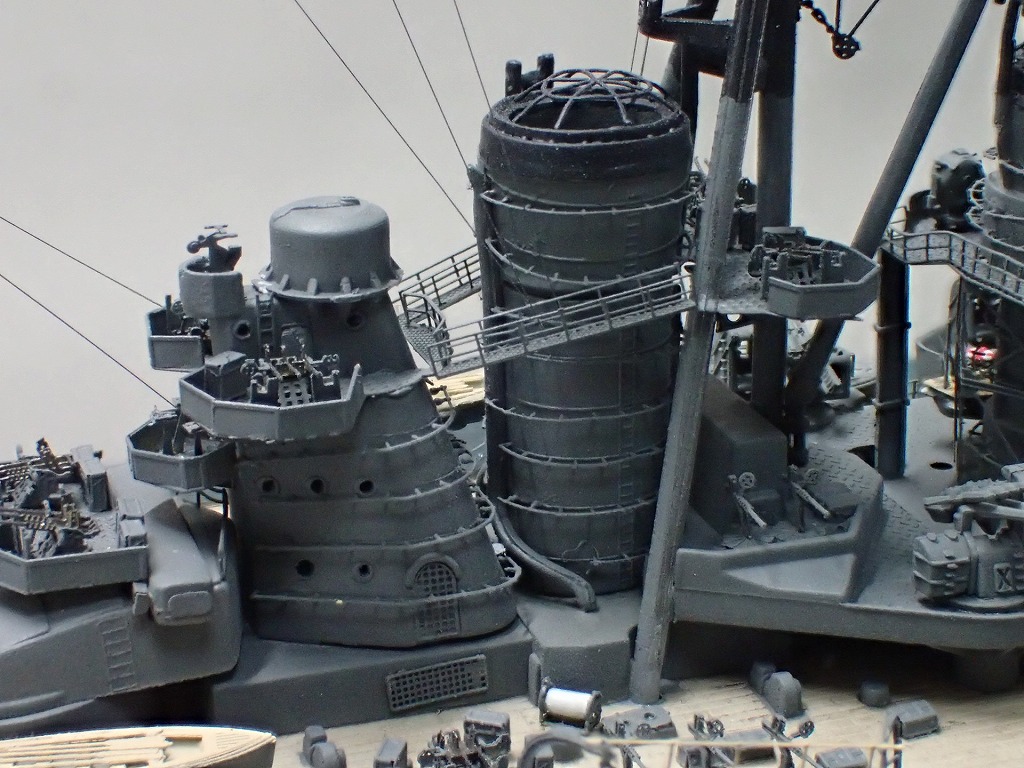
はこの部分の調整は要注意です。仮組の工程でも述べたように構造物同士のクリアランスがほとんどないのでしっかりと仮合わせを行います。第一煙突の探照灯台のエッチングパーツの取り付け位置には特に注意して下さい。

一部、プラモールドを切り取って利用する箇所があるのですが、エッチングソーがあると便利です。
私はシモムラアレックの職人堅気 HYPER GATE CUT SAW ハイパー ゲート カットソーを愛用しています。
価格は少し高価ですが、ゲートカットに特化したこのエッチングソーは艦船模型との相性は抜群です。
艦船模型によくあるニッパーの刃を入れただけで刃の厚みに押されて折れてしまうような超繊細なパーツの切り離しに最大の効果を発揮し、極小ピッチの刃による何の引っ掛かりもなくヌルっと刃が切り抜ける感覚は感動ものです。


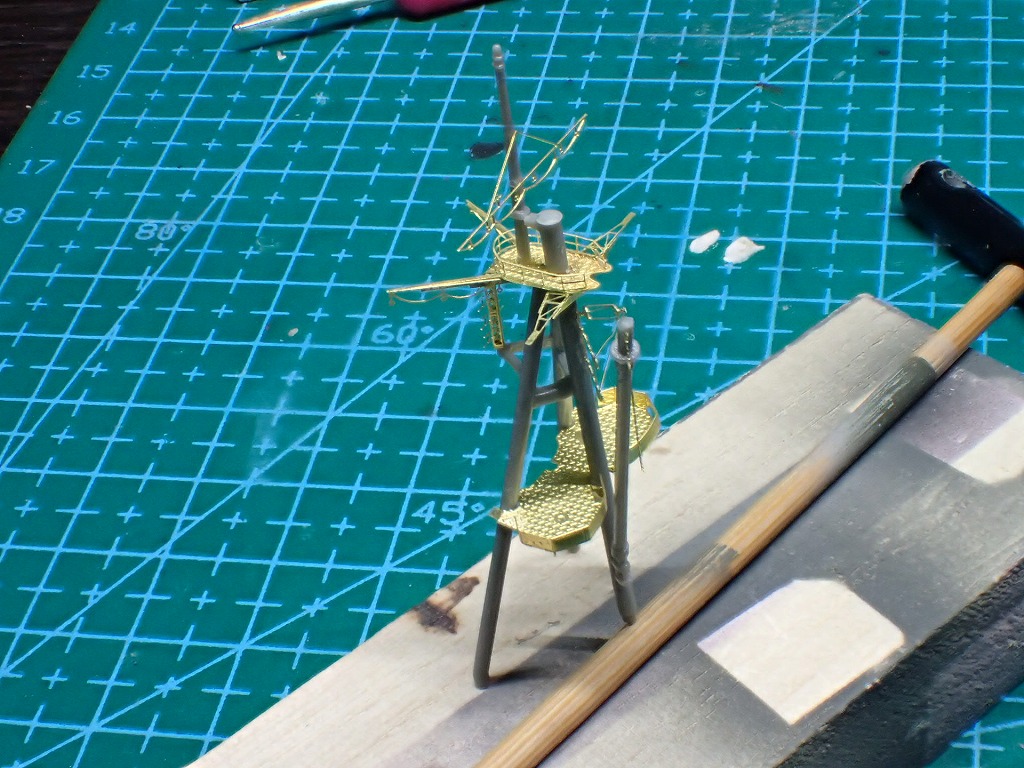
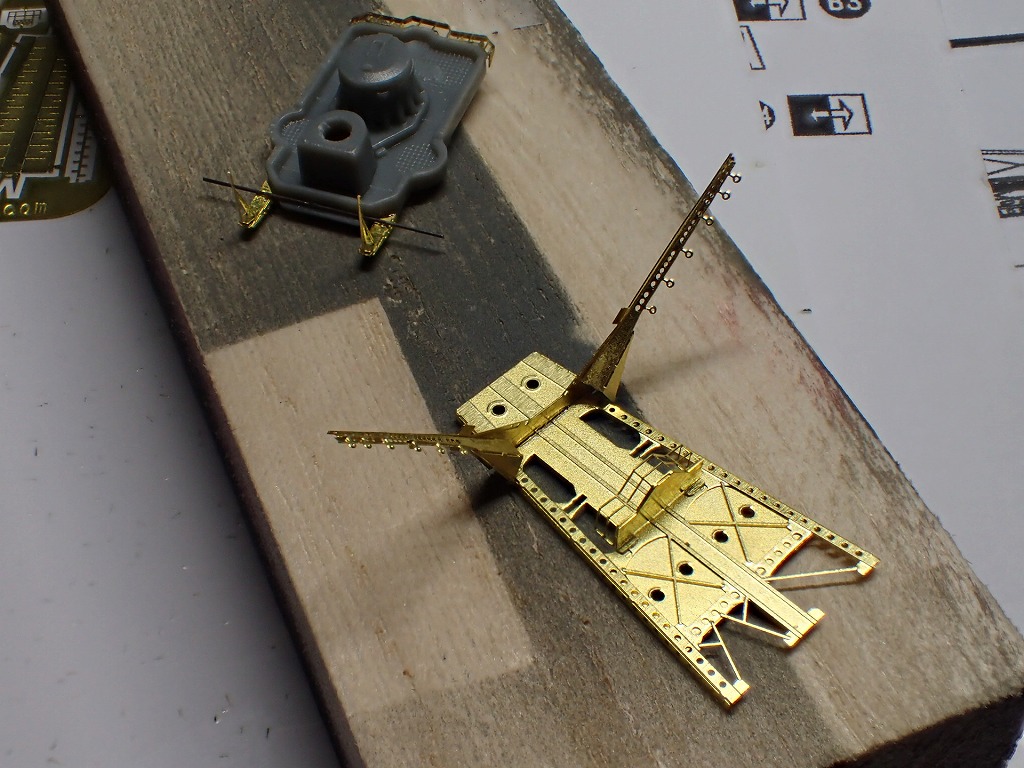
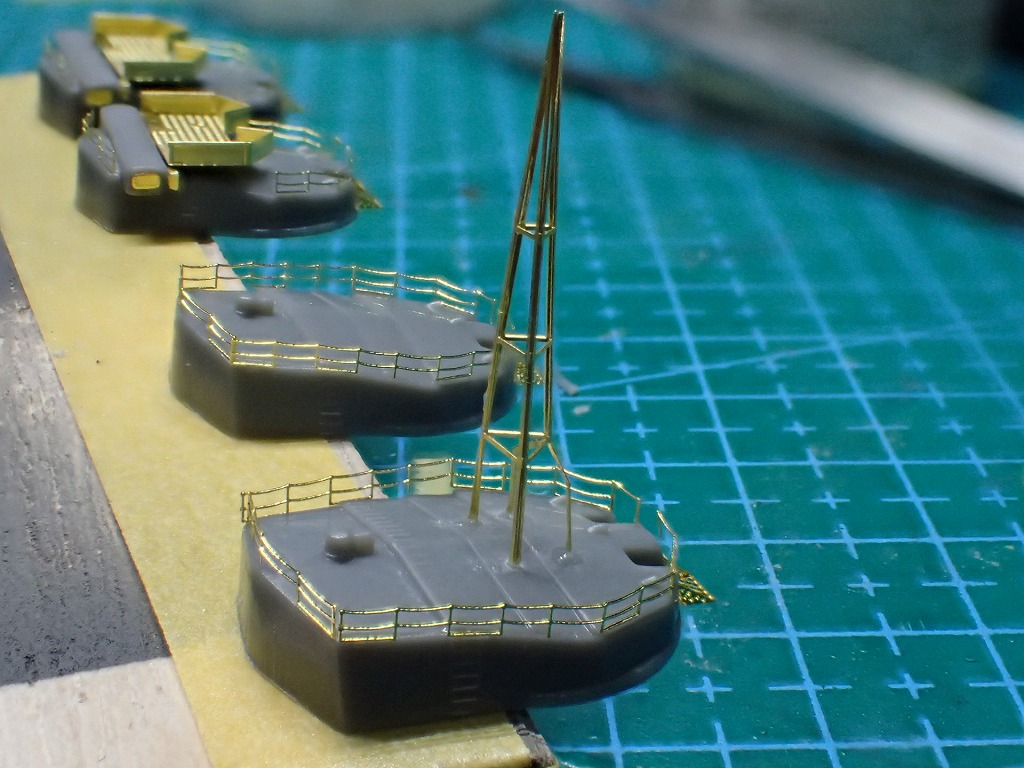
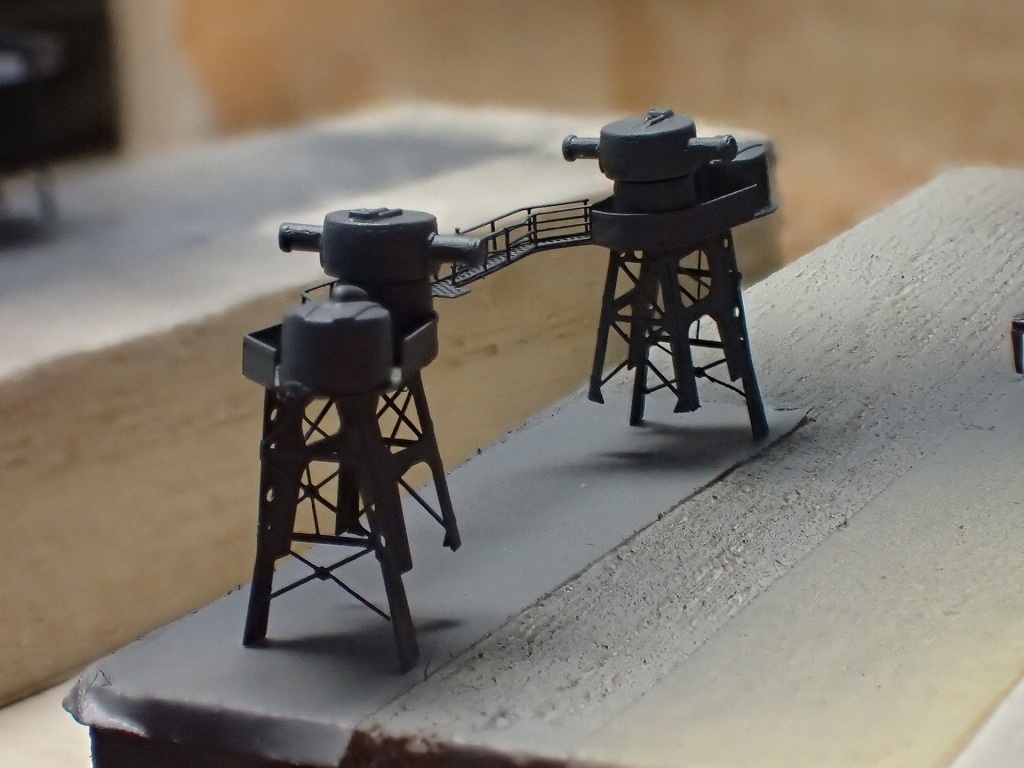
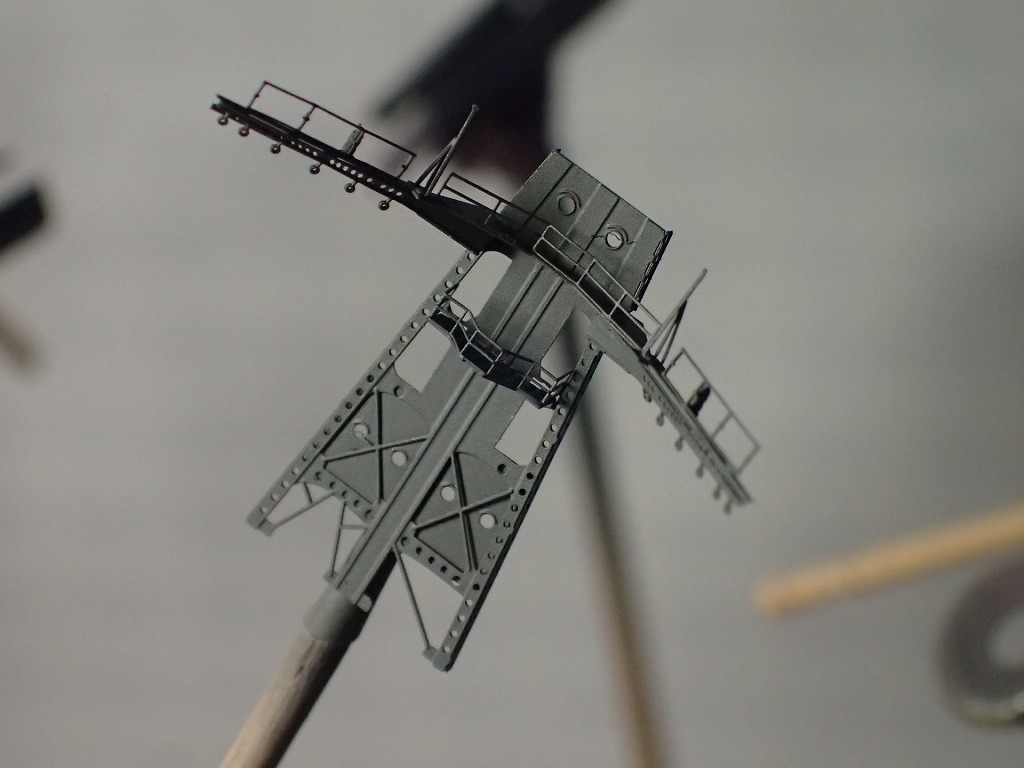
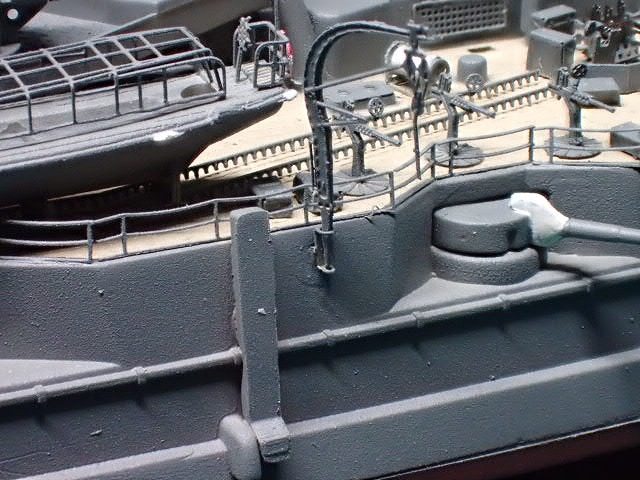
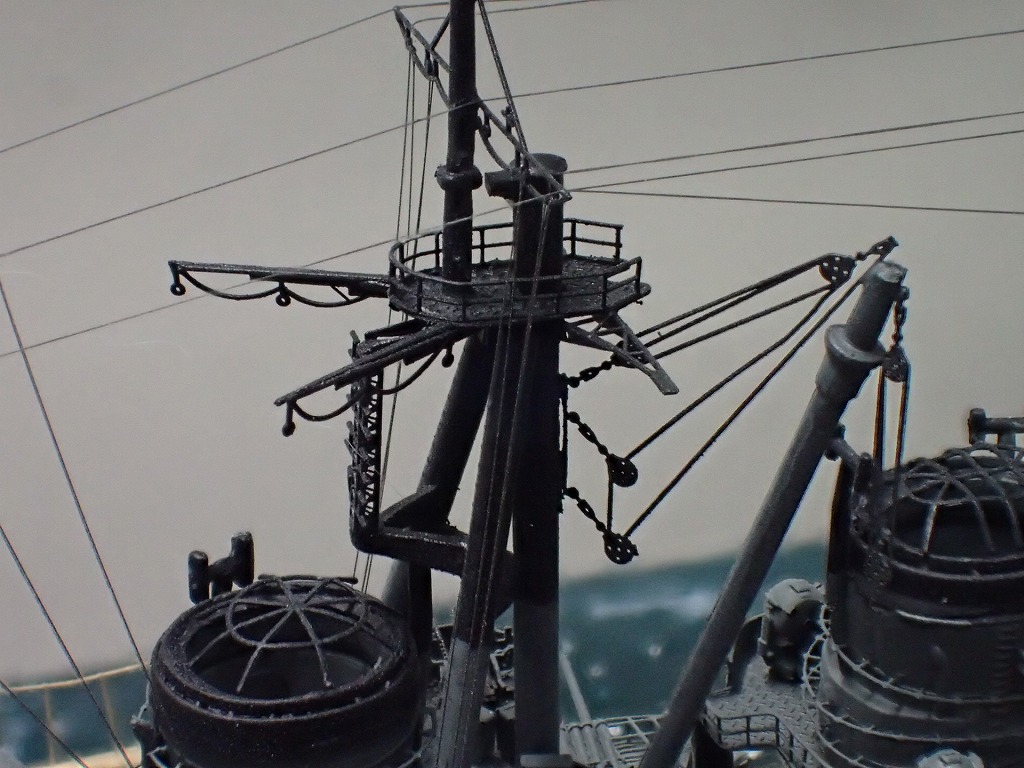
マストの機銃台座ですが、キットでは第二煙突に取り付ける構造になっていますが、エッチングパーツを使用する場合はマストに取り付けたほうが良さそうです。
機銃台座の取り付け位置(高さ・水平)も仮合わせを行いよく調整する必要があります。その際は、マストの垂直・水平をしっかりと決めてから行わないと意味がないので注意して下さい。
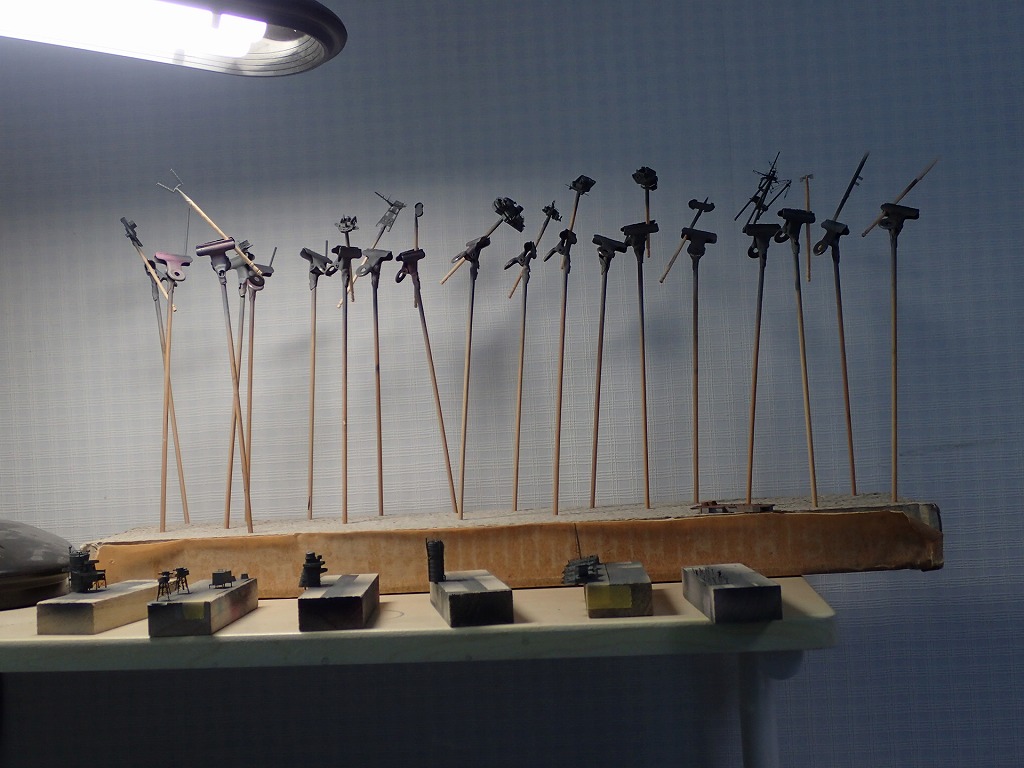

細かいパーツの持ち手には、両面テープを巻いた爪楊枝が便利です。
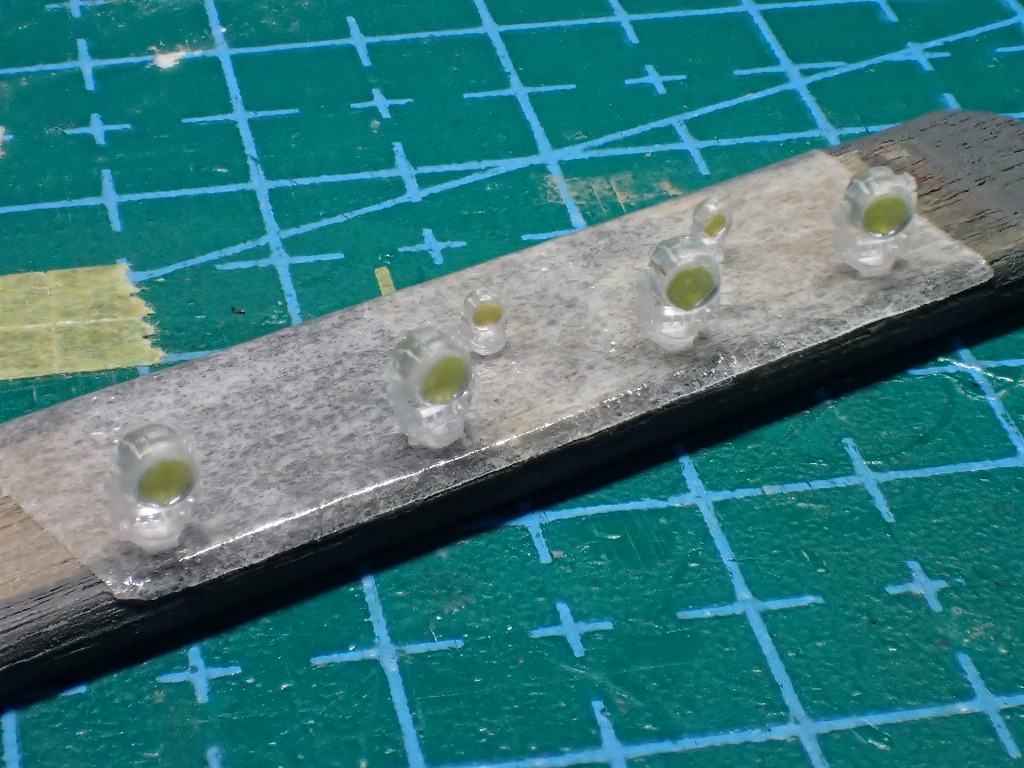
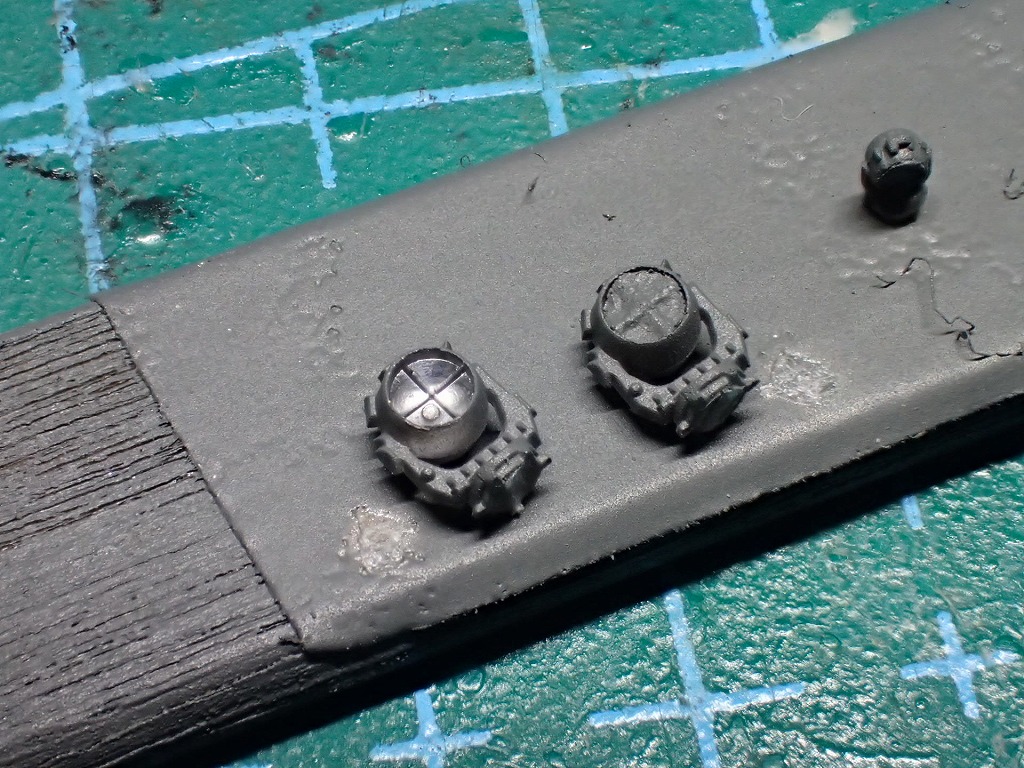
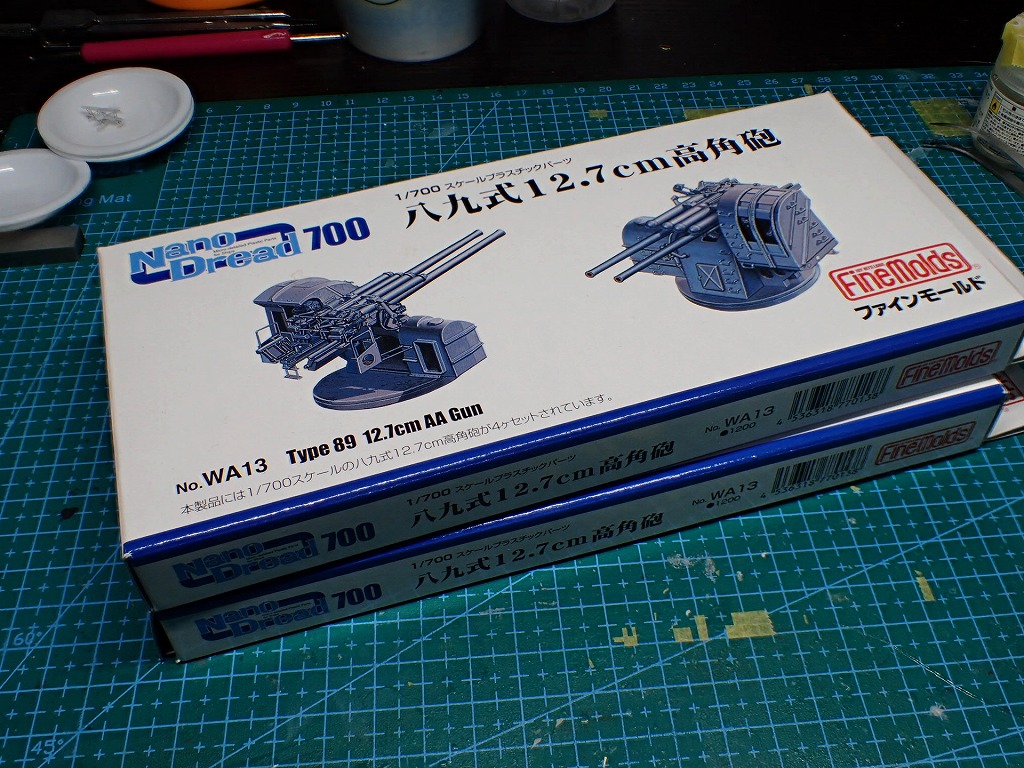
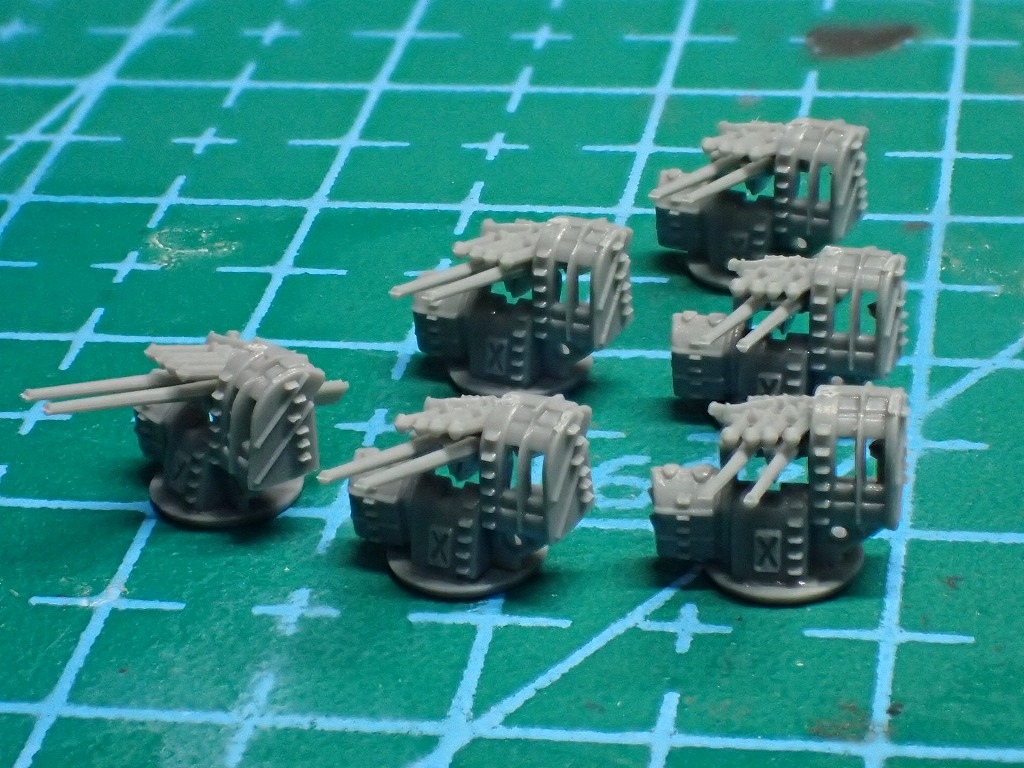
このレベルのエッチングセットになってくるとキットのプラパーツでは物足りない箇所も出てきますので、ファインモールドに交換しておきます。


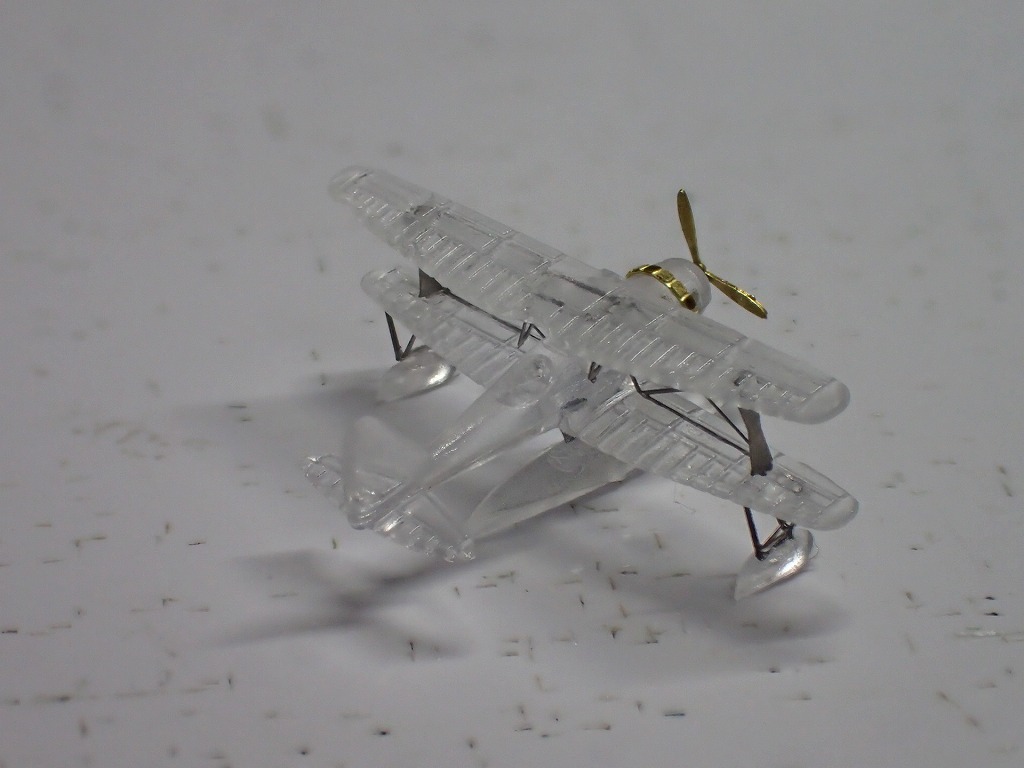
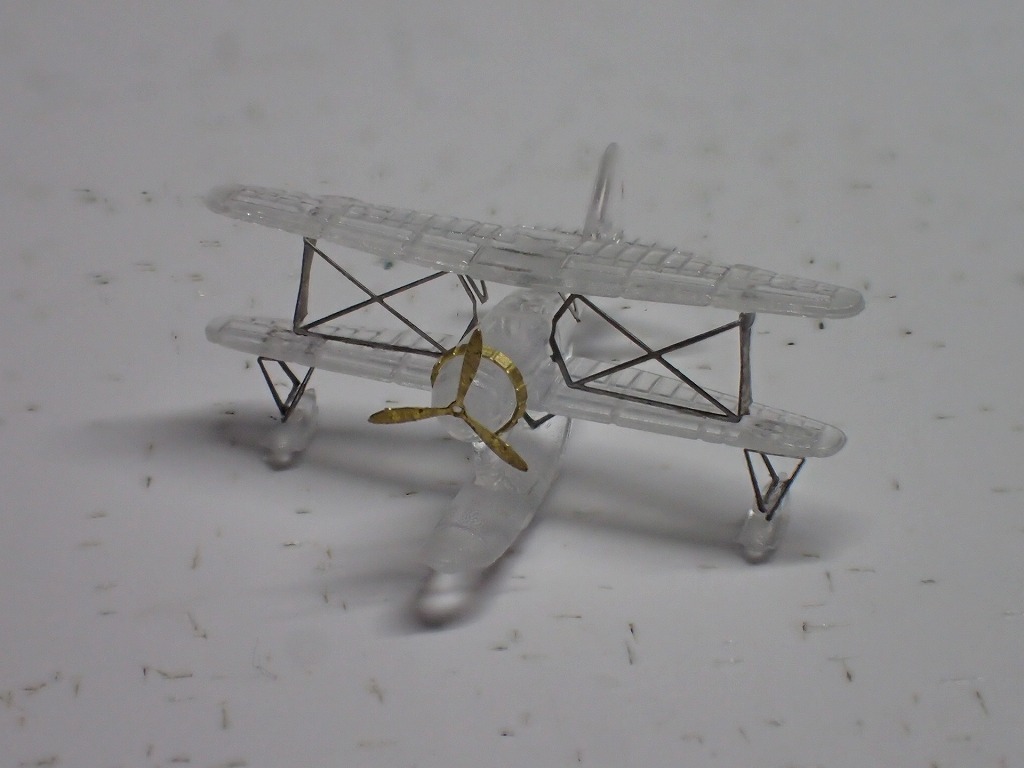
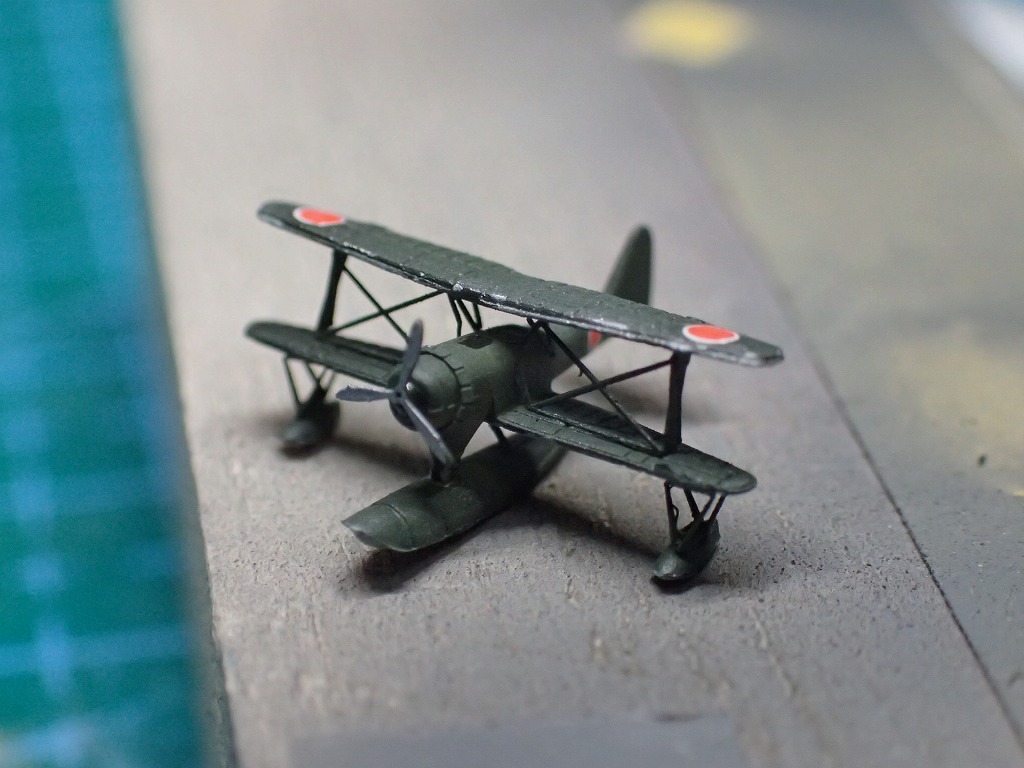
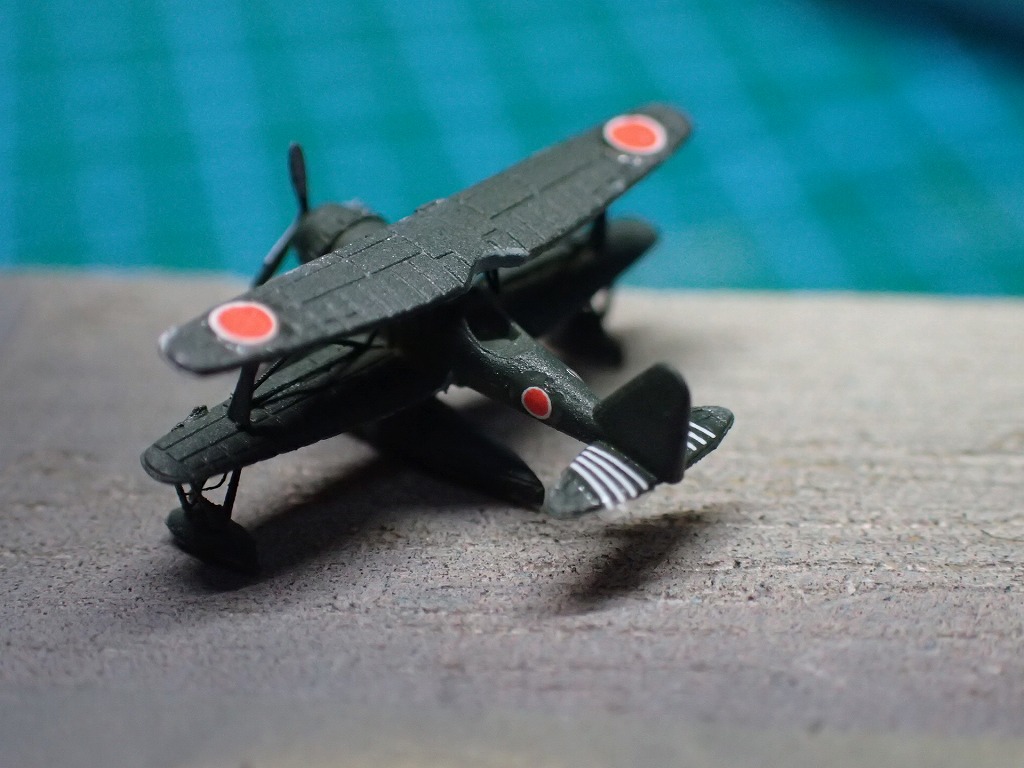
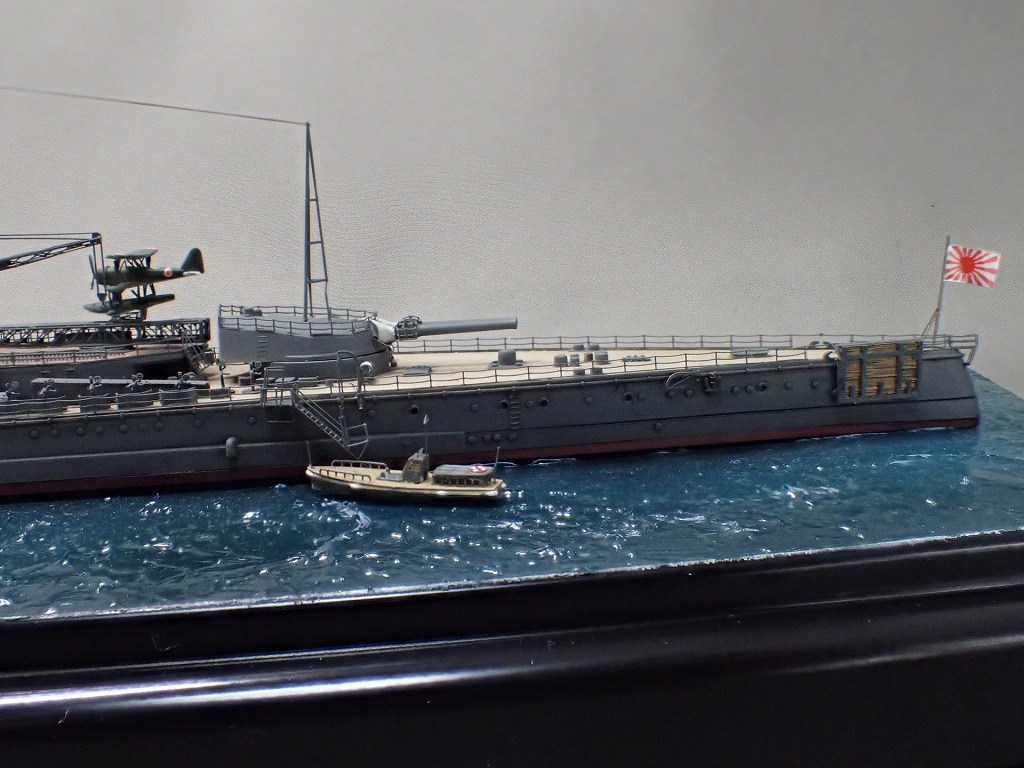
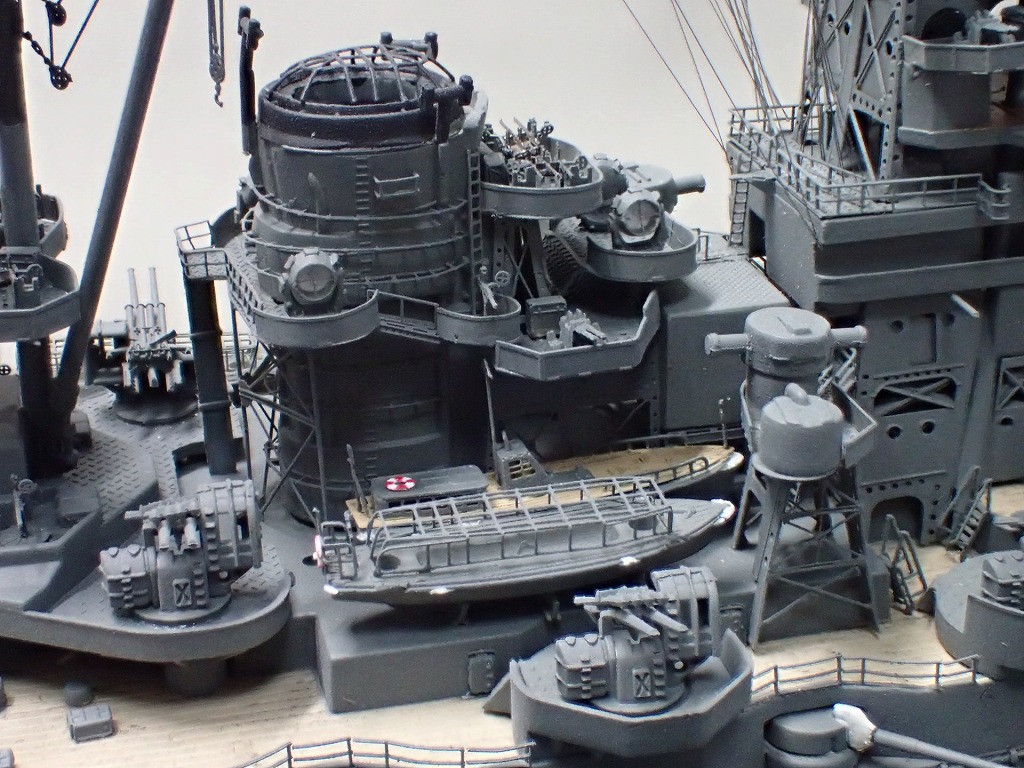
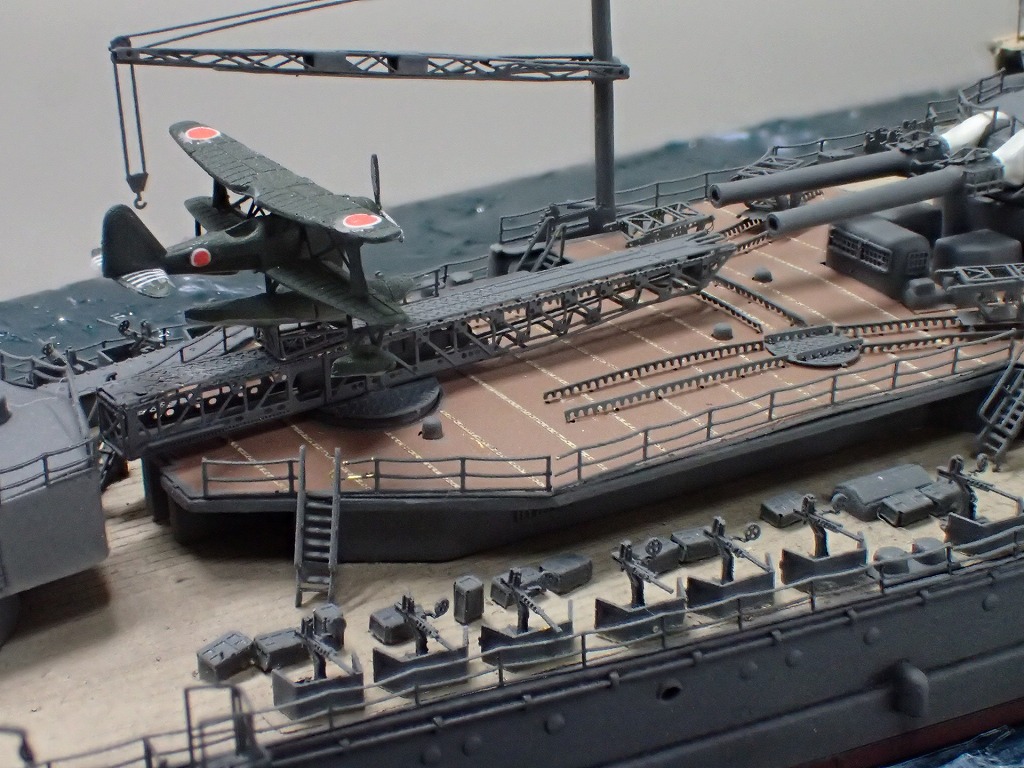
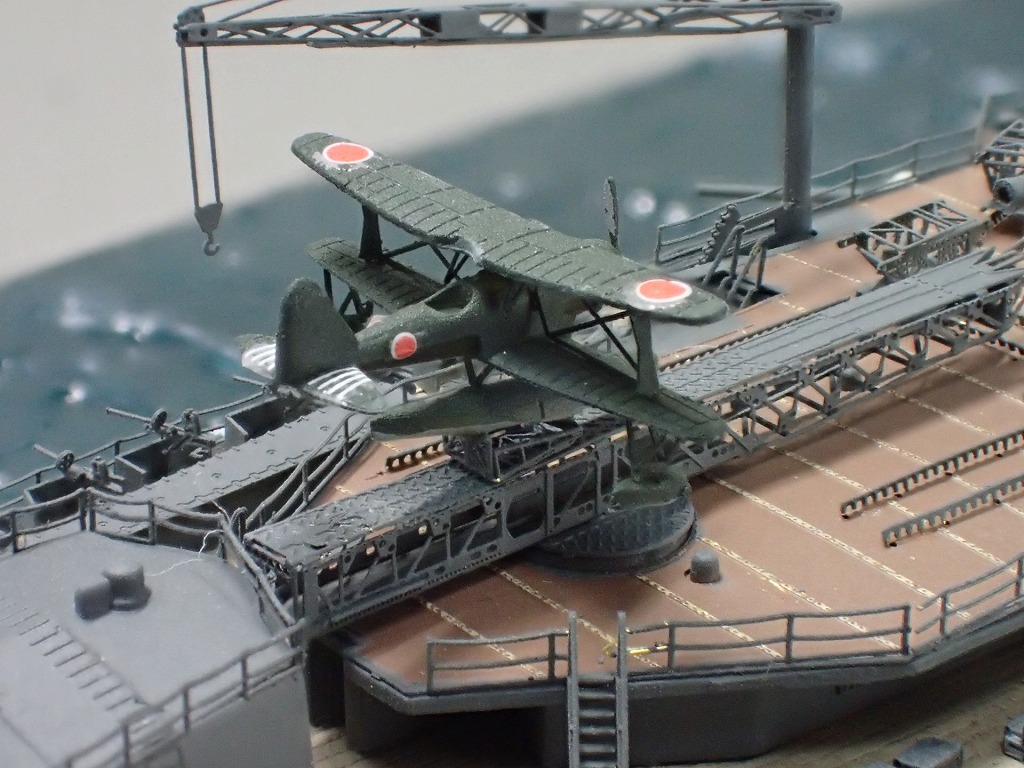
零式水上観測機です。冒頭でも述べましたが、付属のエッチングパーツがイマイチだったので、レインボーのエッチングパーツを使用しました。


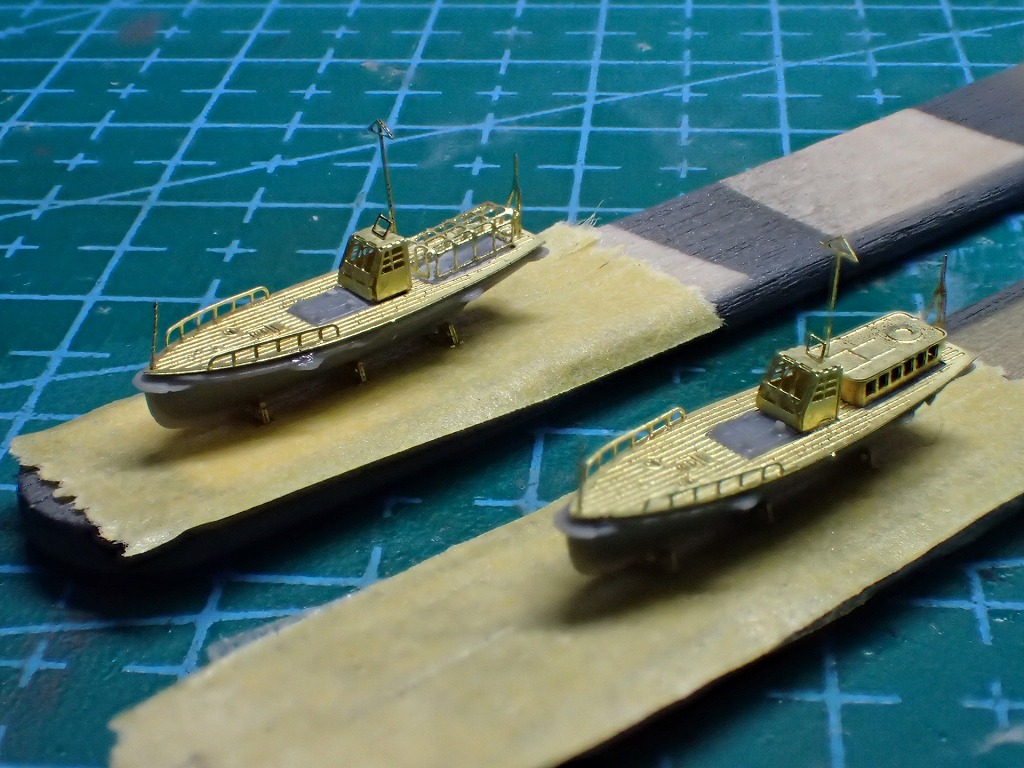
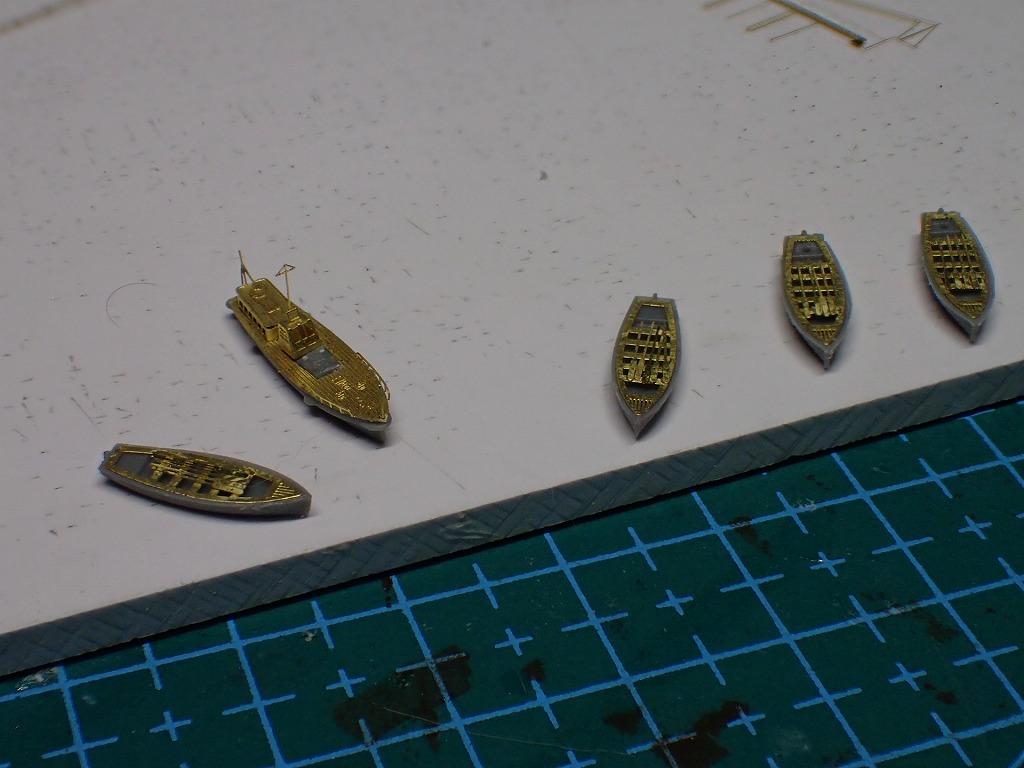
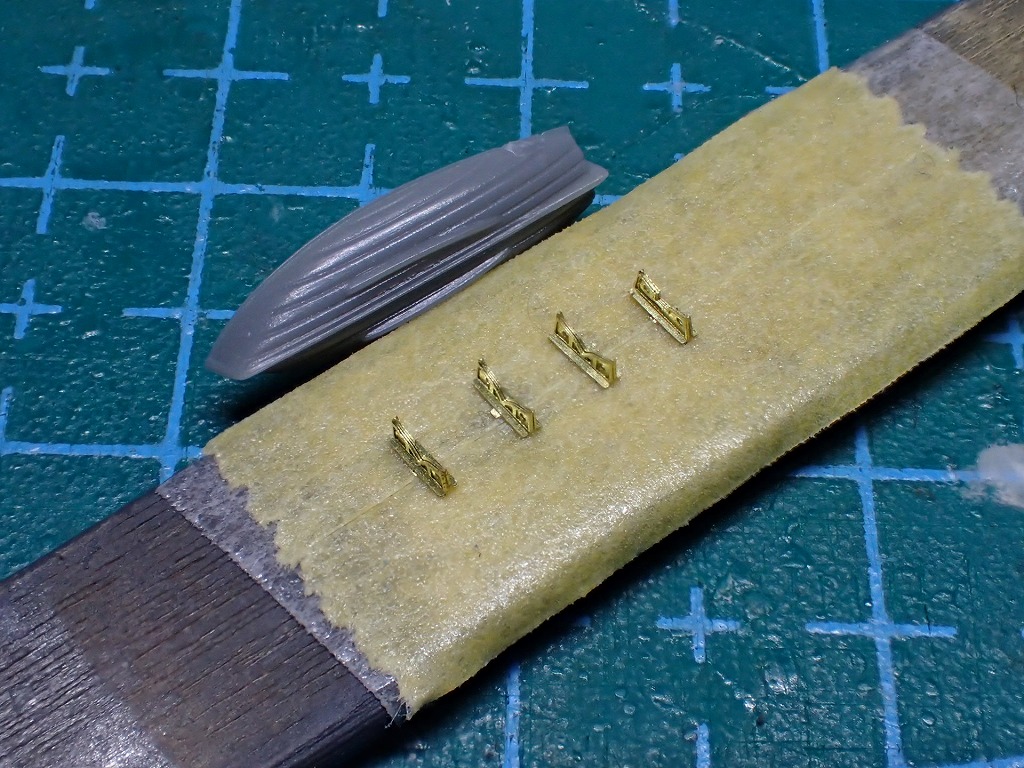

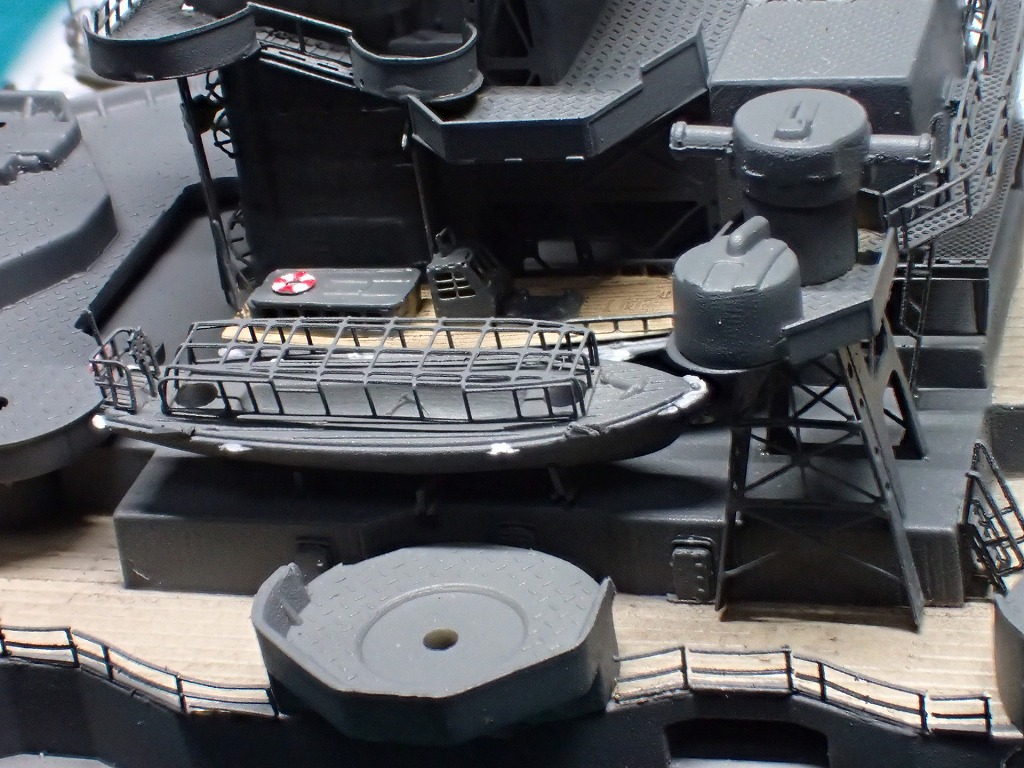
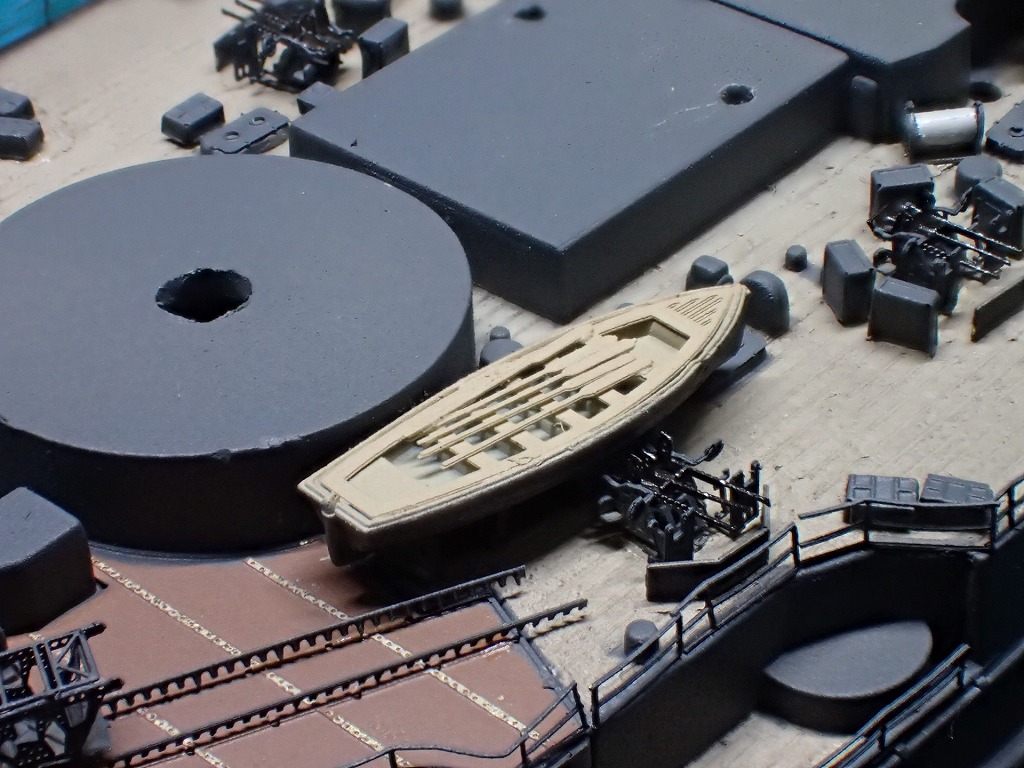
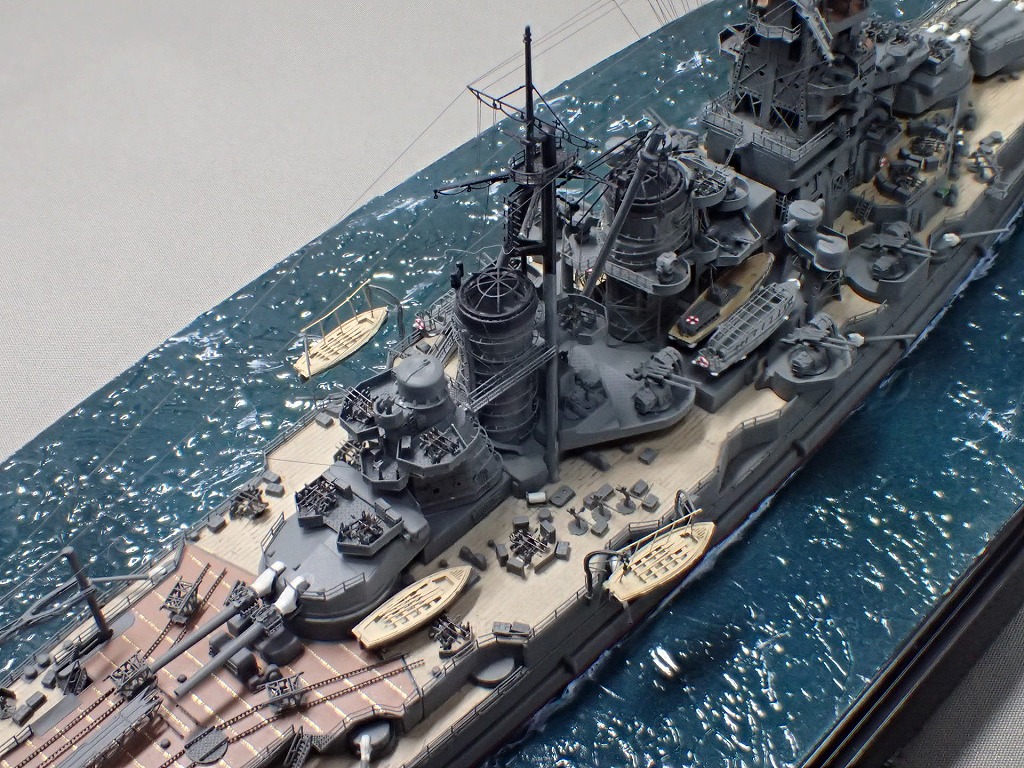
内火艇の積載用の架台の取り付けはマスキングテープの粘着面を使うと便利です。船体側に架台を取り付けると、底面の面一が出しにくくシーソー状態になったりします。
あと、浮き輪は社外品のパーツを使っています。
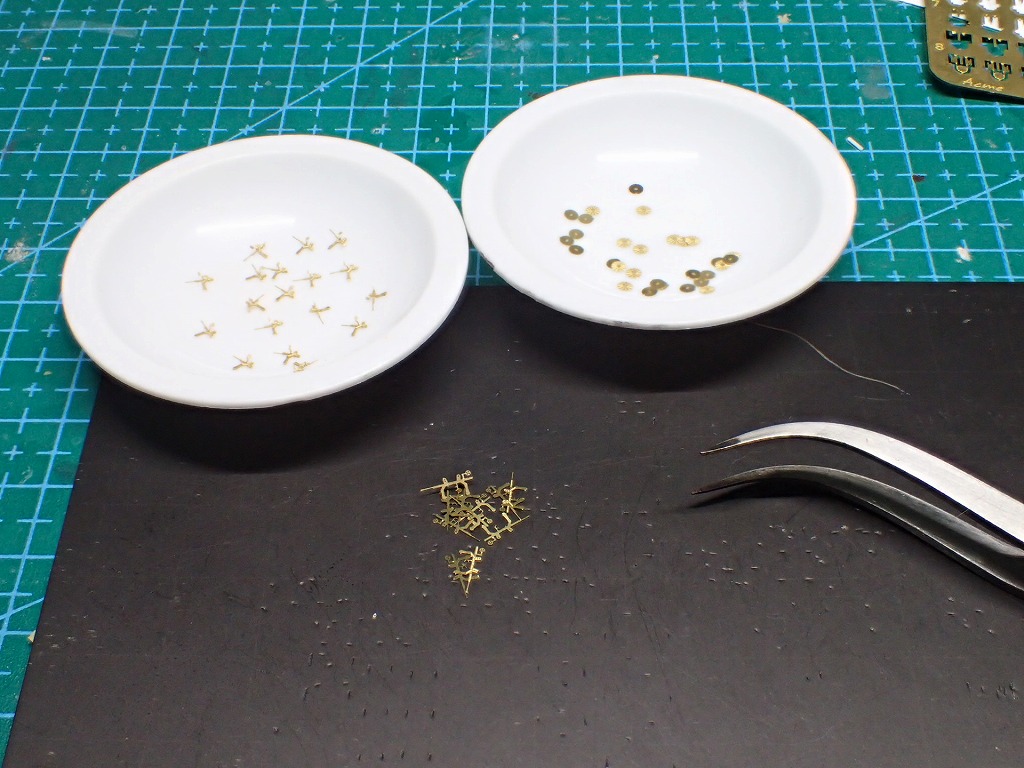
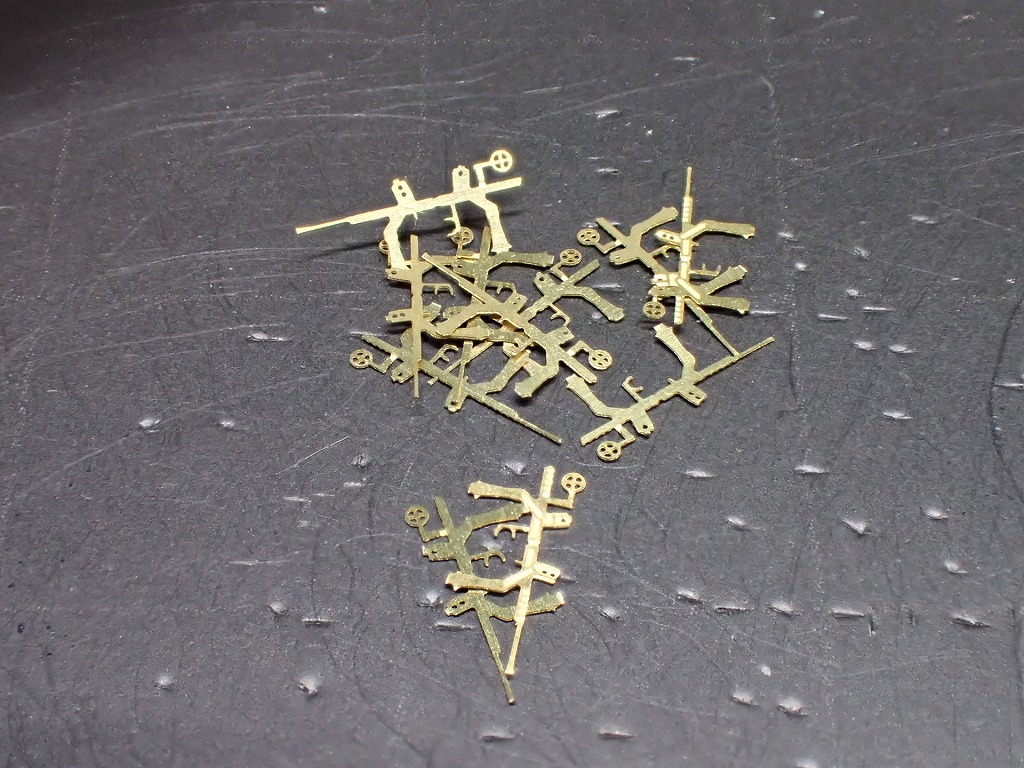
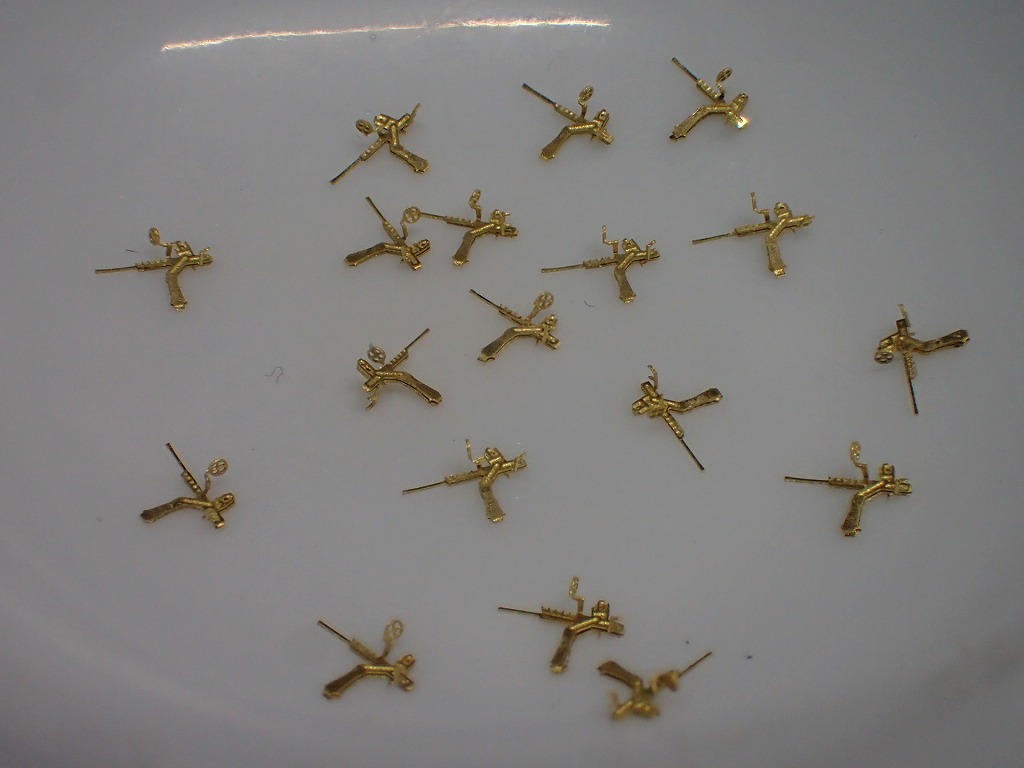
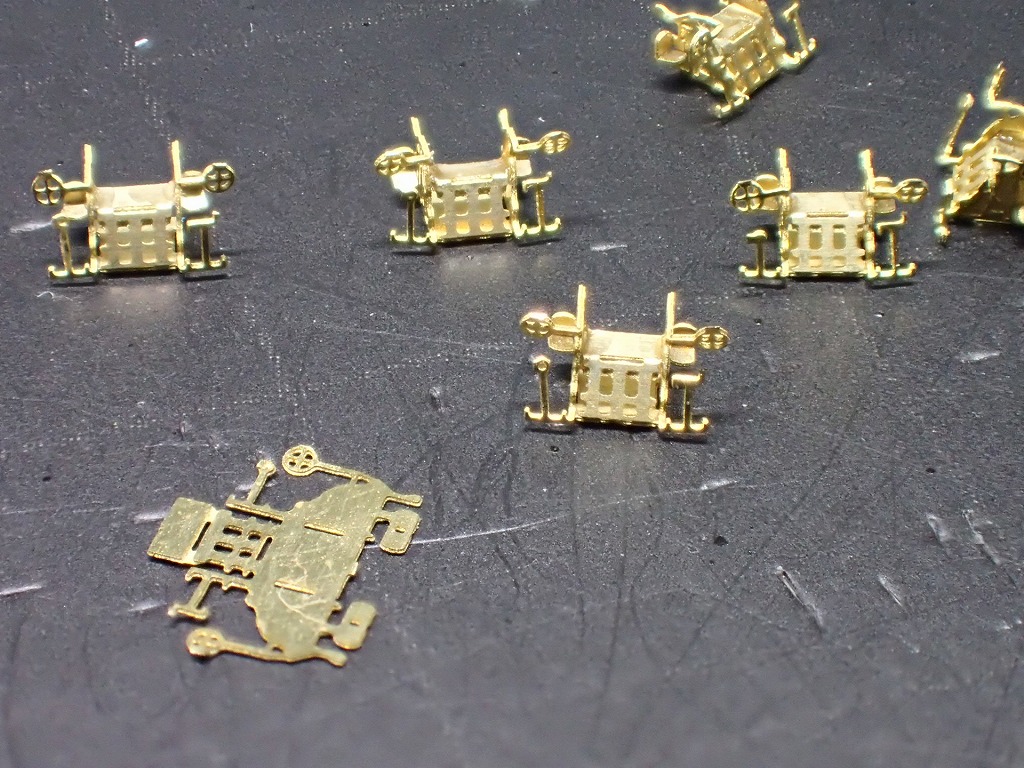
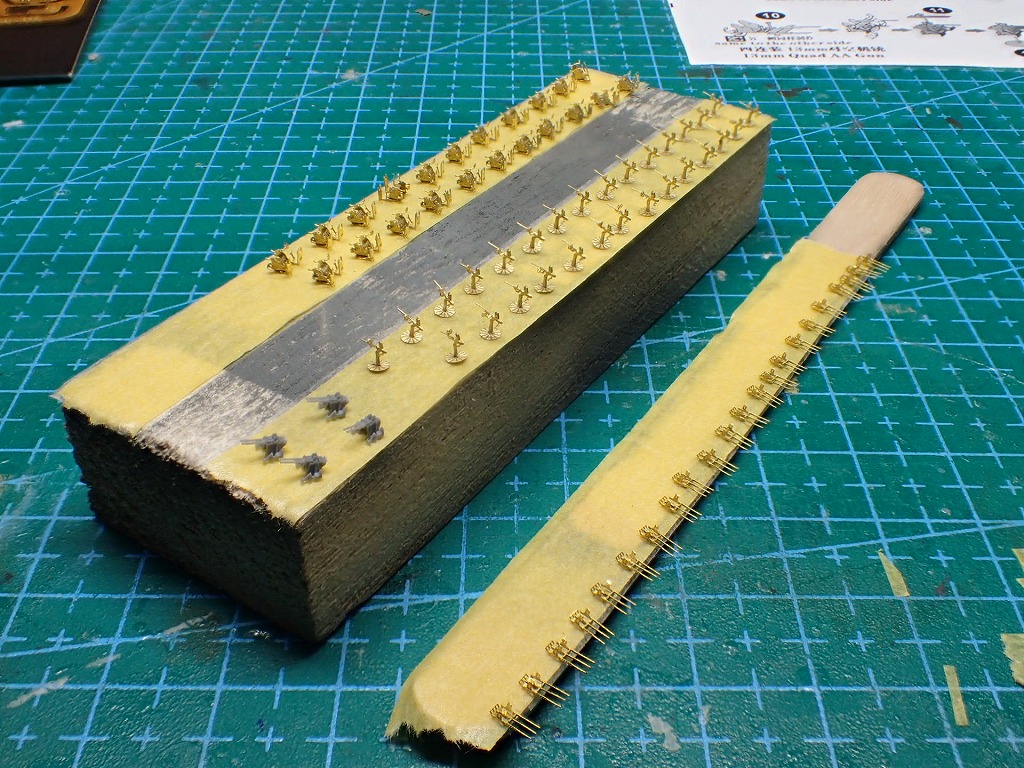
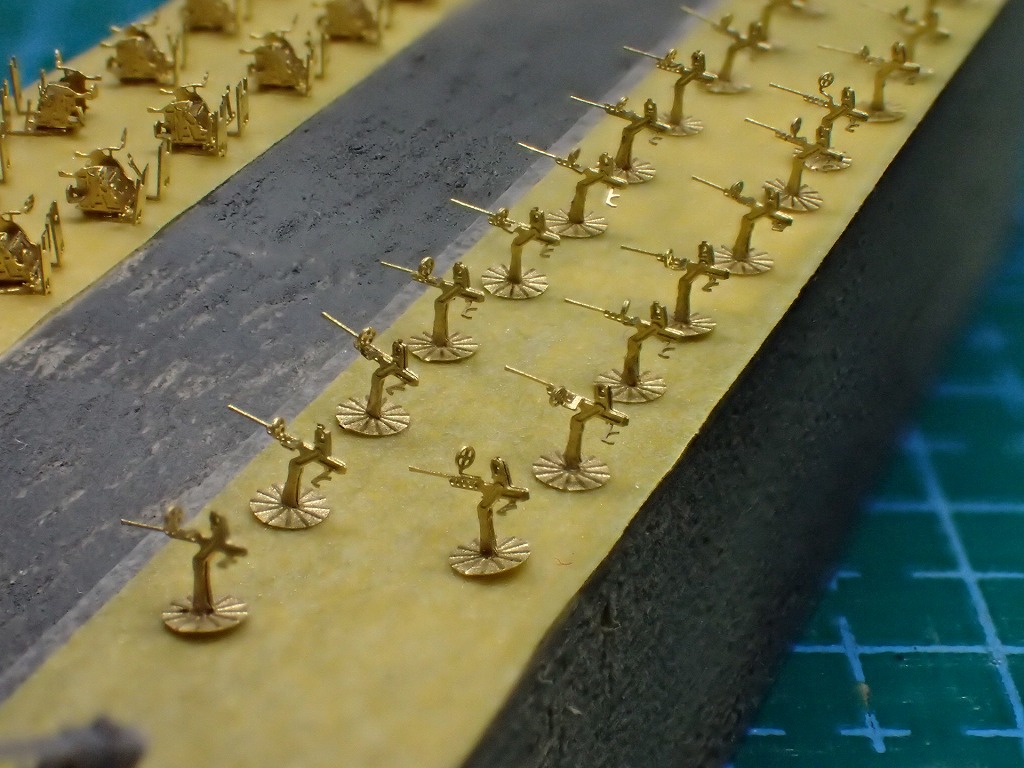
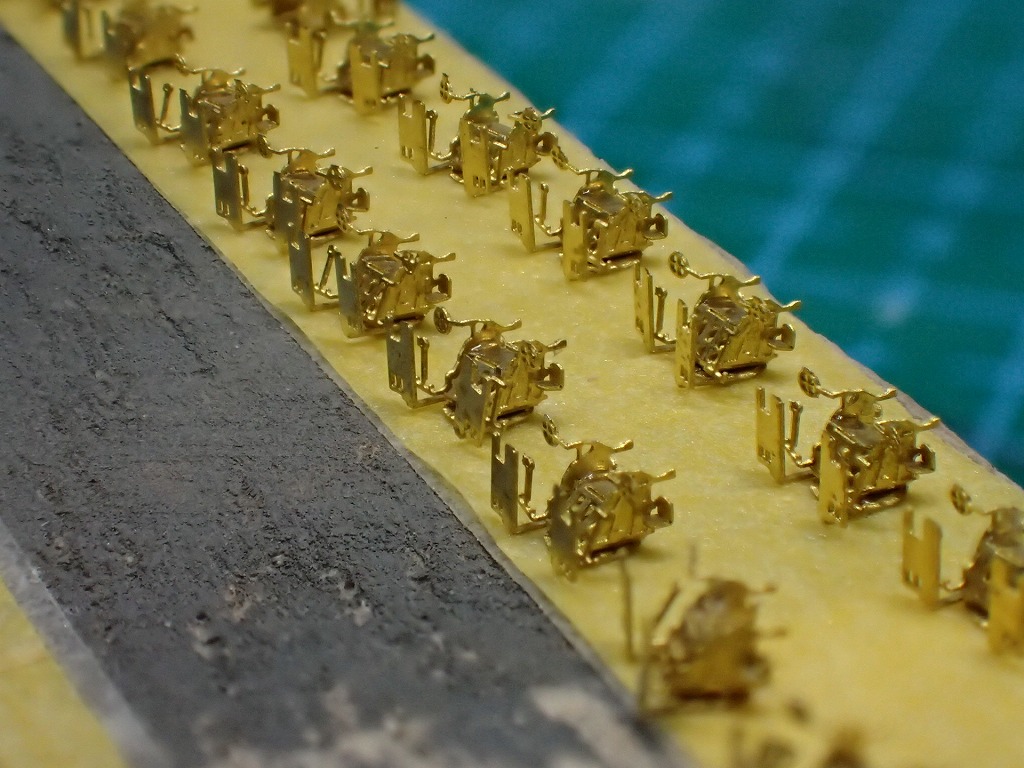

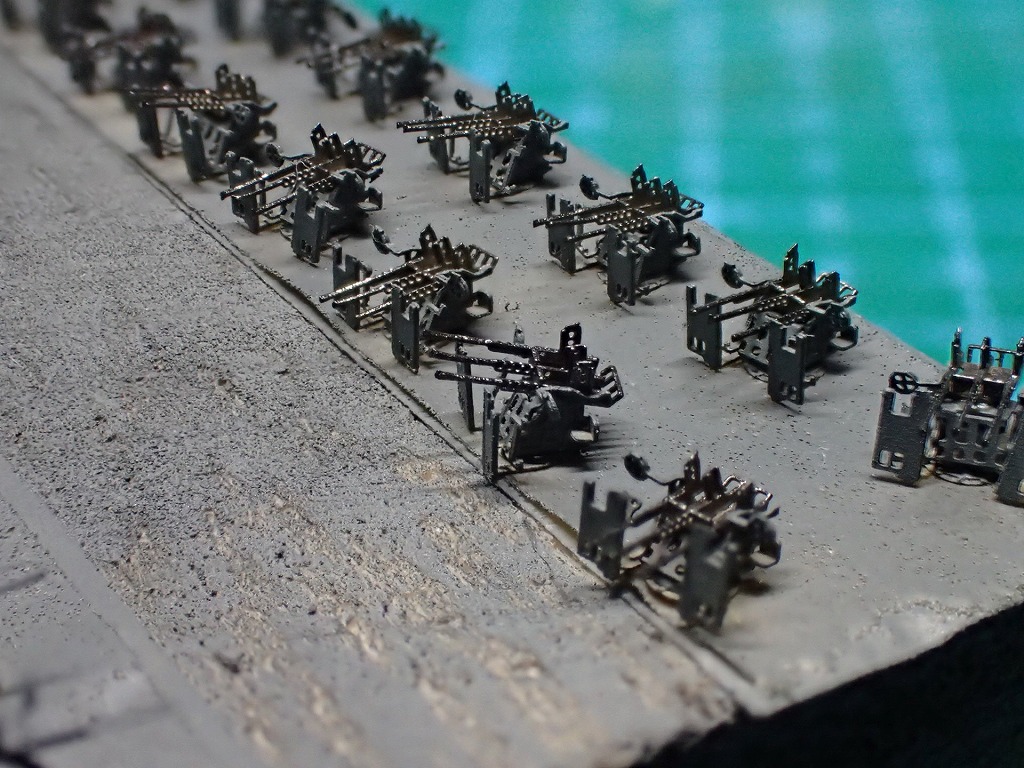
機銃も冒頭で述べたとおりフライホークのエッチングセットには含まれていません。
私は手持ちにファイブスターの機銃エッチングパーツがあったのでそれを使用しましたが、数が多いのでかなりの作業量になります。
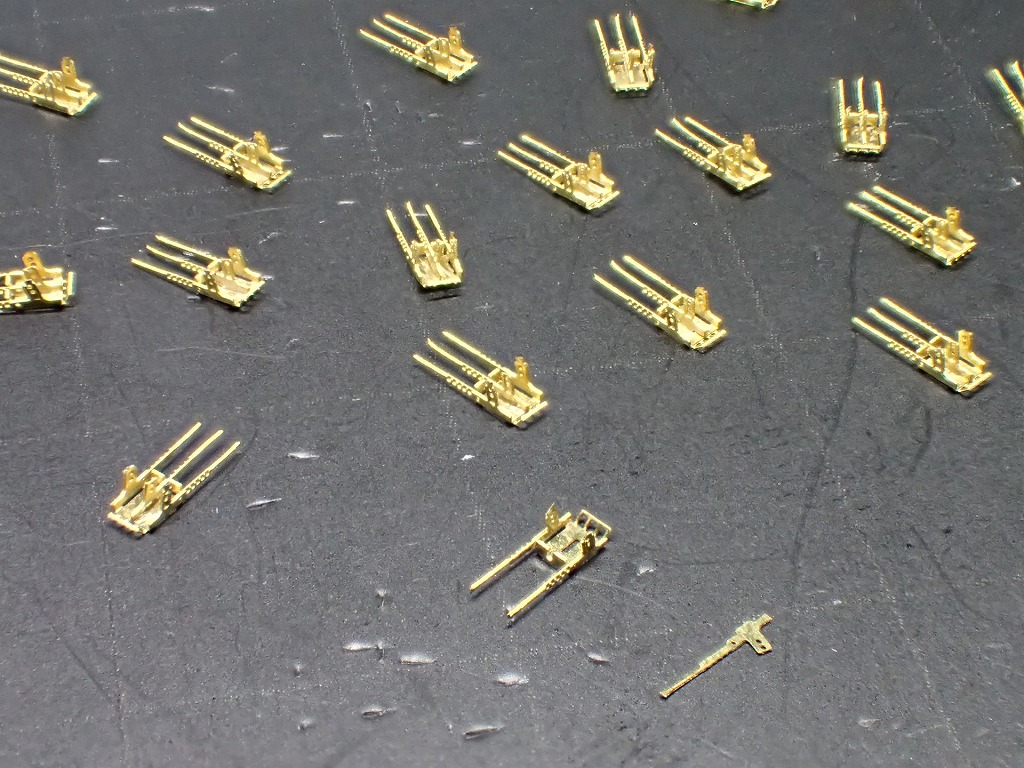
組み立て開始30分でファインモールドにすればよかったと後悔しました。揃えれるならファインモールドのほうがいいかもです。
※ファインモールドで揃えるなら、単装機銃2箱、連装機銃1箱、三連装機銃1箱必要です。
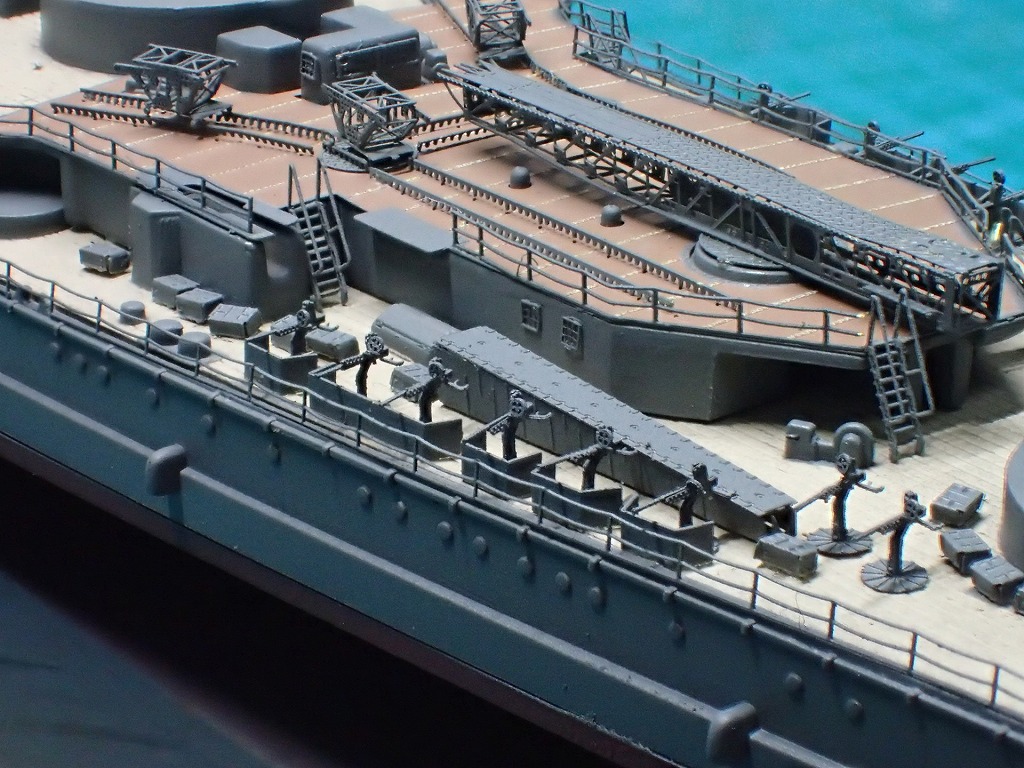
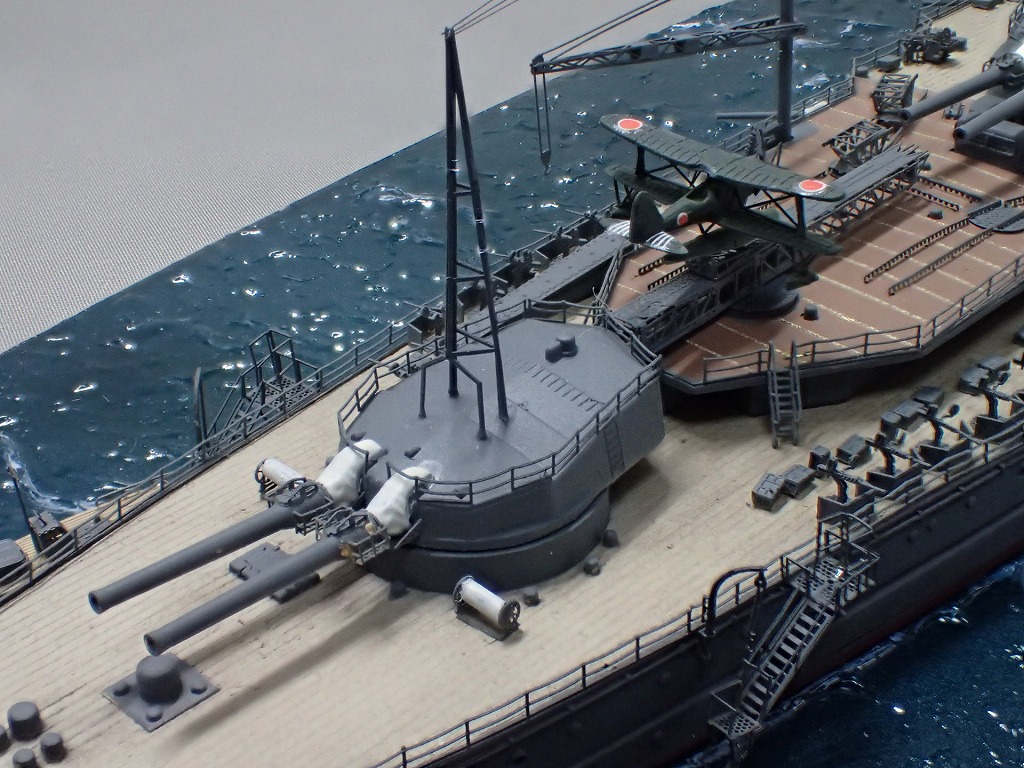
飛行甲板を取り付けました。今回は、塗装済みの飛行甲板を後付けしましたが、取付時にエッチング甲板が干渉して甲板の剥がれなどで苦戦しましたので、マスキングの手間は増えますが塗装前に船体に取り付けておくのが良さそうです。
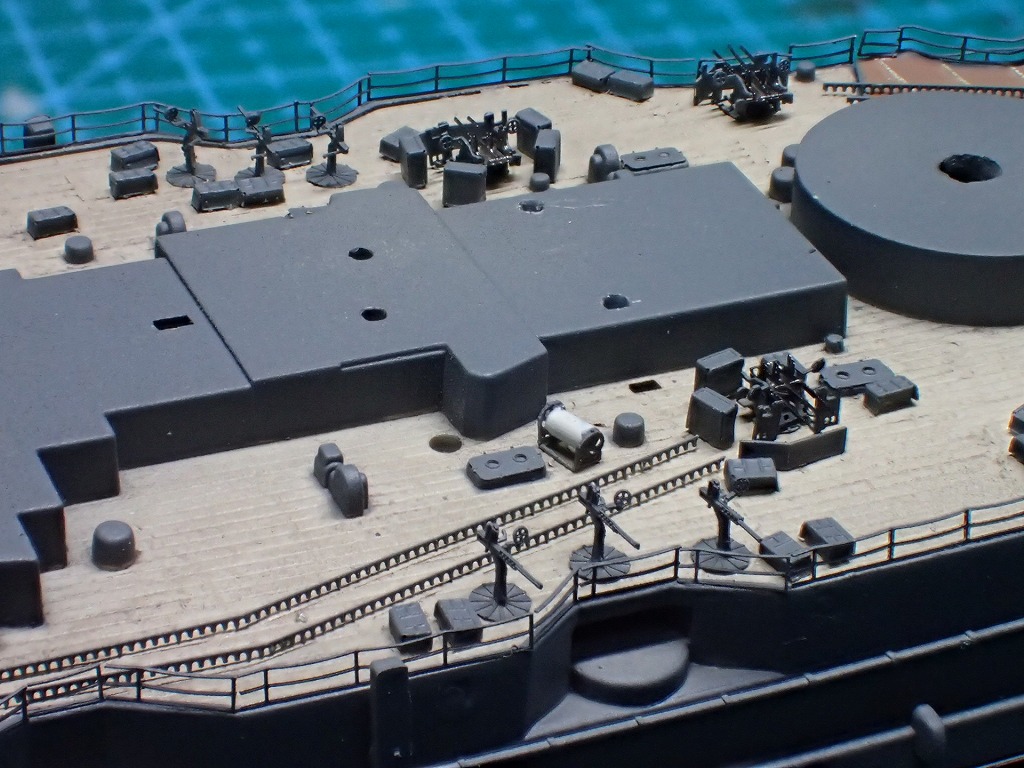
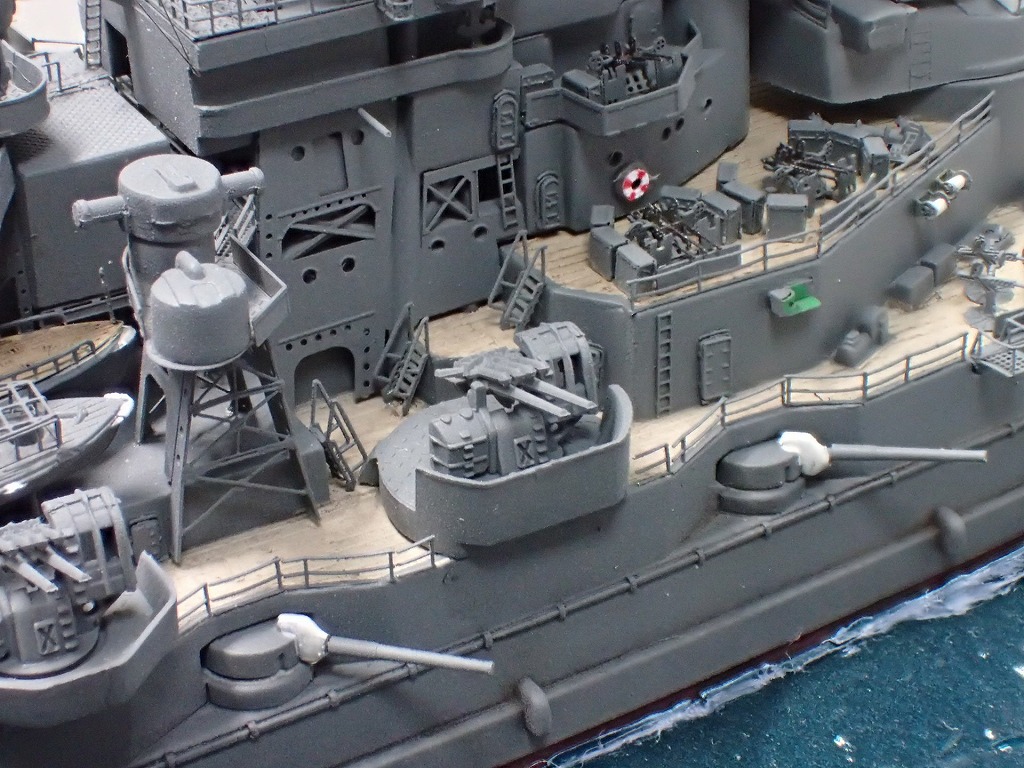
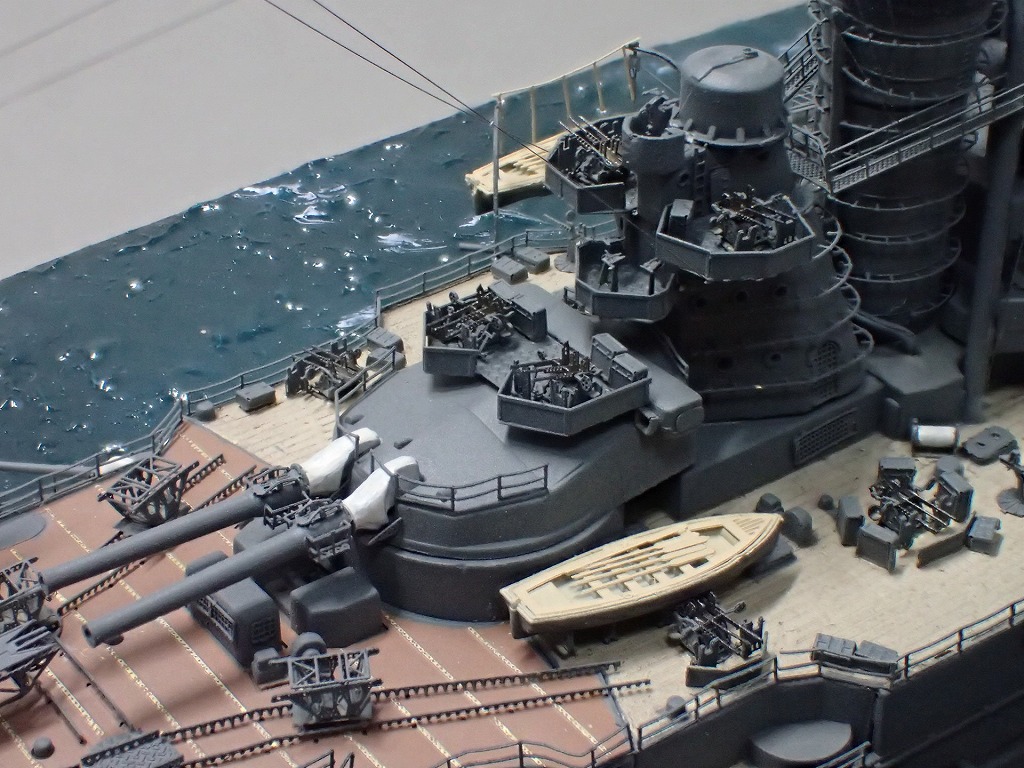
機銃や弾薬箱など甲板上に配置していきます。
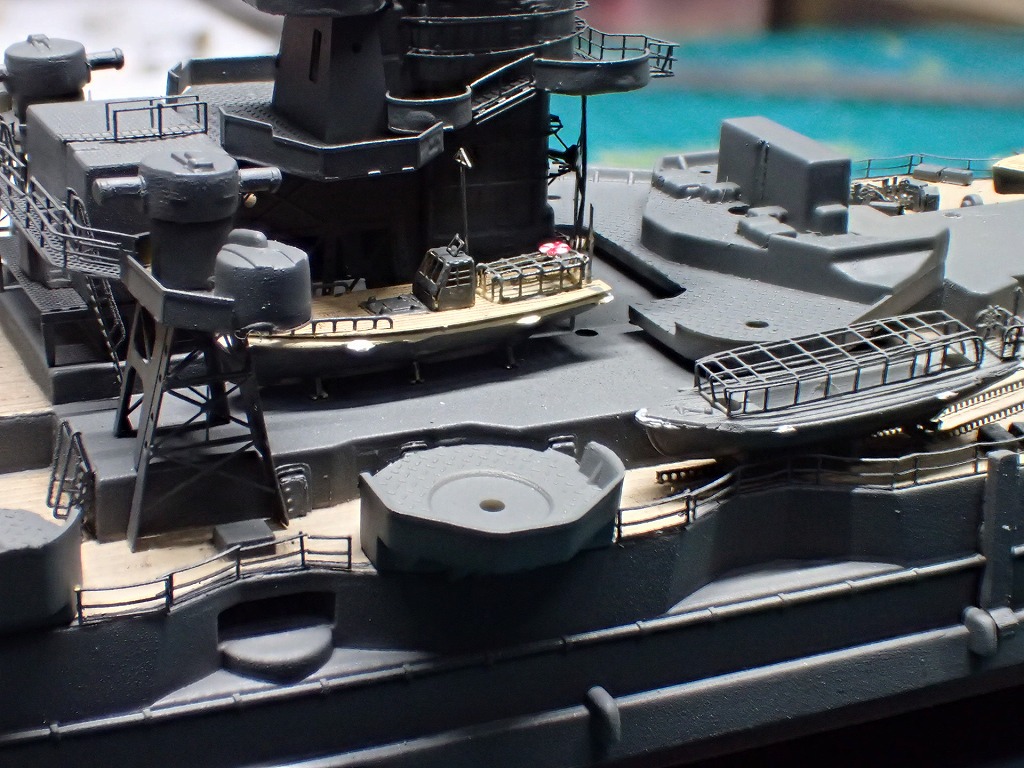
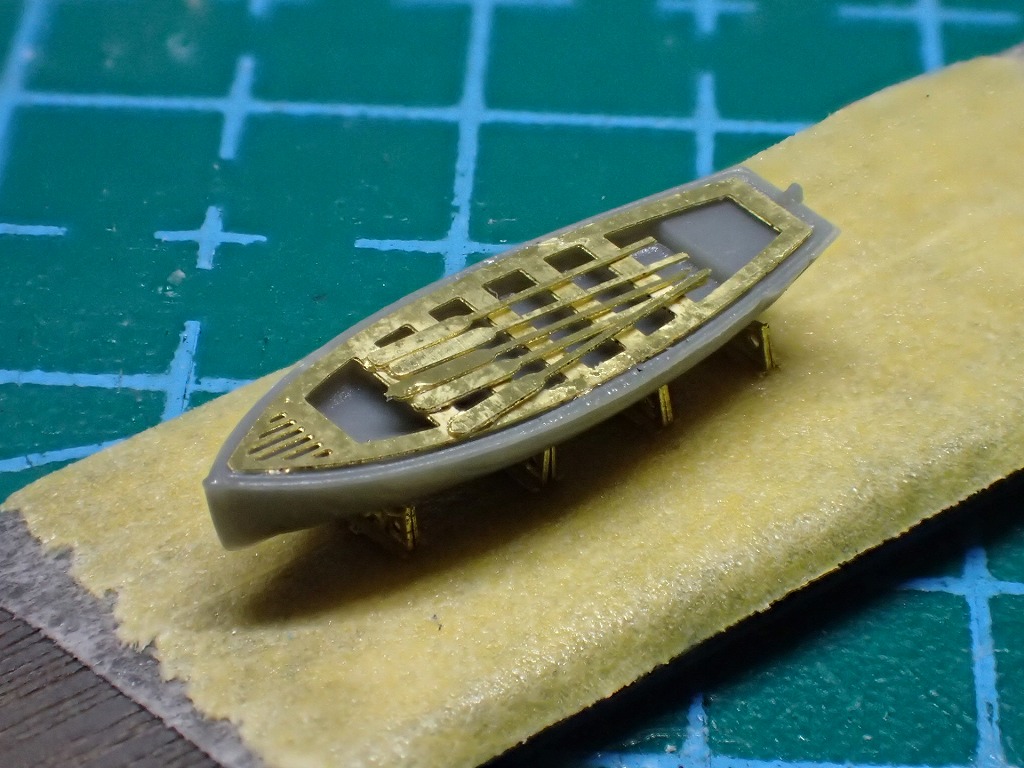
内火艇を取り付けていきます。

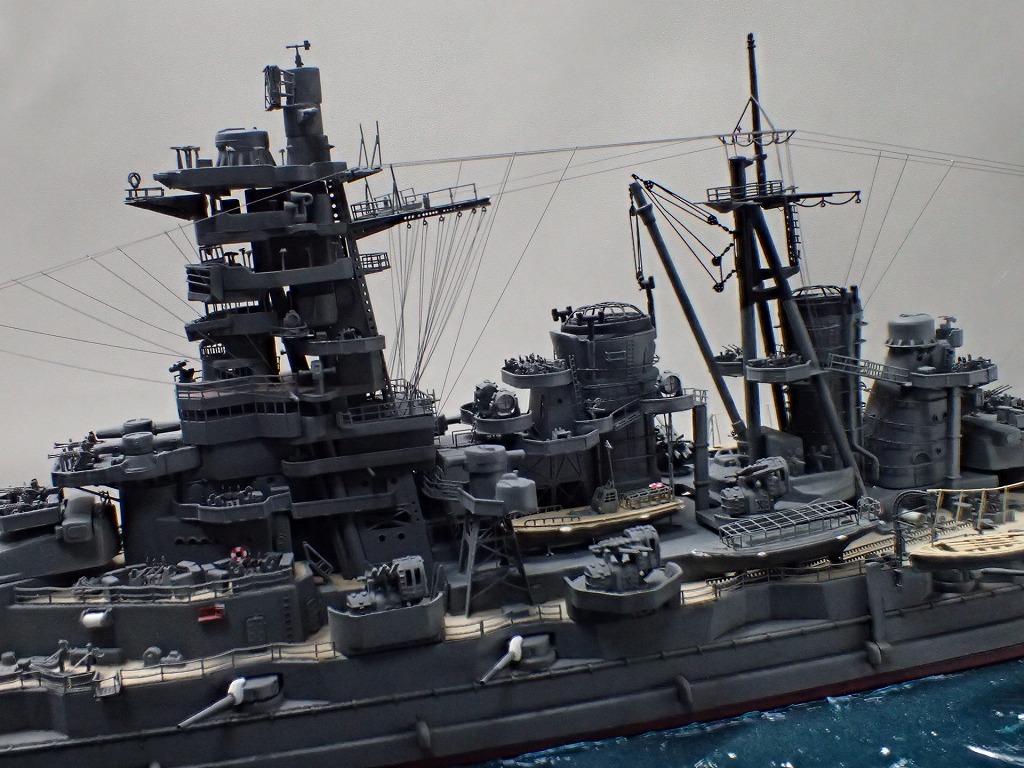
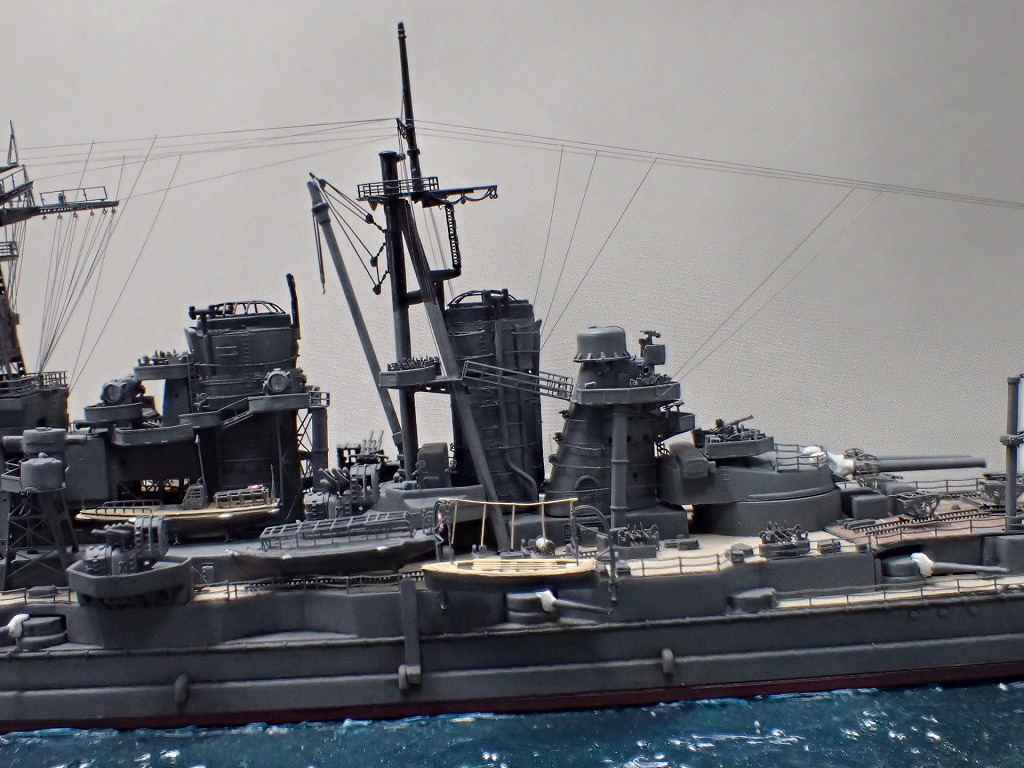
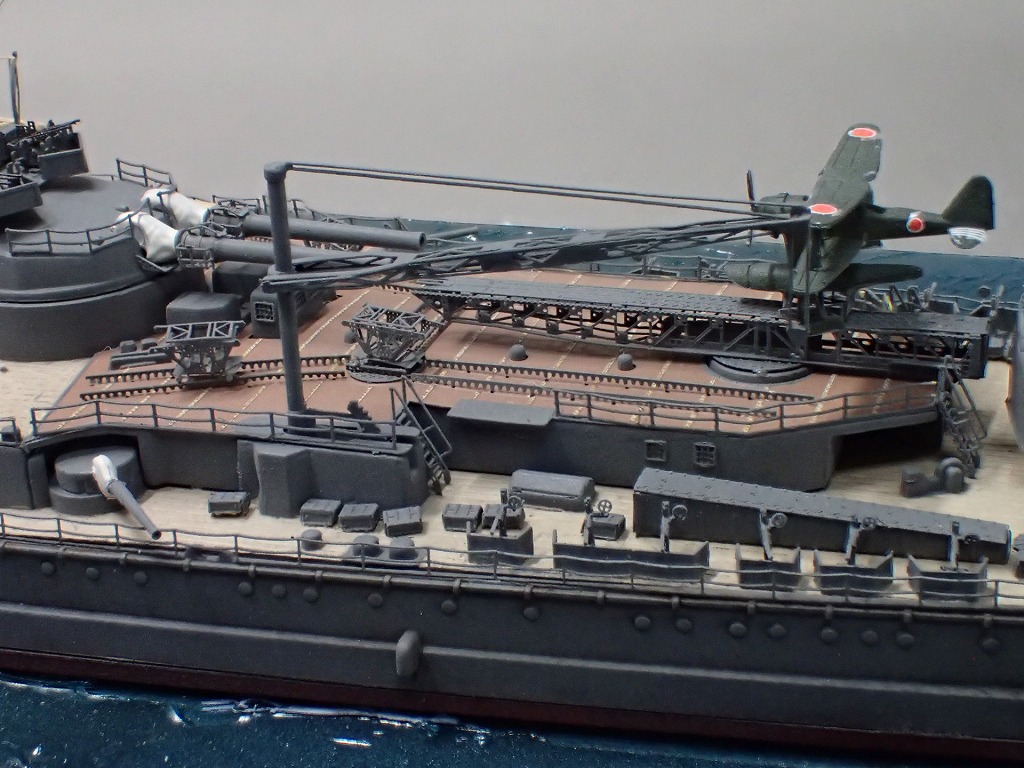
マスト、第二煙突を取り付けていきます。
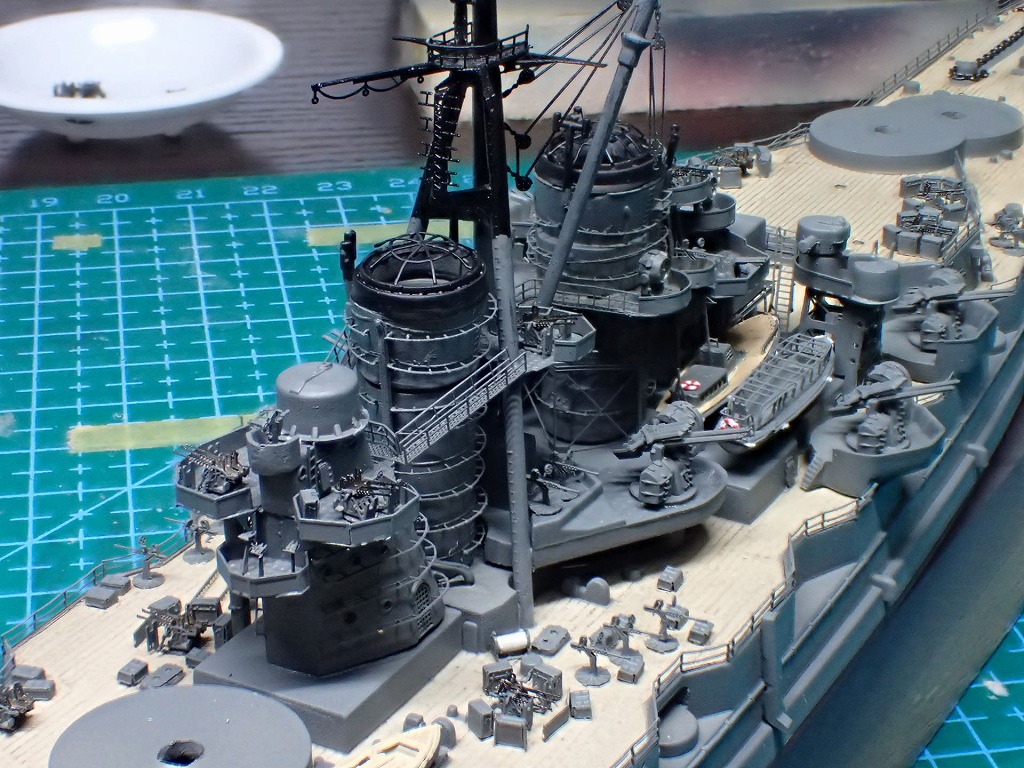
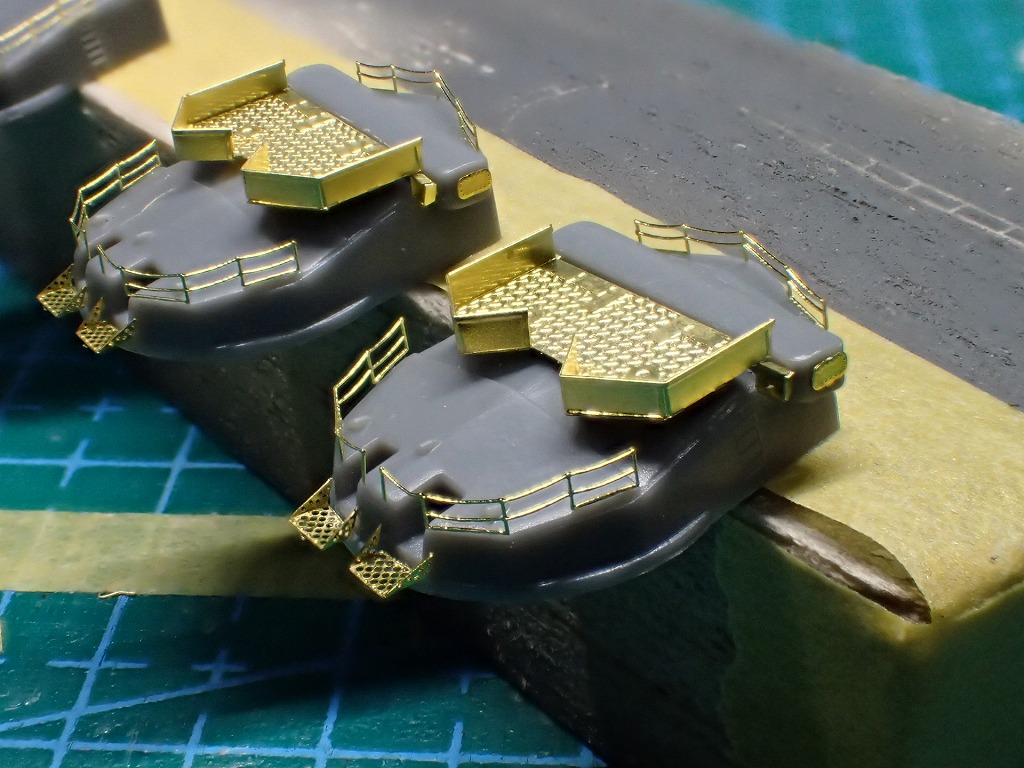
台座に機銃、探照灯を取り付けていきます。
その他、小物類を取り付けていきます。
応急舵やボートダビットなどもディテールがすごいです。

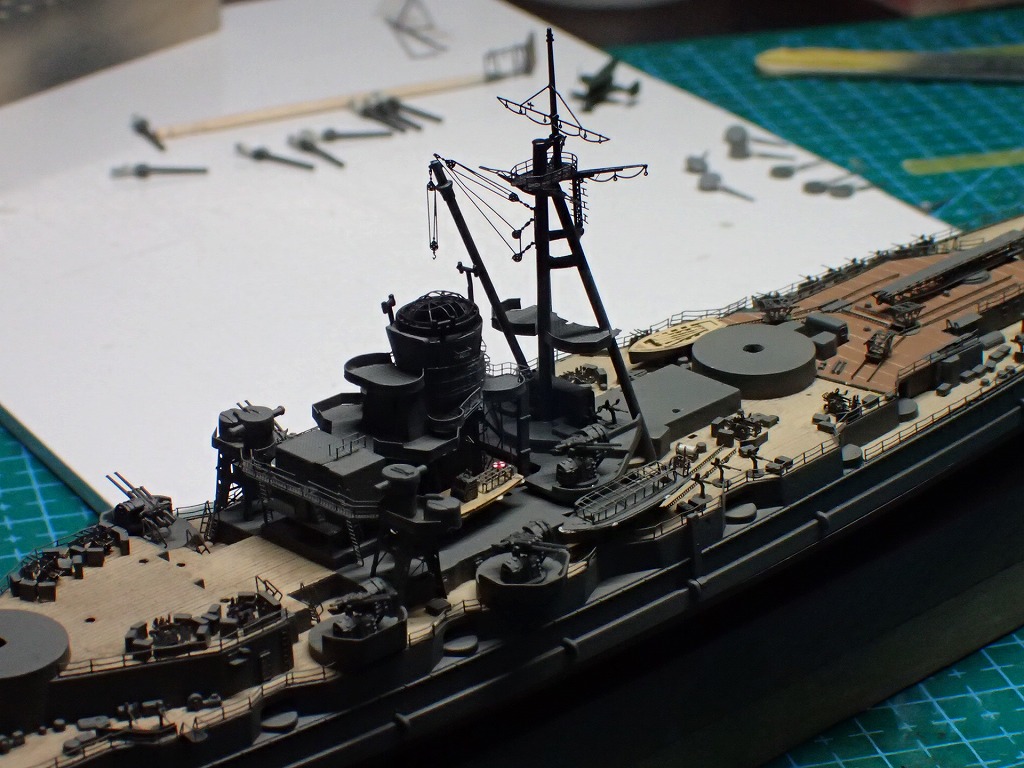
いきなり、艦橋がつきました。作業に集中しすぎて写真を撮るのを忘れていました。
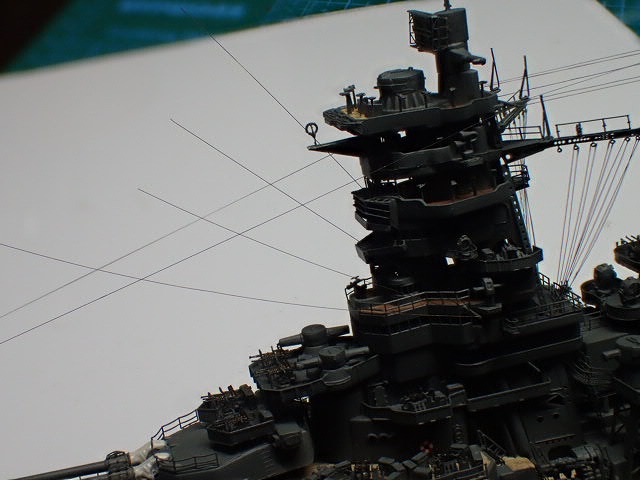
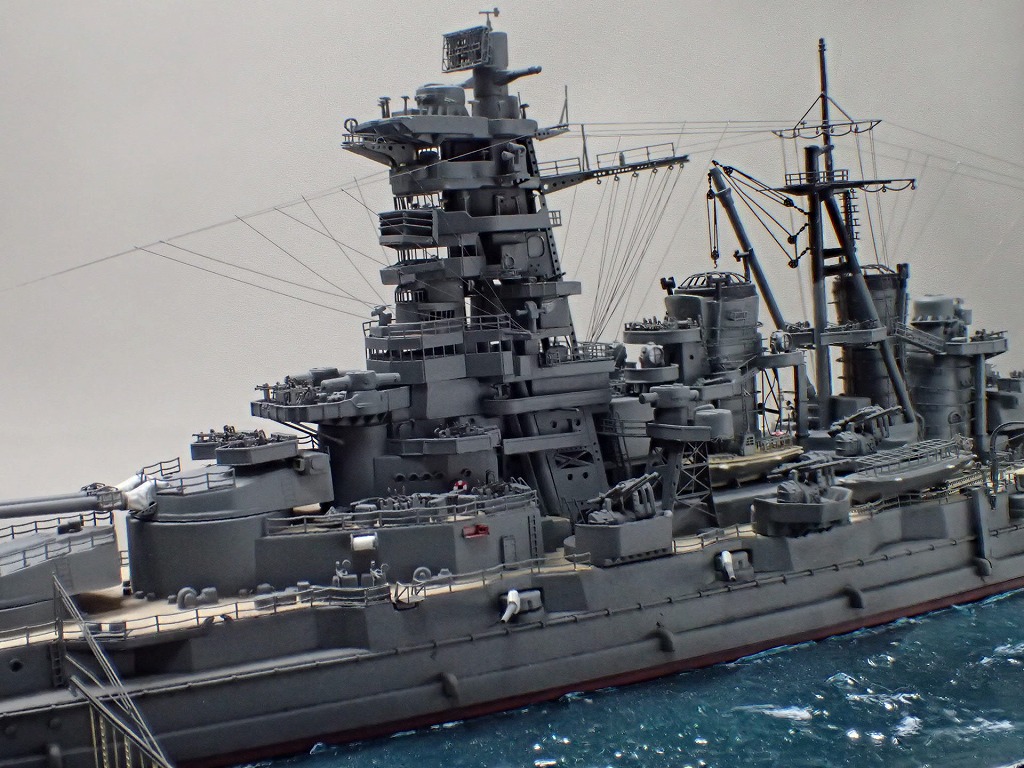
空中線を張っていきます。
使用材料は、インフィニモデルのウルトラファインリギング(0.048mm)とモデルカステンのメタルリギング0.06号(0.047mm)です。


横方向には伸縮性のあるインフィニモデルのラインを使用しました。ゴムのように伸縮するので距離の長い区間も不自然なタルミやヨレもなく真っすぐに張ることができます。
本来であれば、横方向もメタルリギングを使用して自然なタルミを表現したほうがリアルなのでしょうが、ライン自体のヨレや取り付け角度の微妙なズレにより重力に逆らった不自然なラインになることがあるため完璧に張ろうとすると製作難易度は跳ね上がります。不自然にヨレるぐらいならきれいな直線で張れたほうが私の好みです。
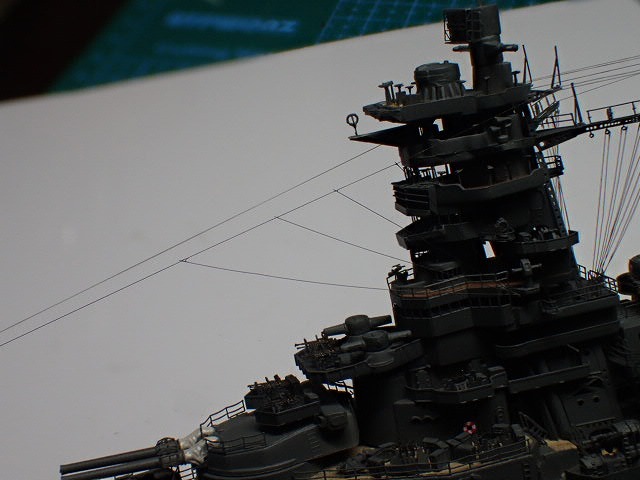
逆に縦方向は、ラインとラインがクロスするのでメタルリギングのほうが張りやすいです。写真のように長めに接着してカットしています。その際、横方向のラインが伸縮性があるためニッパーで切断する際の衝撃を伸縮性により吸収してくれるという利点もあります。一応、線のヨレは意識してなるべく不自然にならないように注意しまさいた。0.06号はけっこうヨレています。
ちなみに、ウルトラファインリギングは、2500円ほどで45m入りです。メタルリギングは5mで2000円ほど。コスパやばいです。
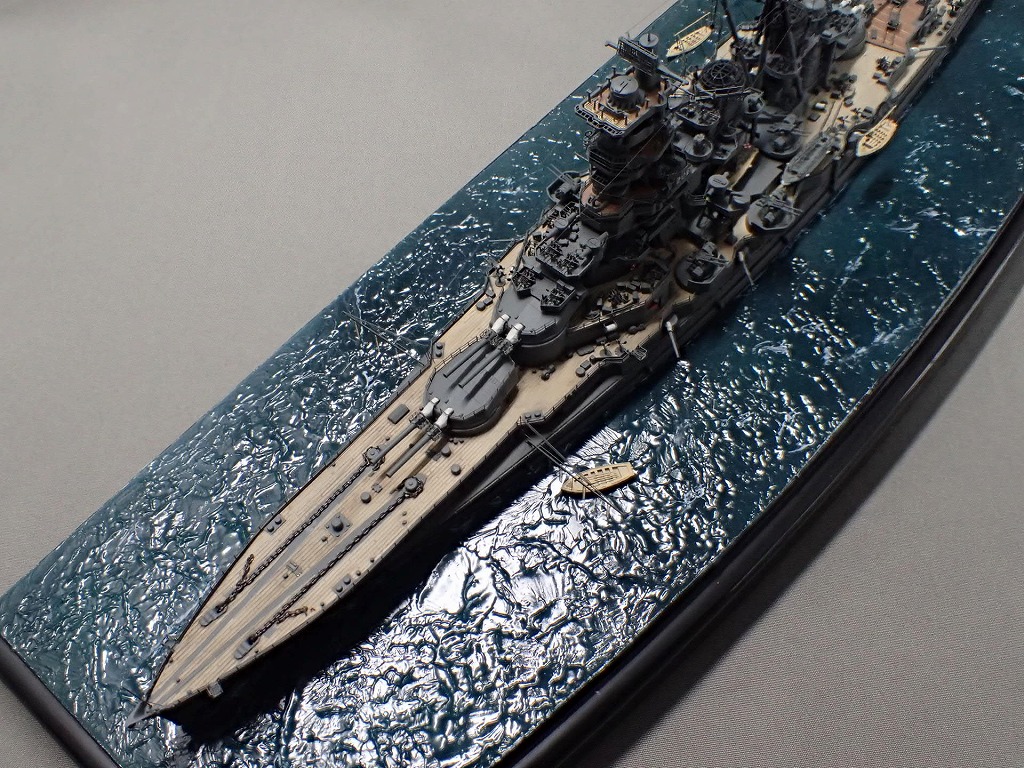
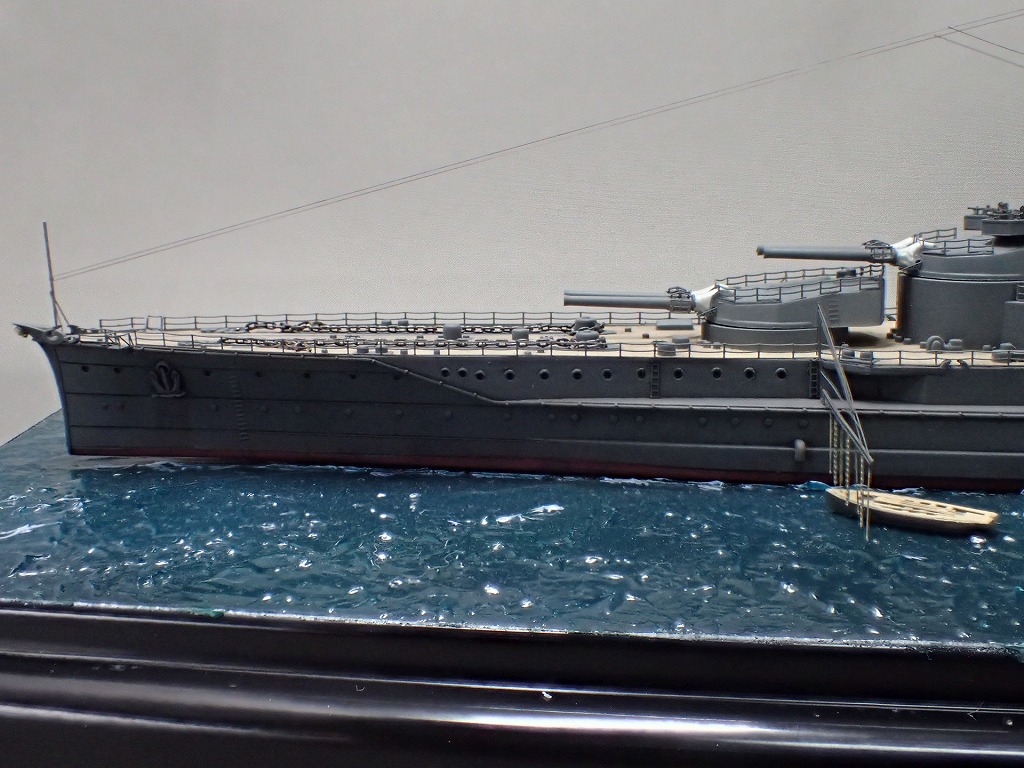
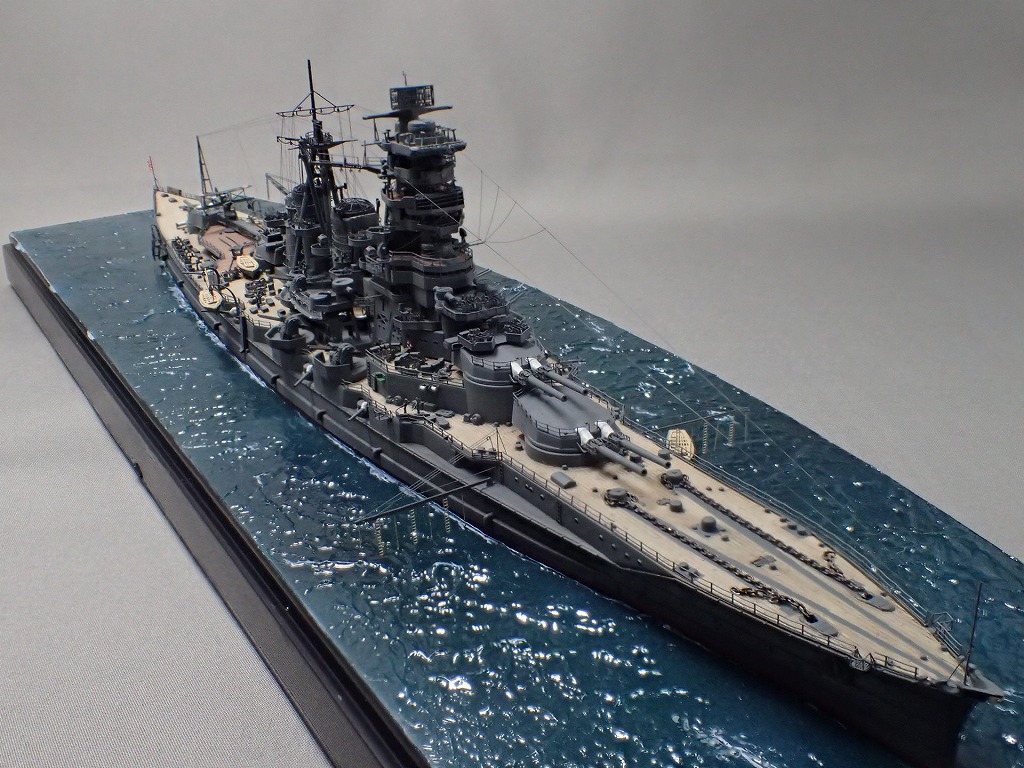
最後に、海面ジオラマの製作工程を紹介します。
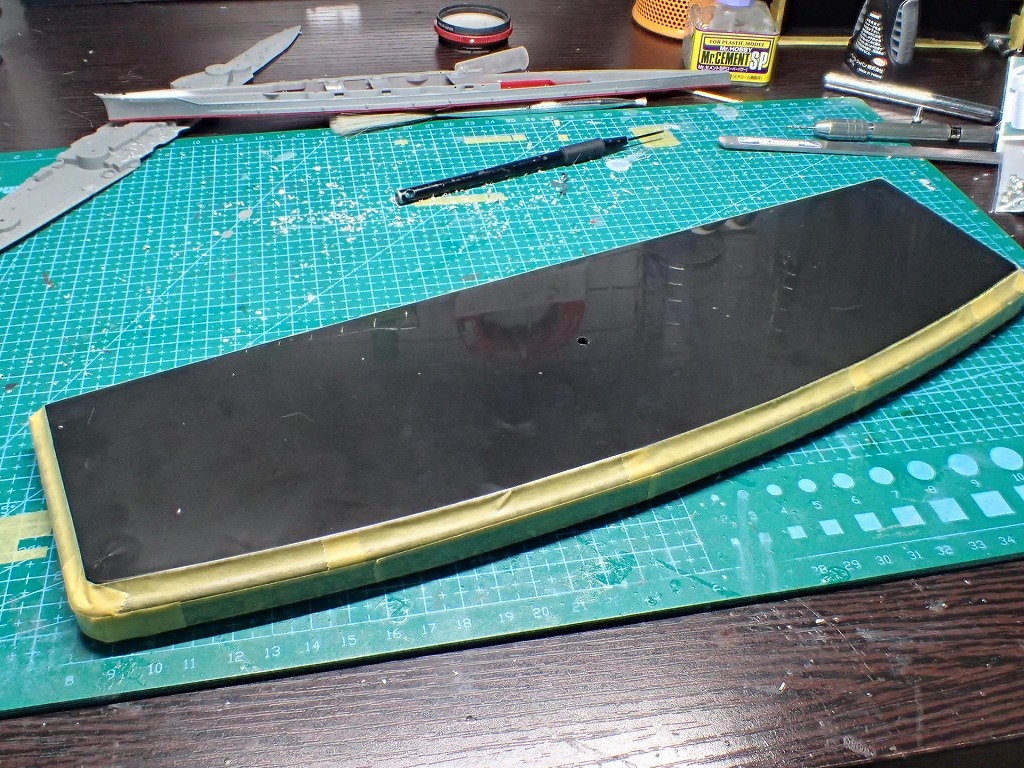
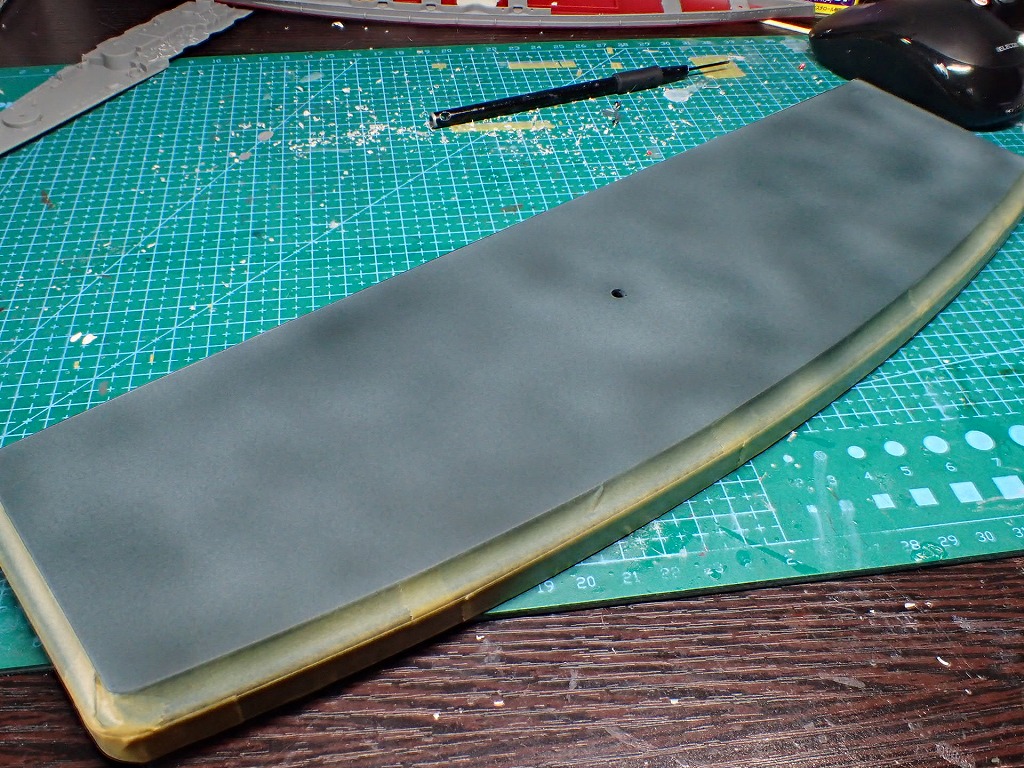
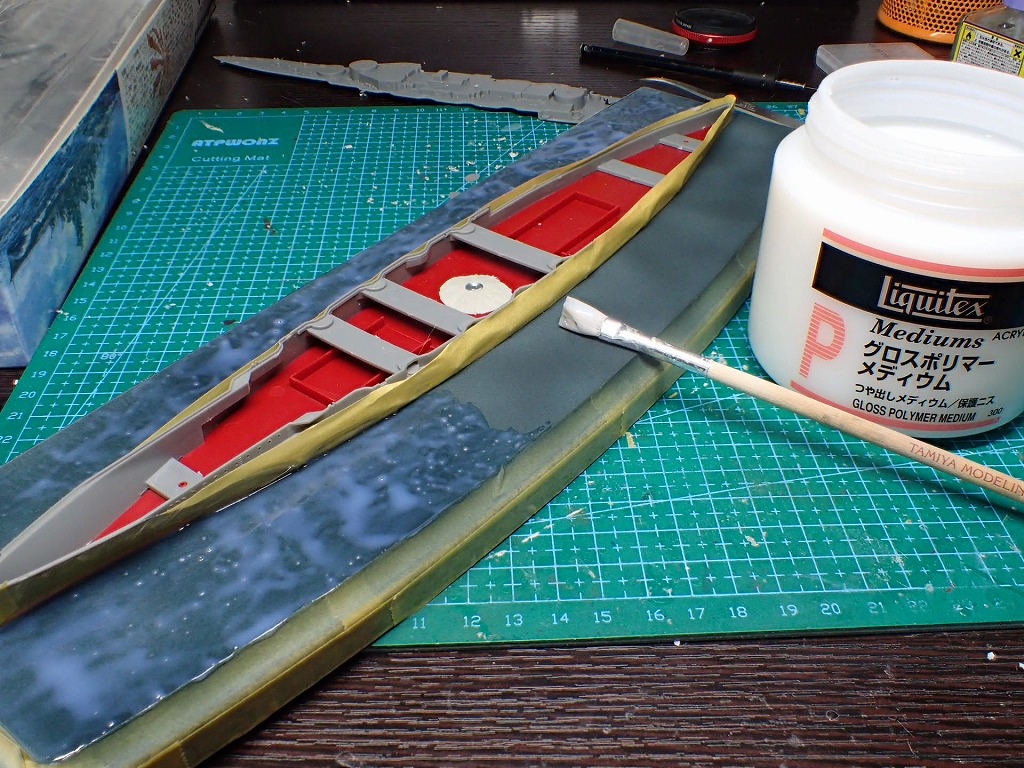
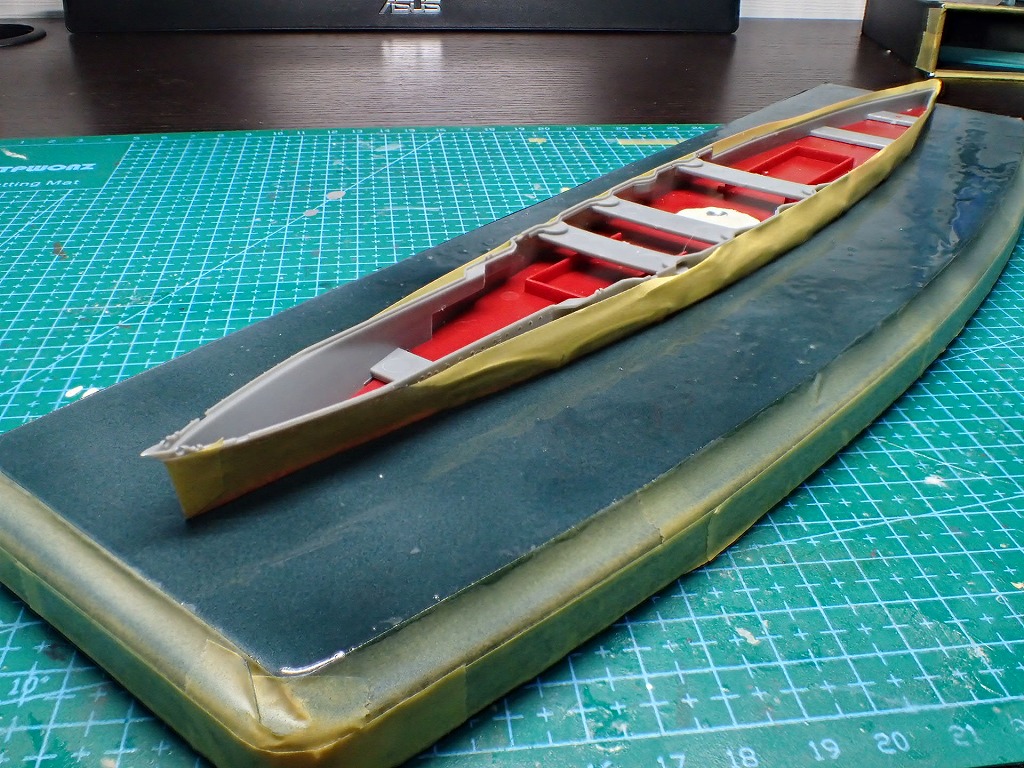
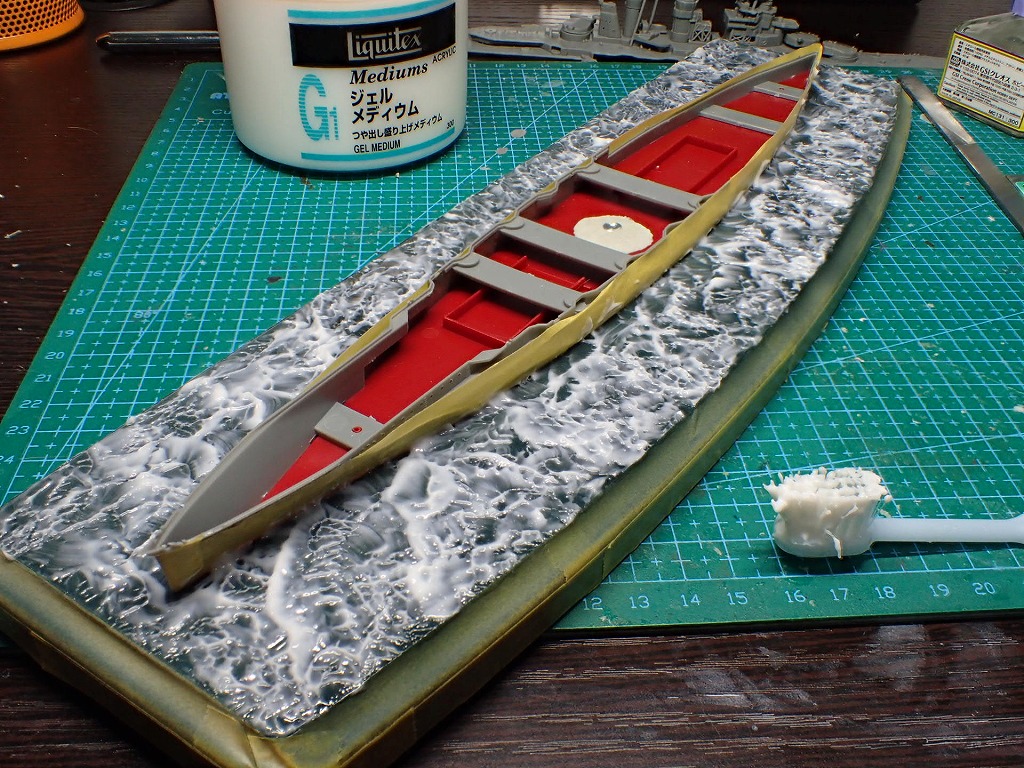
小波のウネリを再現します。
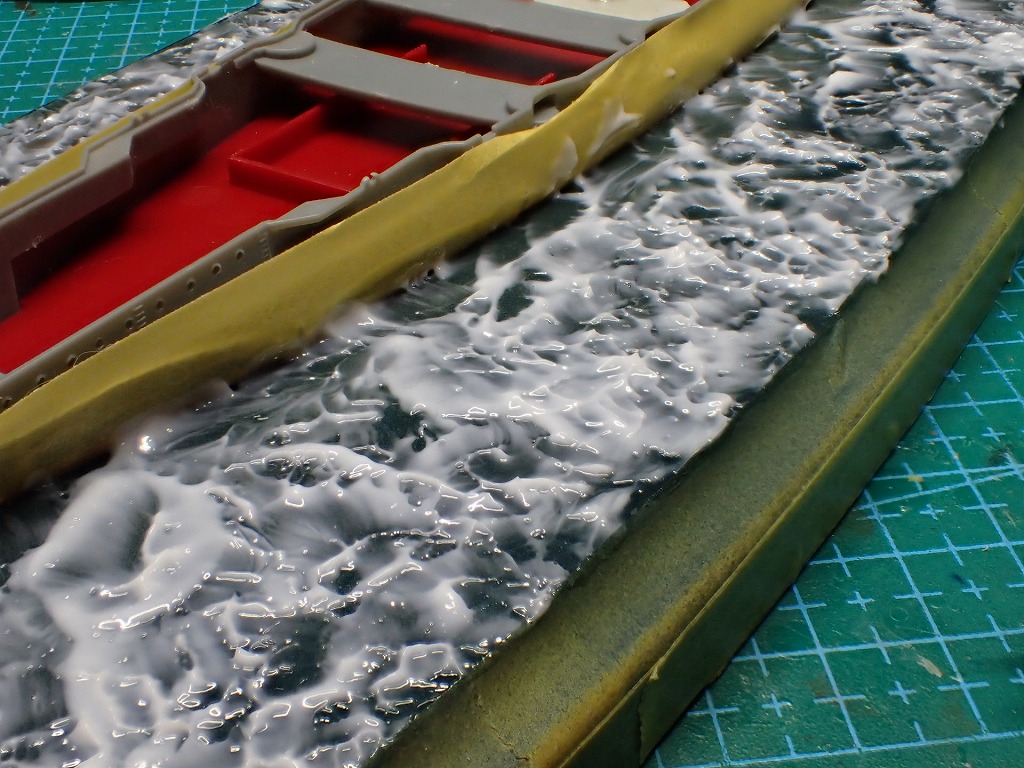

今回は穏やかな海の泊地ということで波の造形はジェルメディウムのみで行いました。


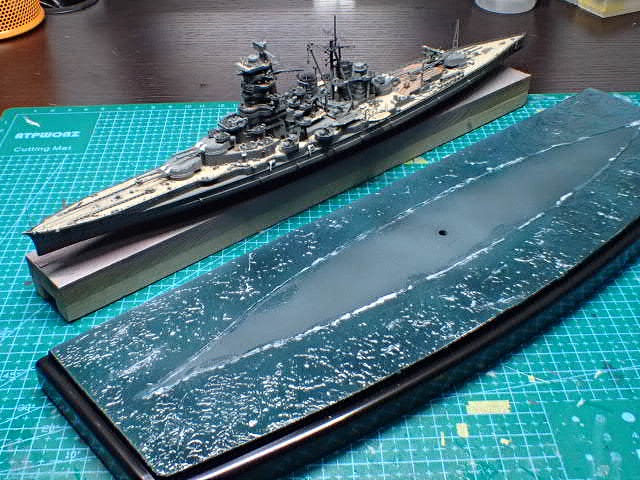
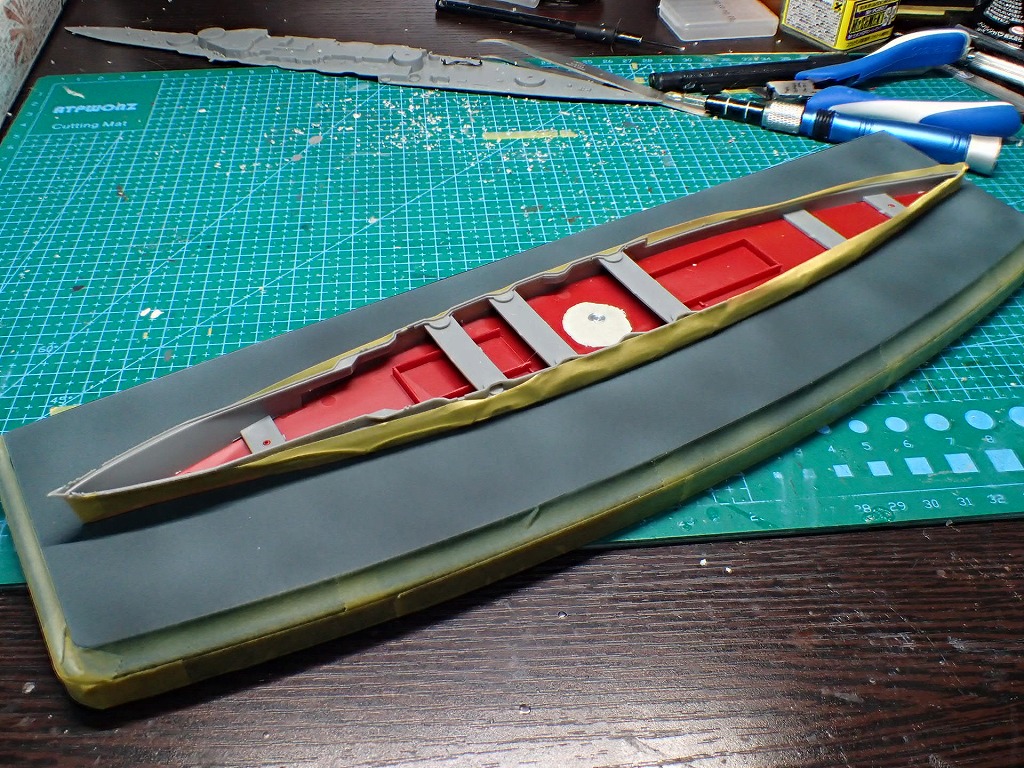
取り外し可能にするため海面と船体の隙間は埋めません。海面固定の場合は、ジェルメディウムで隙間を埋めてやると良いです。
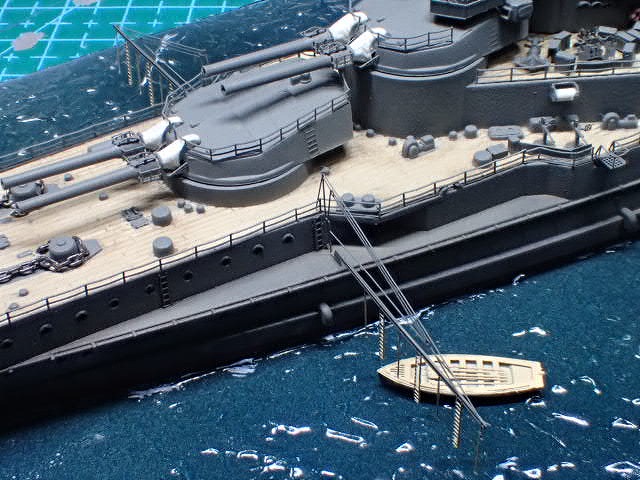
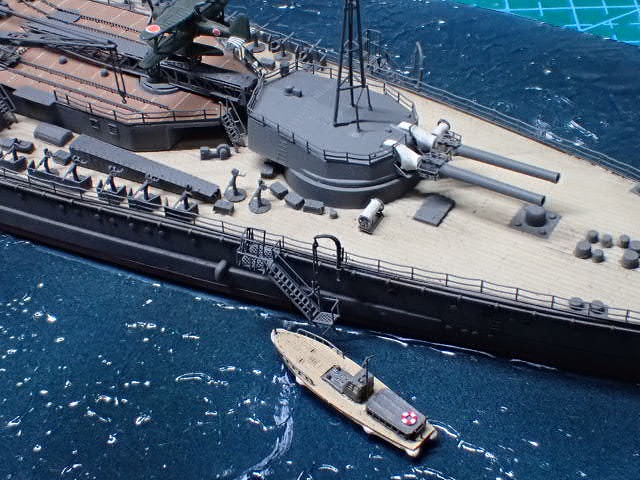
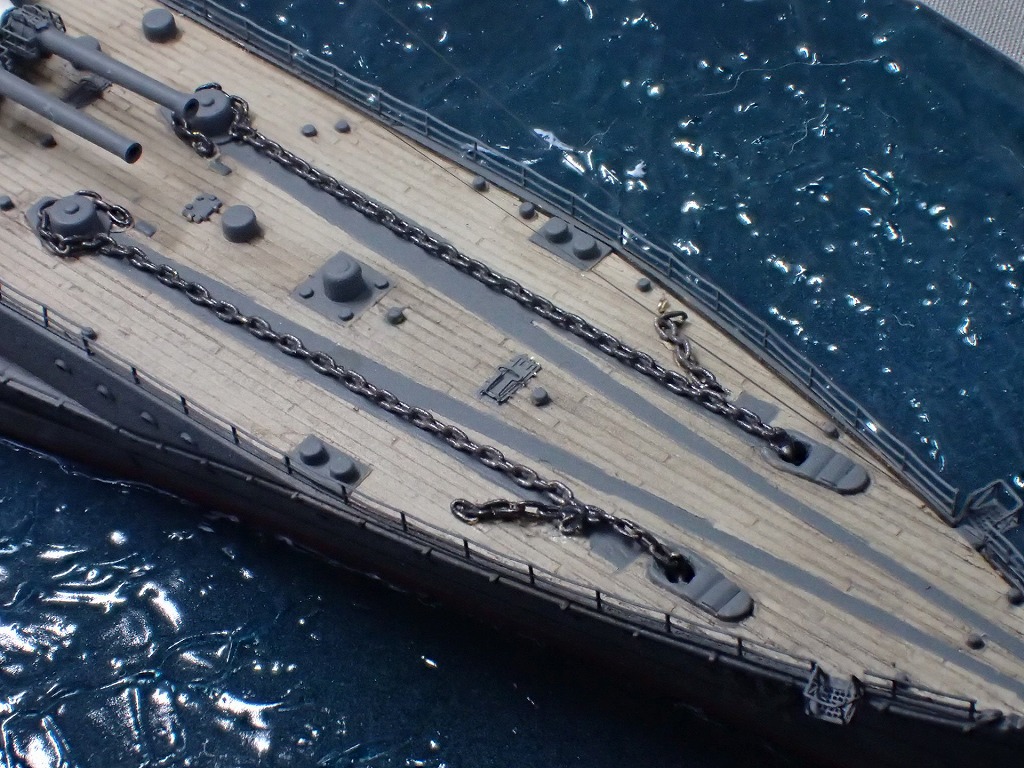
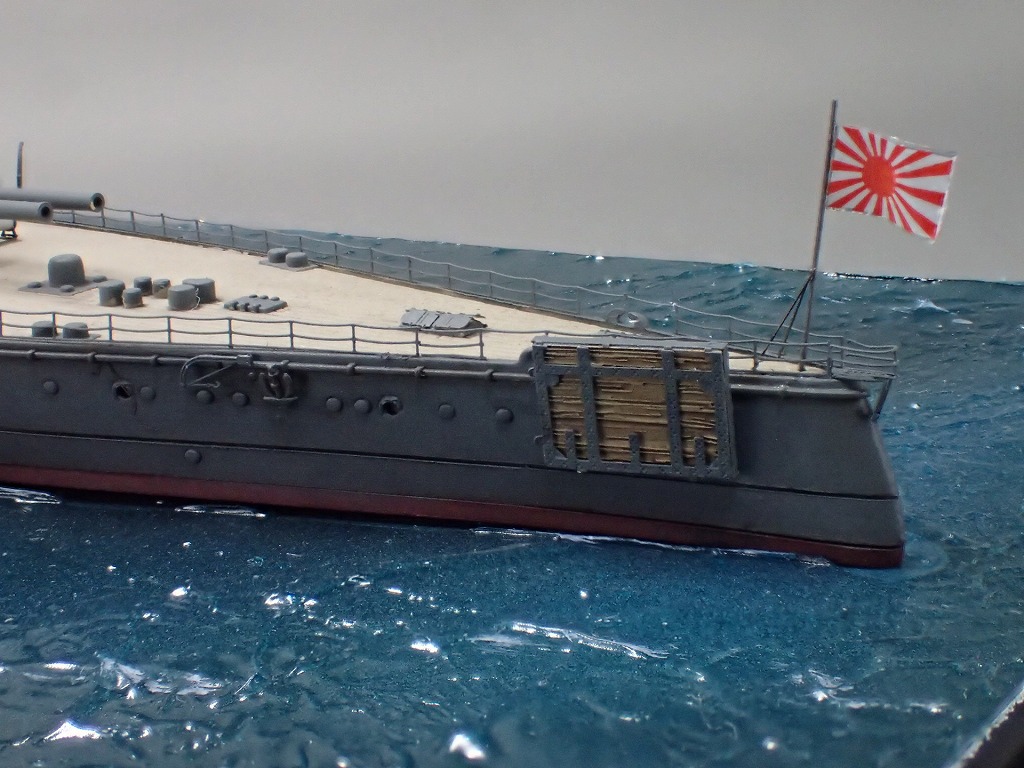
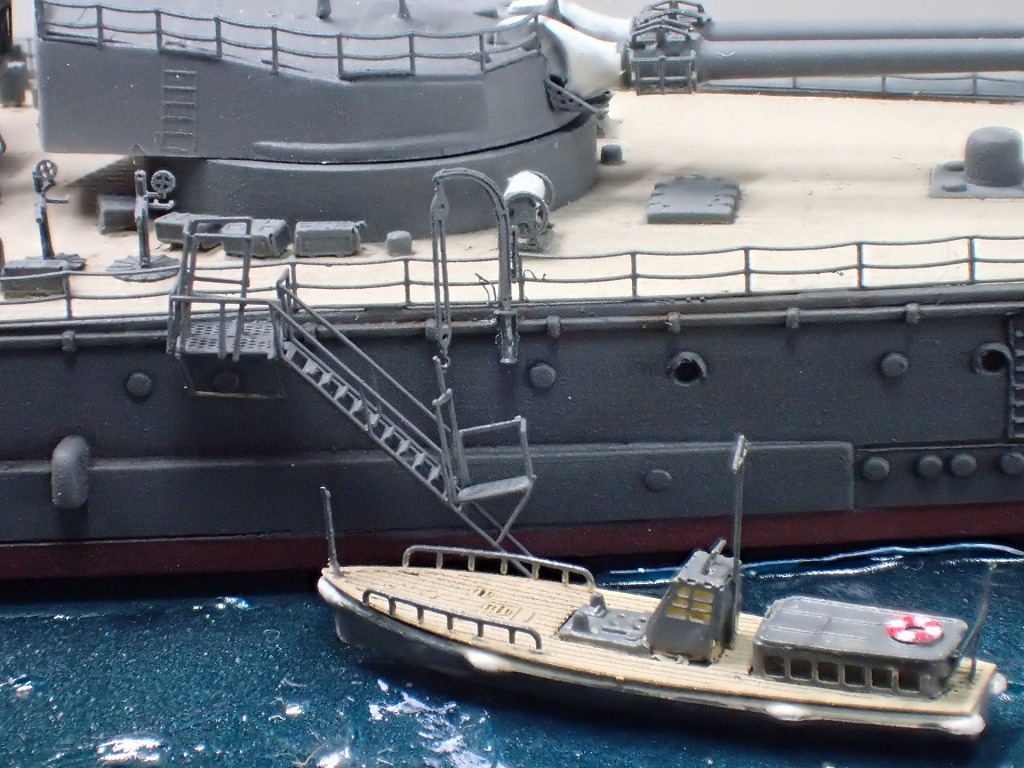
係船桁、舷門、舷梯を取り付け、余剰パーツのカッター、内火艇を配置します。カッター、内火艇は、艦底を削ってウォーターラインにしてあります。
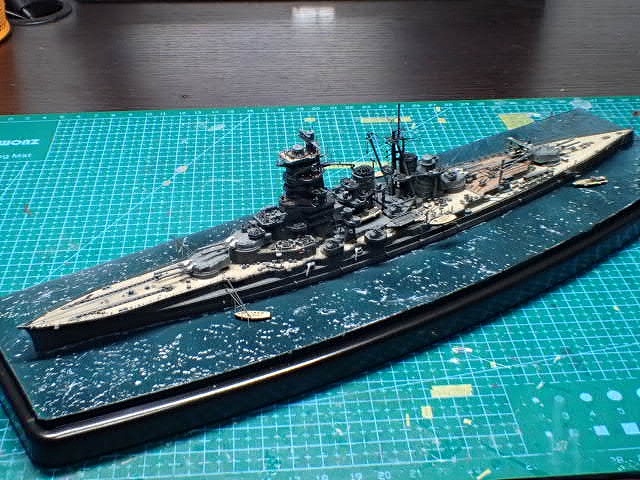
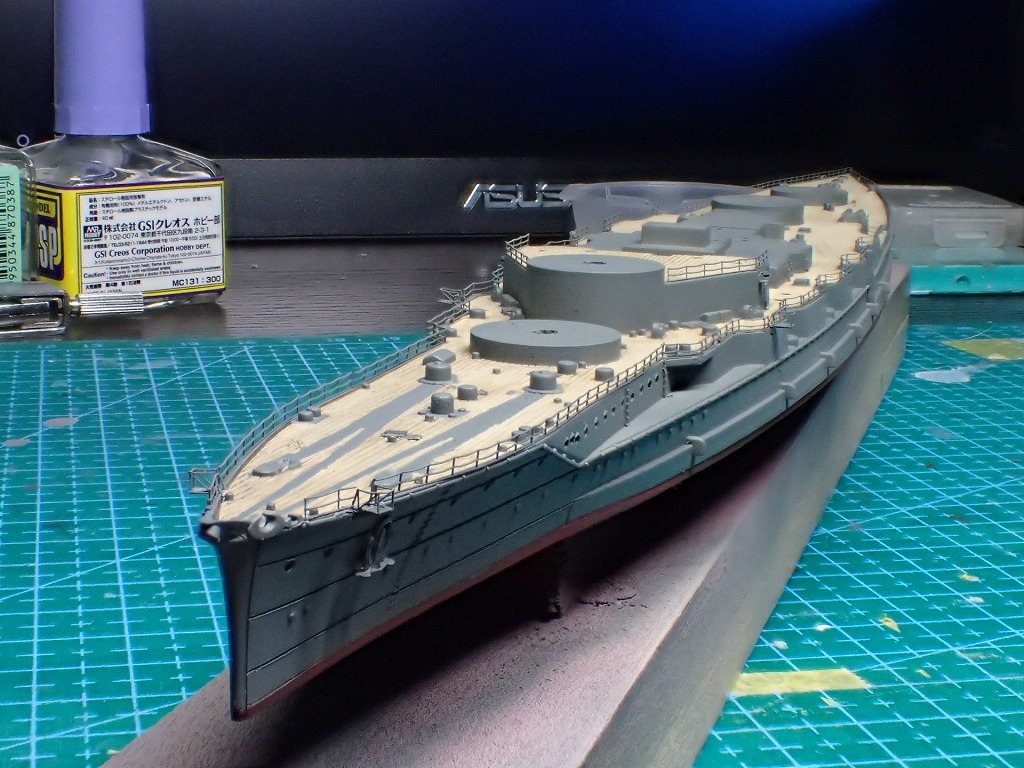
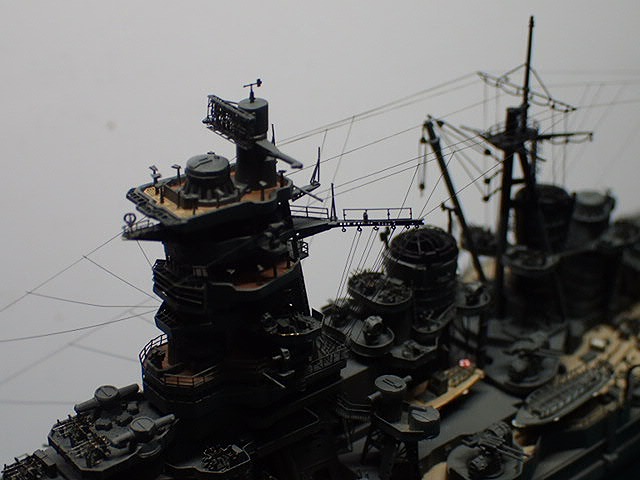
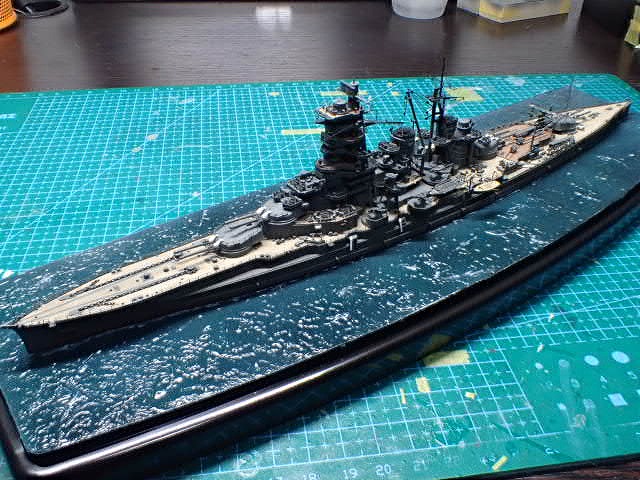
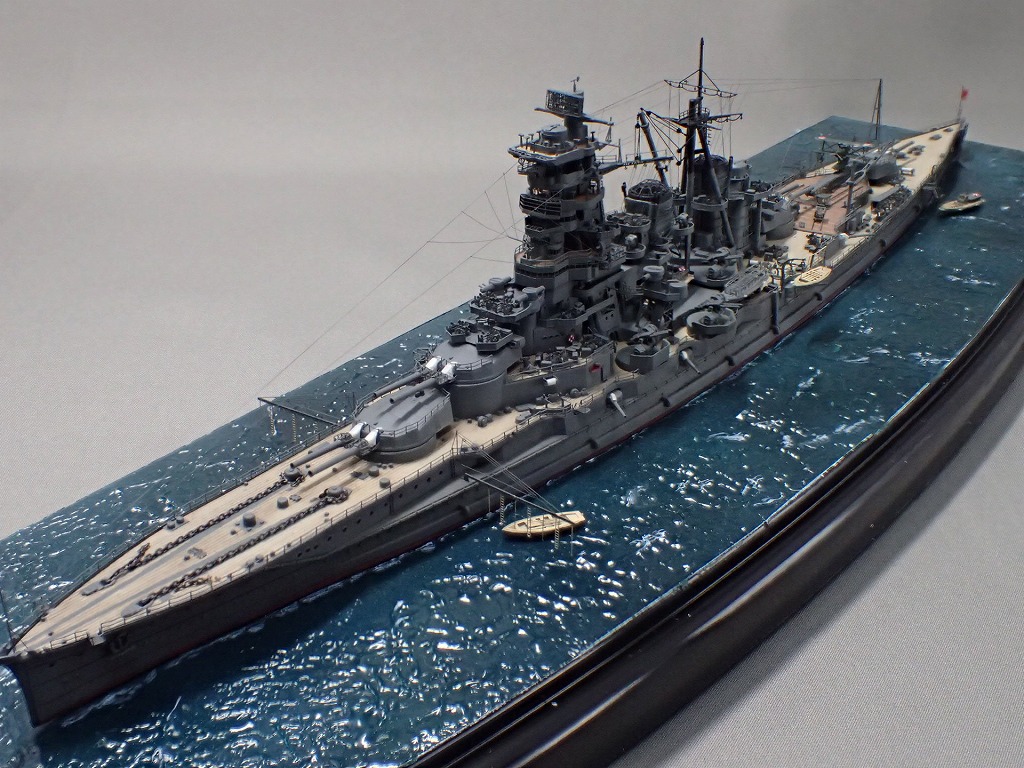
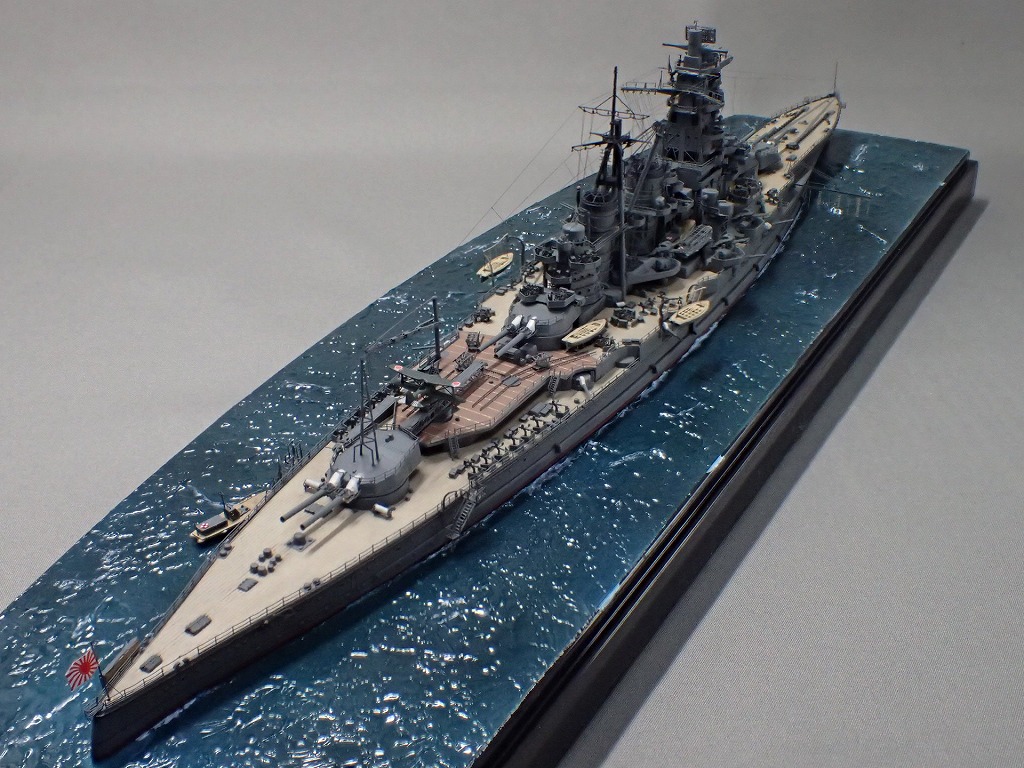
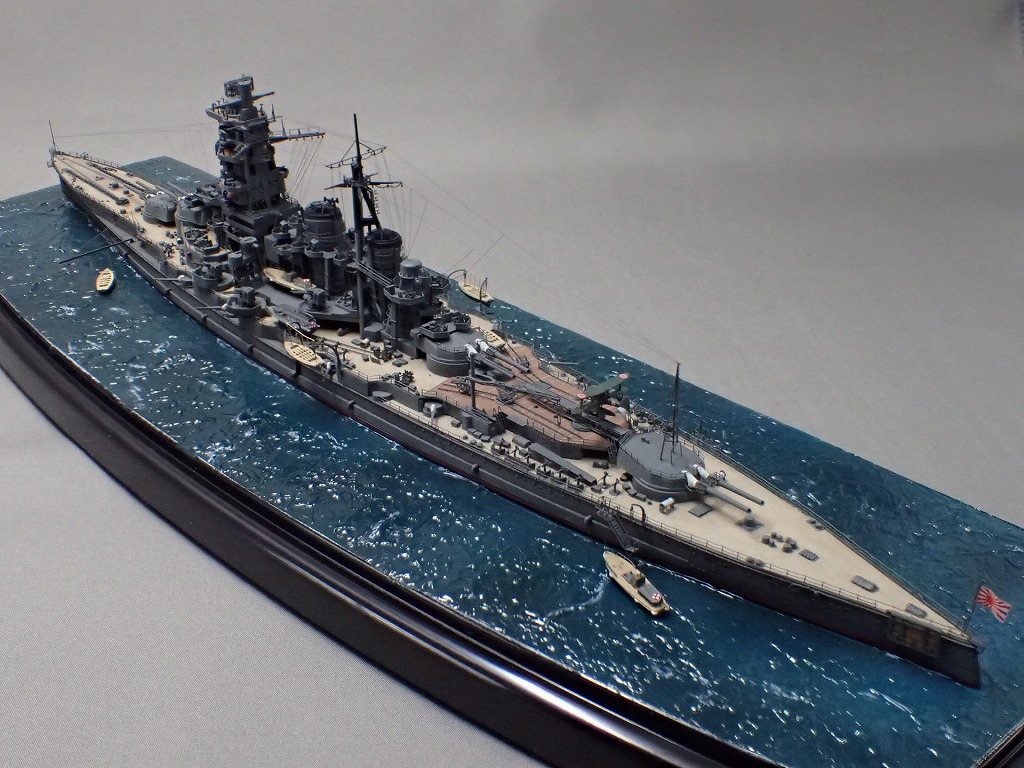
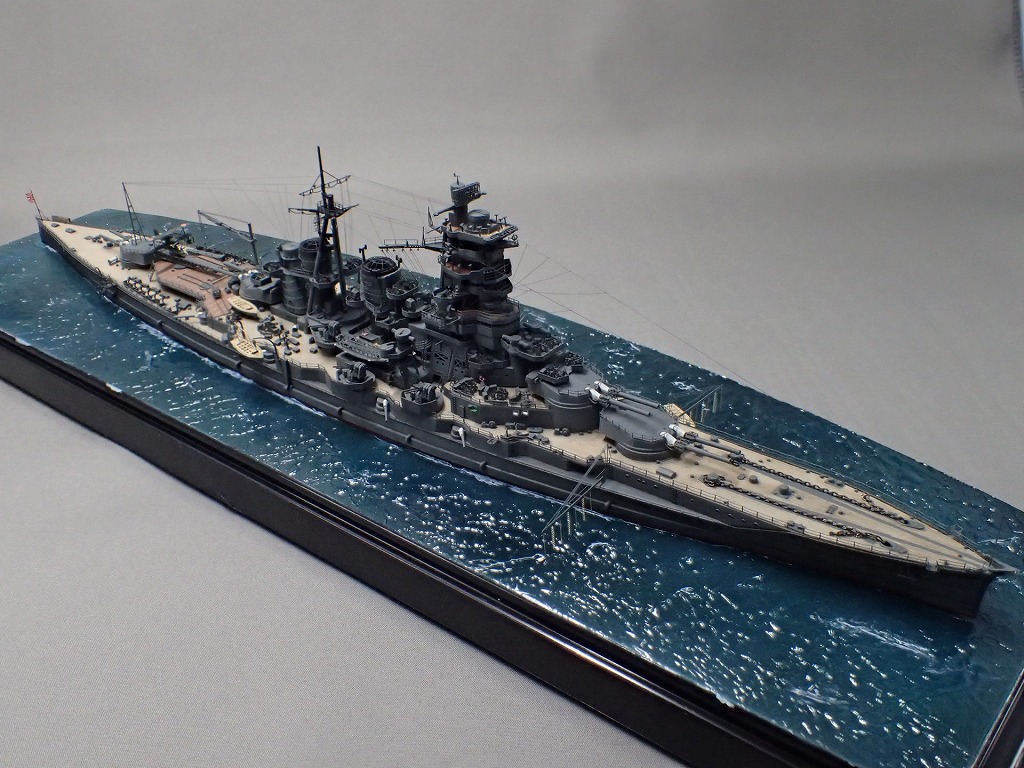
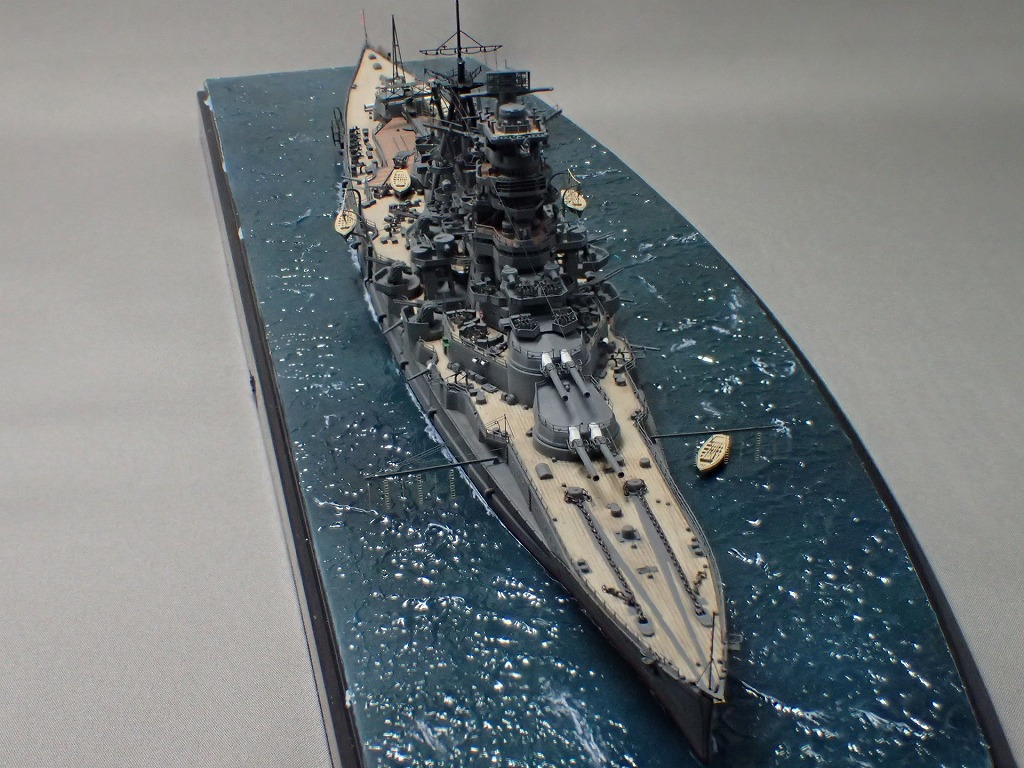
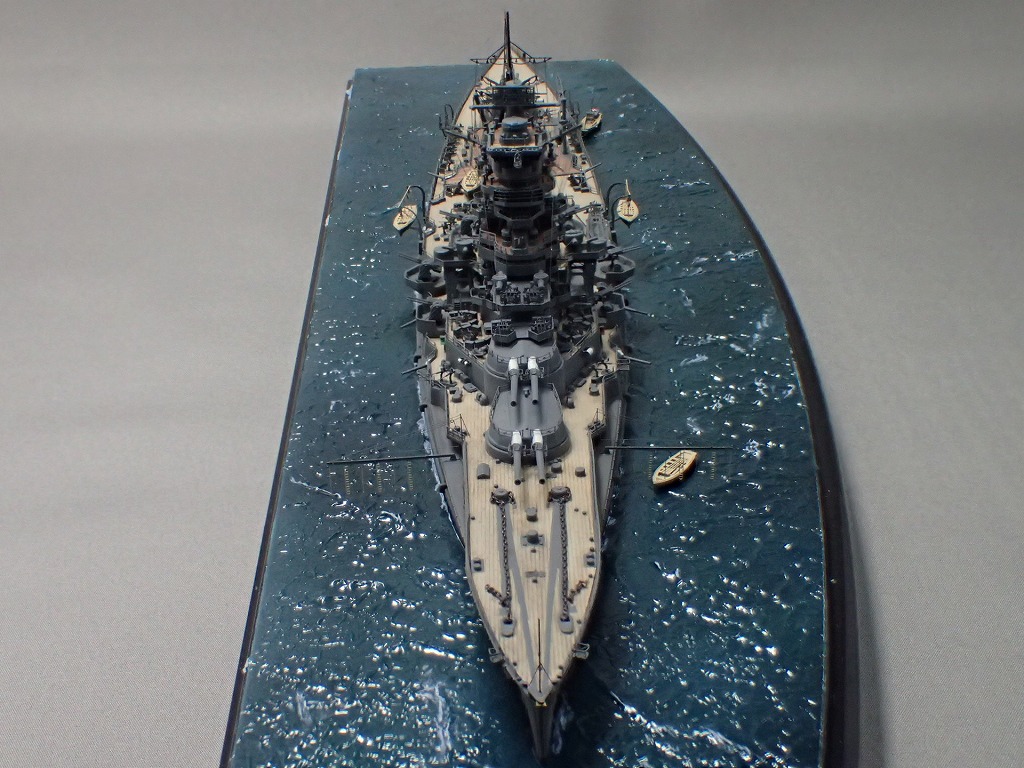
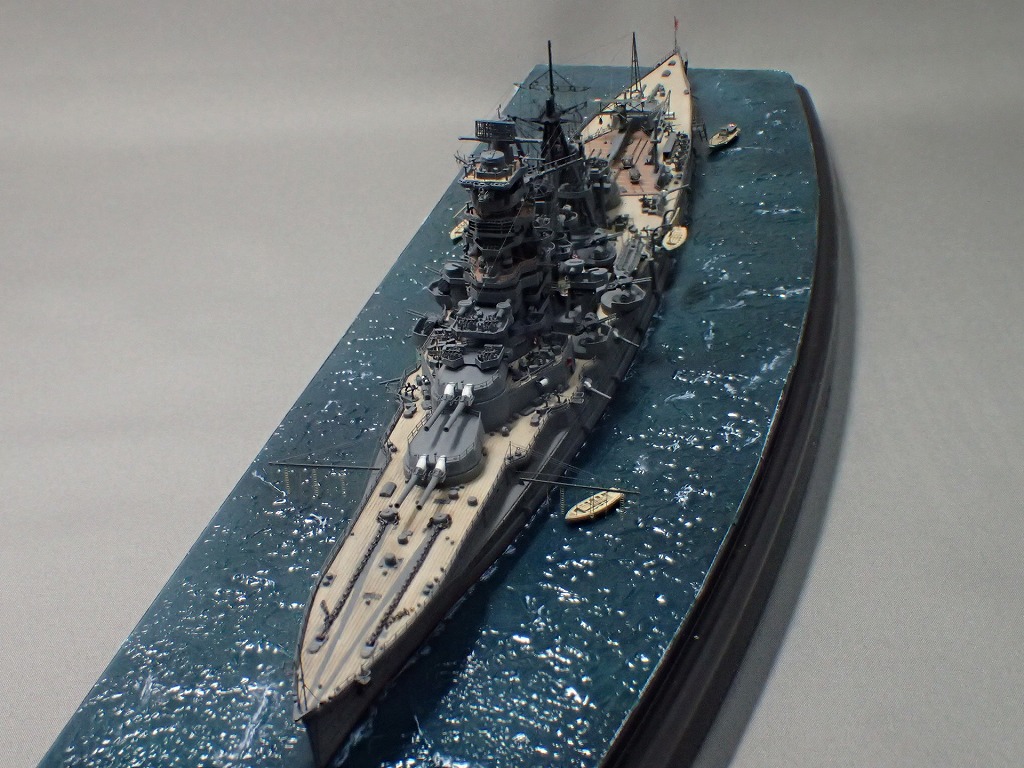
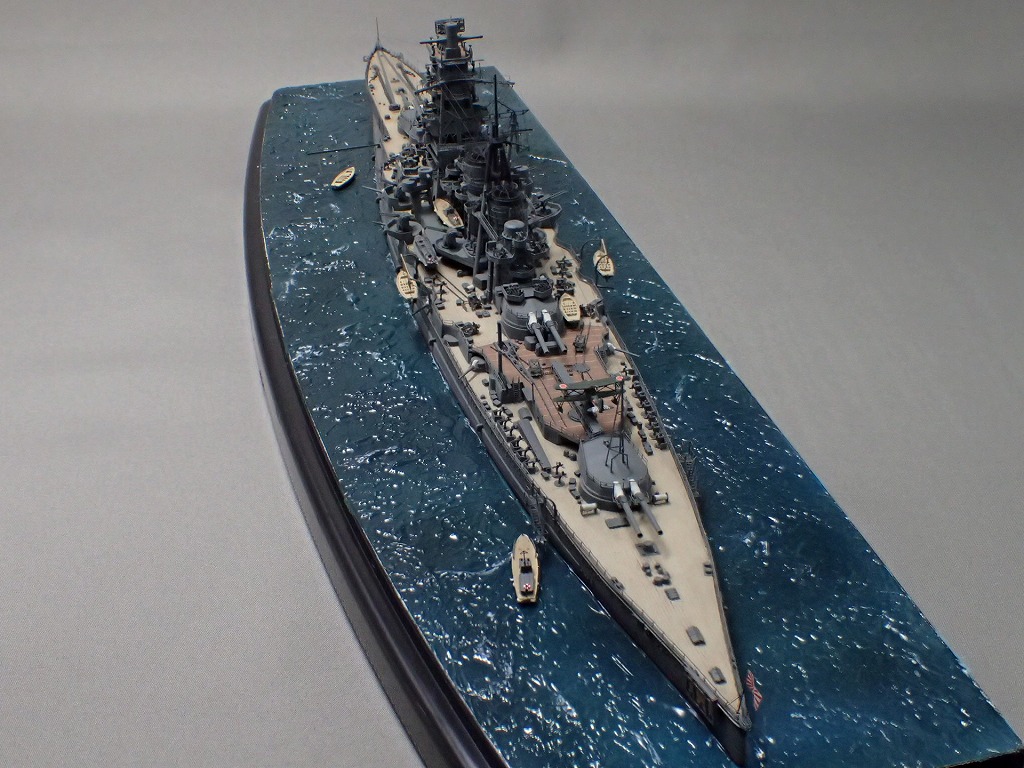
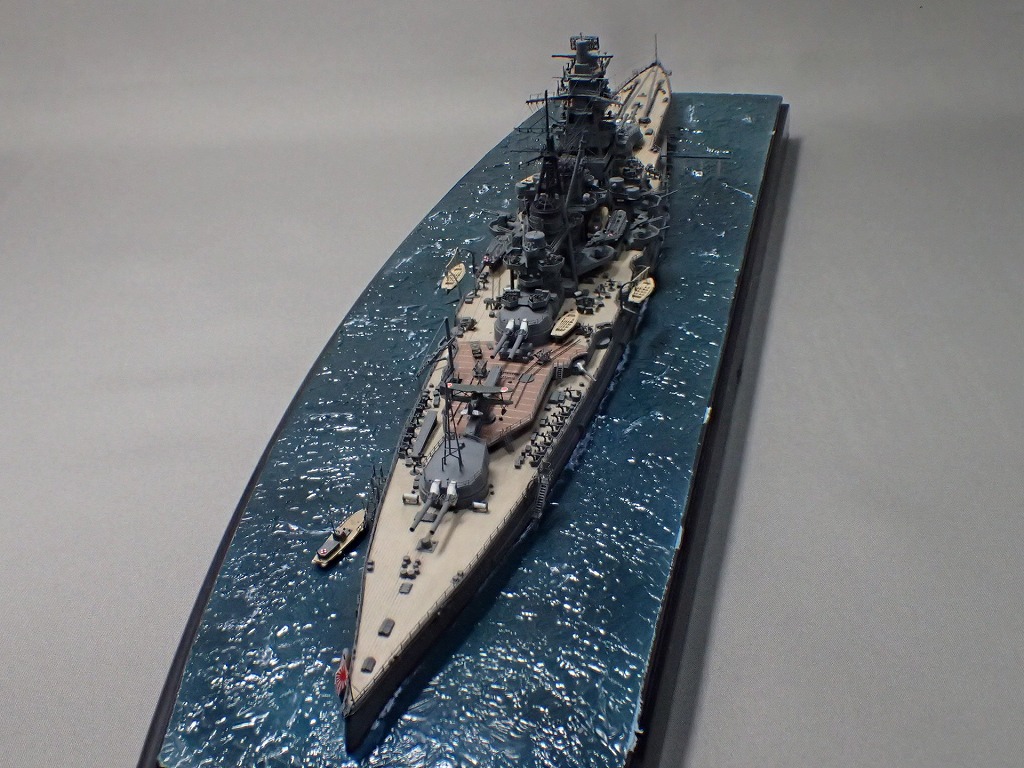
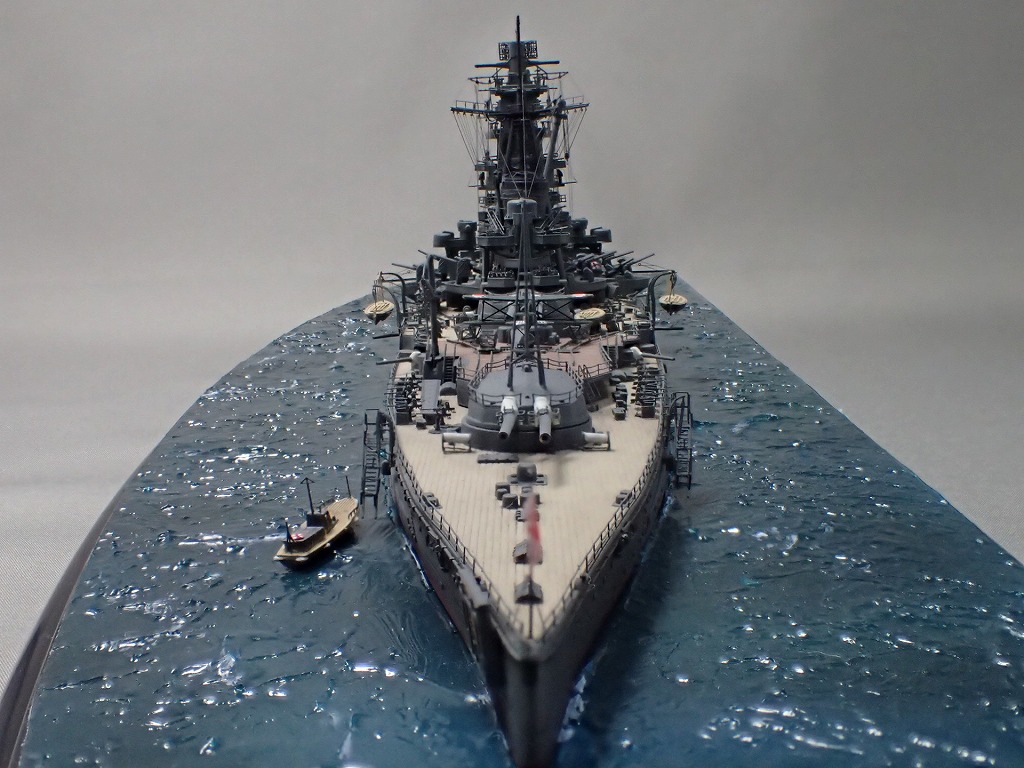
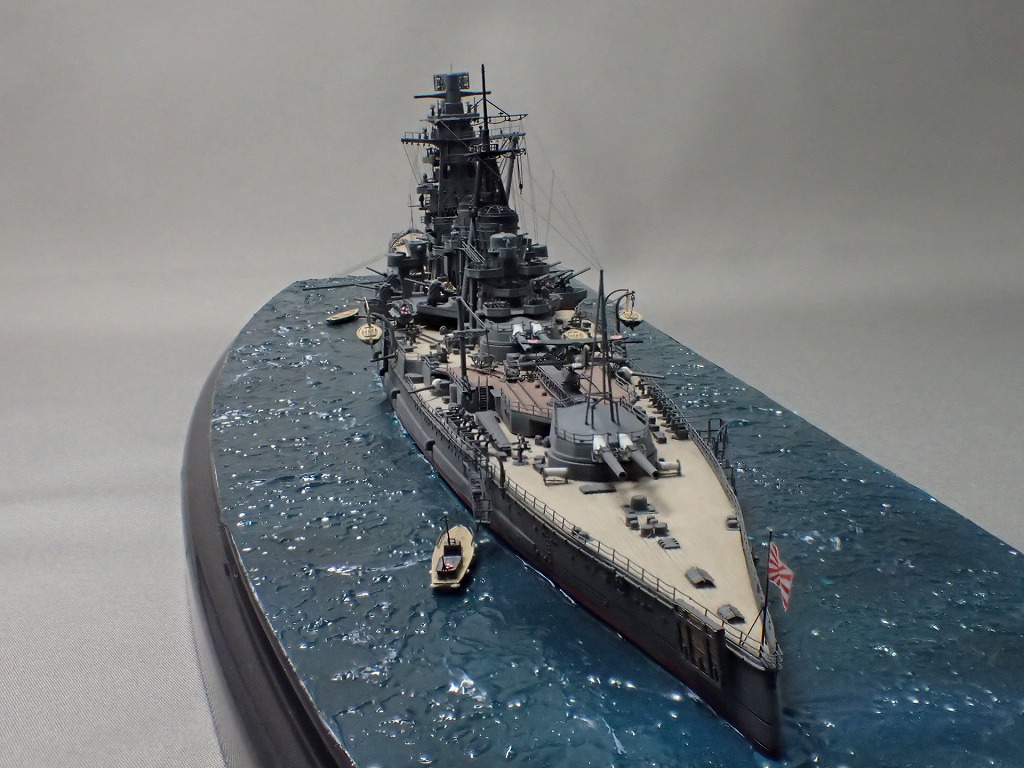
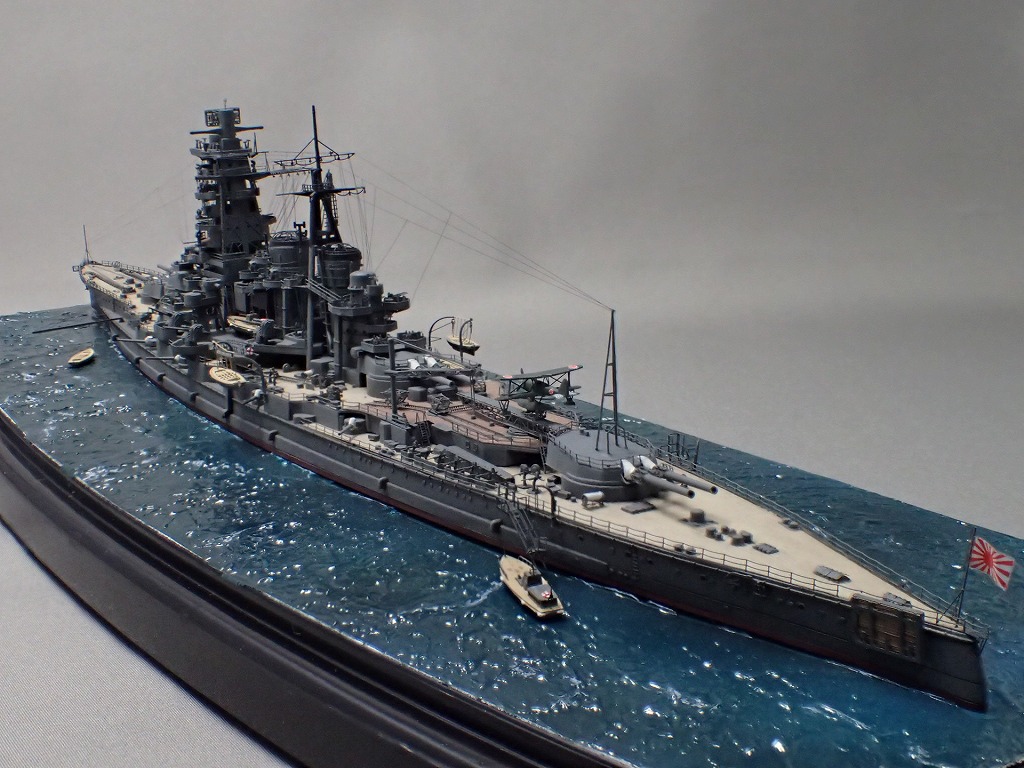
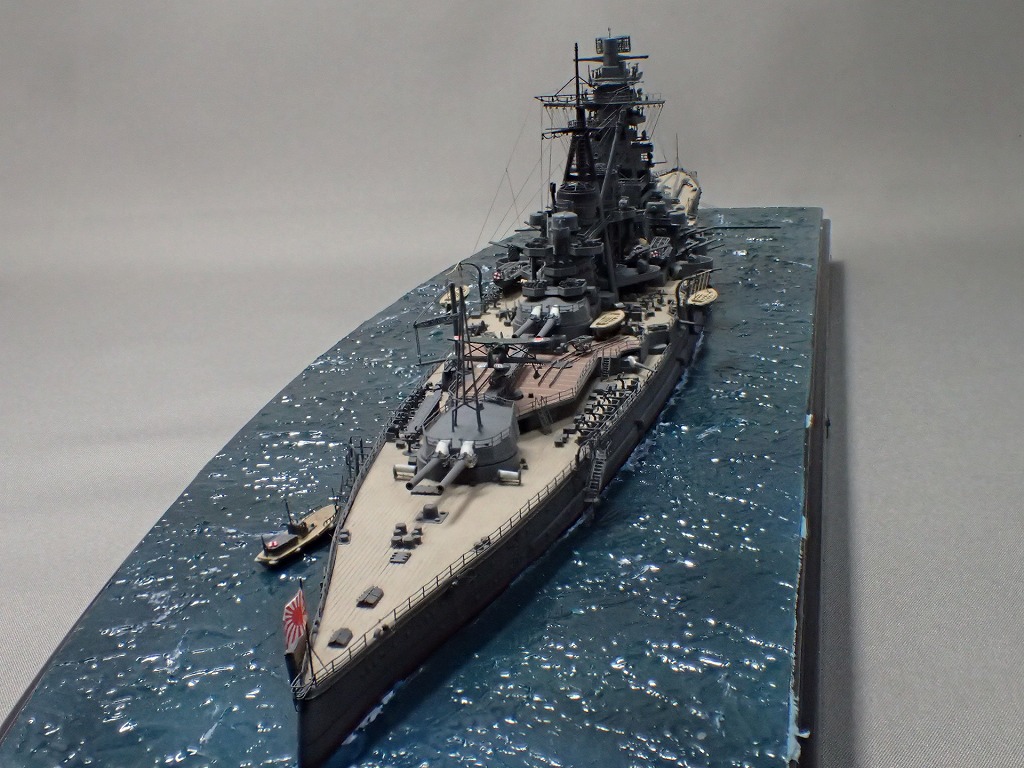
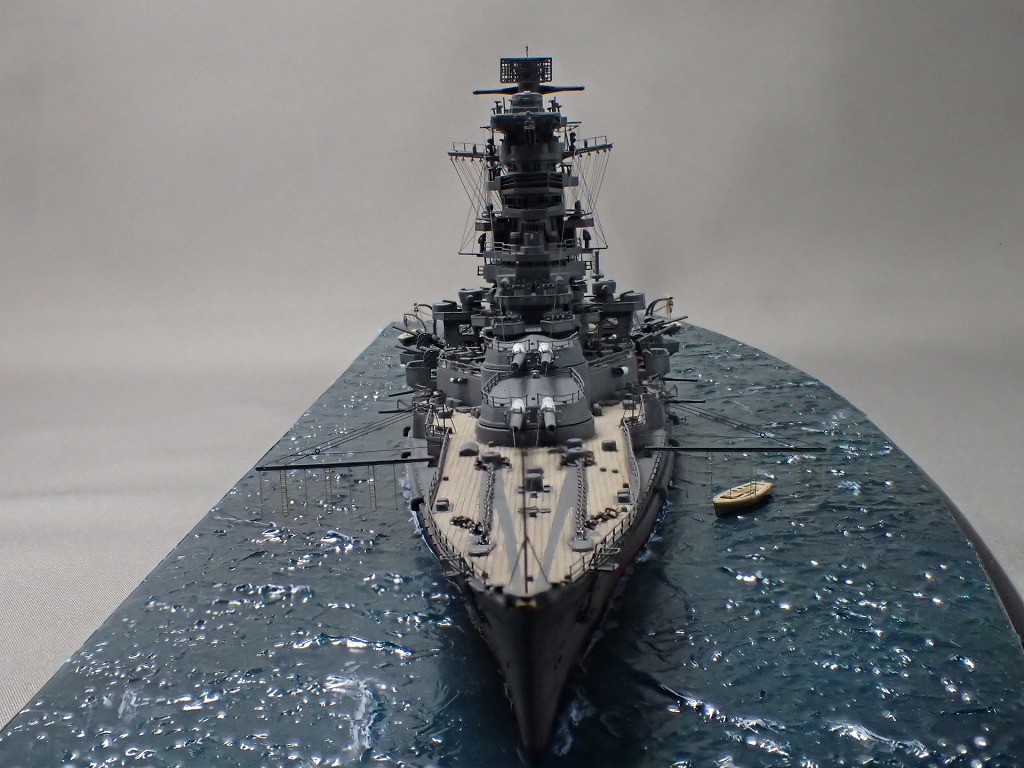
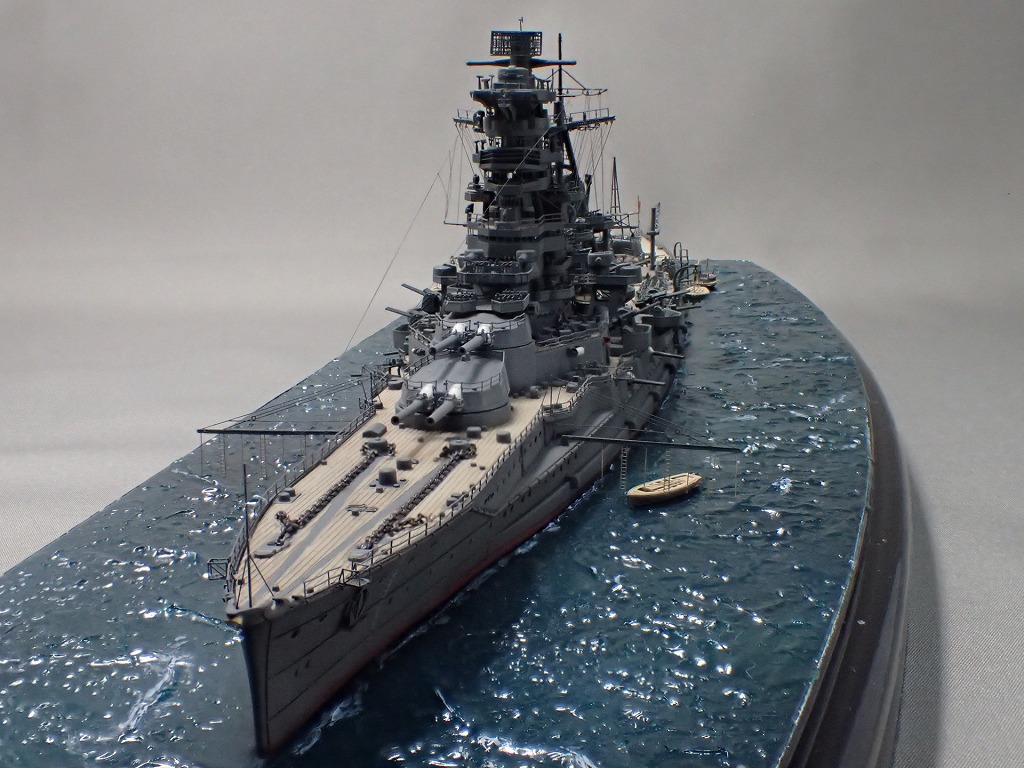
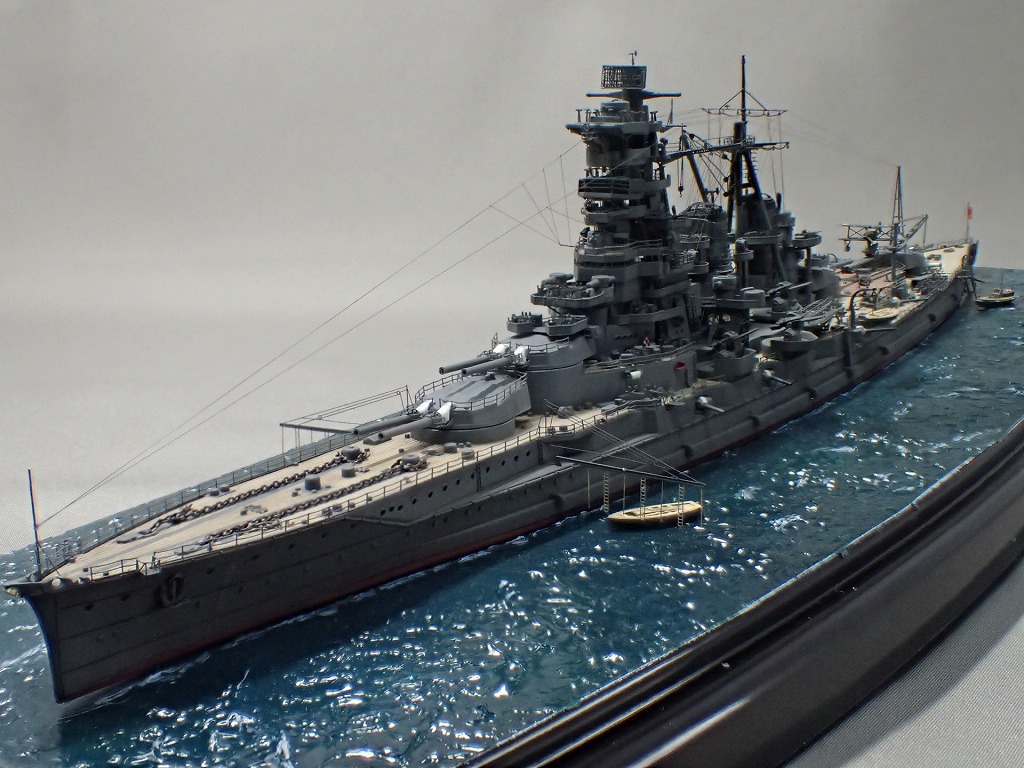
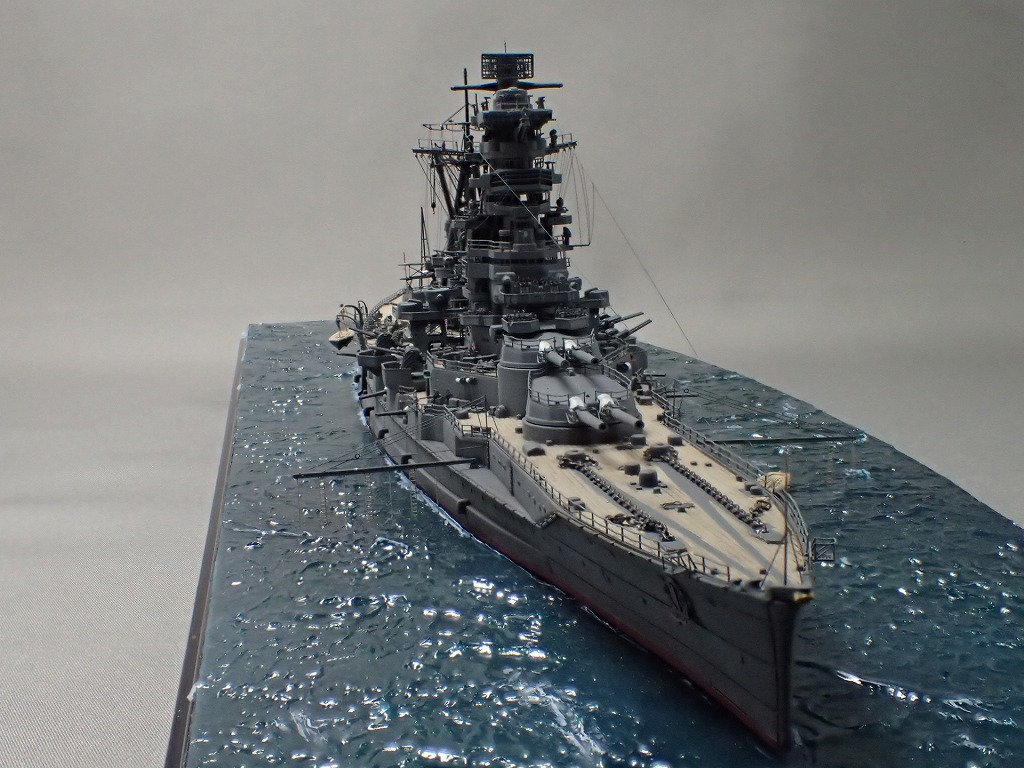
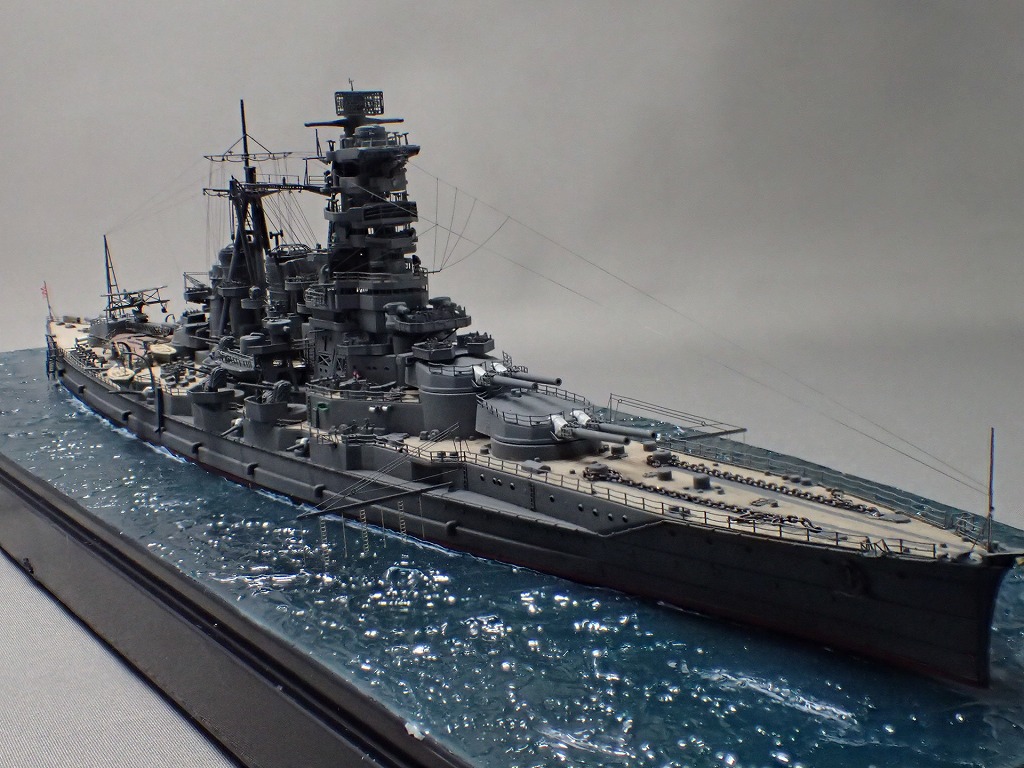
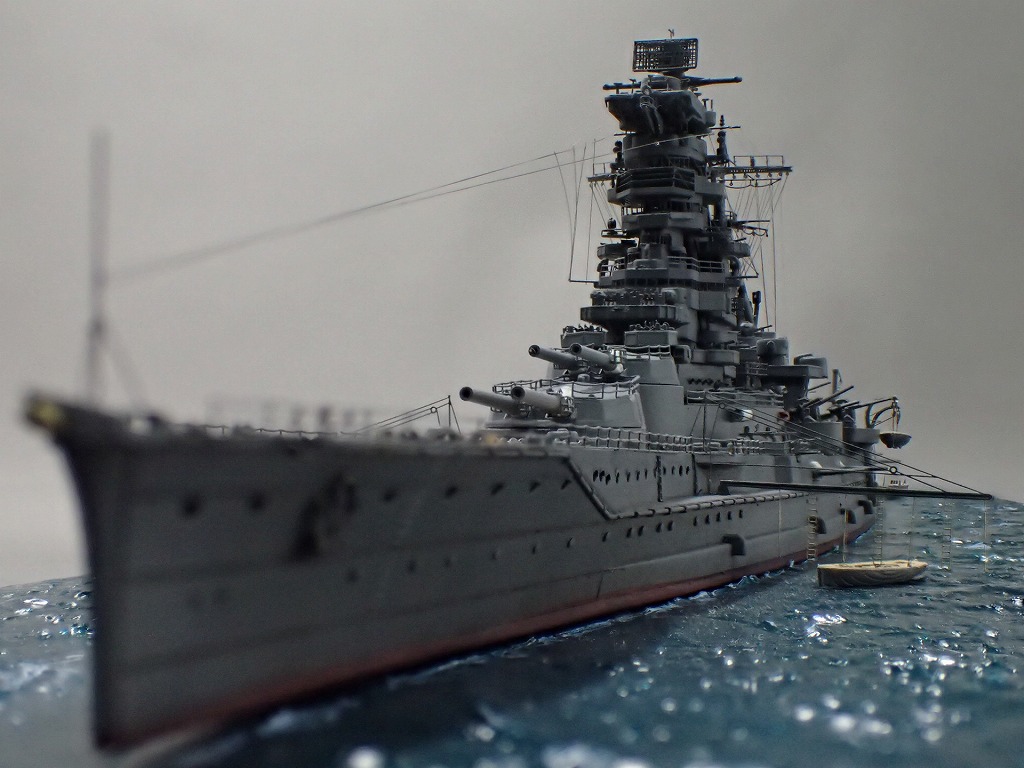
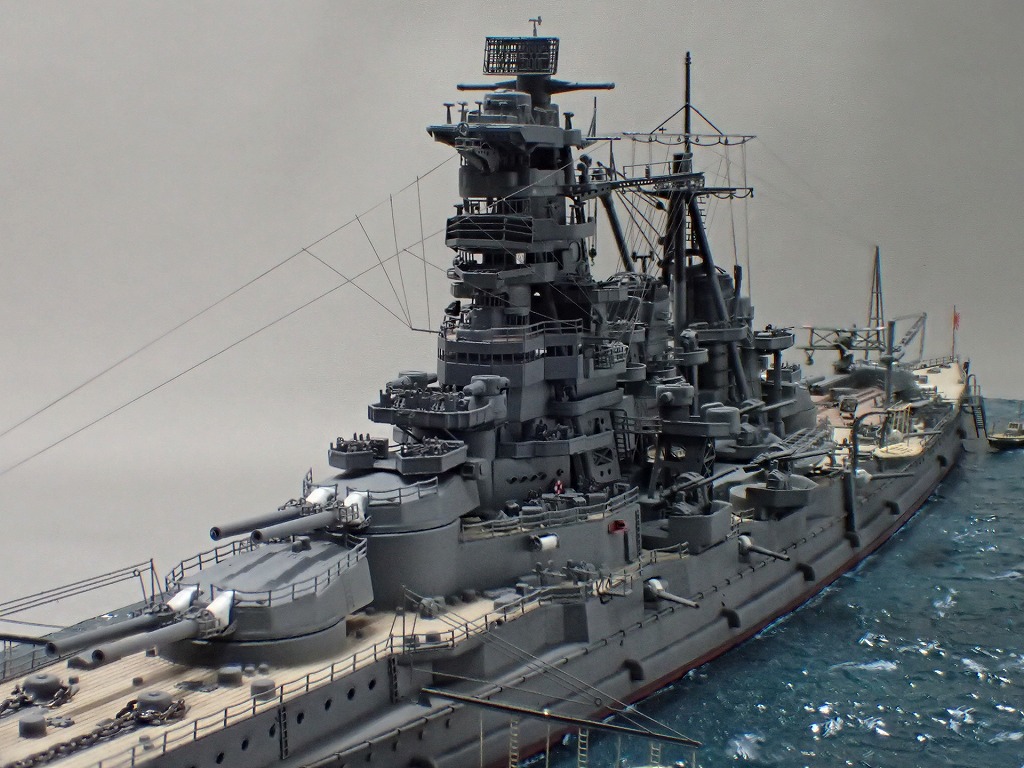
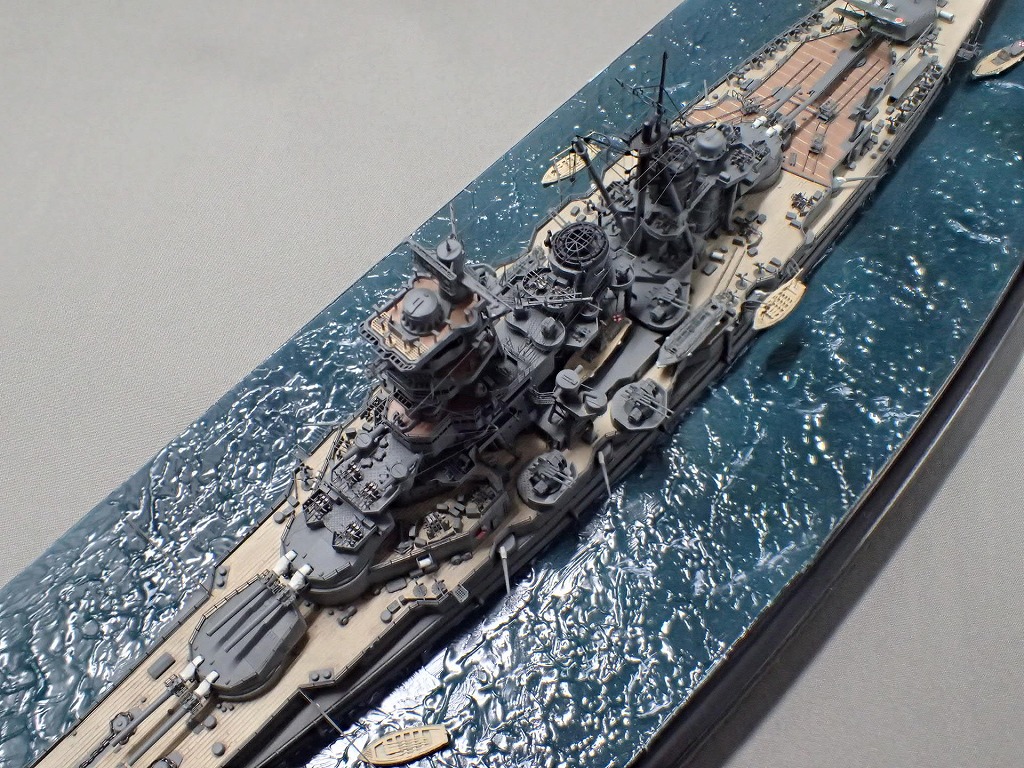
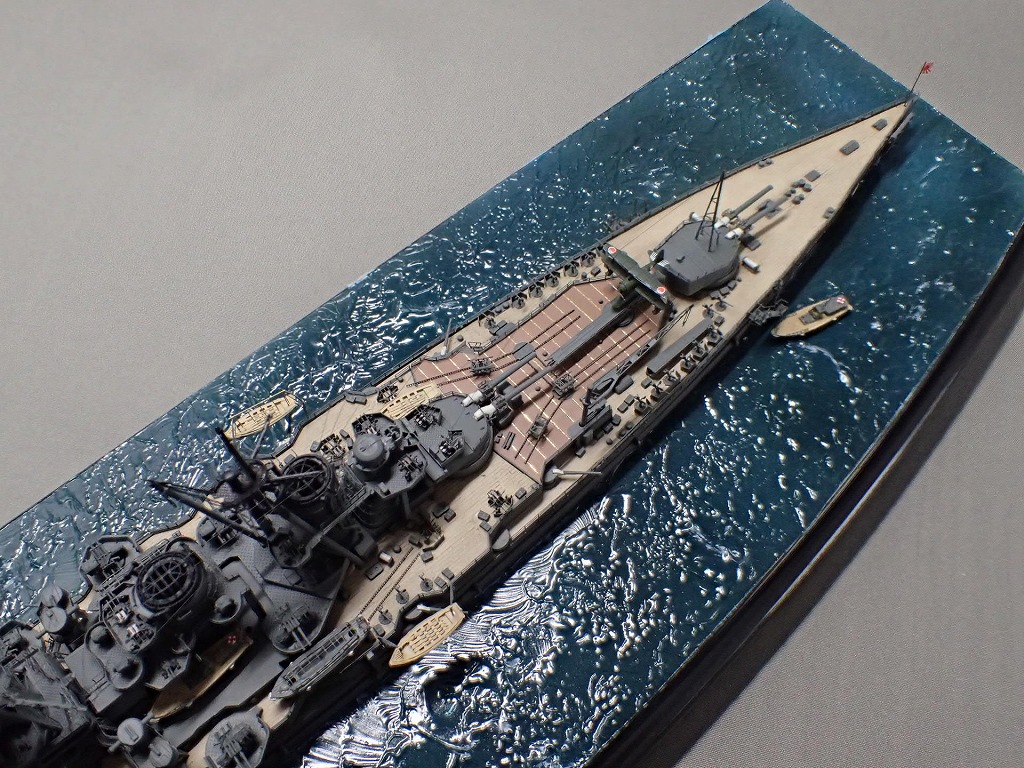
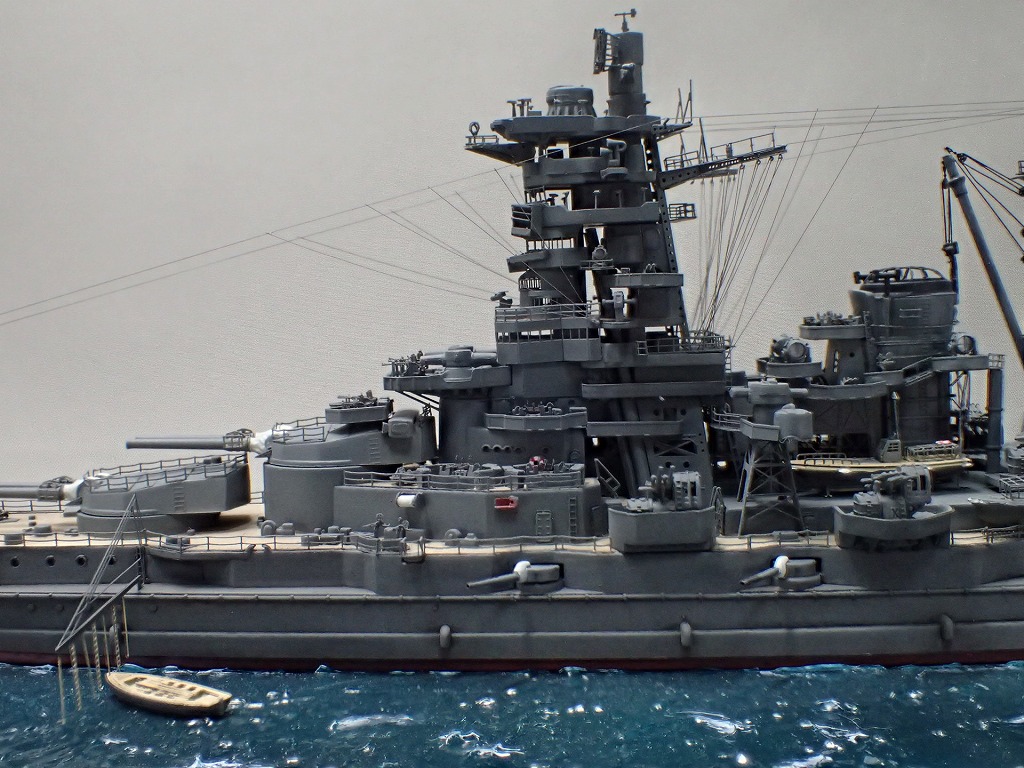
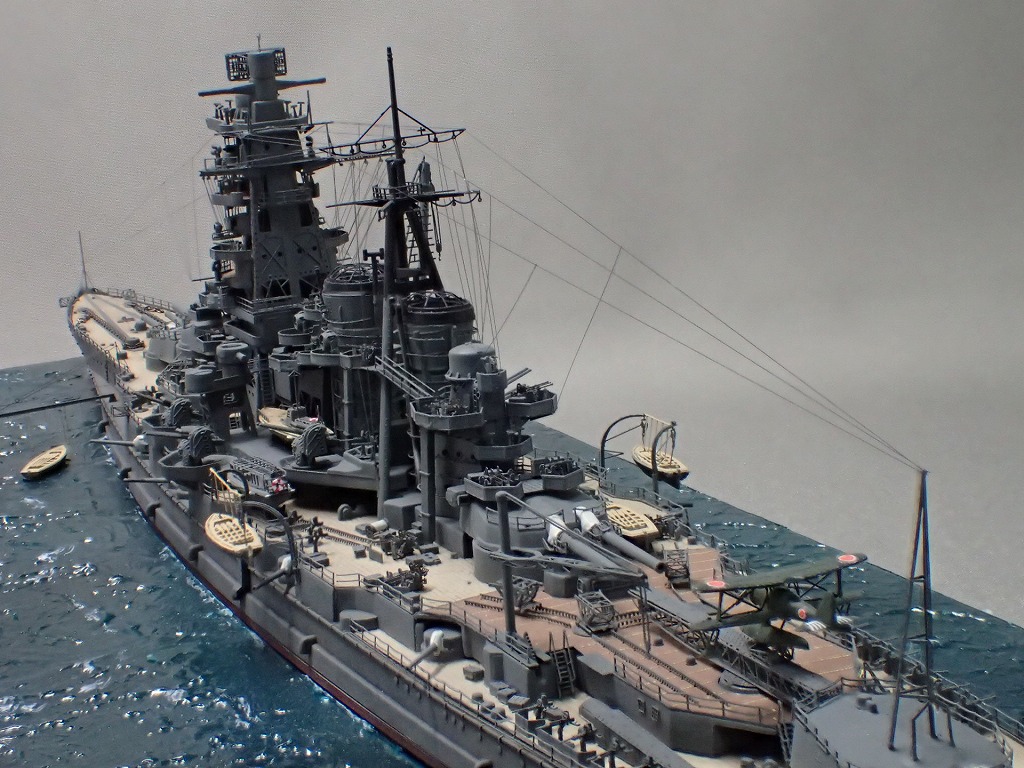
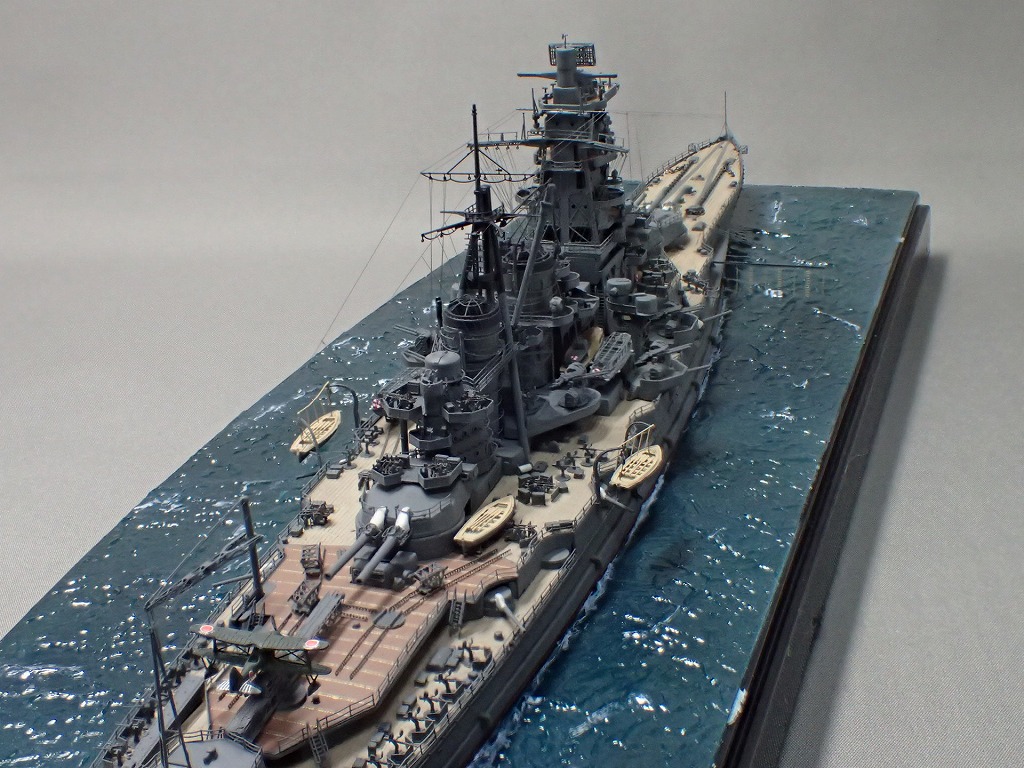
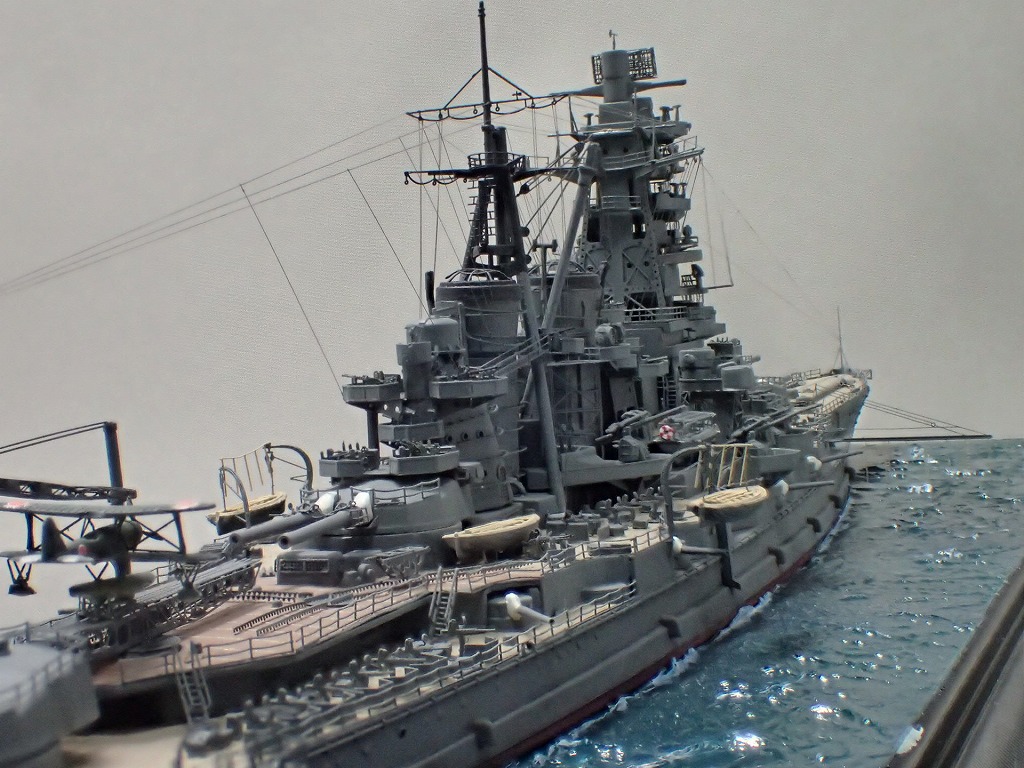
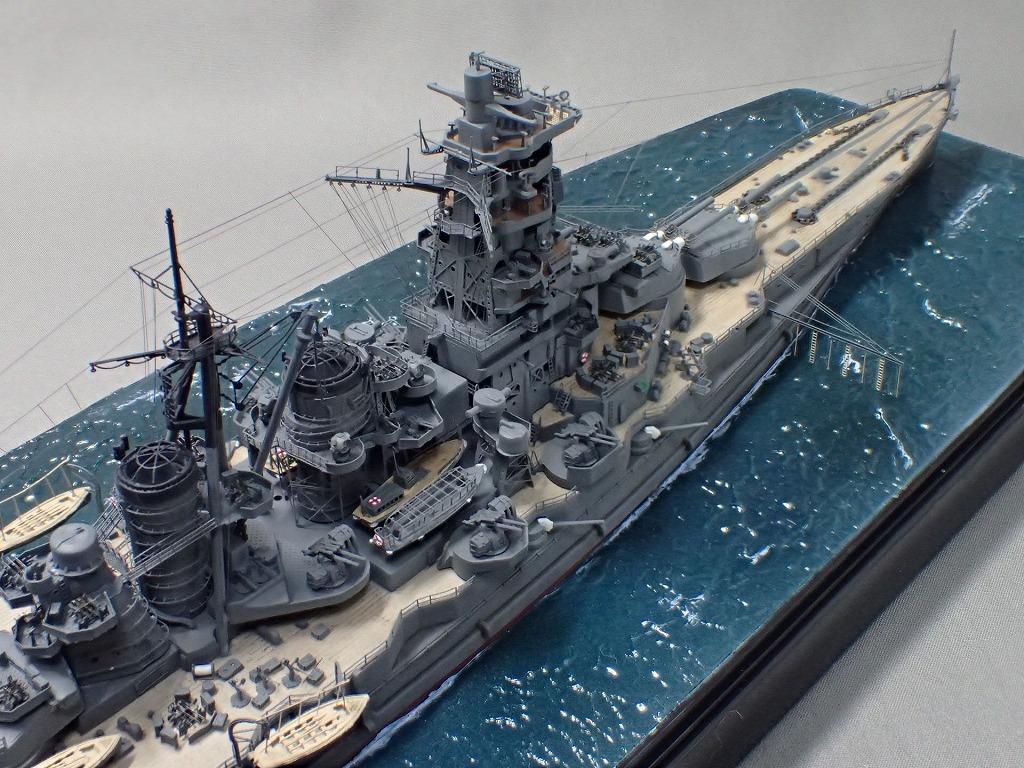
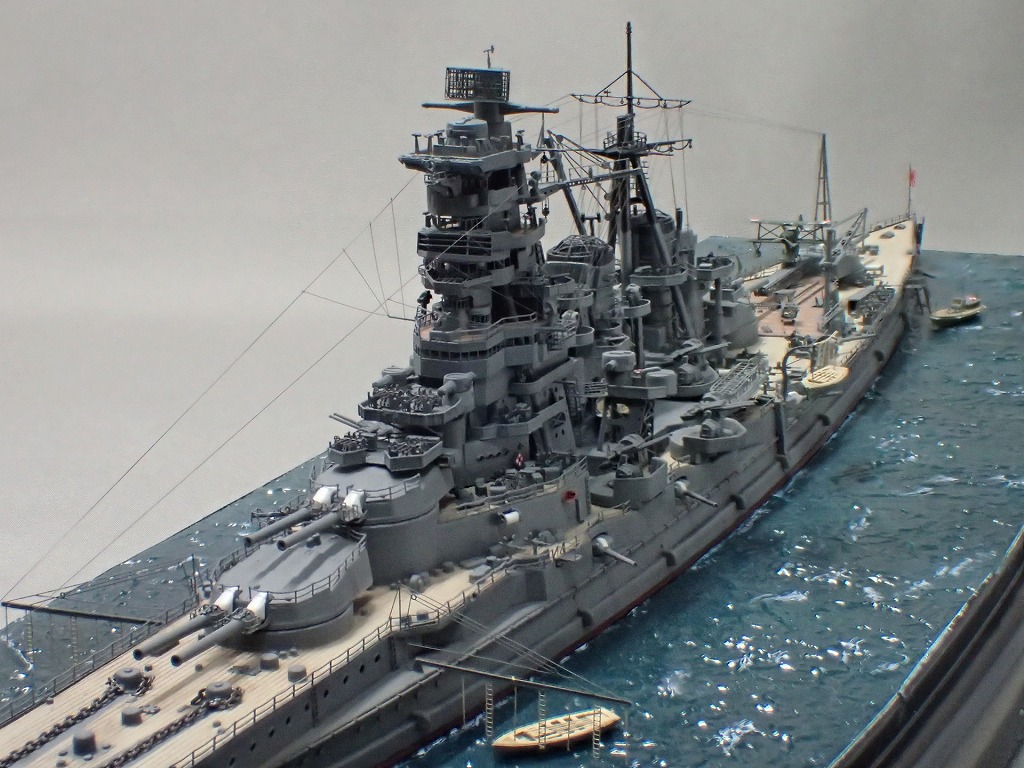
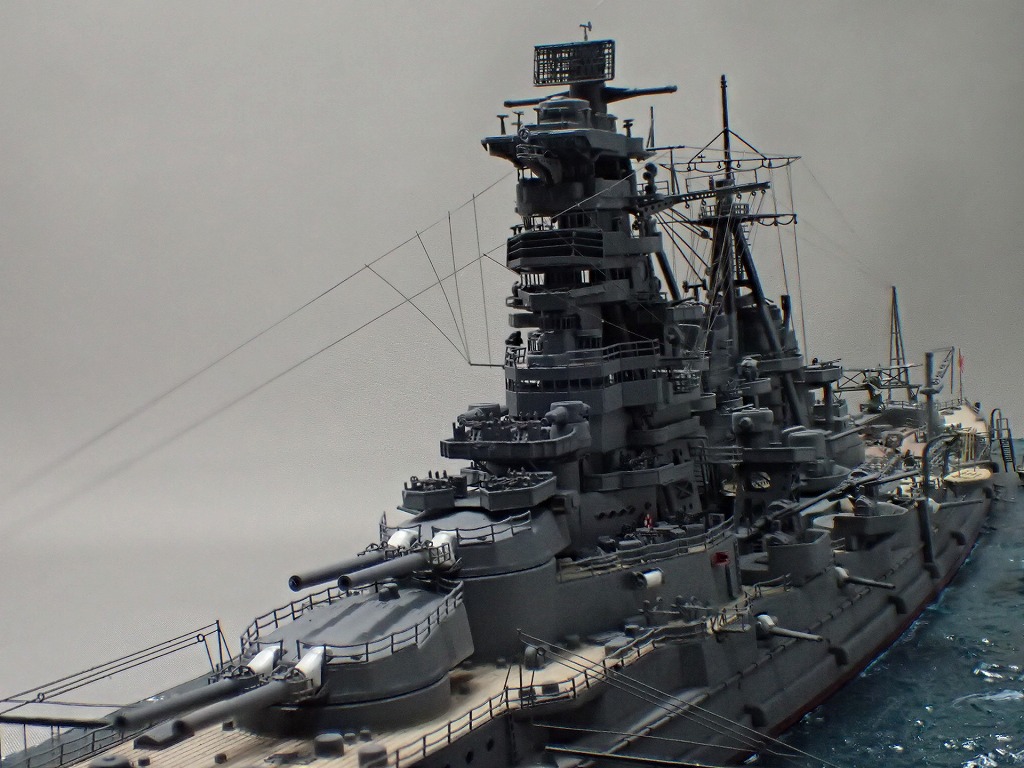
完成です。
さすが、戦艦クラスのフライホーク製エッチングパーツです。
精密な作業が求められる上に、その量も膨大で今年のゴールデンウィークのほとんどをこの金剛の製作に費やしました。
今、製作記を執筆しながら思い返しても、よく鬼畜のようなエッチングセットを完成させることができたなとしみじみしてます。
感無量です。
そのかいもあり、製作No.20の長門に並ぶぐらいの超絶な作品に仕上がることができました。
それでは、完成写真をご覧ください。
完成写真

最後まで、ご覧頂きありがとうございました。
それでは、次回作をお楽しみに。
コメント
初めてお便りします。
同じ条件で金剛を作るので参考にさせていただきます。
これまで50艦ほど作っていますが、その都度、いろいろな方の作例を参考にしていました。そのなかでもズボックさんの作例は、詳しくて写真も豊富で有り難いかぎりです。フジミ製山城の艦橋の難しさに関する記述を見たとき、「この人だ!」って思いました。私が作ったときは5年ほど前ですが、当時どなたも山城の艦橋の難しさに触れている方がいなくて、本当に苦労しました。
以来、ズボックさんの作例は知りたいことを教えてくださる師匠のような存在です。
山城の艦橋に尻込みして扶桑に手を出せずにいましたが、扶桑は組みやすいと拝読しました。おかげで安心して扶桑にも挑戦できそうですw
ぱとらんさん、こんにちは。
涙の出るようなコメントを頂きまして、ありがとうございます。
フライホークのエッチングセットはなかなか手ごわいキットですが、無事に竣工できるよう応援しております。
返信いただきまして、ありがとうございます。
準備運動として、金剛・昭和16年、純正エッチングパーツを組んでいます。
高雄・日向・長門・利根など、作っていない船もたくさんありますので、
製作記を拝見しながら楽しんでいきたいと思います。