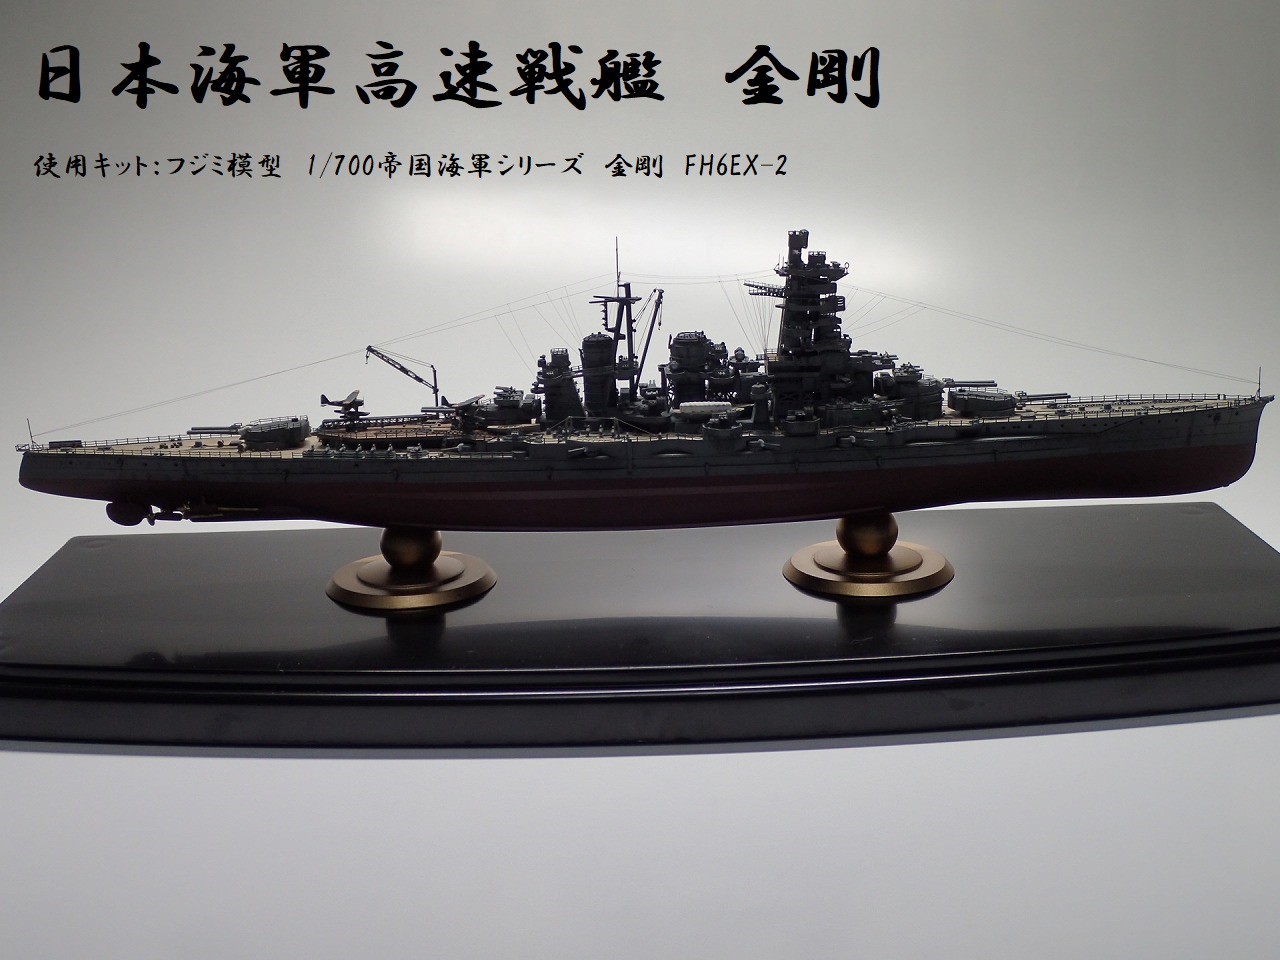
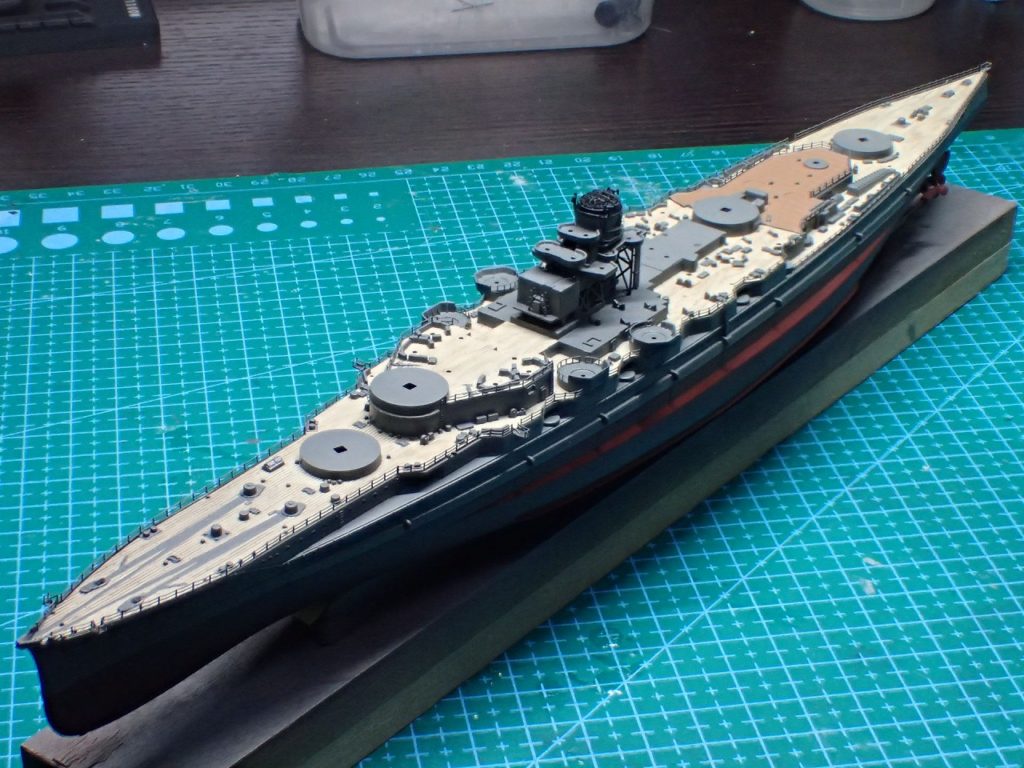
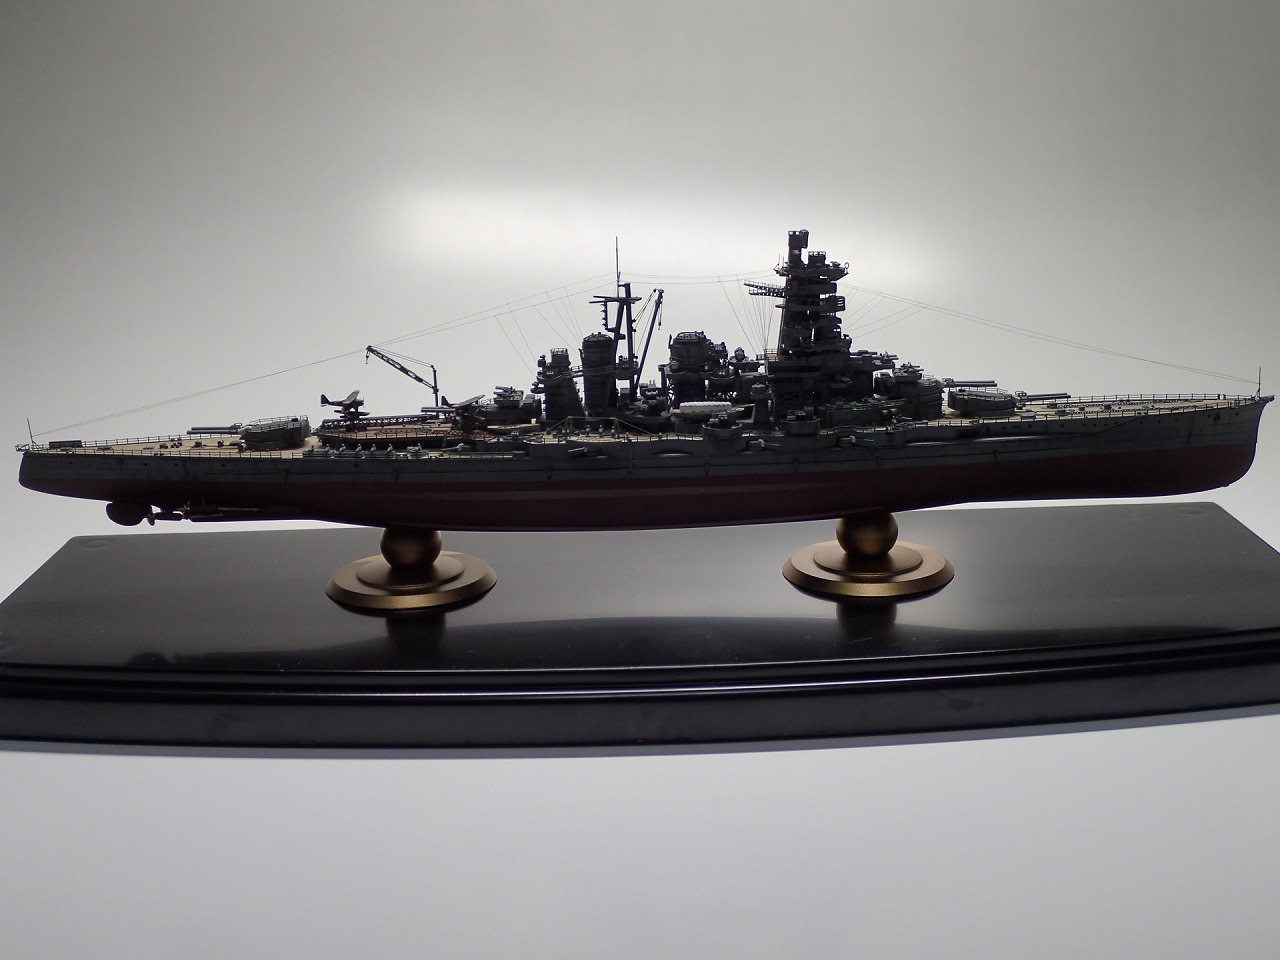
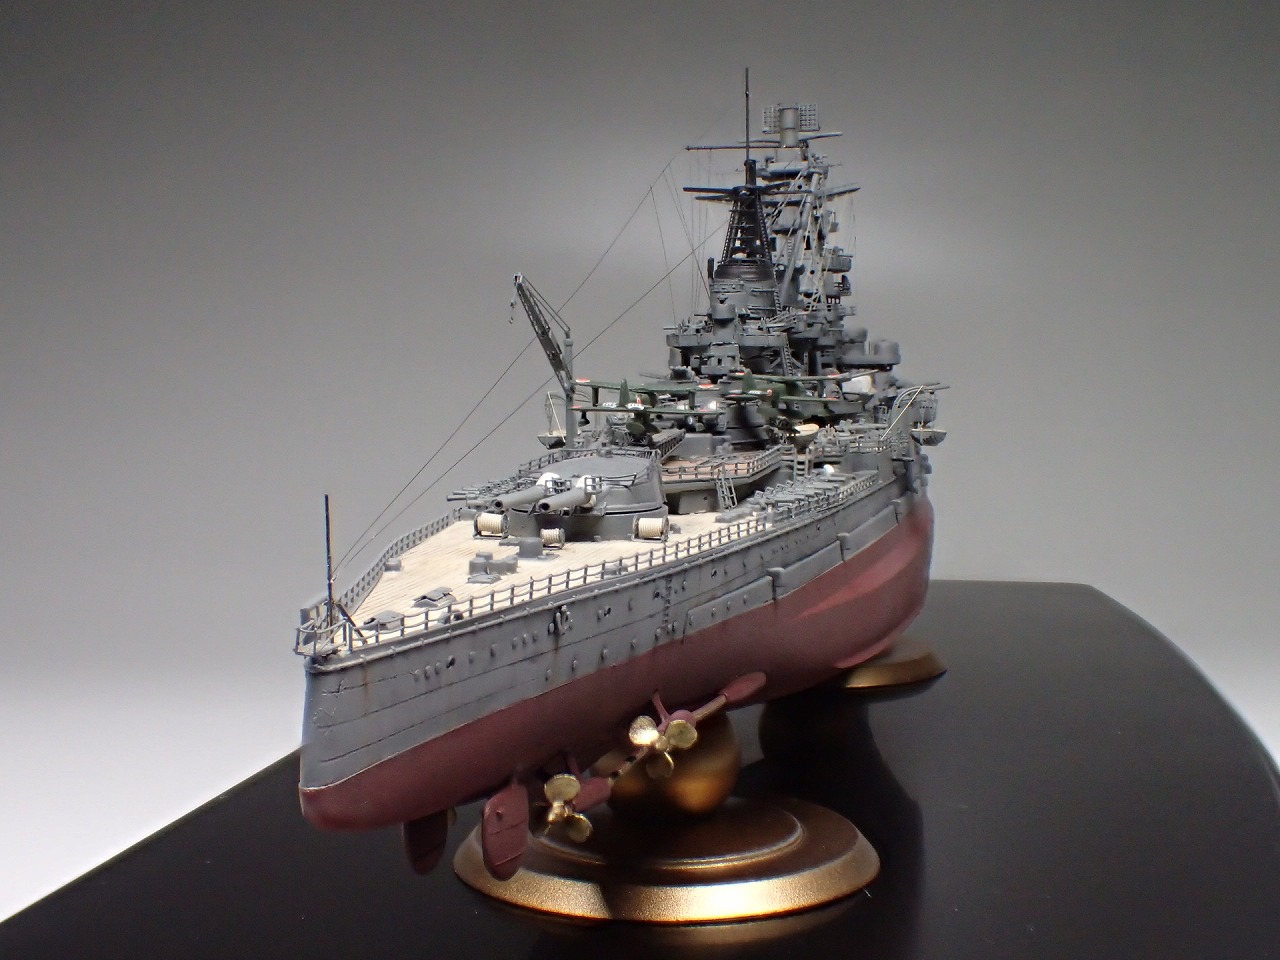
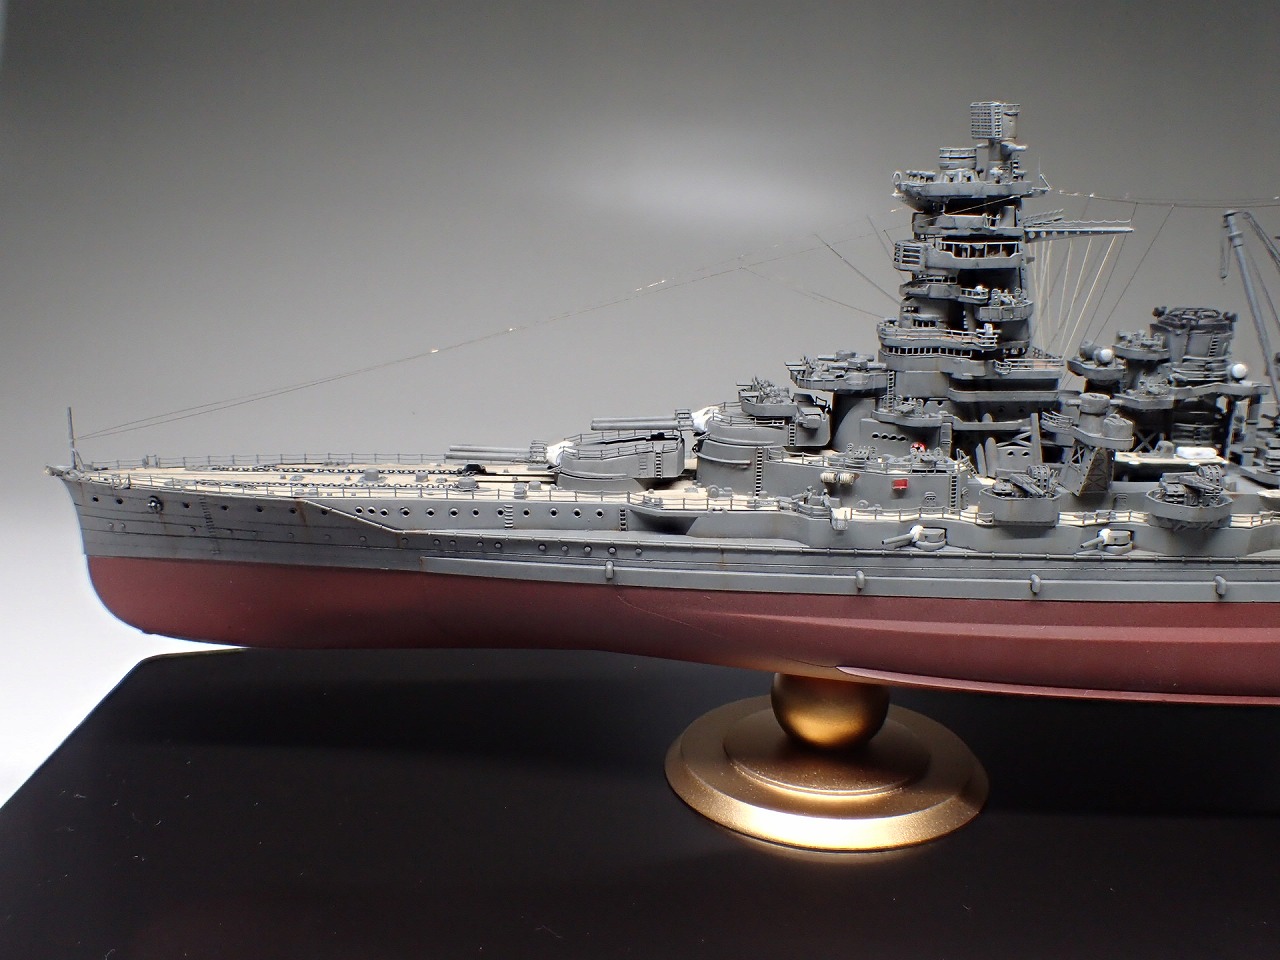
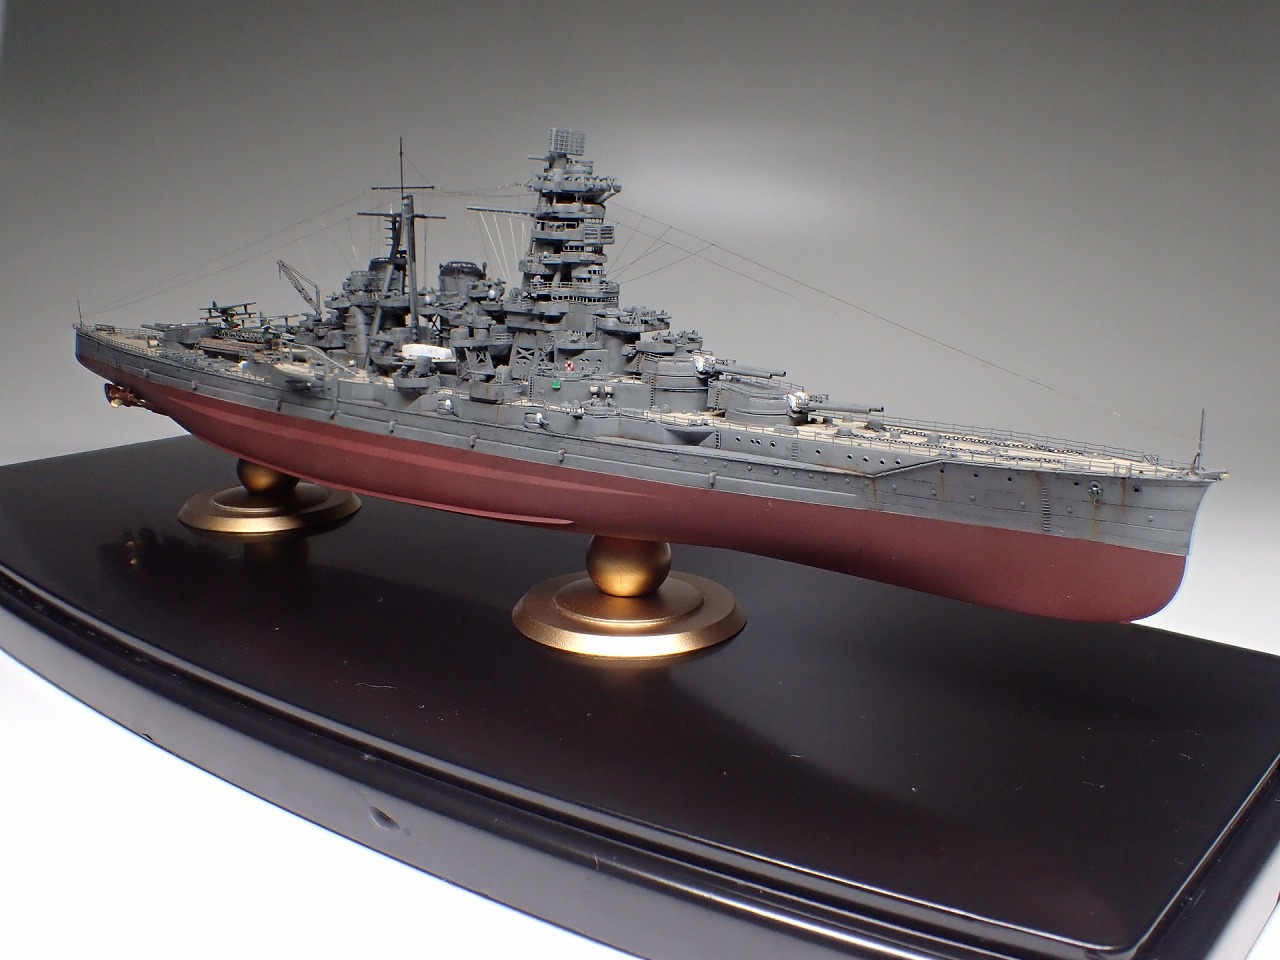
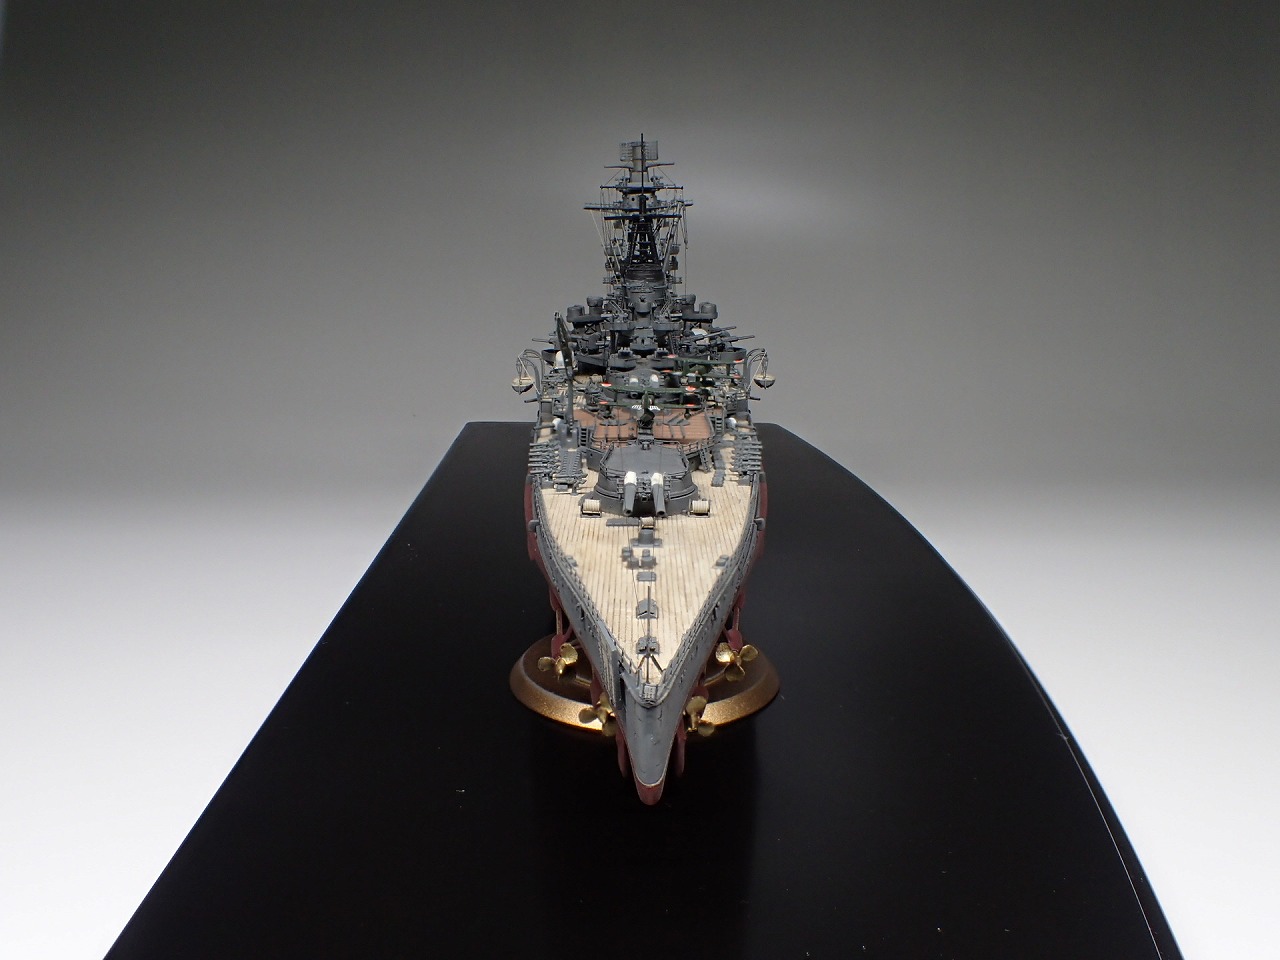
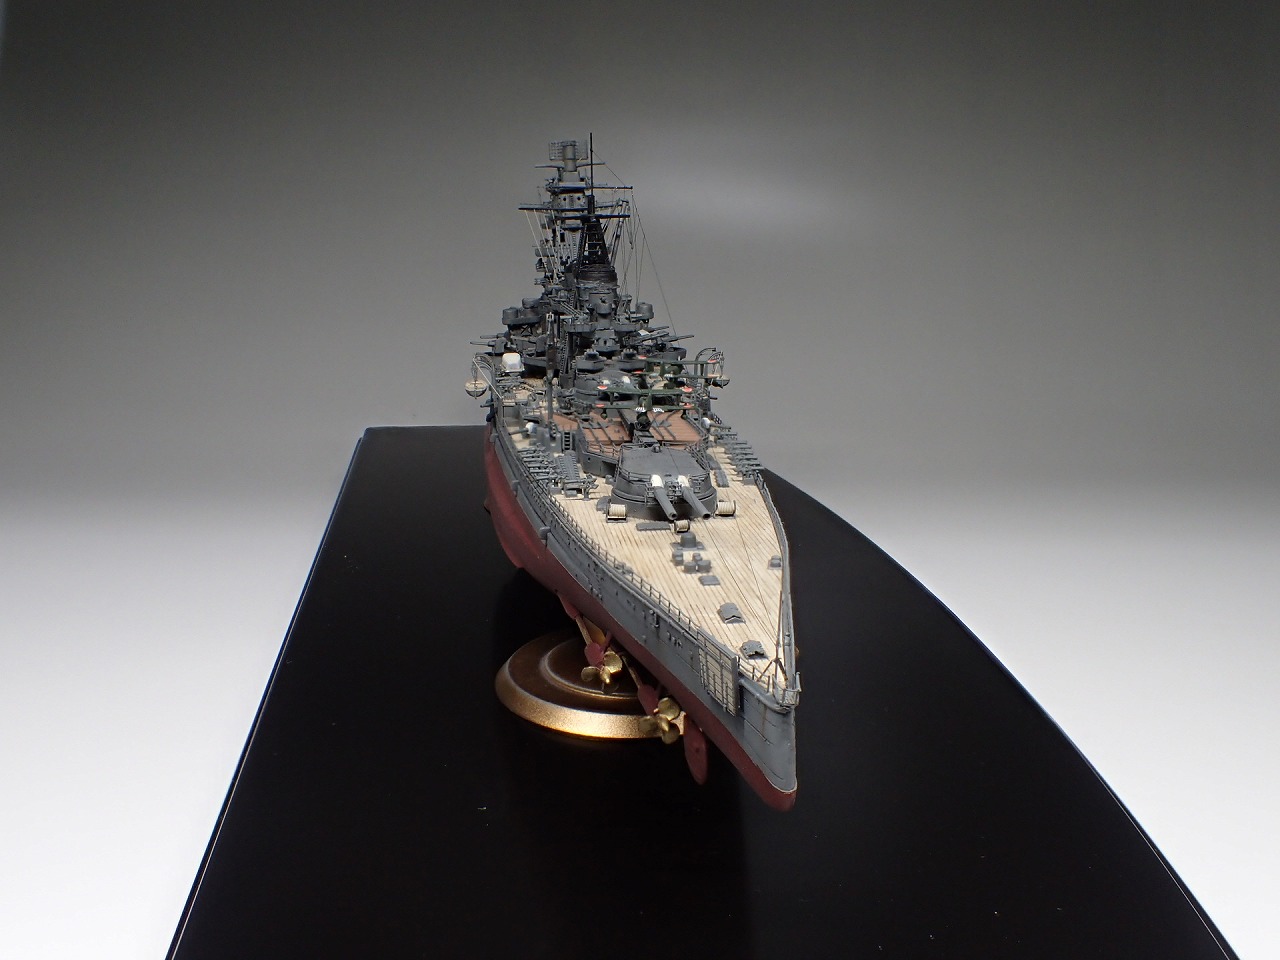
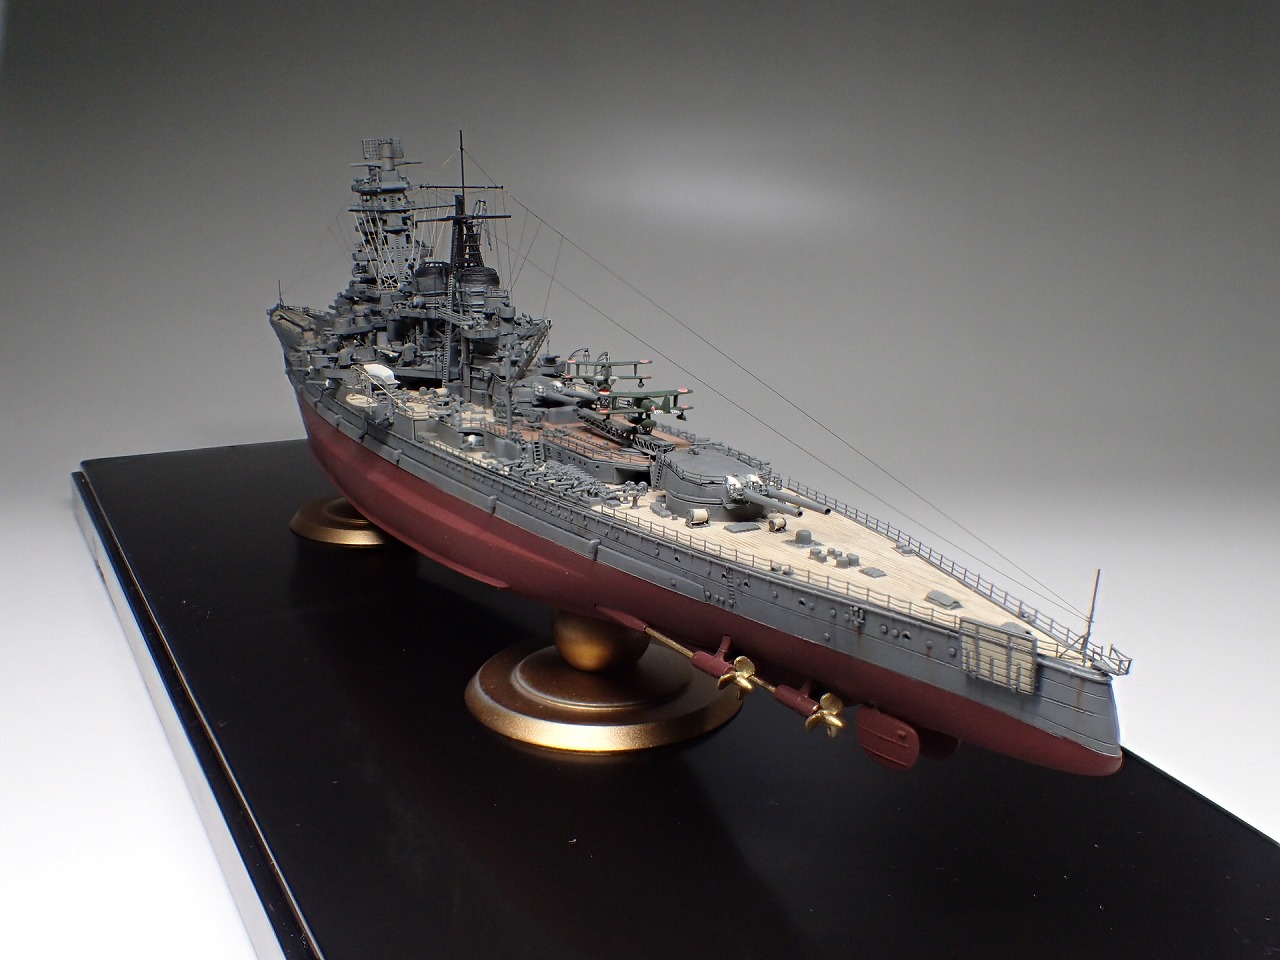
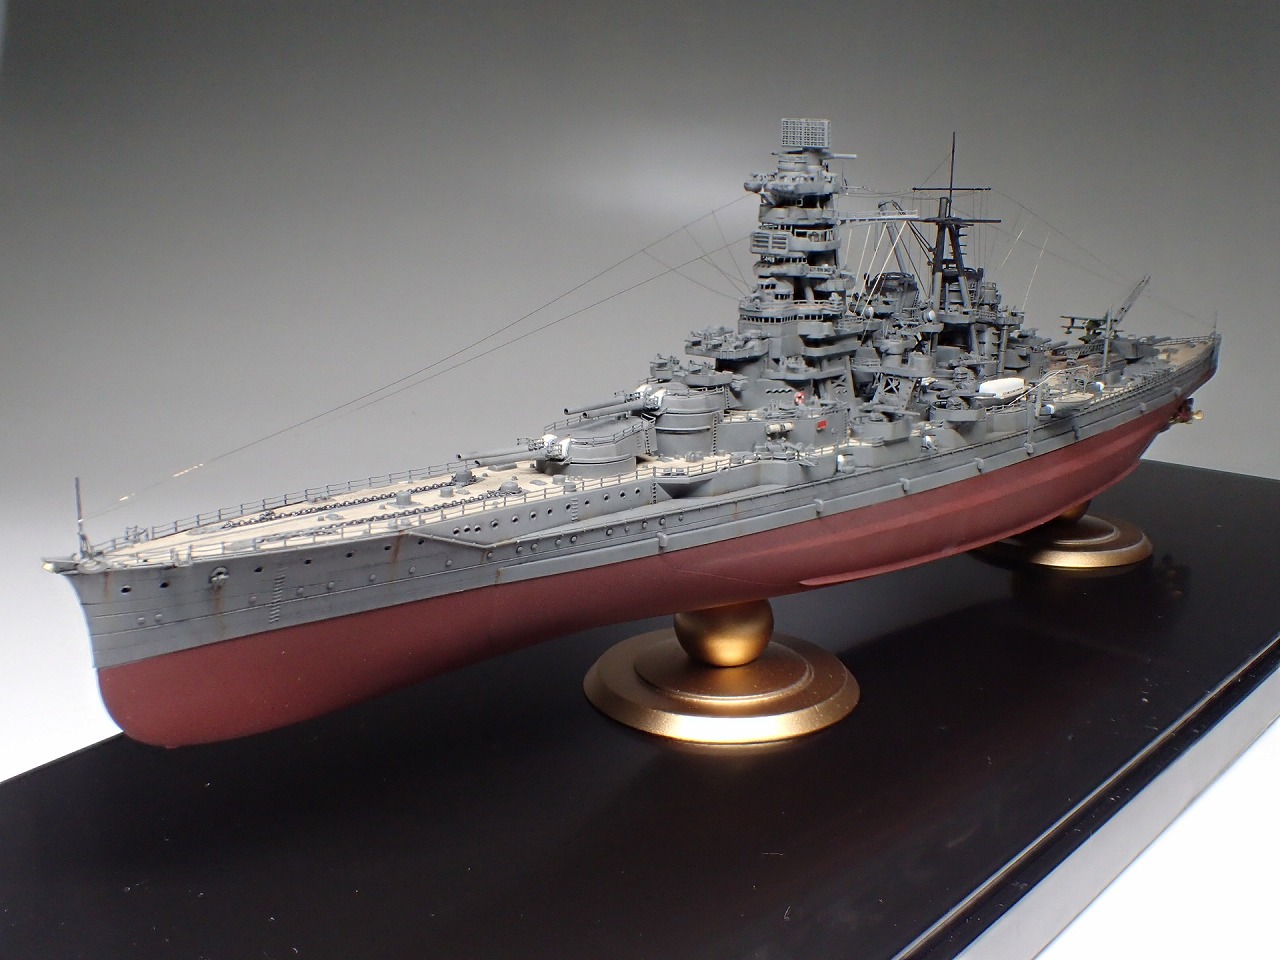
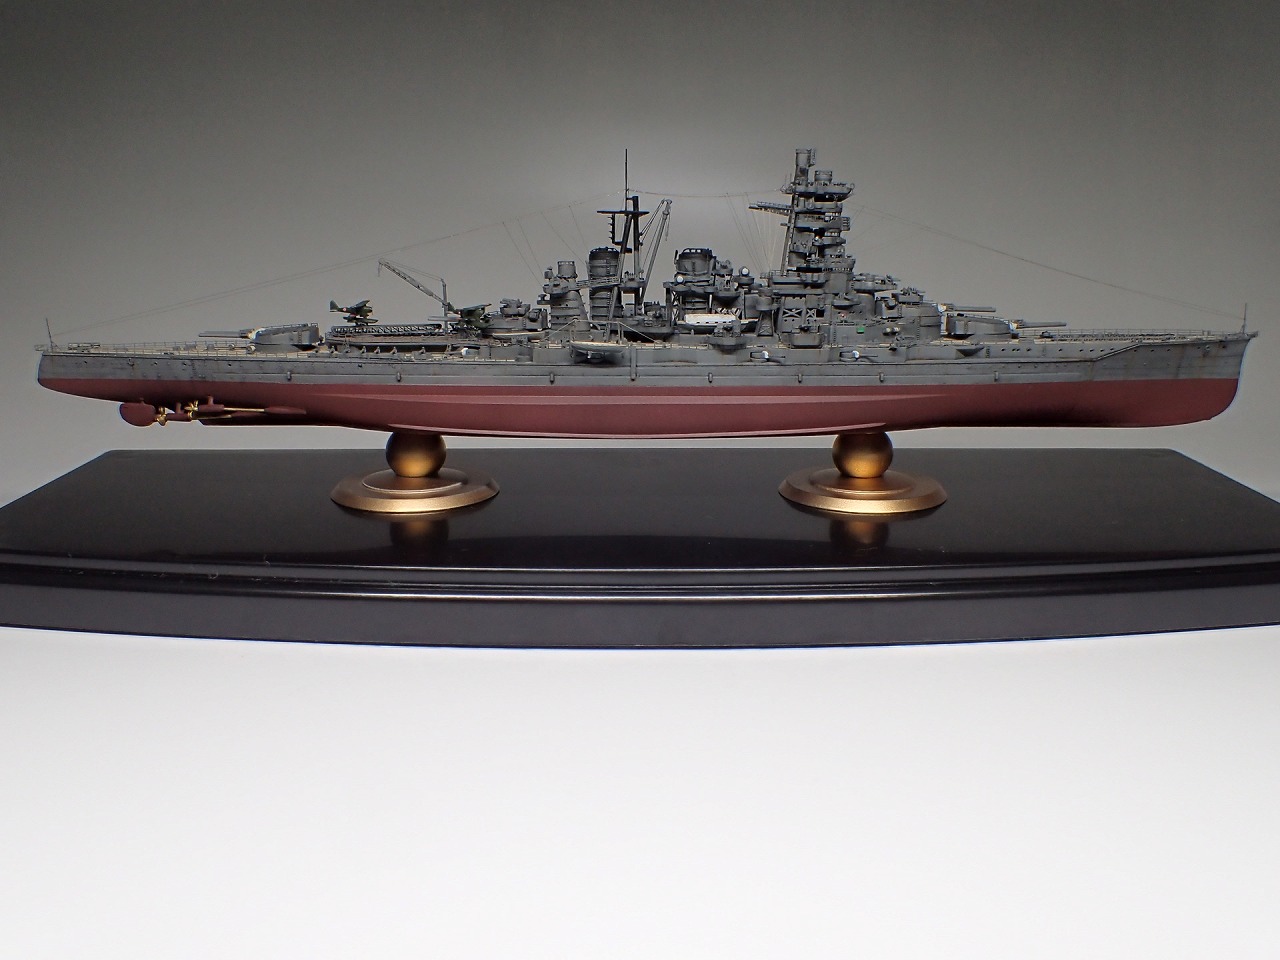
フジミの帝国海軍シリーズ日本海軍高速戦艦「金剛」を純正エッチングパーツを使用して製作しました。逆光気味で撮影した金剛の美しいシルエットの1枚がお気に入りです。
製作状況
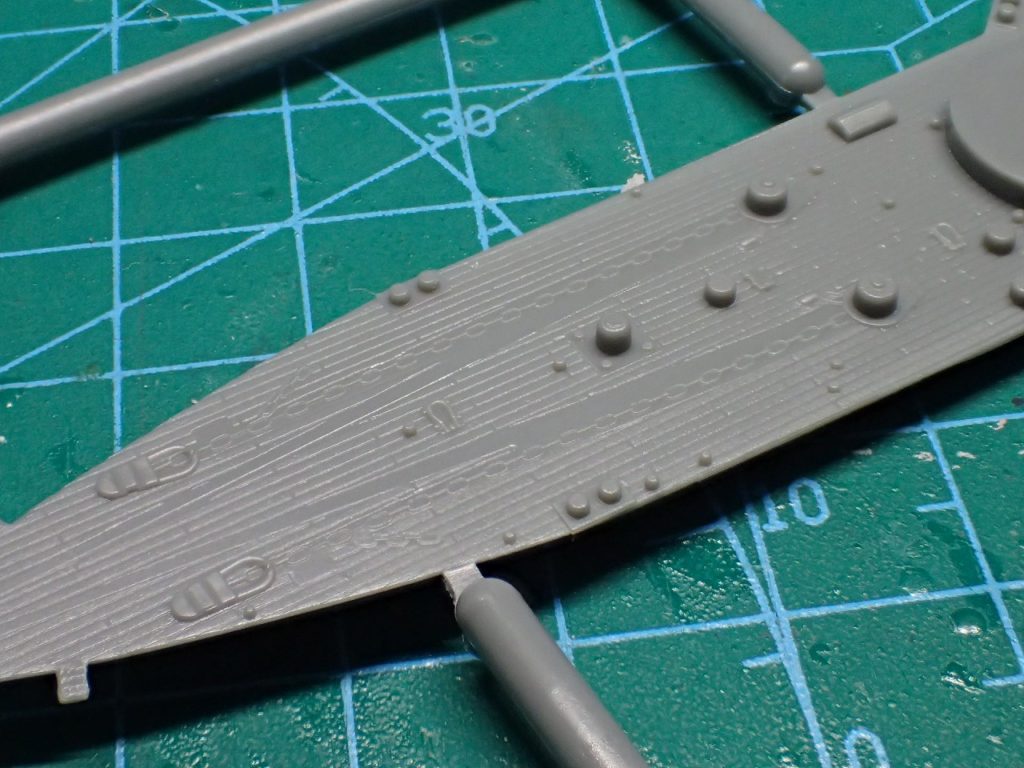
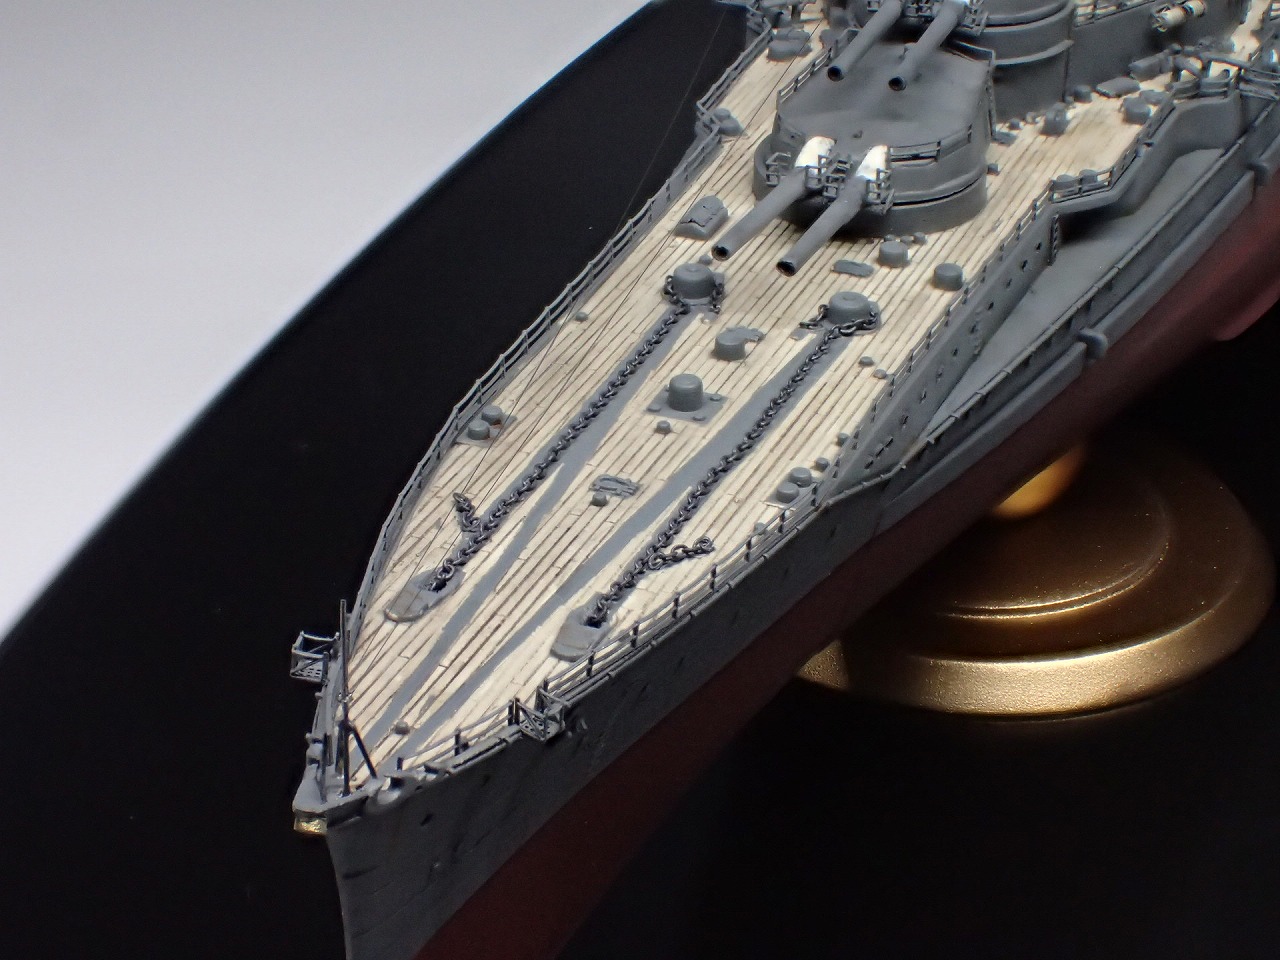
最新キットの艦ネクストの榛名に続いて製作すると、このキットのモールドの緩さが気になります。アンカーチェーンもパラベーンも半分埋まっているような状態です。
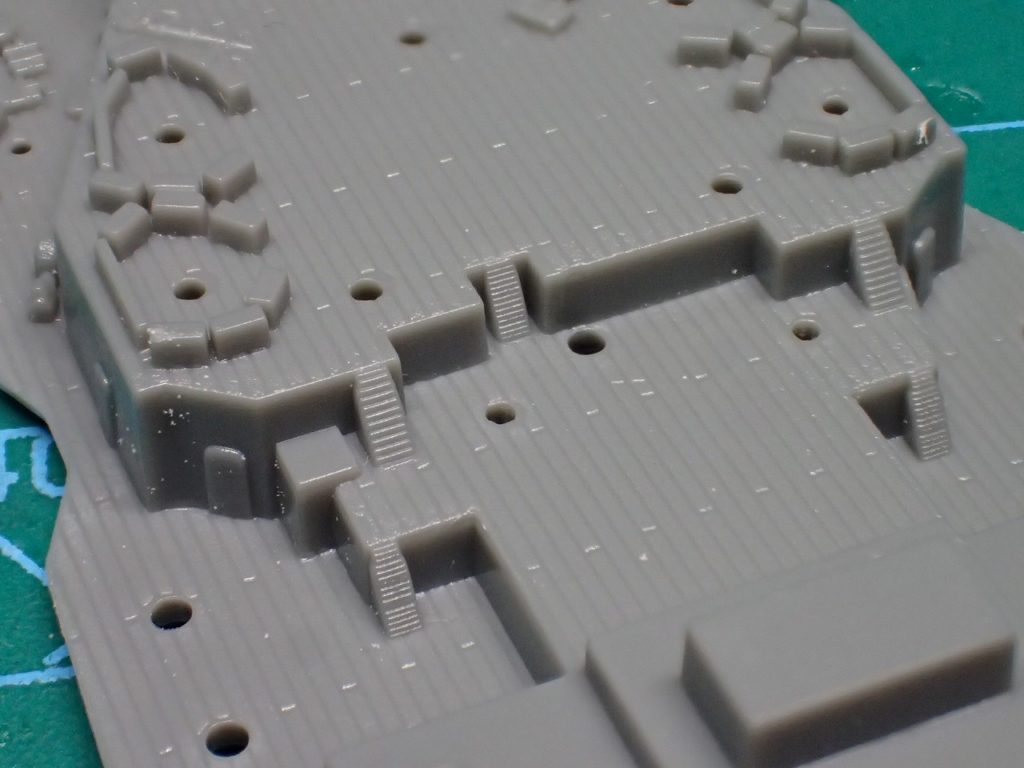

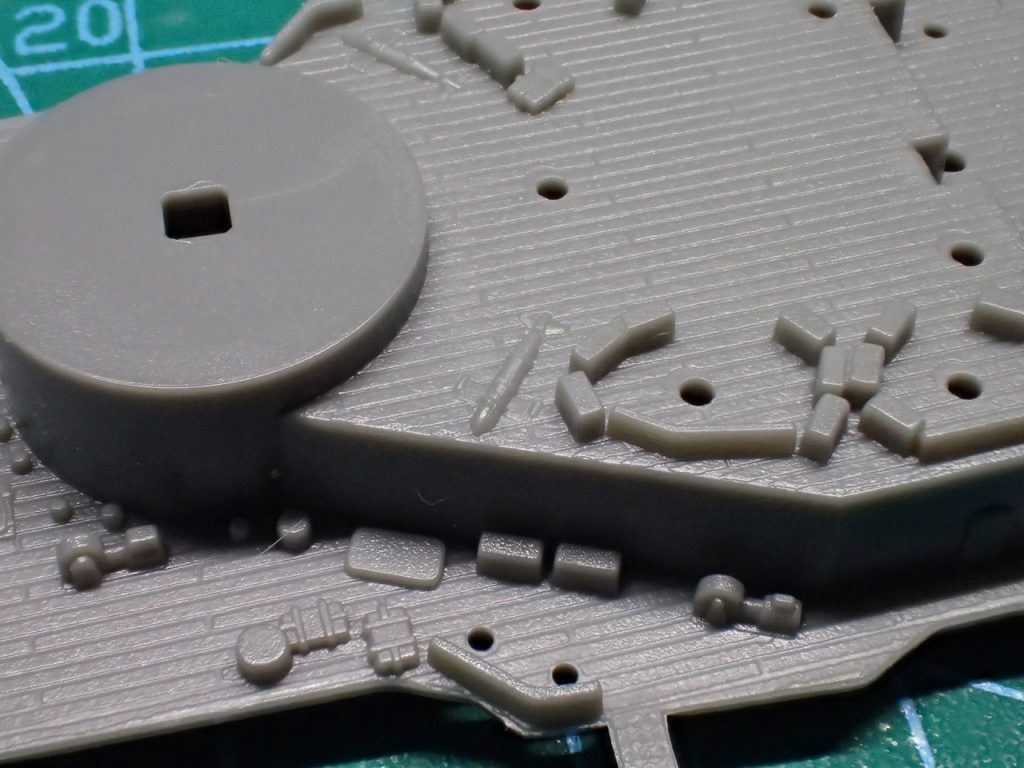
エッチングパーツに置き換える箇所をノミで削りました。
使用している工具は、ハセガワのモデリングチゼル平細です。奥まった箇所の切削に必要になります。


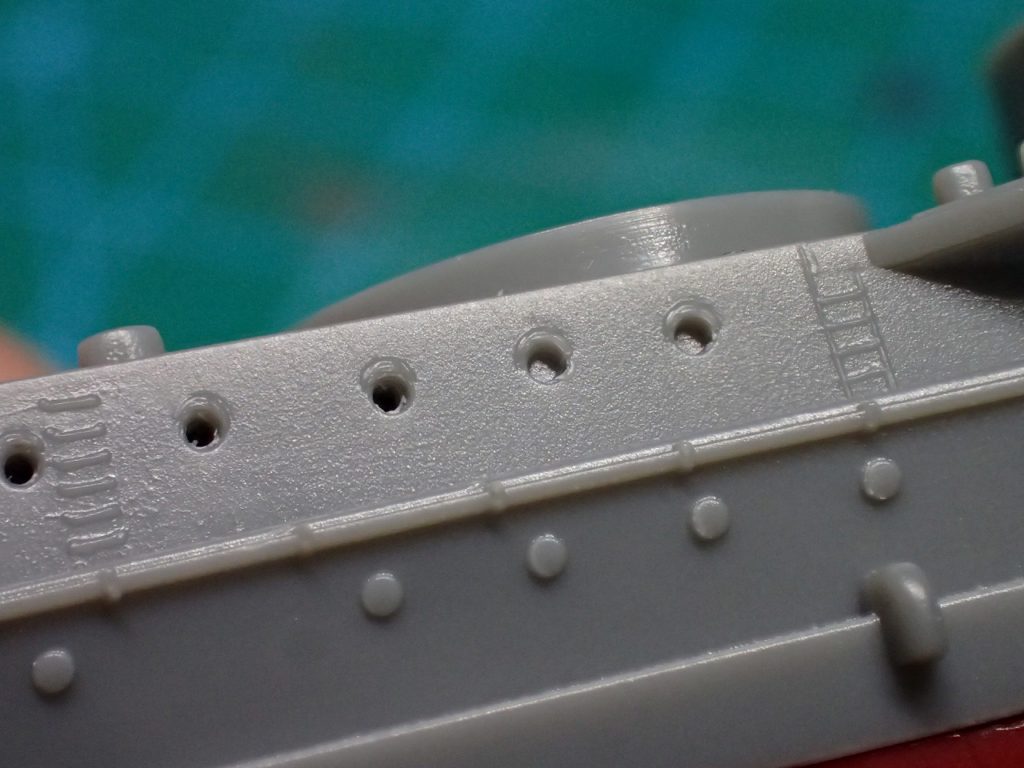
舷窓を0.5mmのピンバイスで削孔しました。
削孔が面倒ならスミイレでもいいと思いますが、艦船模型は組み立て後、筆が届きにくい箇所も出てくるので、私は組立段階で削孔するようにしています。
鉄板の継ぎ目をスジボリで再現しました。
艦ネクストの榛名は、既存のモールドで鉄板の継ぎ目が再現されていたので、気になって再現することにしました。使用工具は、ハセガワのモデリングスクライバーです。ガイドはマスキングテープですが、一般的な紙タイプでは少し弱いのでビニールタイプのマスキングテープを使っています。


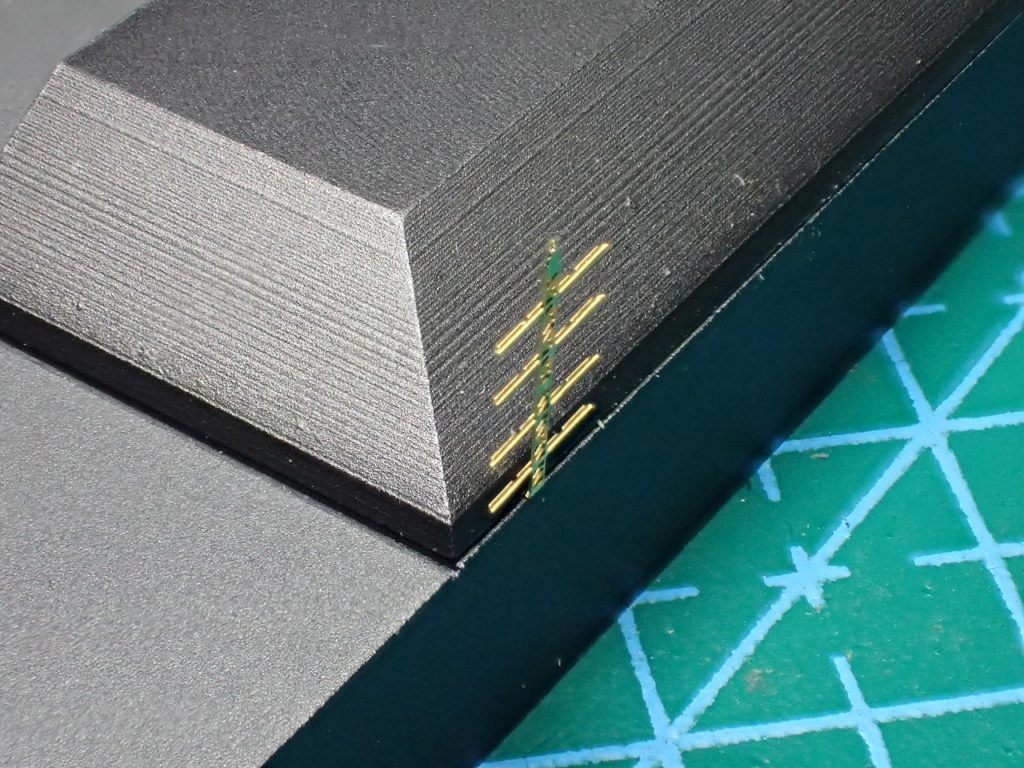
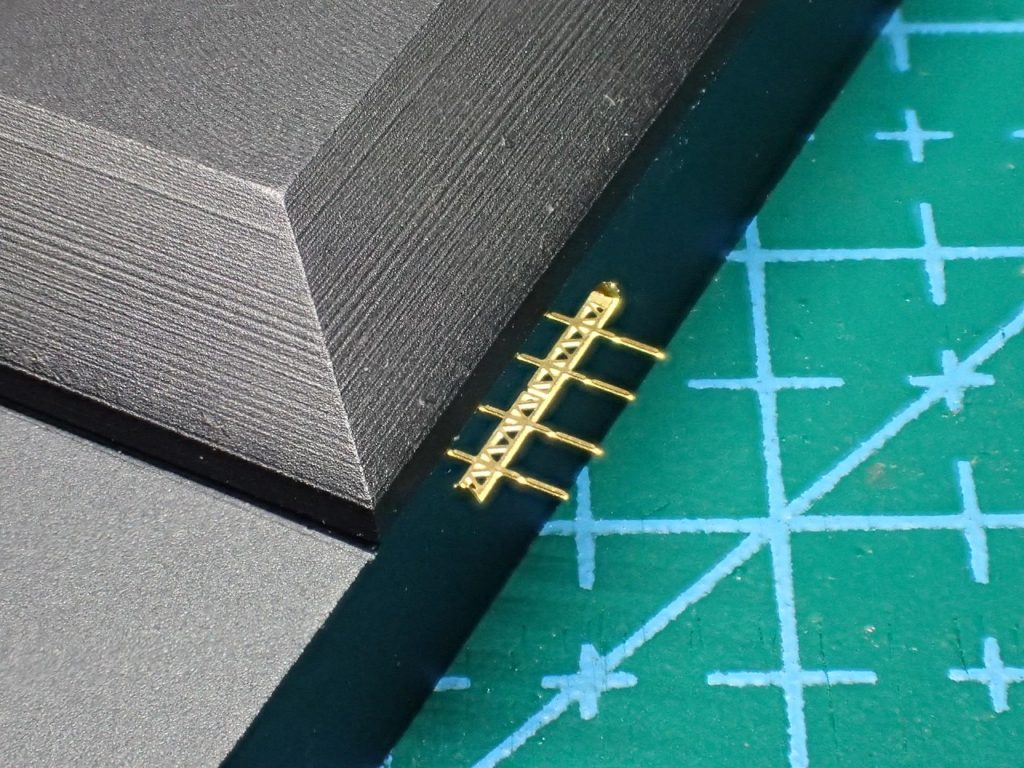
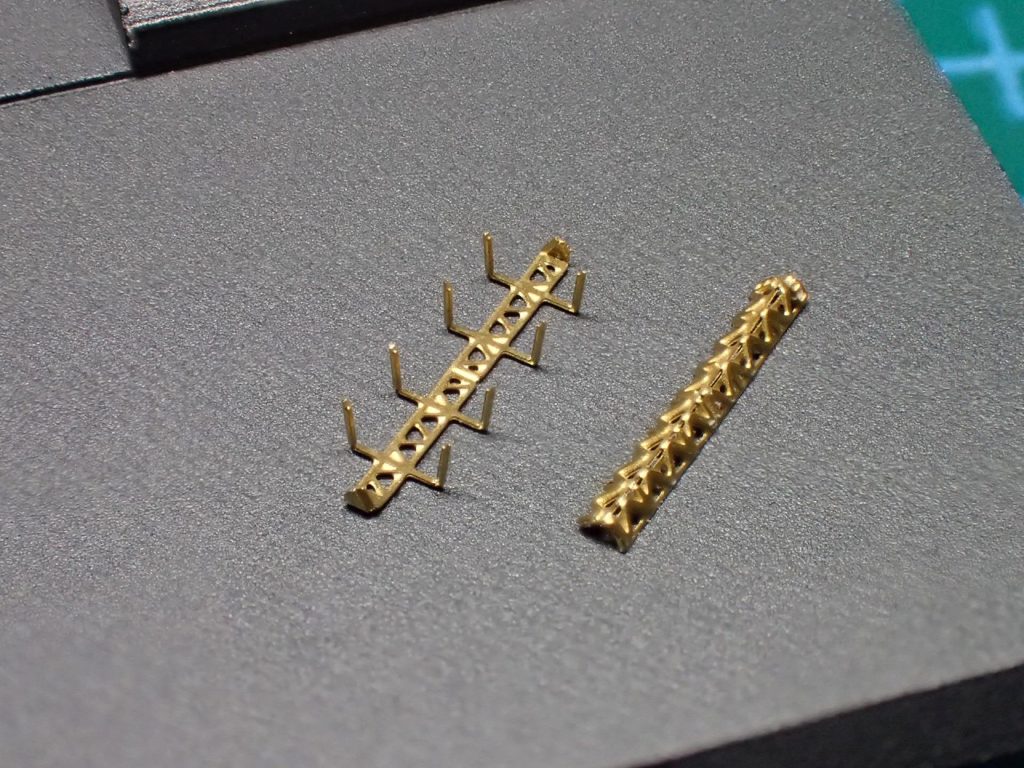
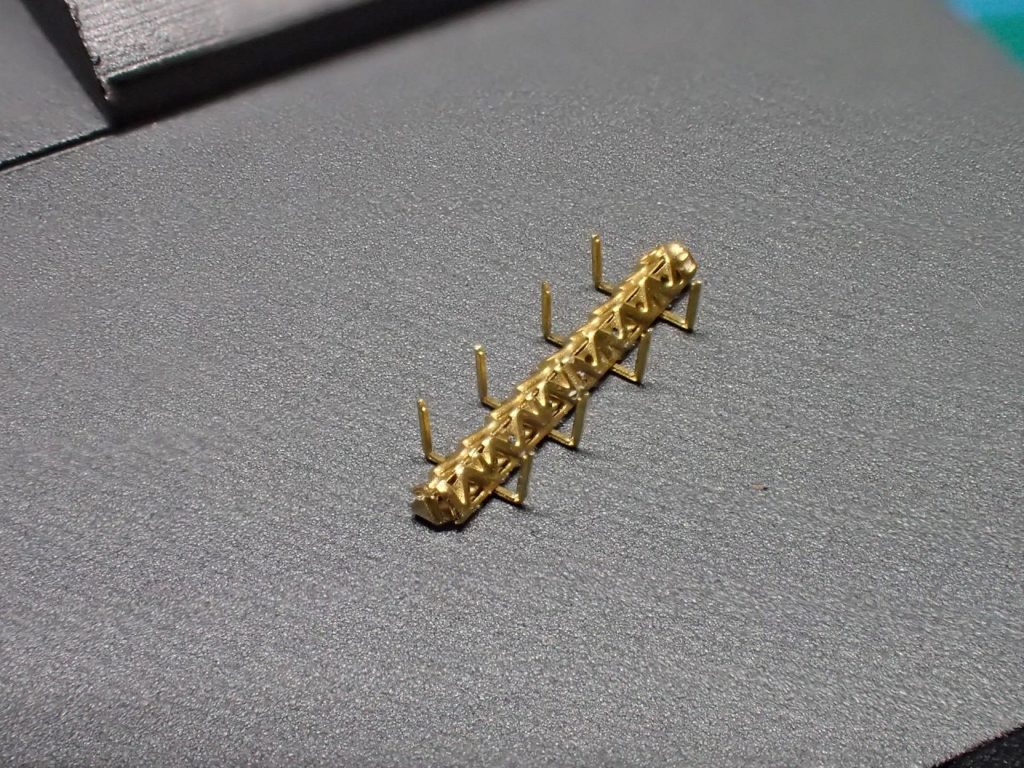
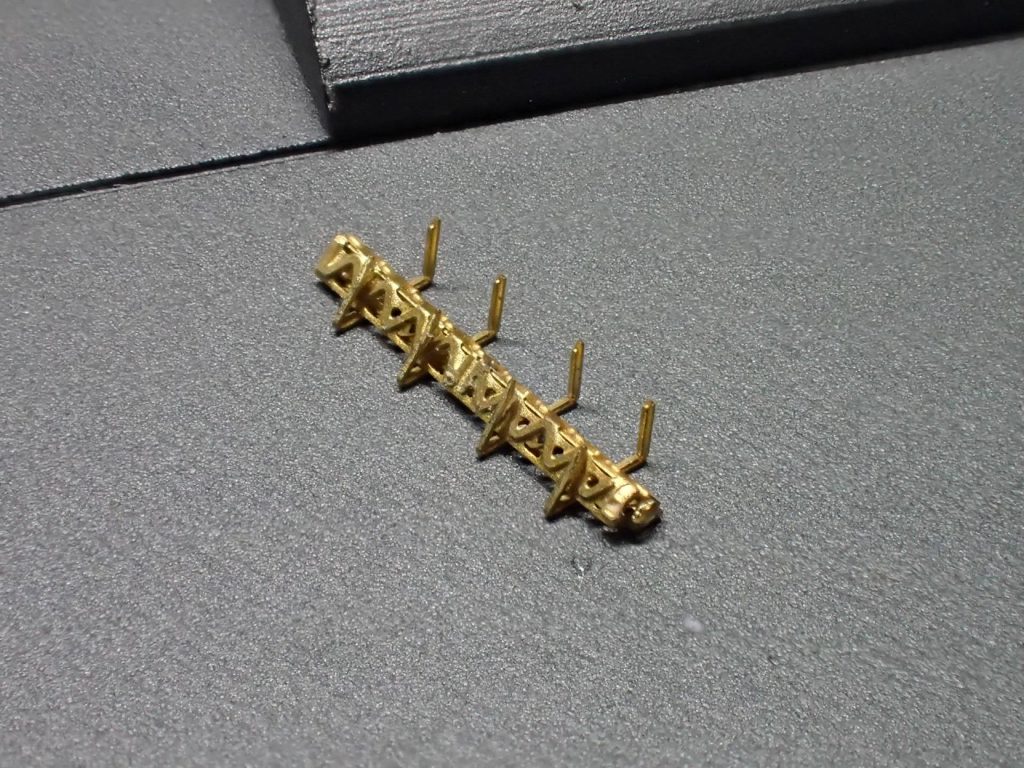
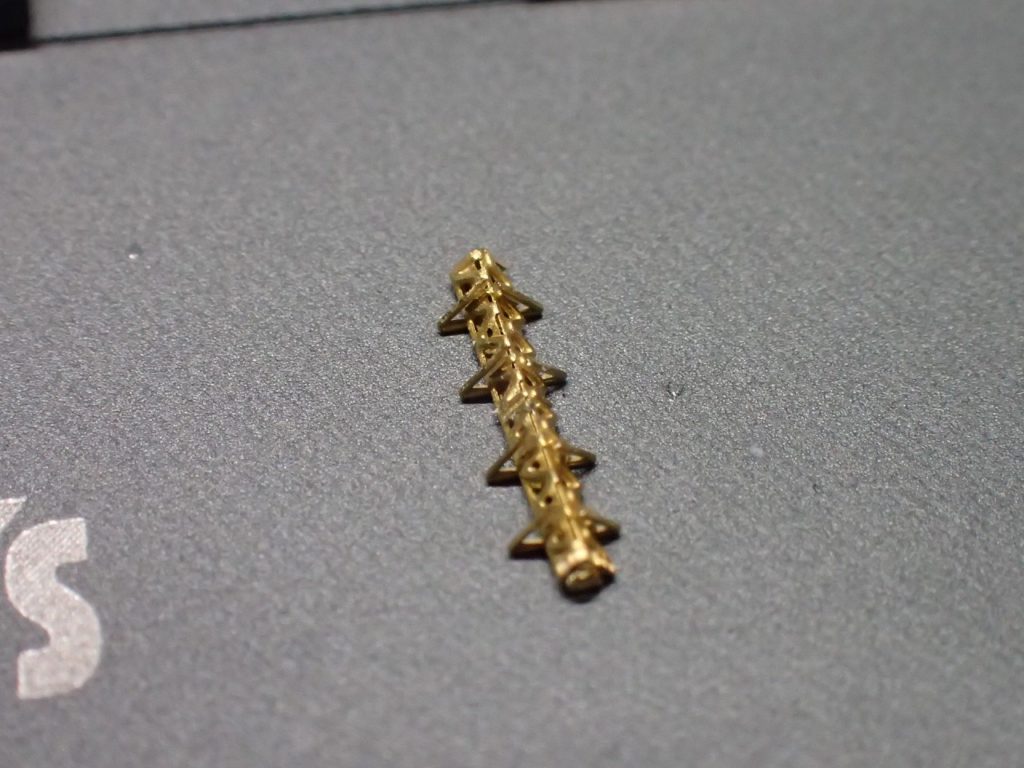
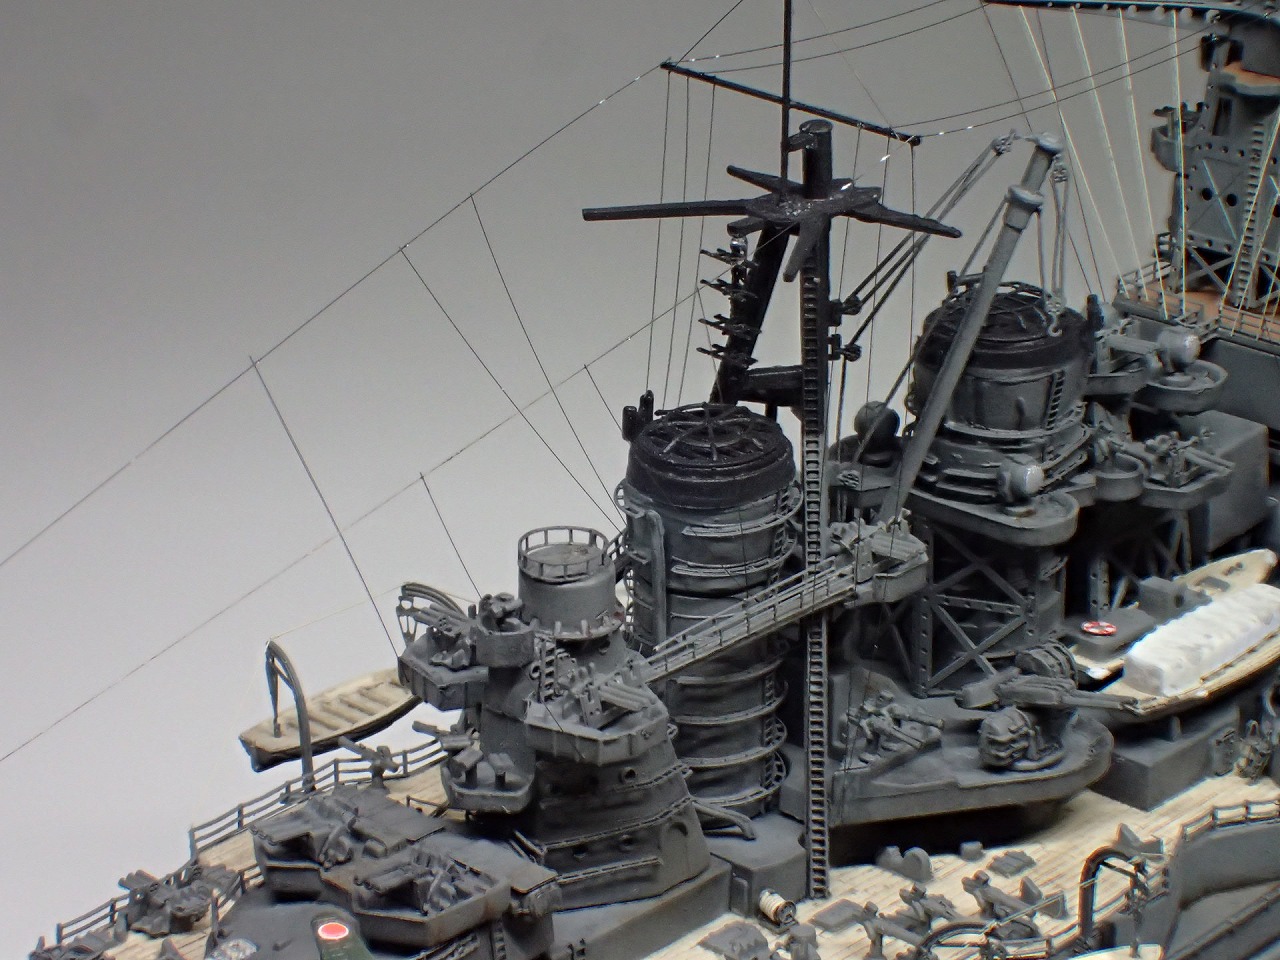
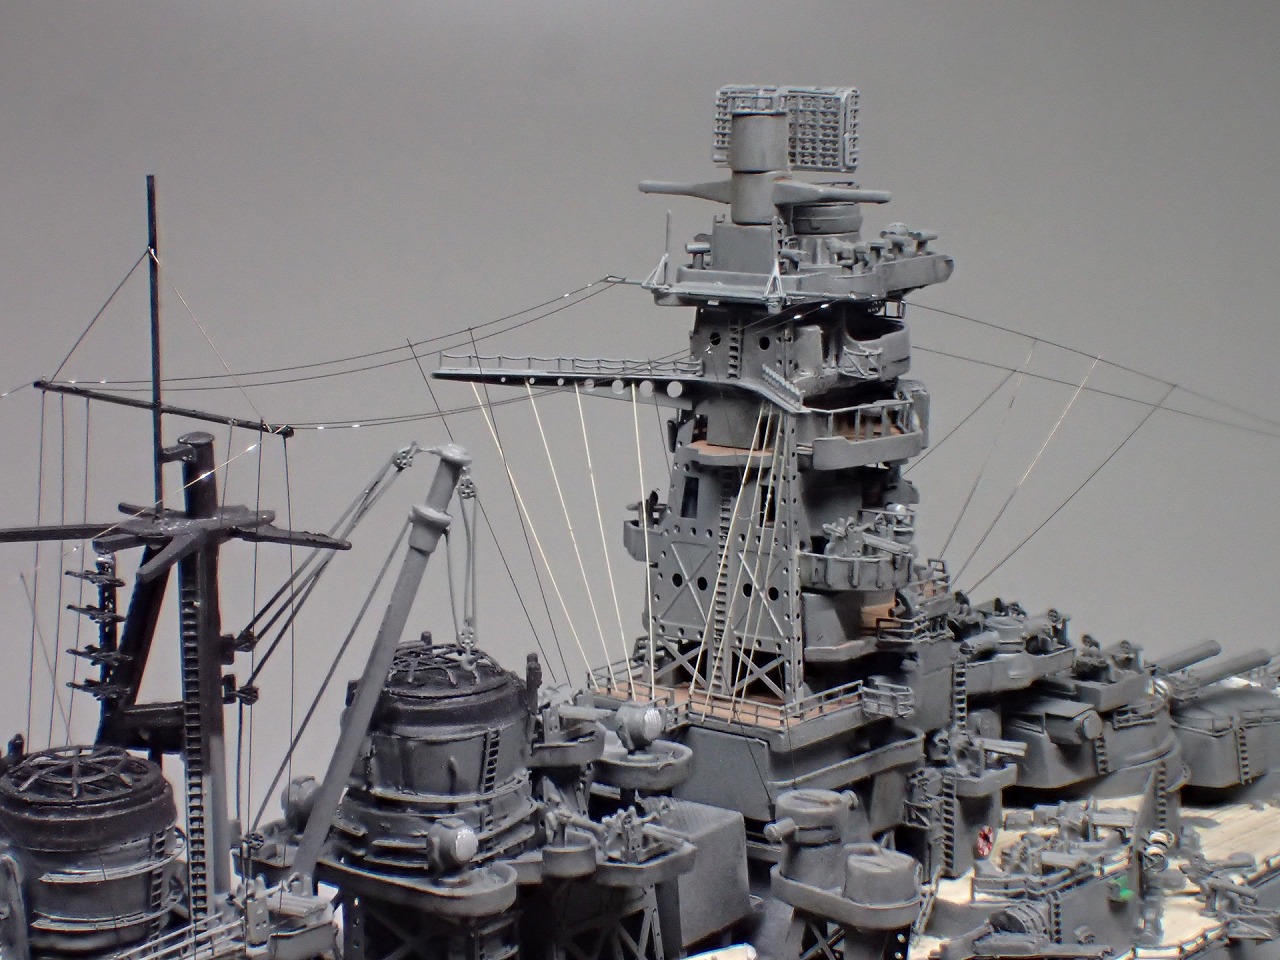
艦橋トップの張線桁を0.2mmのピアノ線に置き換えました。


ピアノ線はとても硬いので取り扱いは注意が必要です。普通のメタルニッパーで切断すると一発でメタルニッパーがお釈迦になります。
私がピアノ線の切断に使用しているニッパーはウェーブの金属線用ニッパーです。このニッパーは一般的なニッパーの刃の構造とは異なっており、建設現場などで鉄筋を切断する工具と同じ構造になっています。


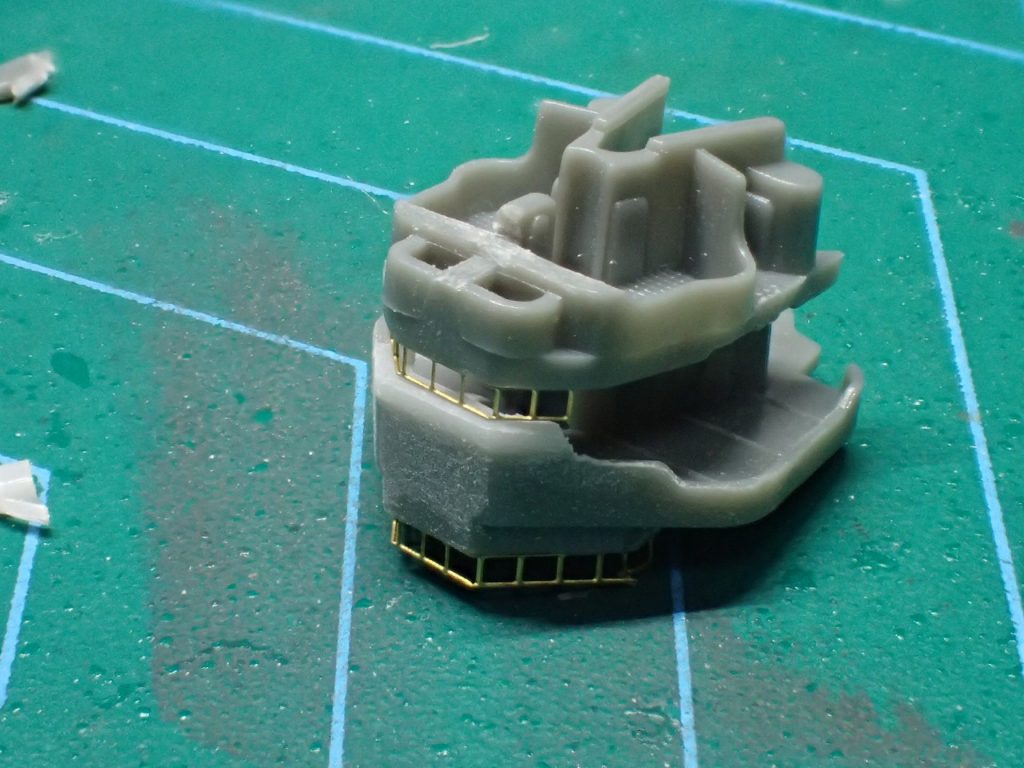
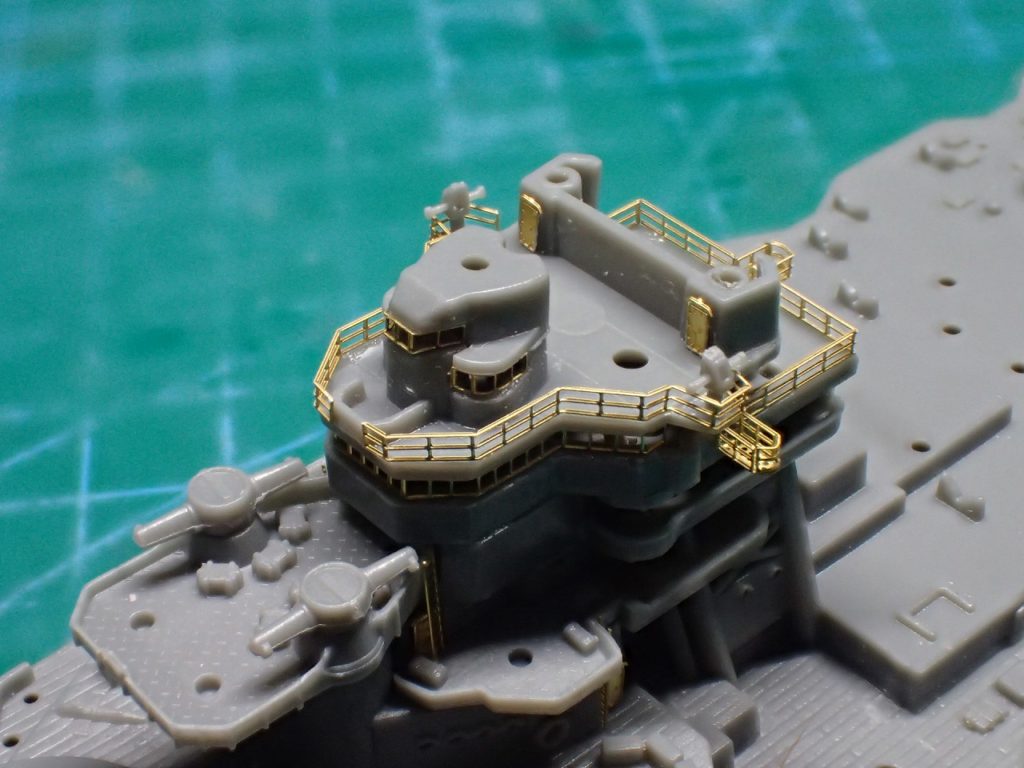
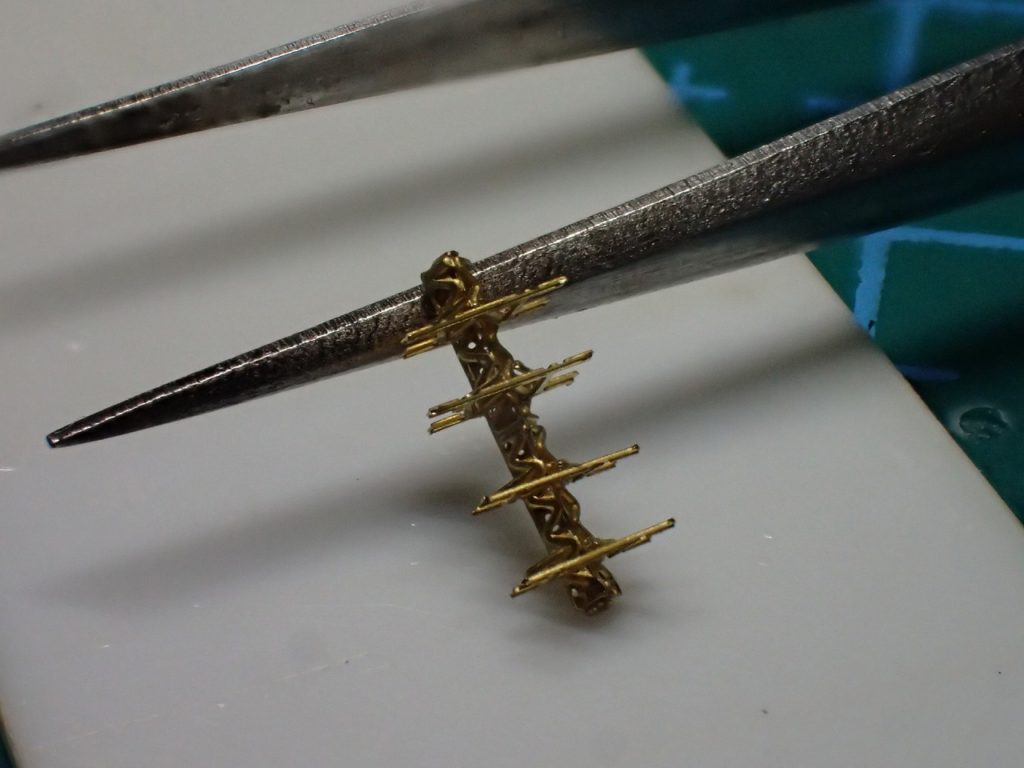
窓枠のエッチングは既存の窓枠モールドの上に重ねるような指示になっていますが、切り取って埋め込むほうがよりリアルになるので、加工しました。
写真のように上部側のパーツに窓枠のエッチングパーツを取り付けて、窓枠モールドを削った下部側は微調整できるようにしておくと良いです。
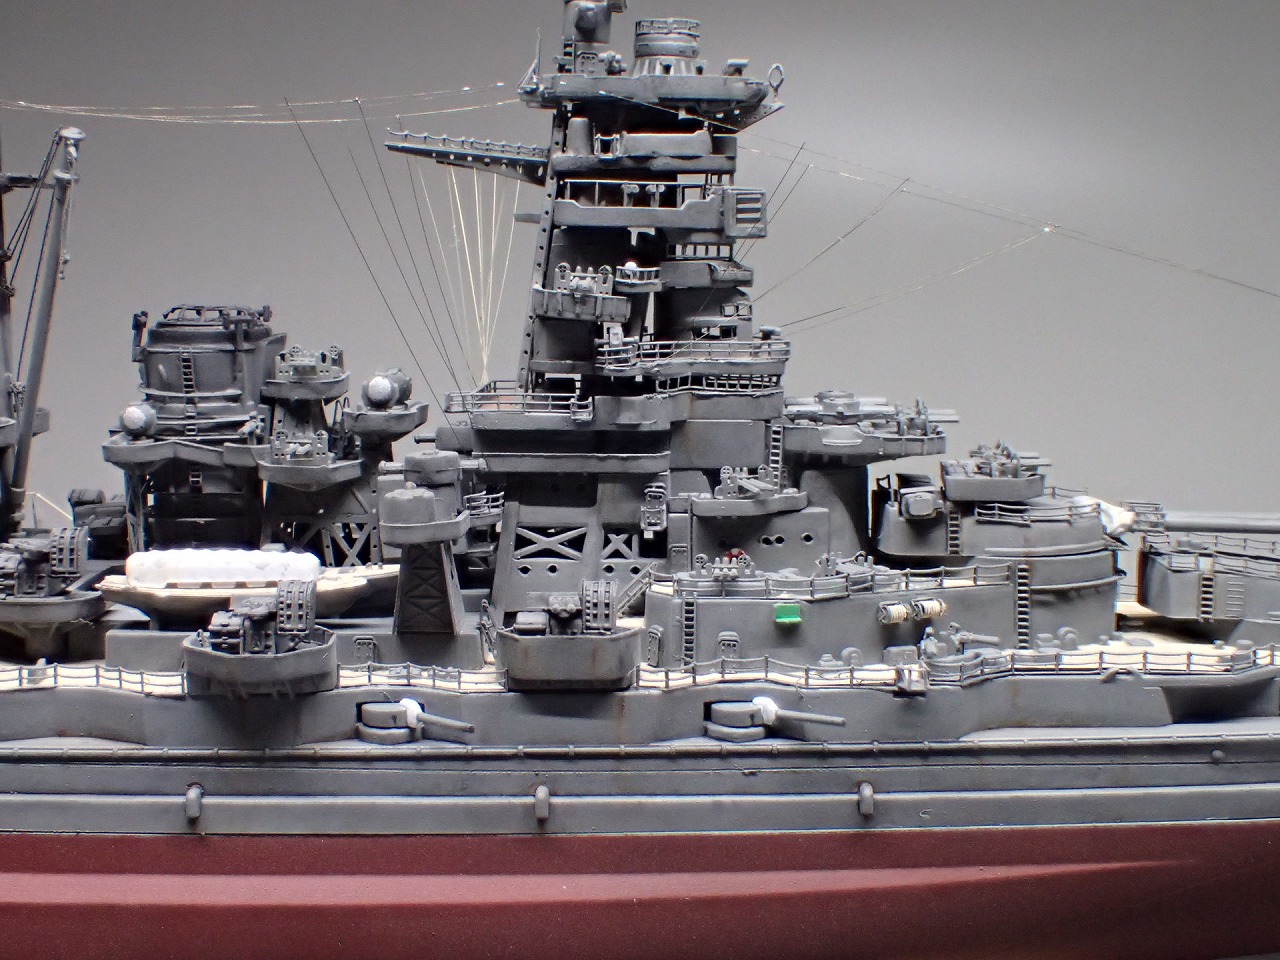
この帝国海軍シリーズの金剛は、既存の窓枠モールドとエッチングパーツの窓枠の高さが違っているというトラップが仕掛けらているので製作する方はご注意下さい。ちなみに、2枚上の写真は、エッチングパーツのほうが細かったため、プラパンで高さを調整しています。
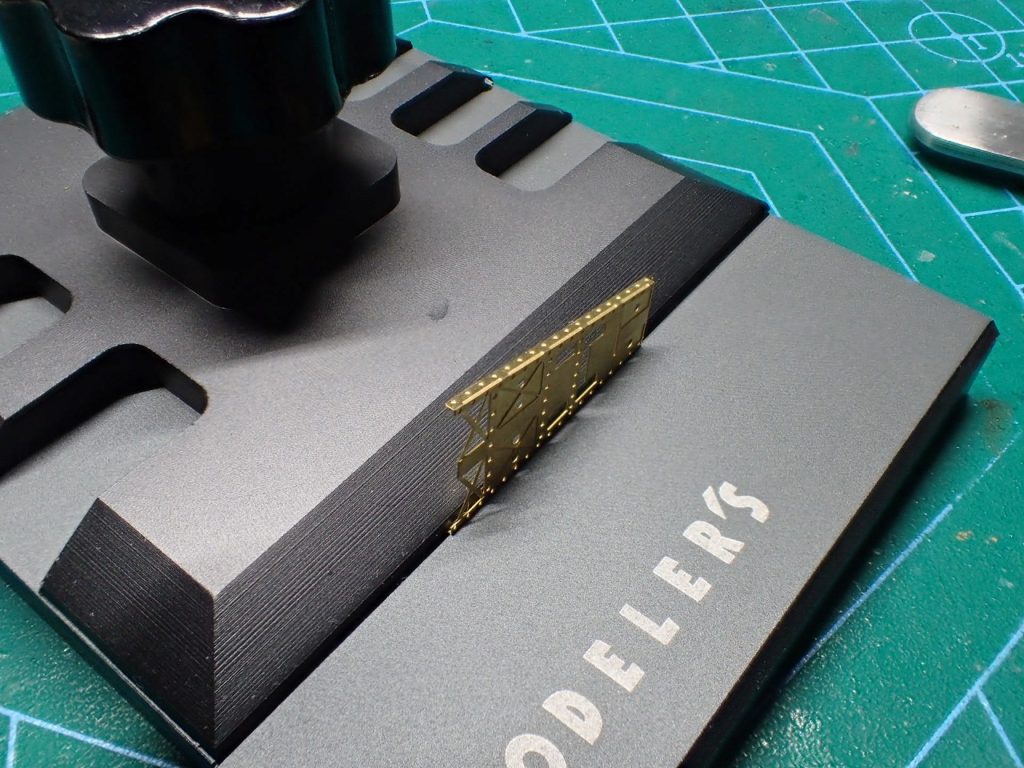
写真のように掴み代が狭く、長尺のエッチングパーツは普通のエッチングベンダーできれいに曲げるのが難しい場合がありますが、モデラーズのEPベンダーを使えば、曲げたい箇所で曲げることができます。
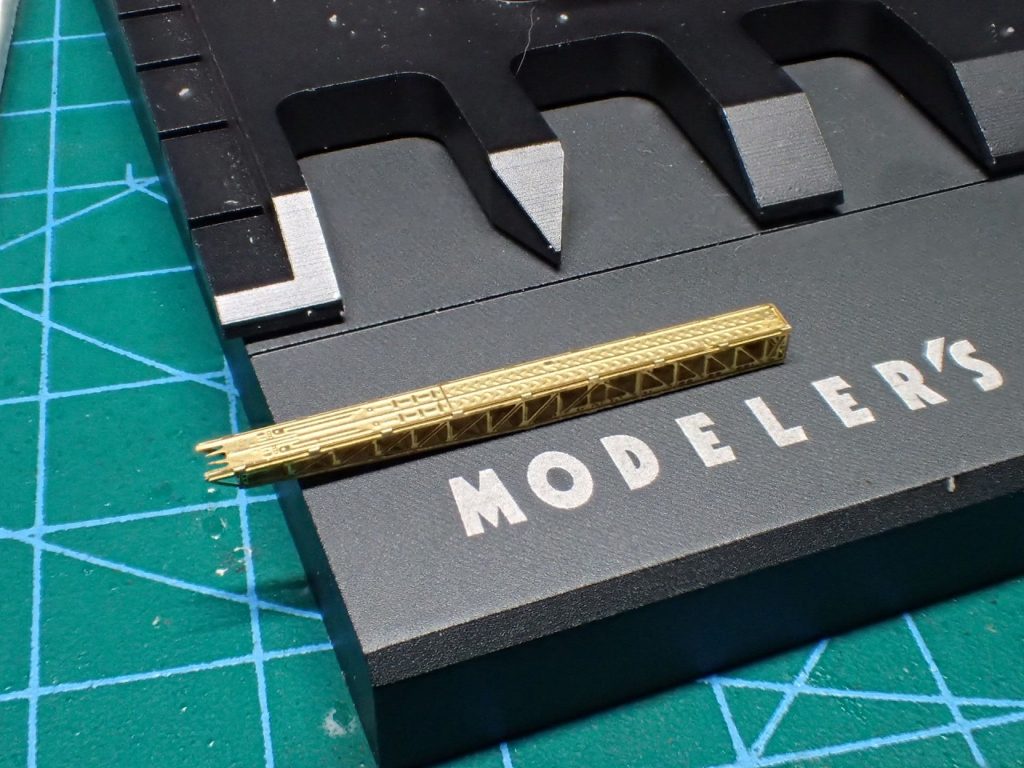

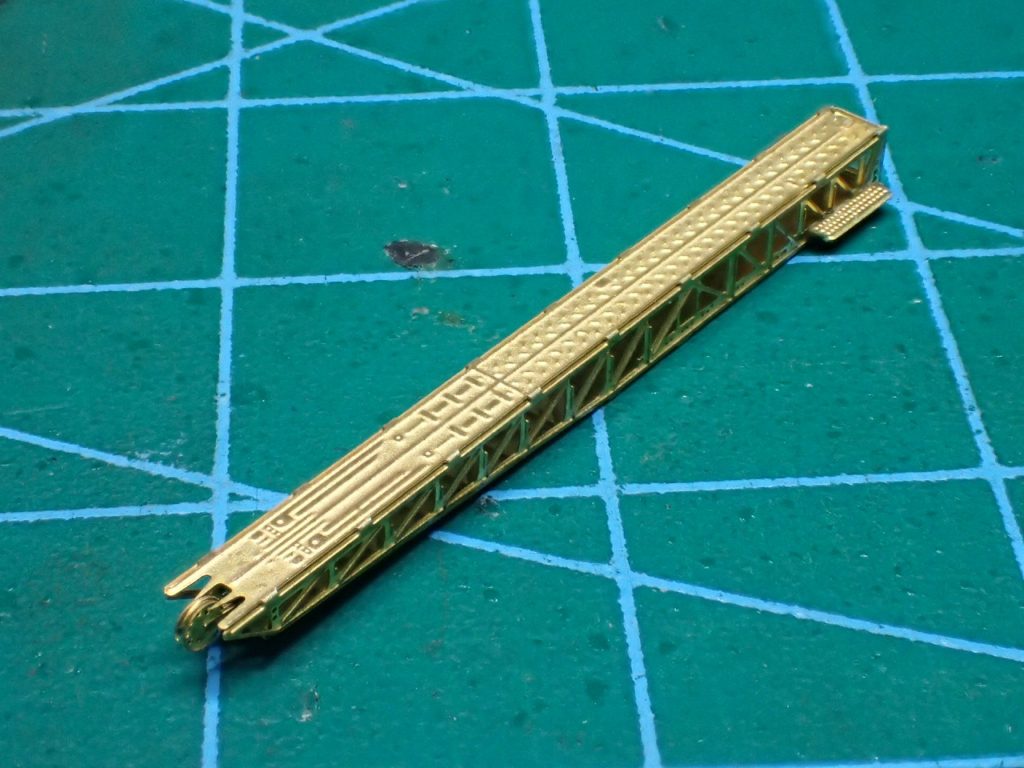
カタパルトを見て下さい。普通のエッチングベンダーでだましだまし曲げていくのとは角の立ち方が違います。また、プラパーツと角度を合わせながら曲げることもできます。

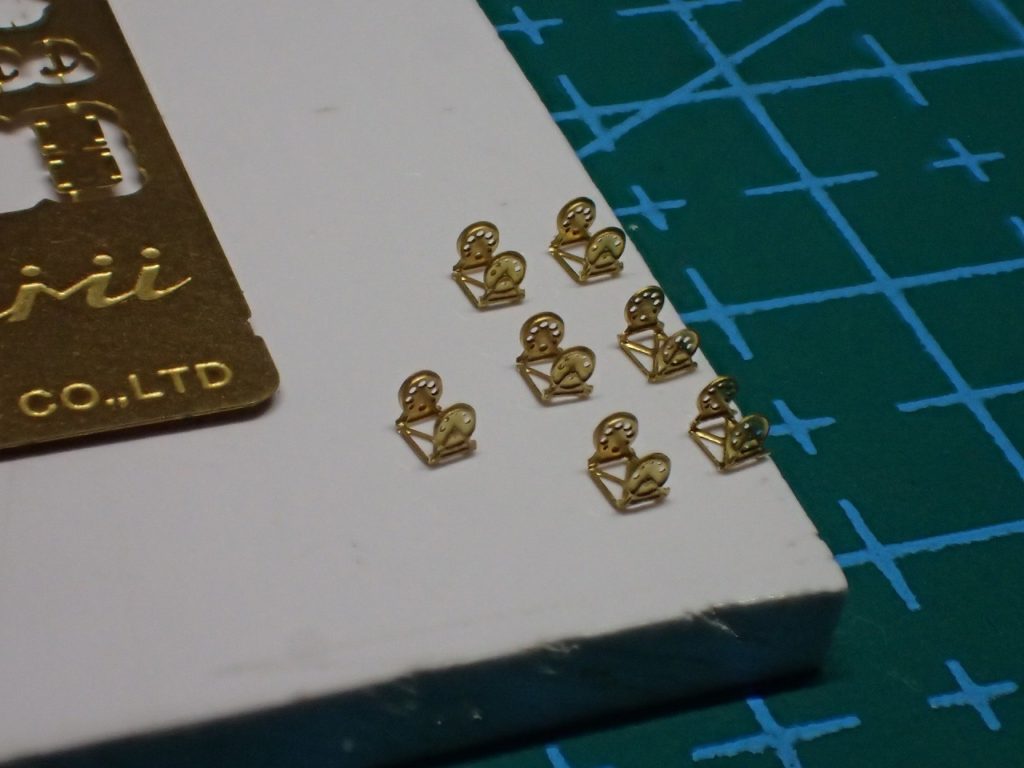
フジミの純正エッチングパーツの中では最高難易度の電探の加工もEPベンダーならこの通りです。
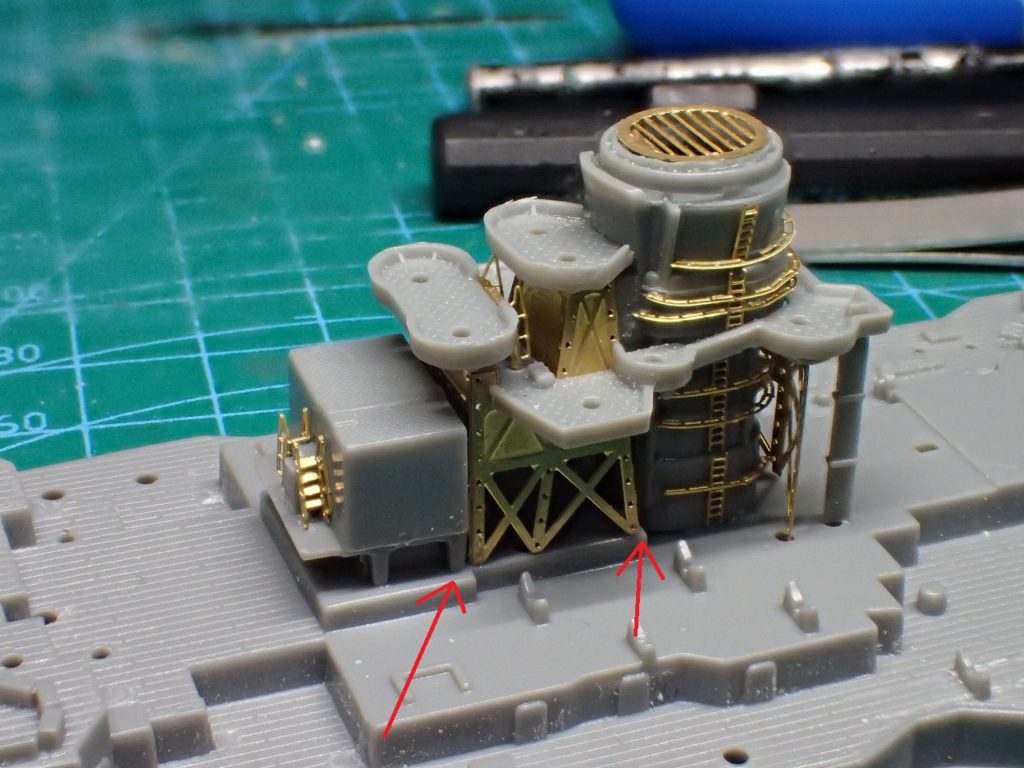
このキットを製作する上での最重要ポイントです。
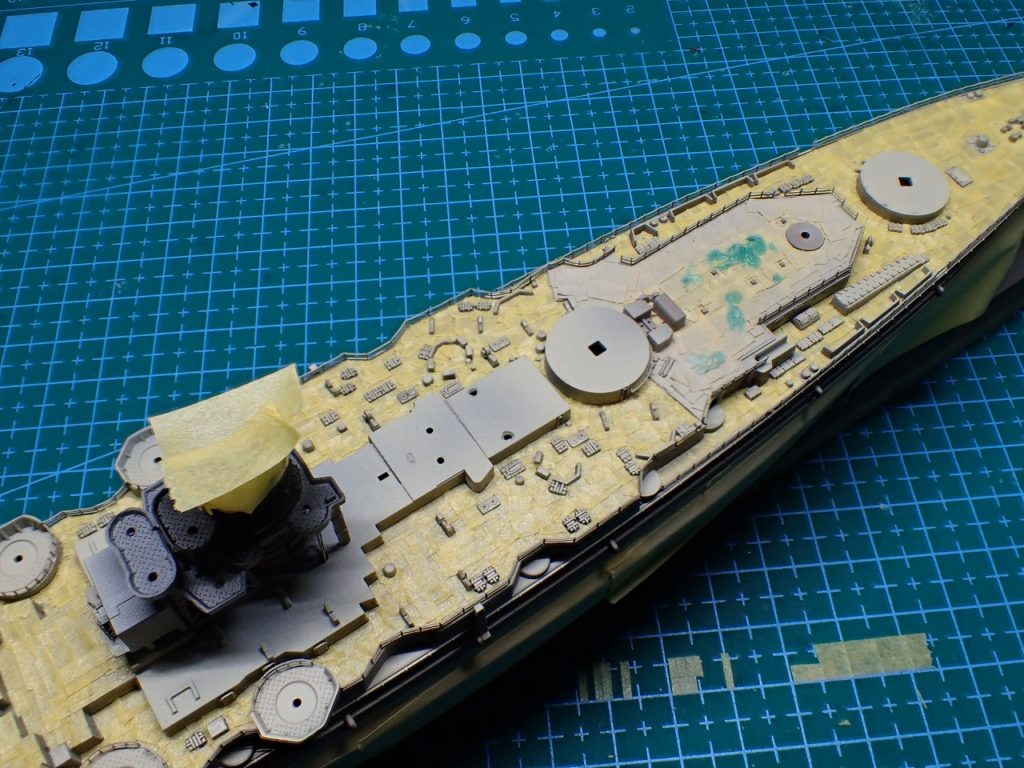
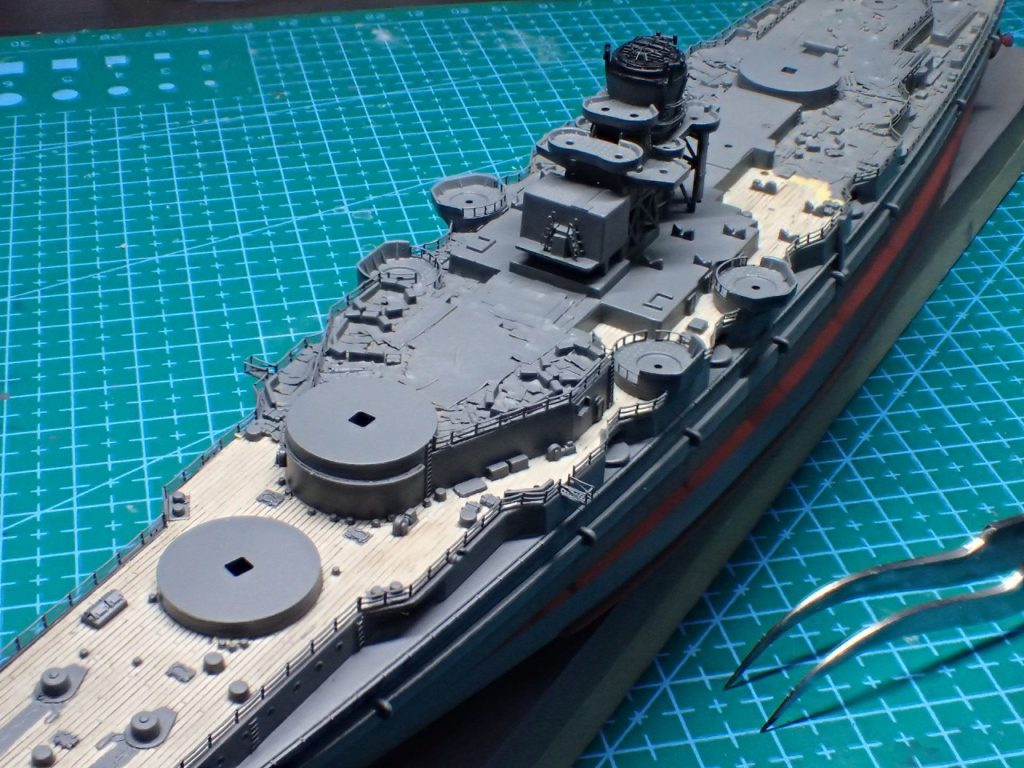
煙突のモールドを削り取ってエッチングパーツに置き換えるのですが、ラッタルの付いているパーツをあと0.3mm煙突側に詰める必要がありました。
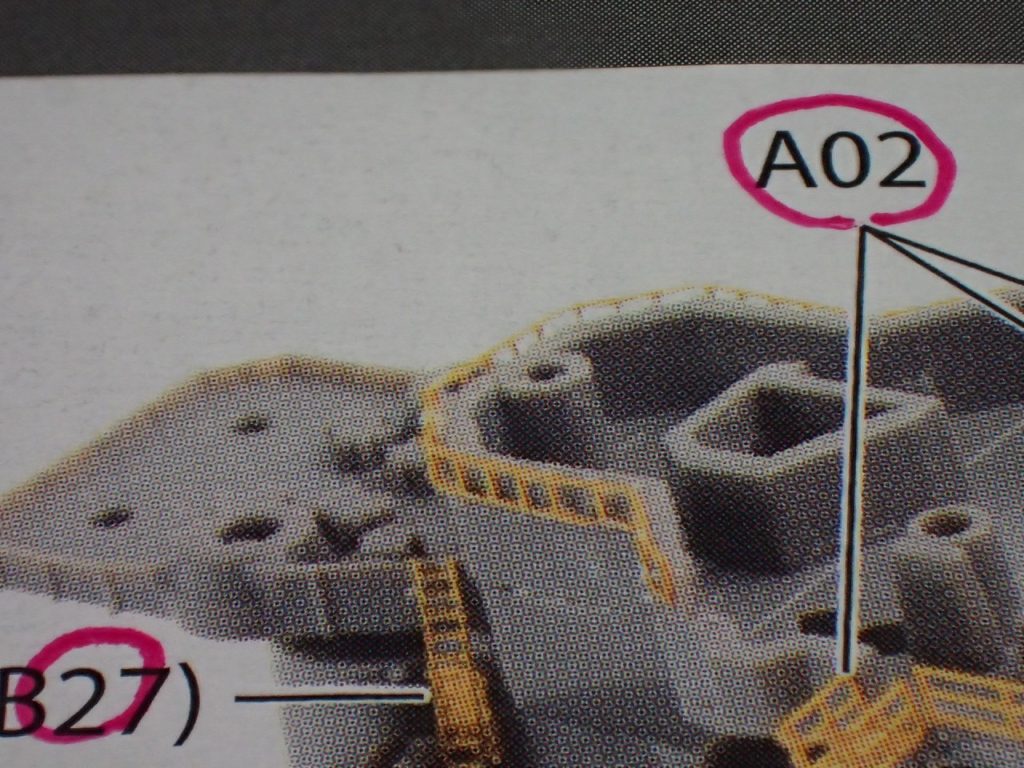
艦橋と測距儀台座のクリアランスが厳しいです。仮組をいい加減にしていたので、最終組み立て時にこの問題に気付きました。
この段階で艦橋がつかないということに気付くという大失態。結局、I10のパーツの後ろ側を削って調整しました。
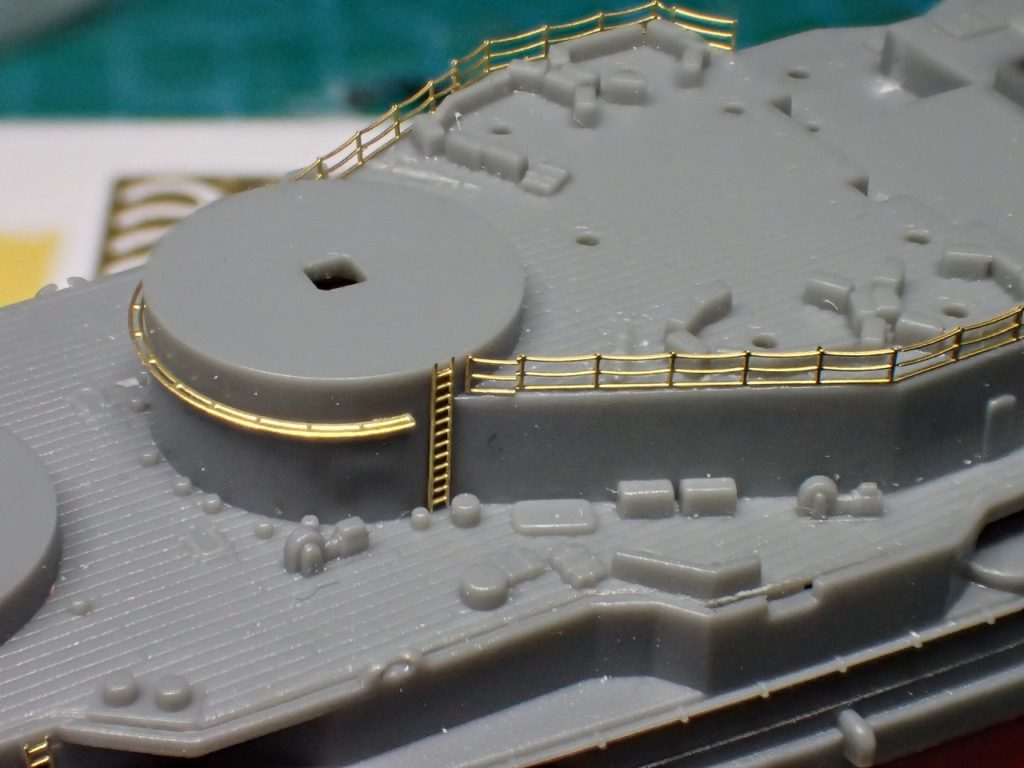
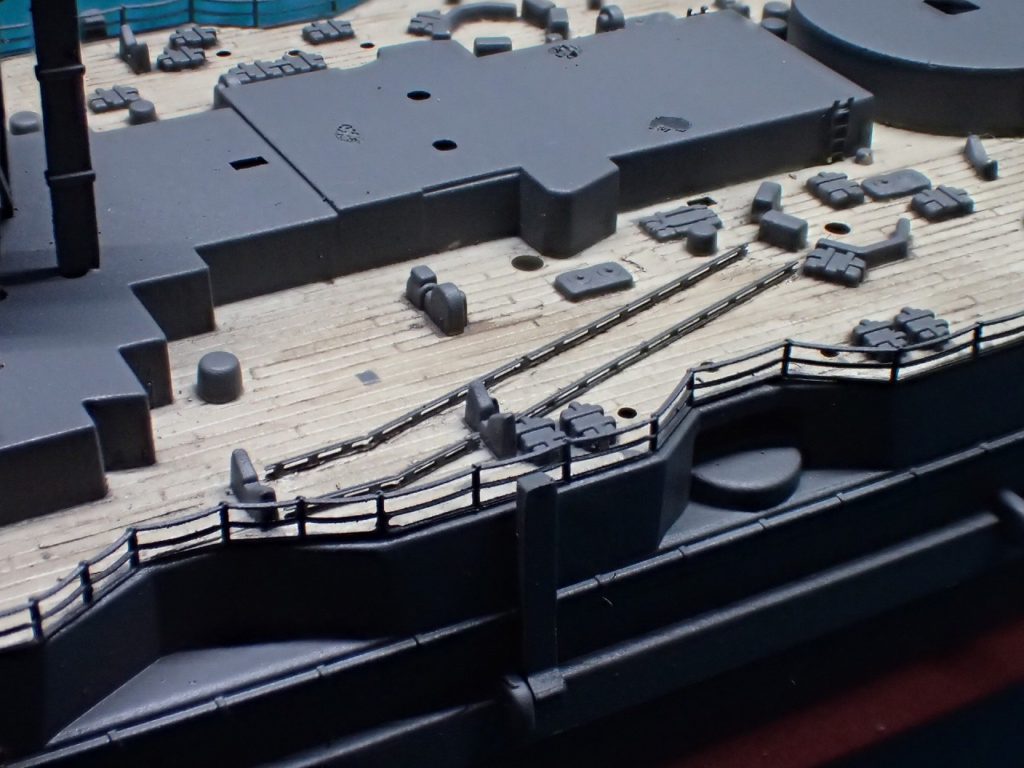
純正のエッチングパーツの手すりでも、たまに長さが合わないことがあります。その際は、手すりを1コマ切り取って調整すると良いです。
写真では端部で調整してますが、折れ点で調整したほうが直線が通るのでいいかもです。
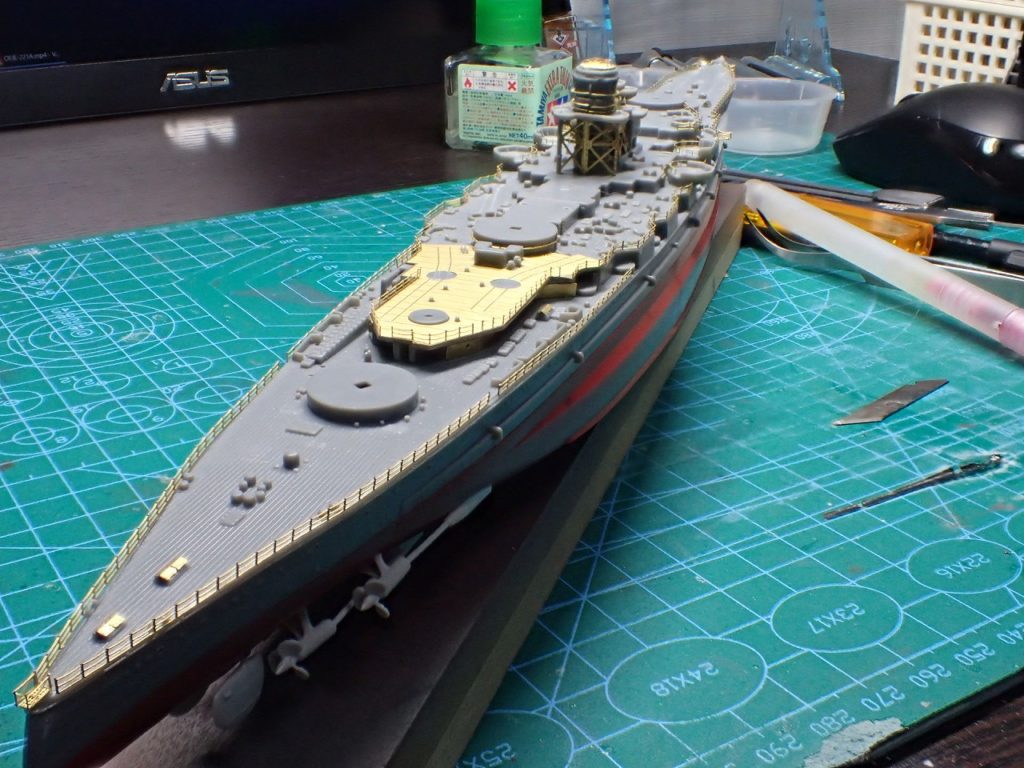

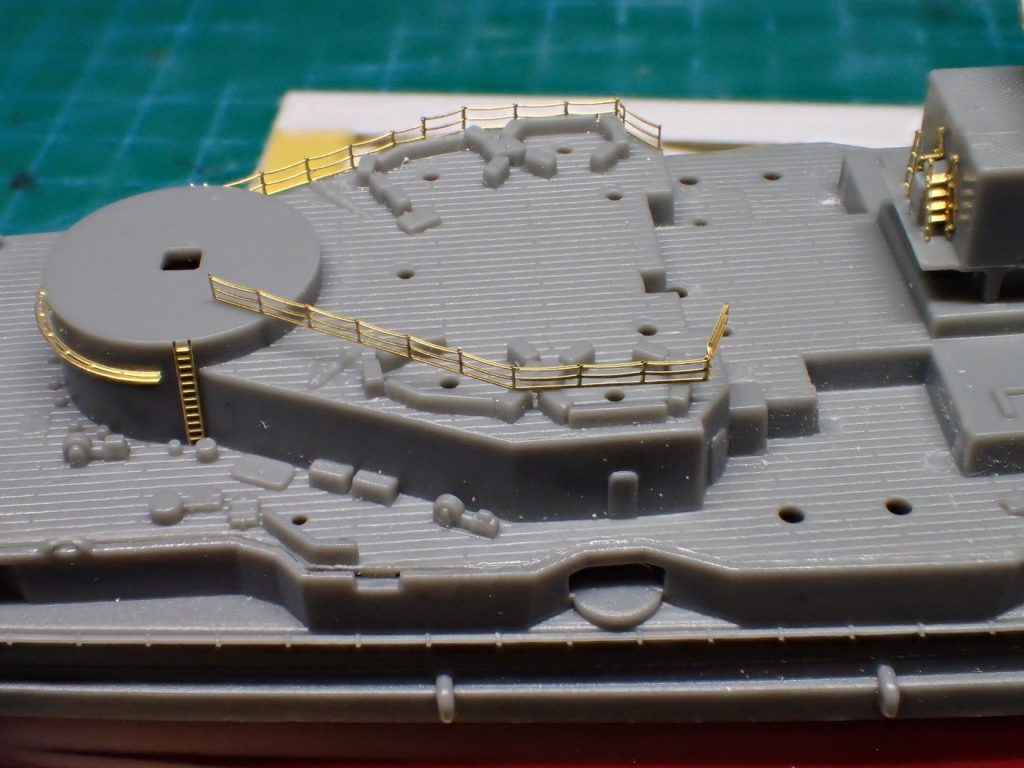
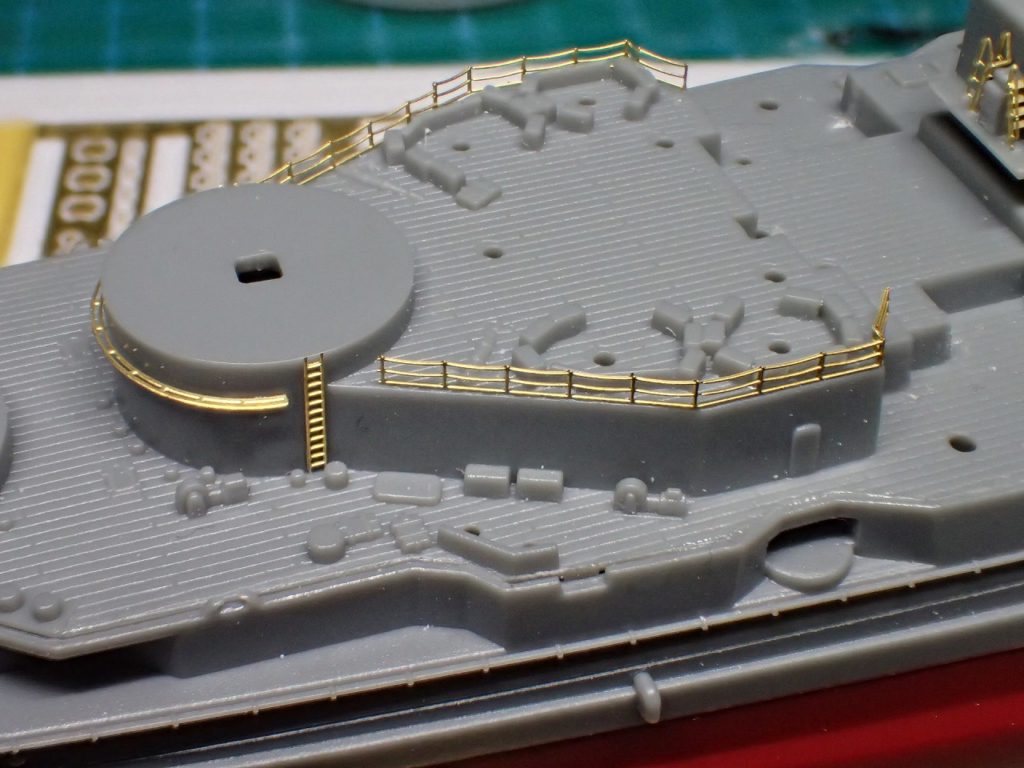
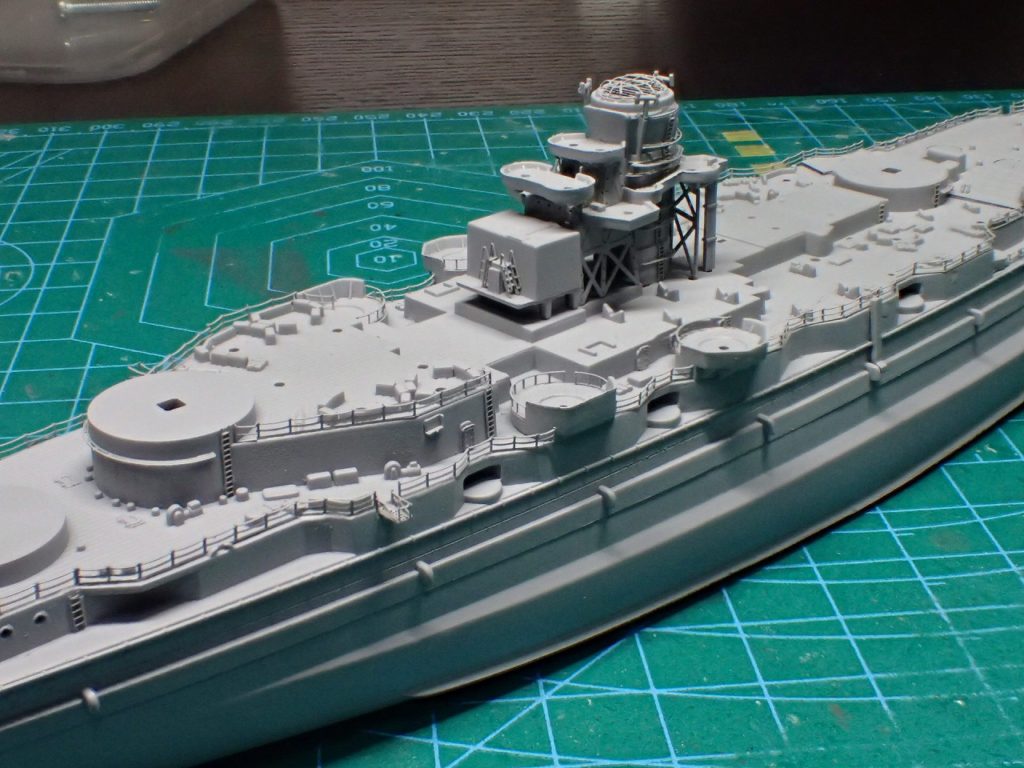
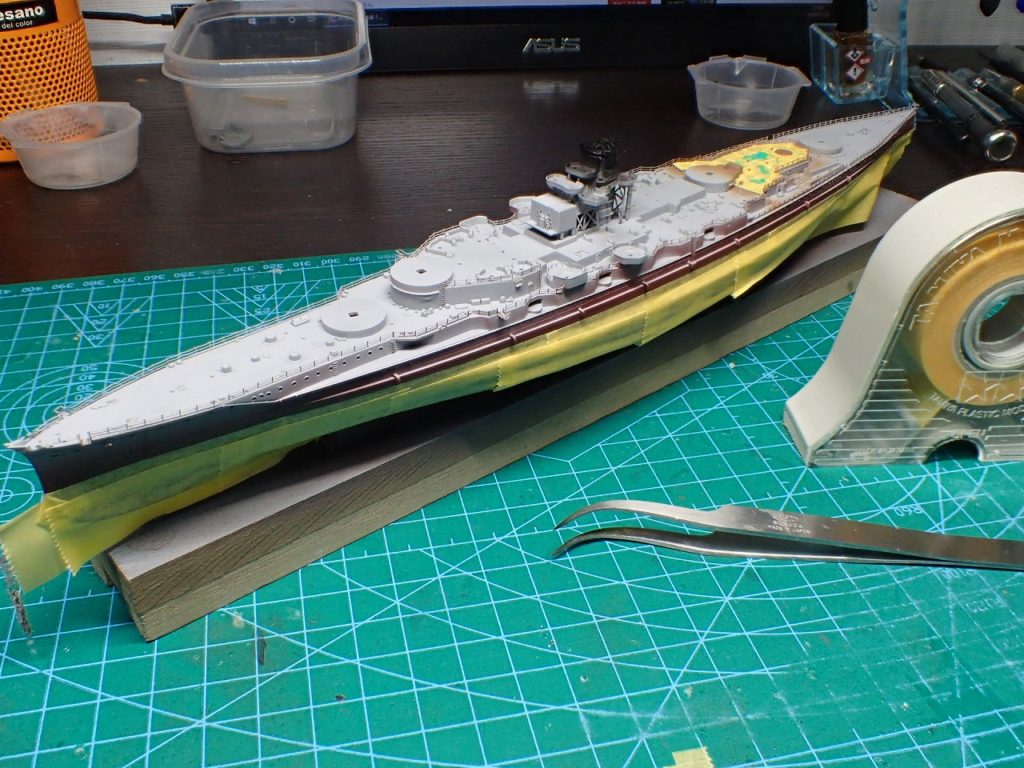
この段階で接着できるエッチングパーツをすべて付けました。
これまでは、手すりは甲板のマスキングの作業性を考慮して塗装後に取り付けていましたが、今回はこの段階で取り付けてみました。
結果から言いますと、思っていたよりかはマスキング作業の支障にはなりませんでした。手すりを別個に塗装するのは面倒なので先付けはありかなという感想です。
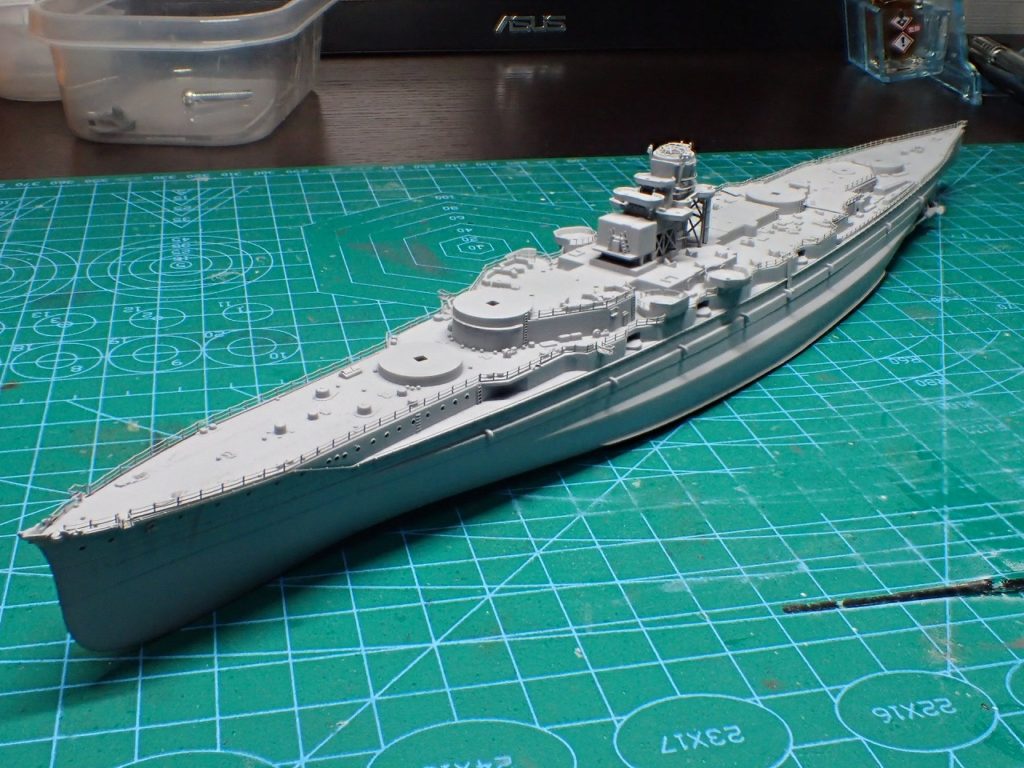
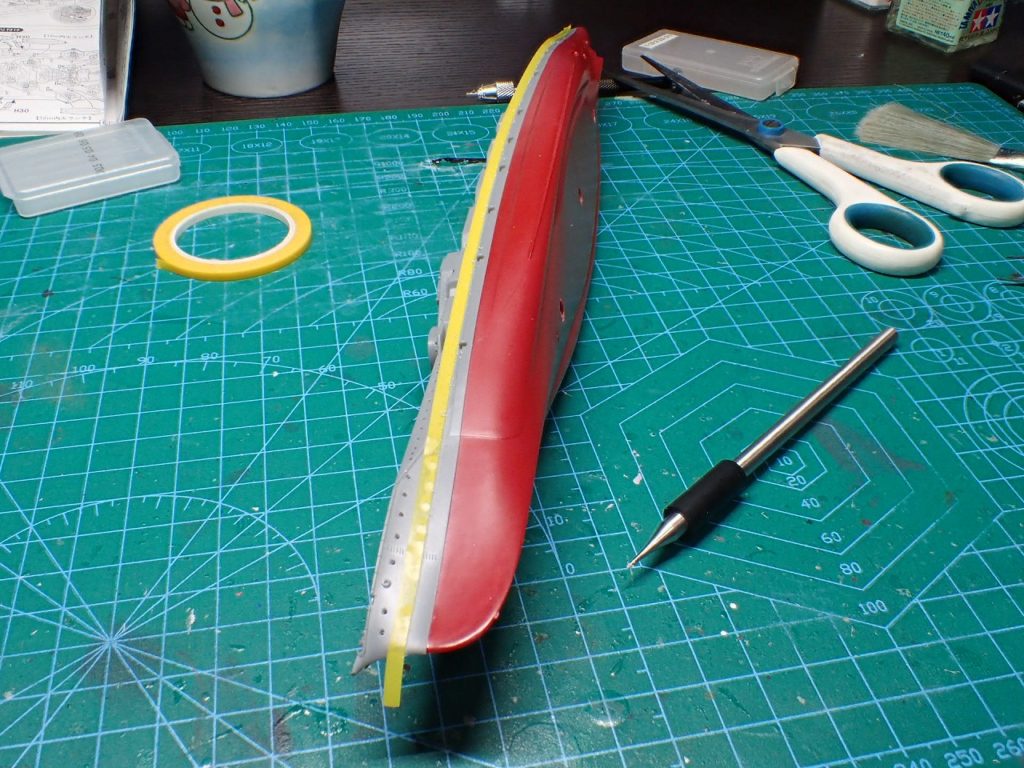
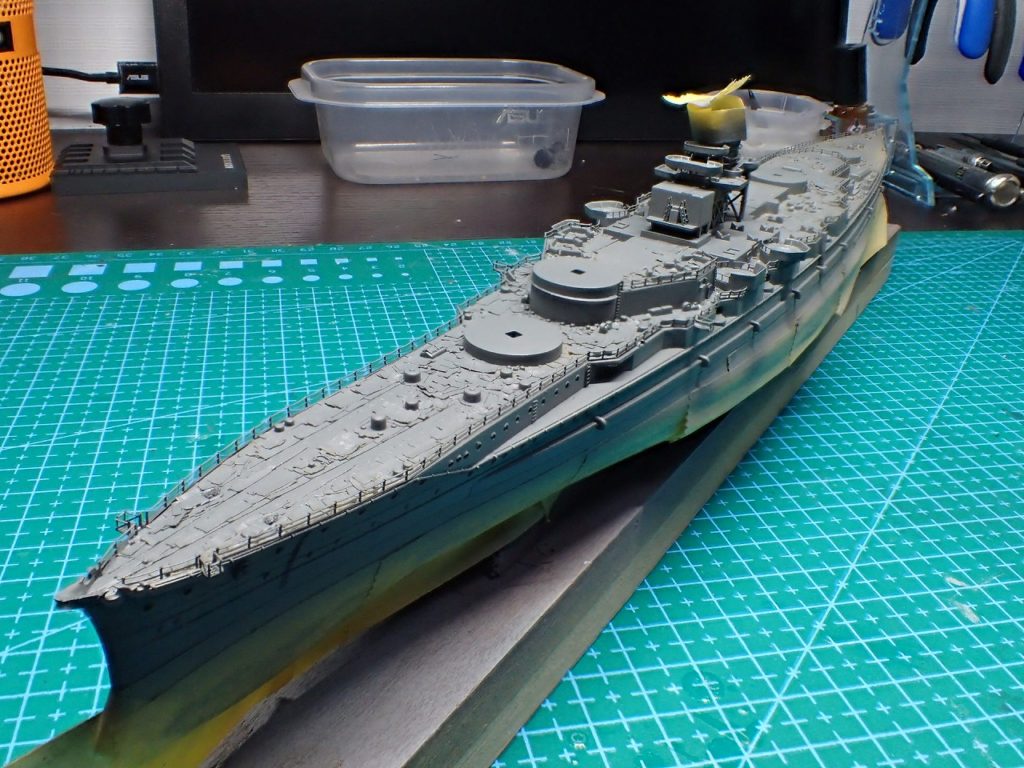
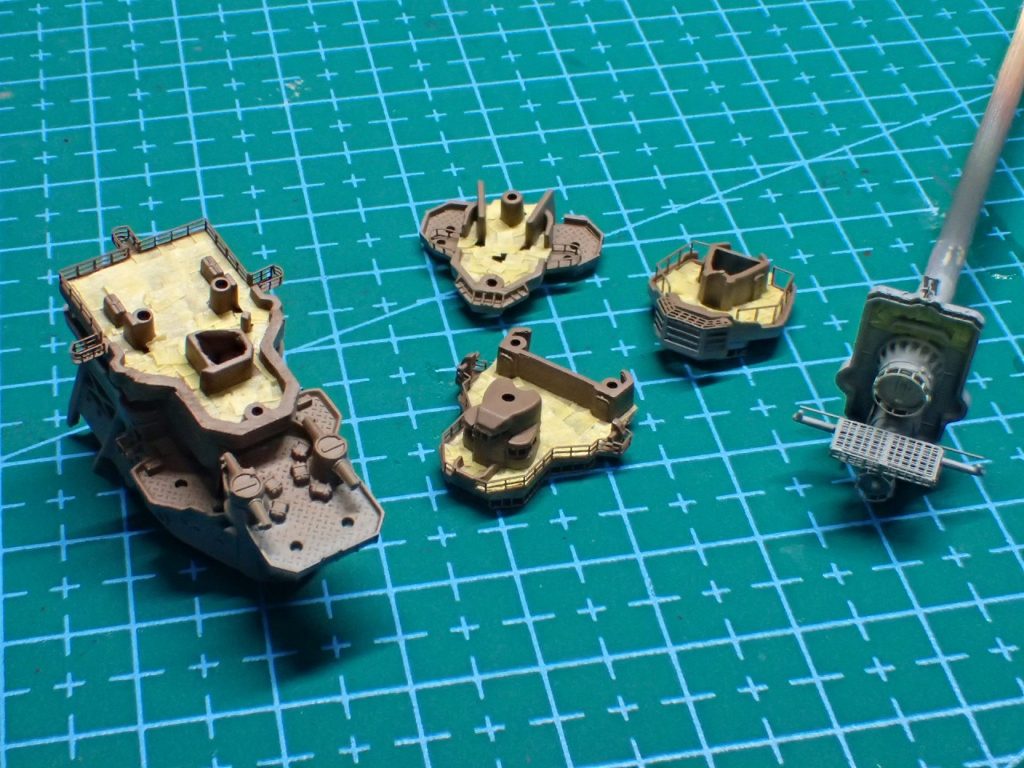
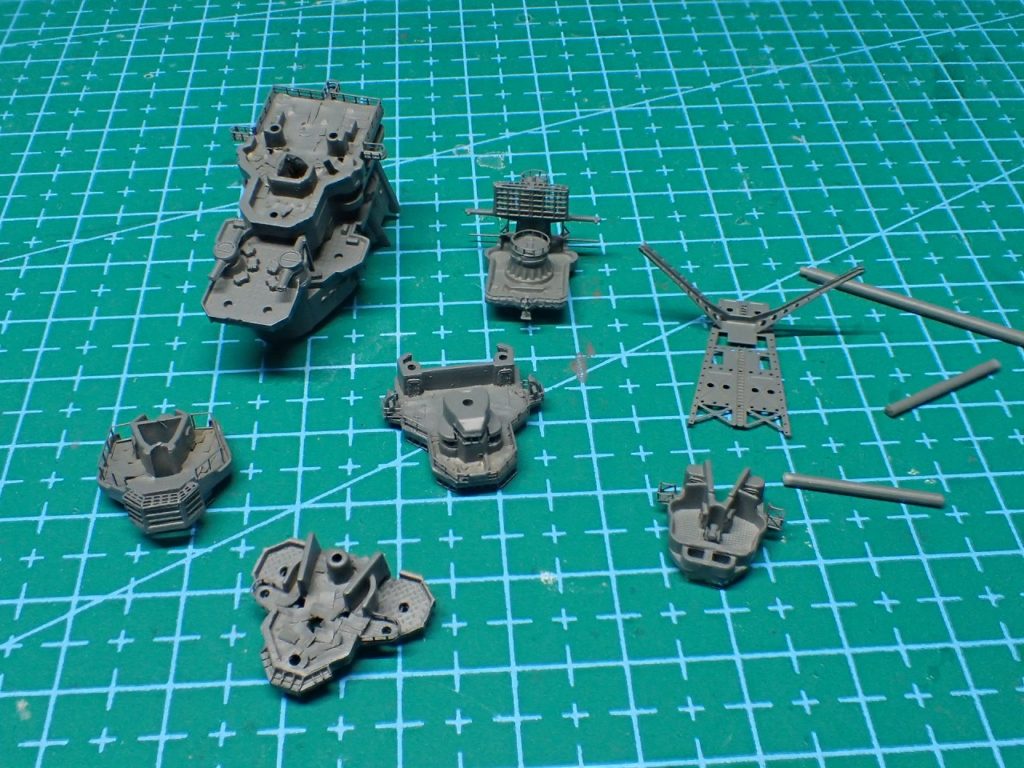
メタルプライマーを塗ってから、サーフェイサーを塗りました。


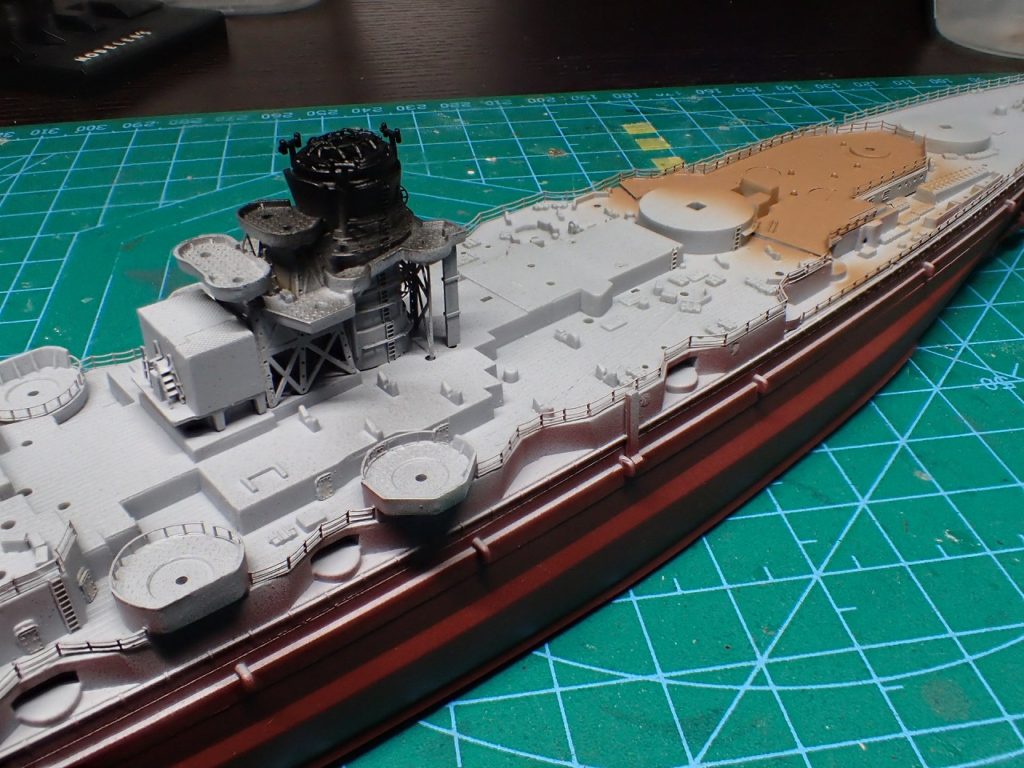
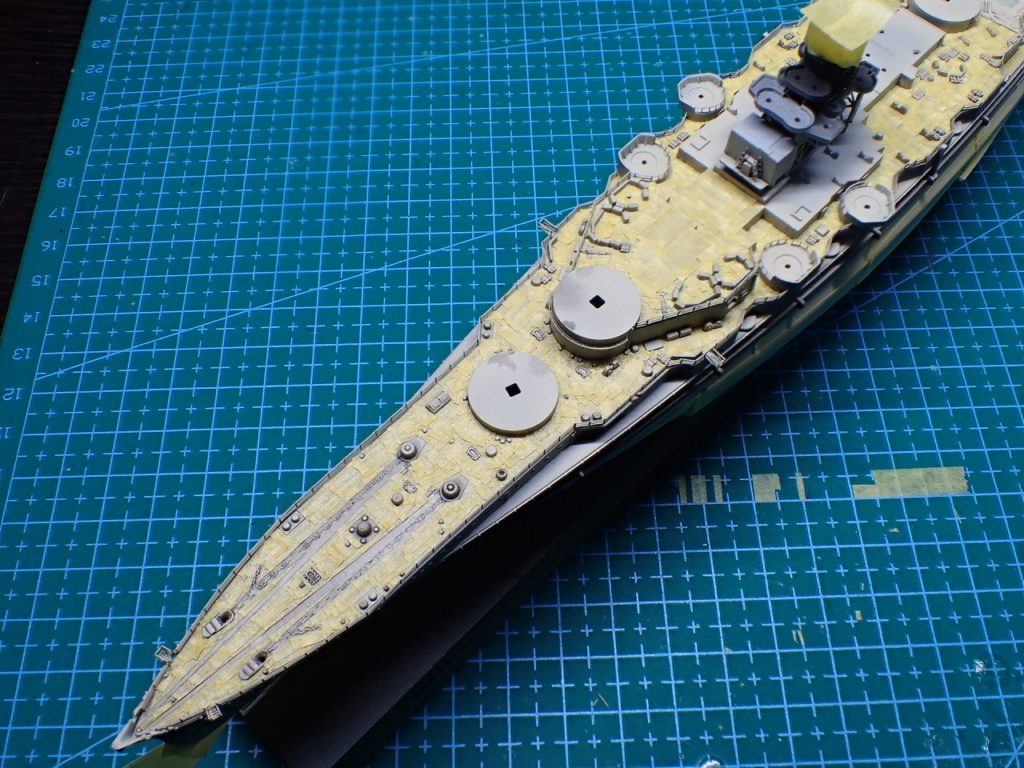
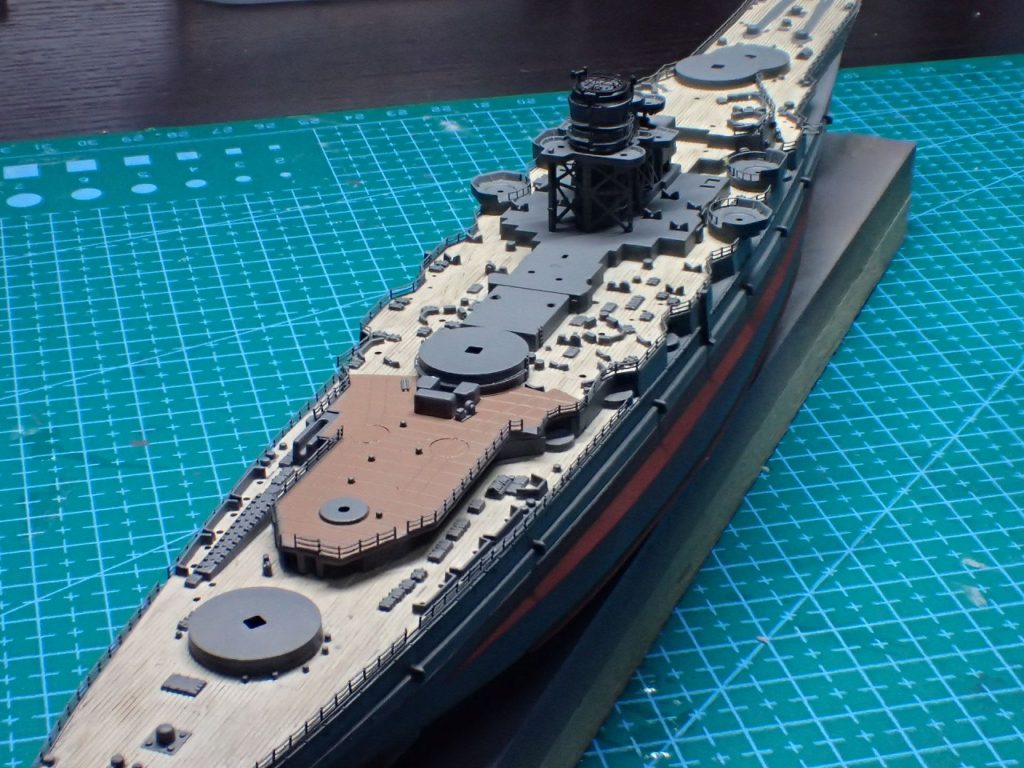
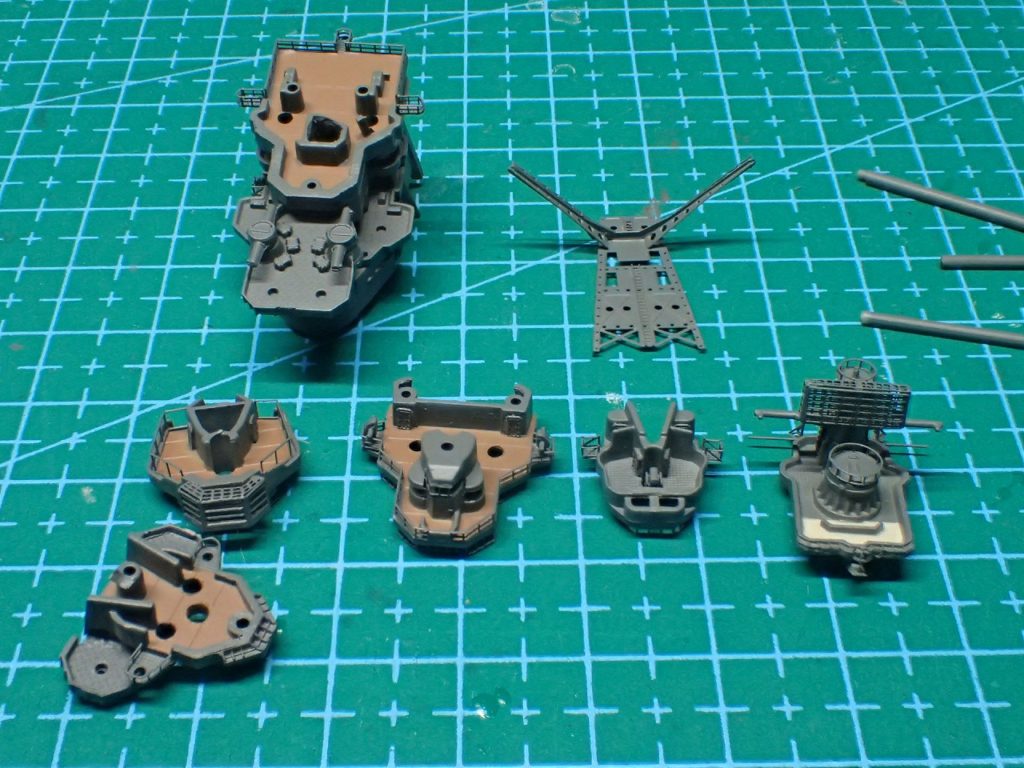
艦底色とリノリウム甲板、煙突を塗装しました。エアブラシの向きに気を付ければとくにマスキングは必要ありません。
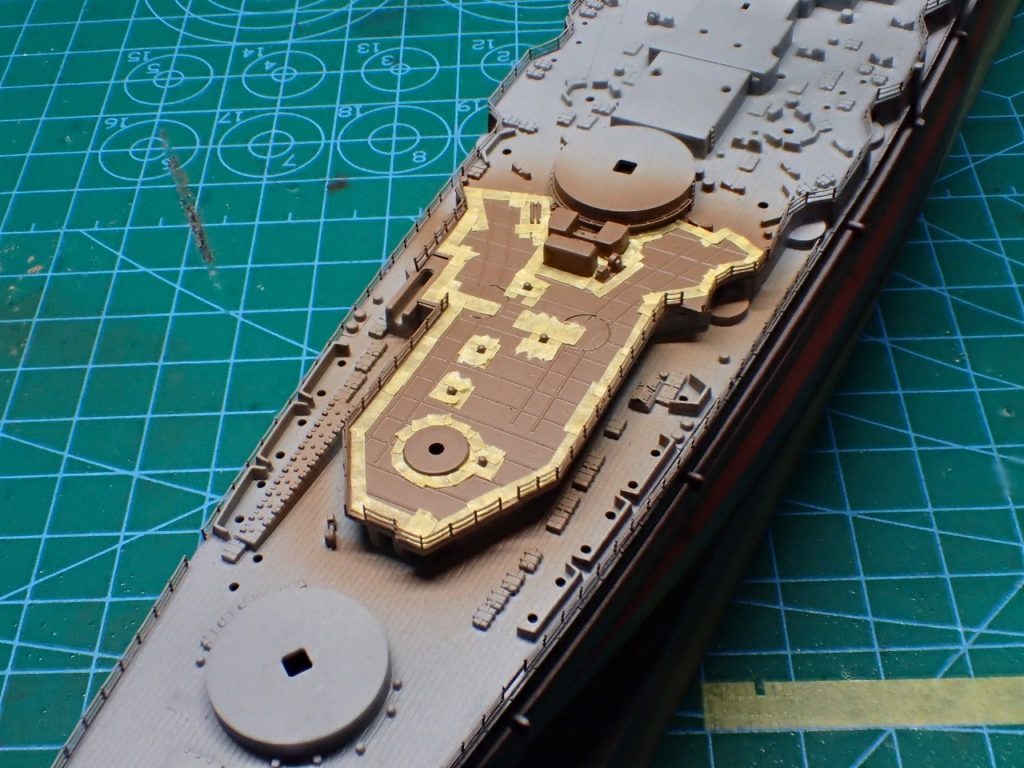
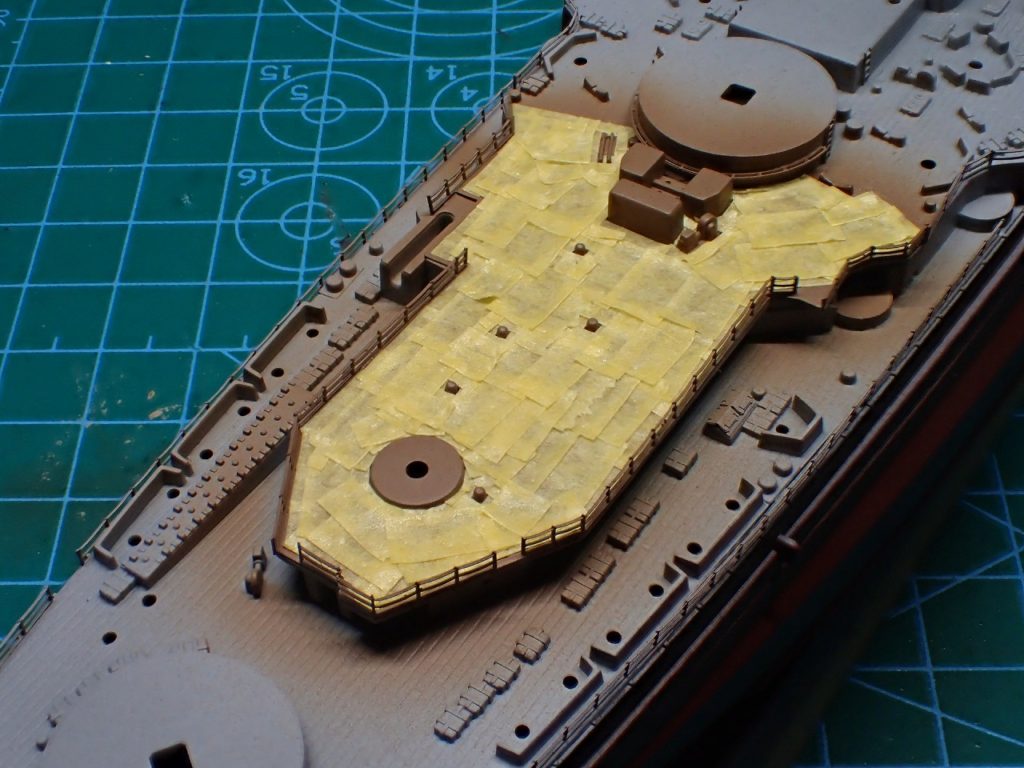
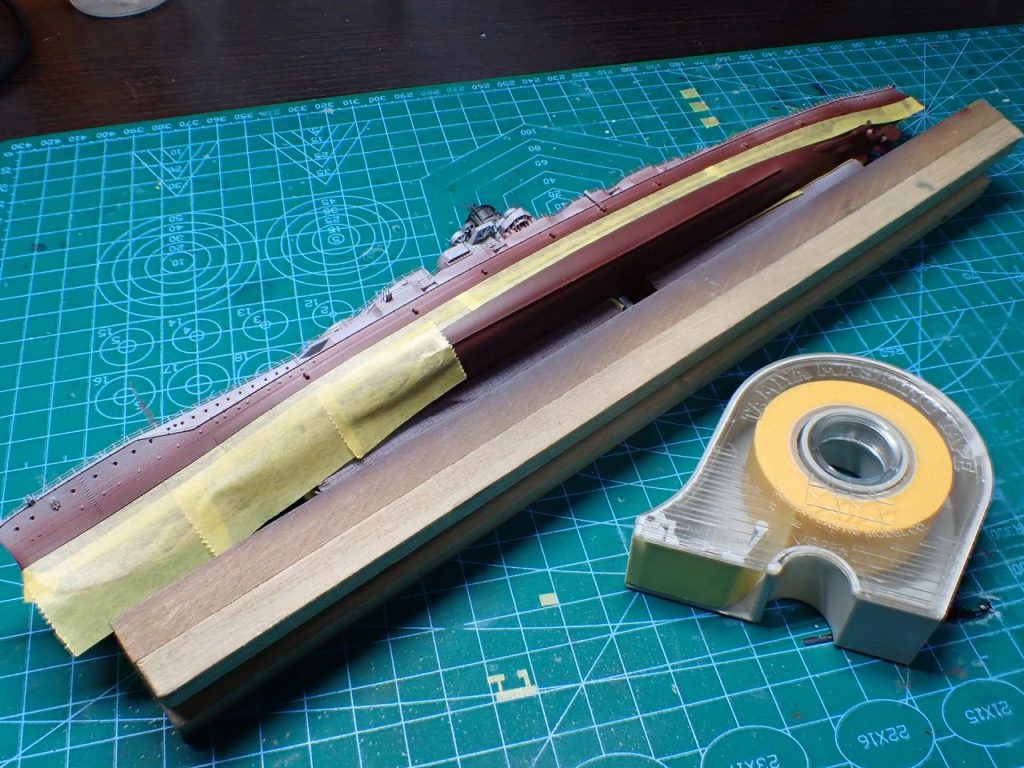
艦艇色とリノリウム甲板をマスキングし、木甲板の塗装の準備をします。


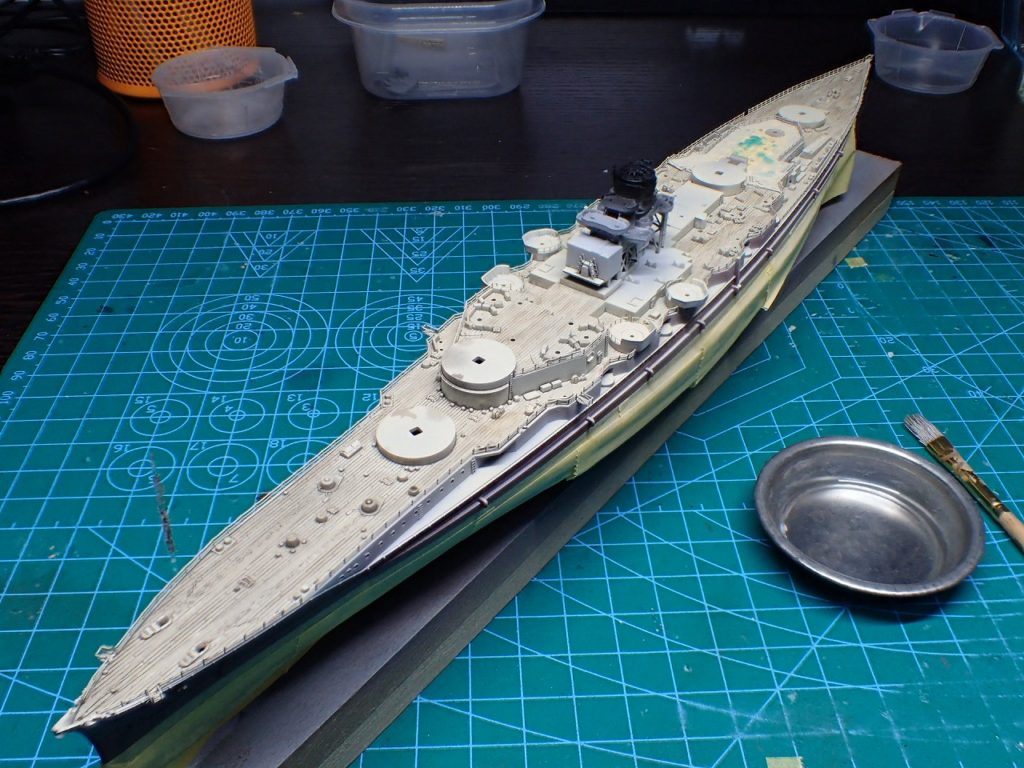
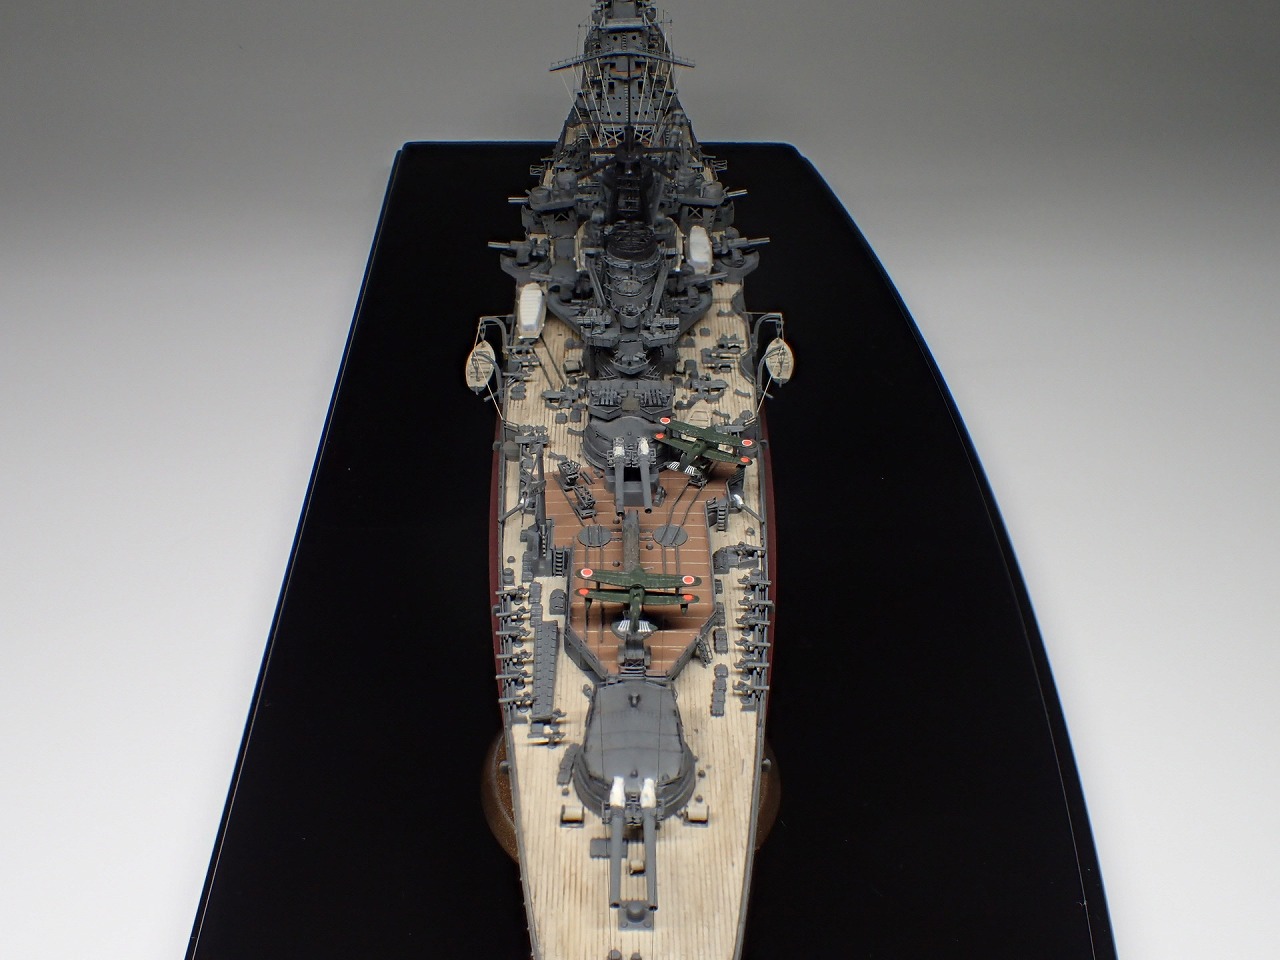
木甲板の指定色はタンとなっていますが、セールを塗ってから、タミヤのスミイレ塗料ダークブラウンでスミイレしたほうが純正木甲板シートに近い色合いに仕上がりになりますので、私的にお勧めの手法です。
ざっと、10時間かかりました。
あの苦行を乗り越えたものだけが味わえる、この達成感。
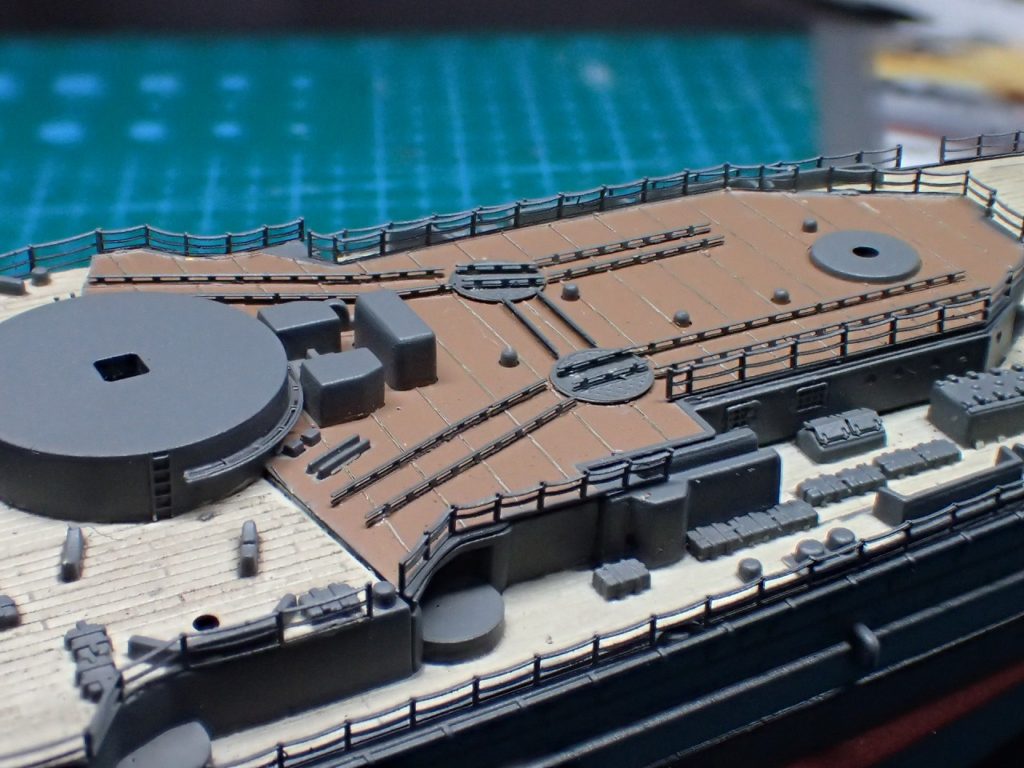
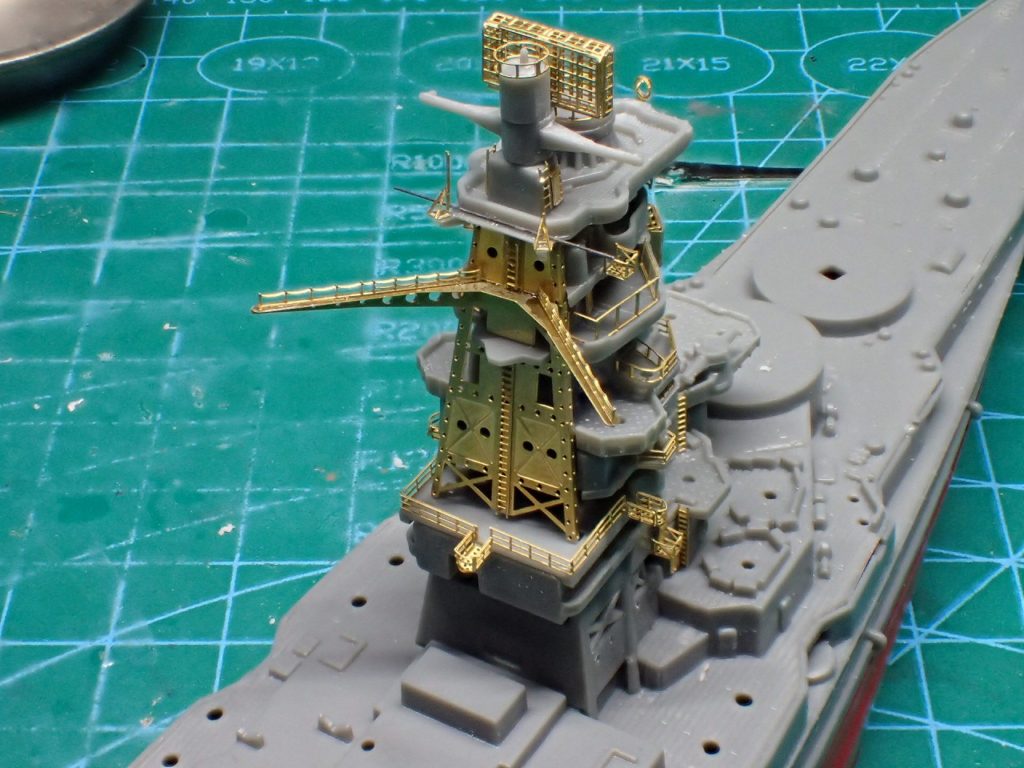
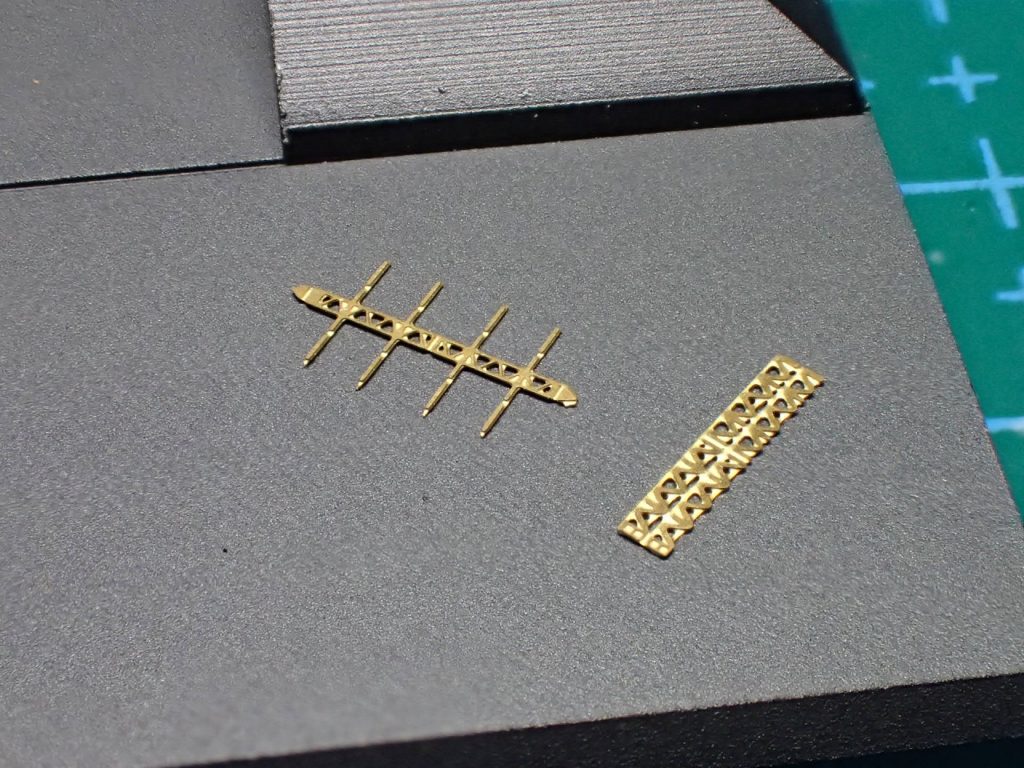
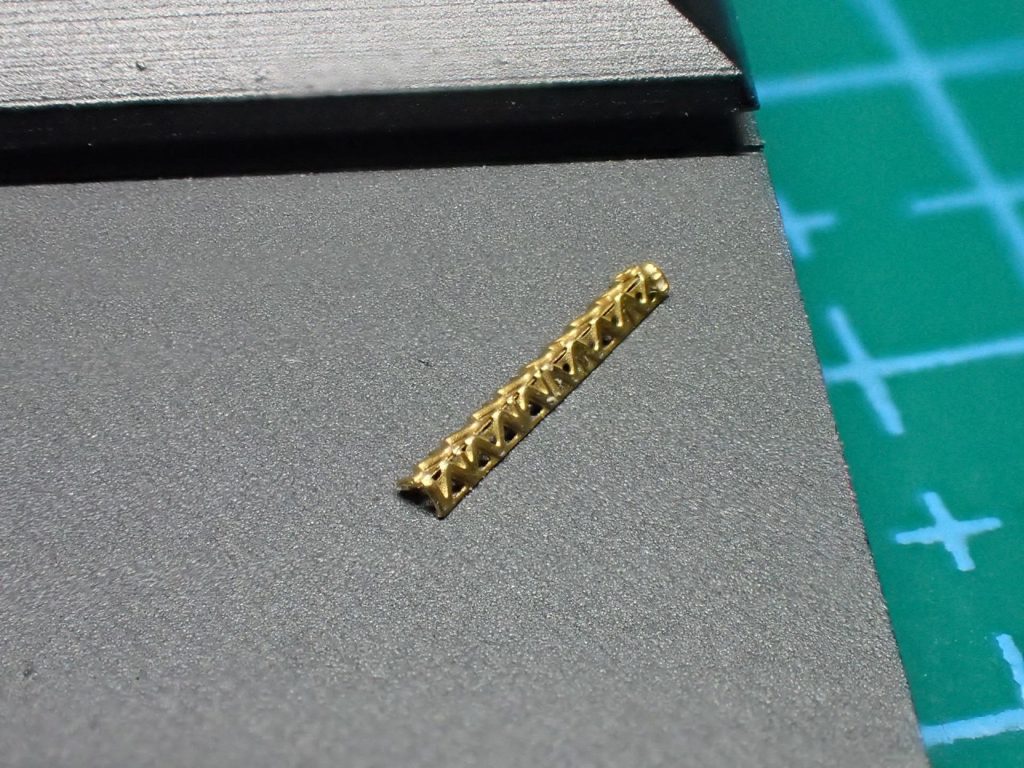
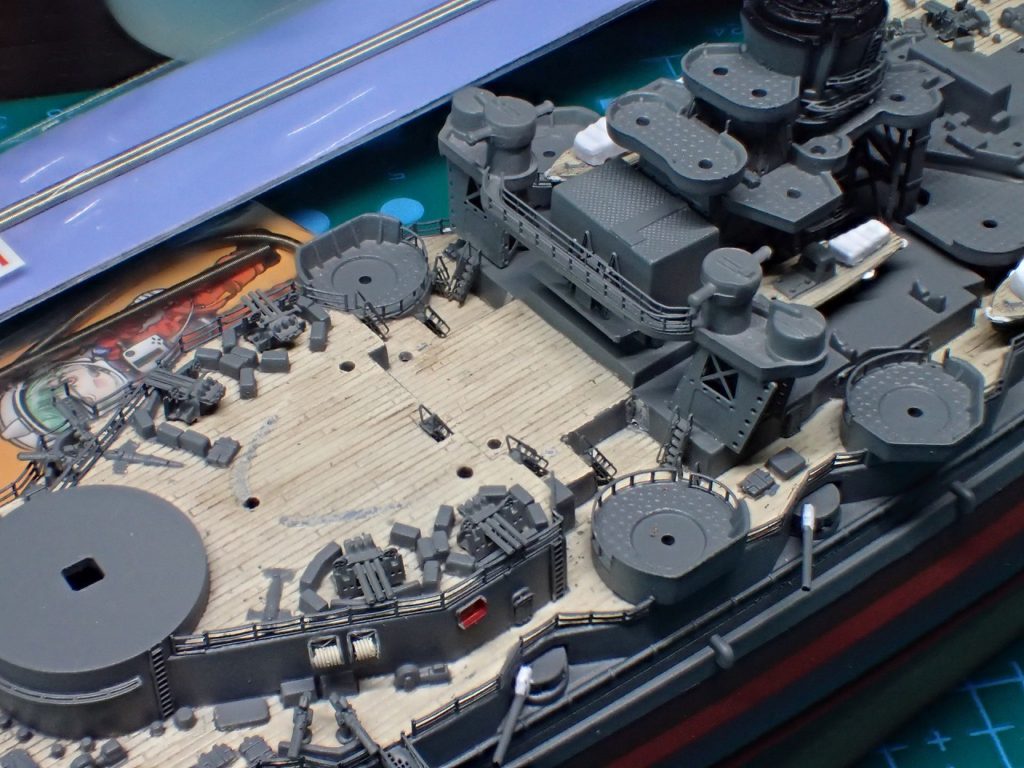
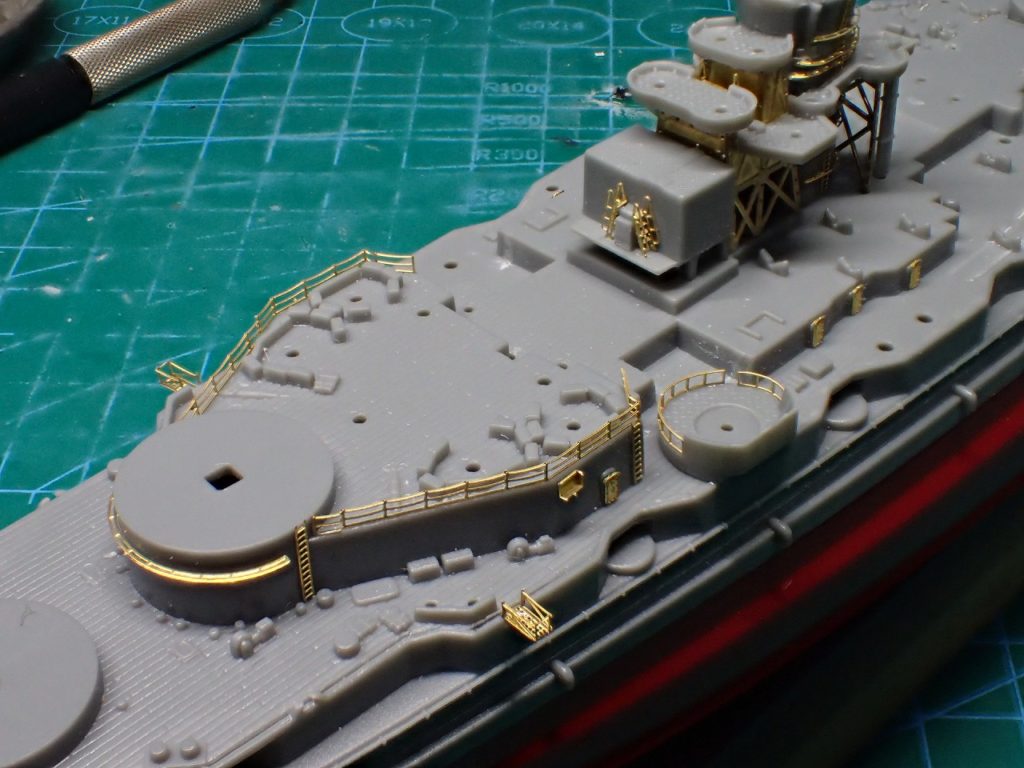
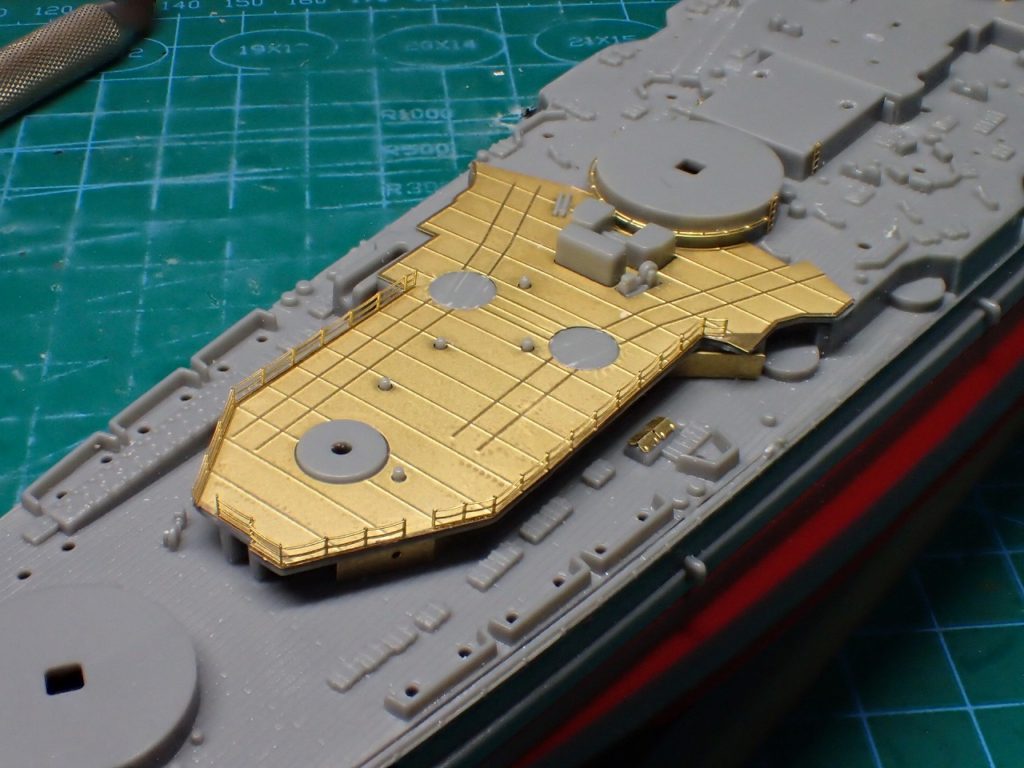
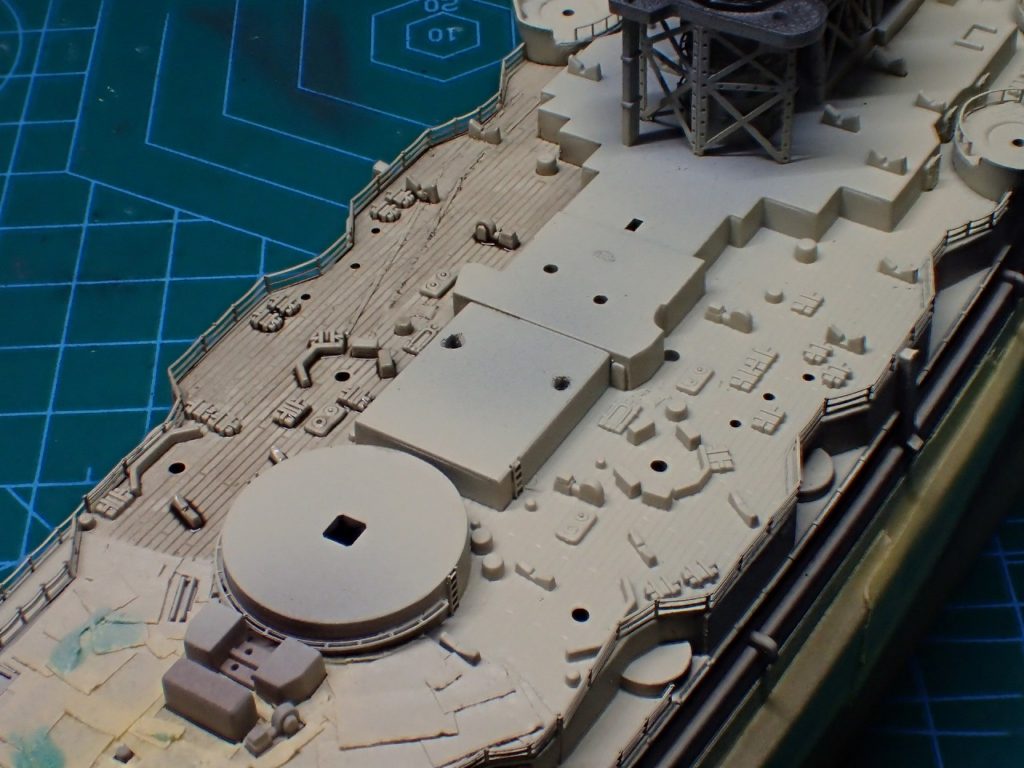
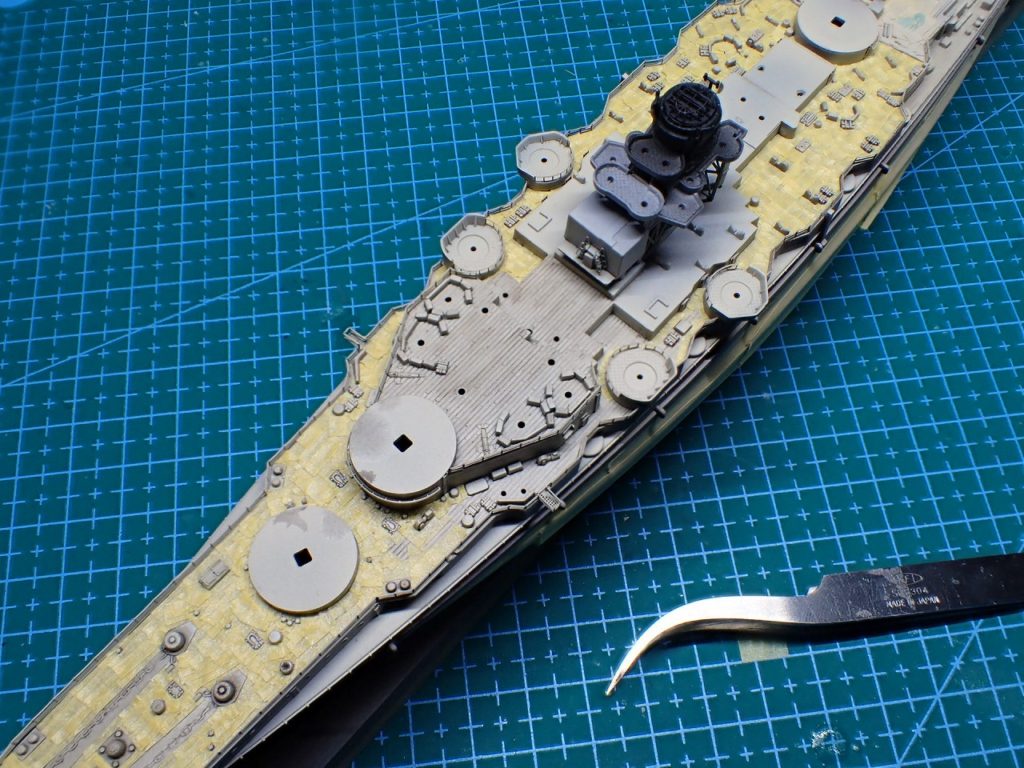
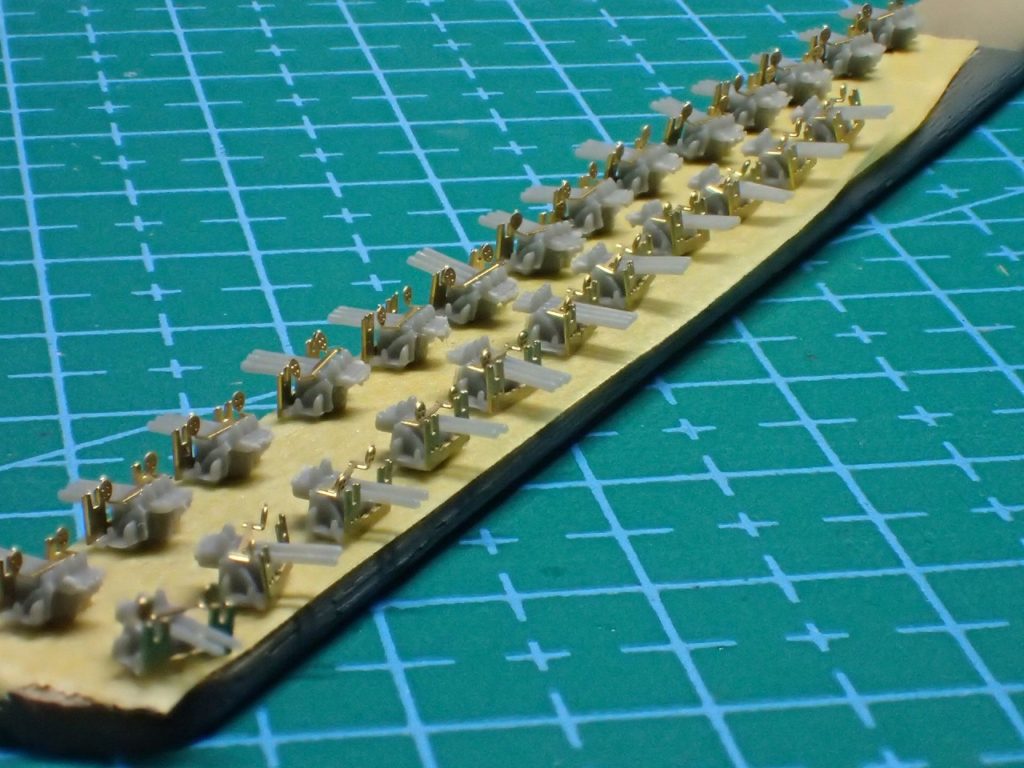
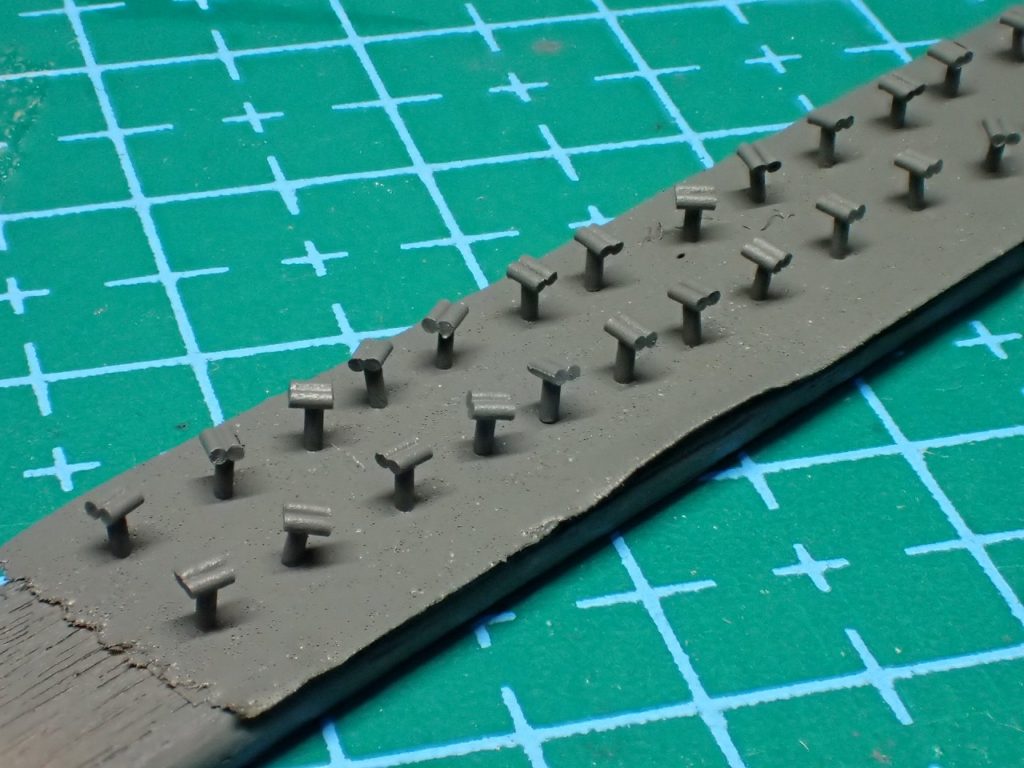
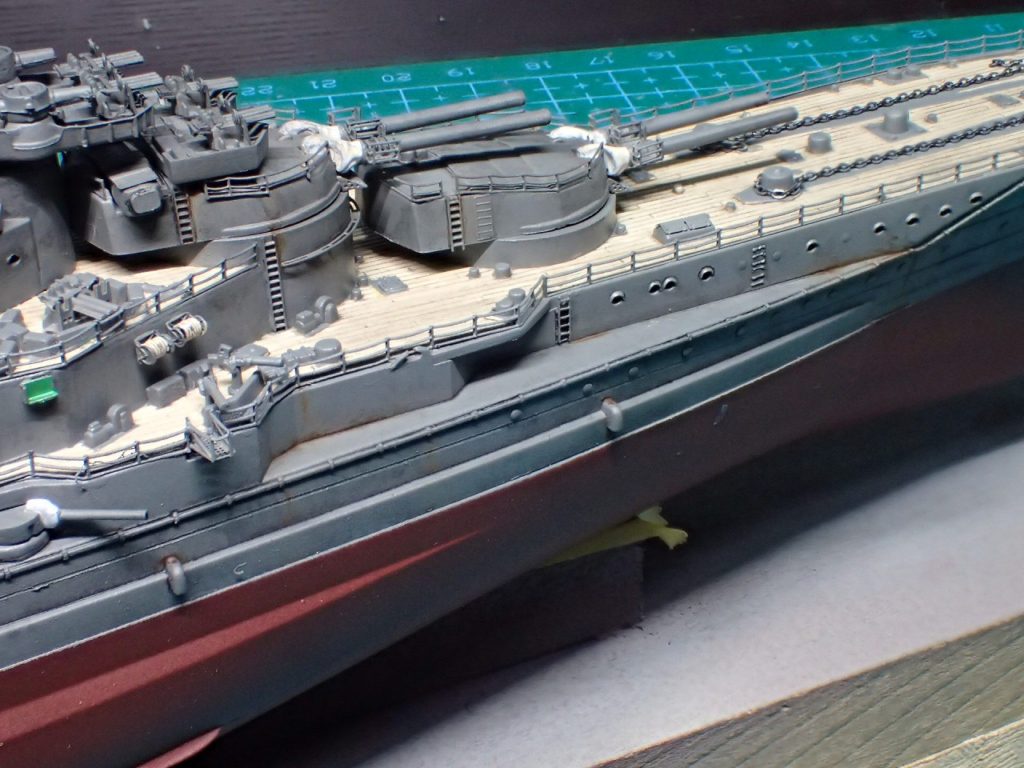
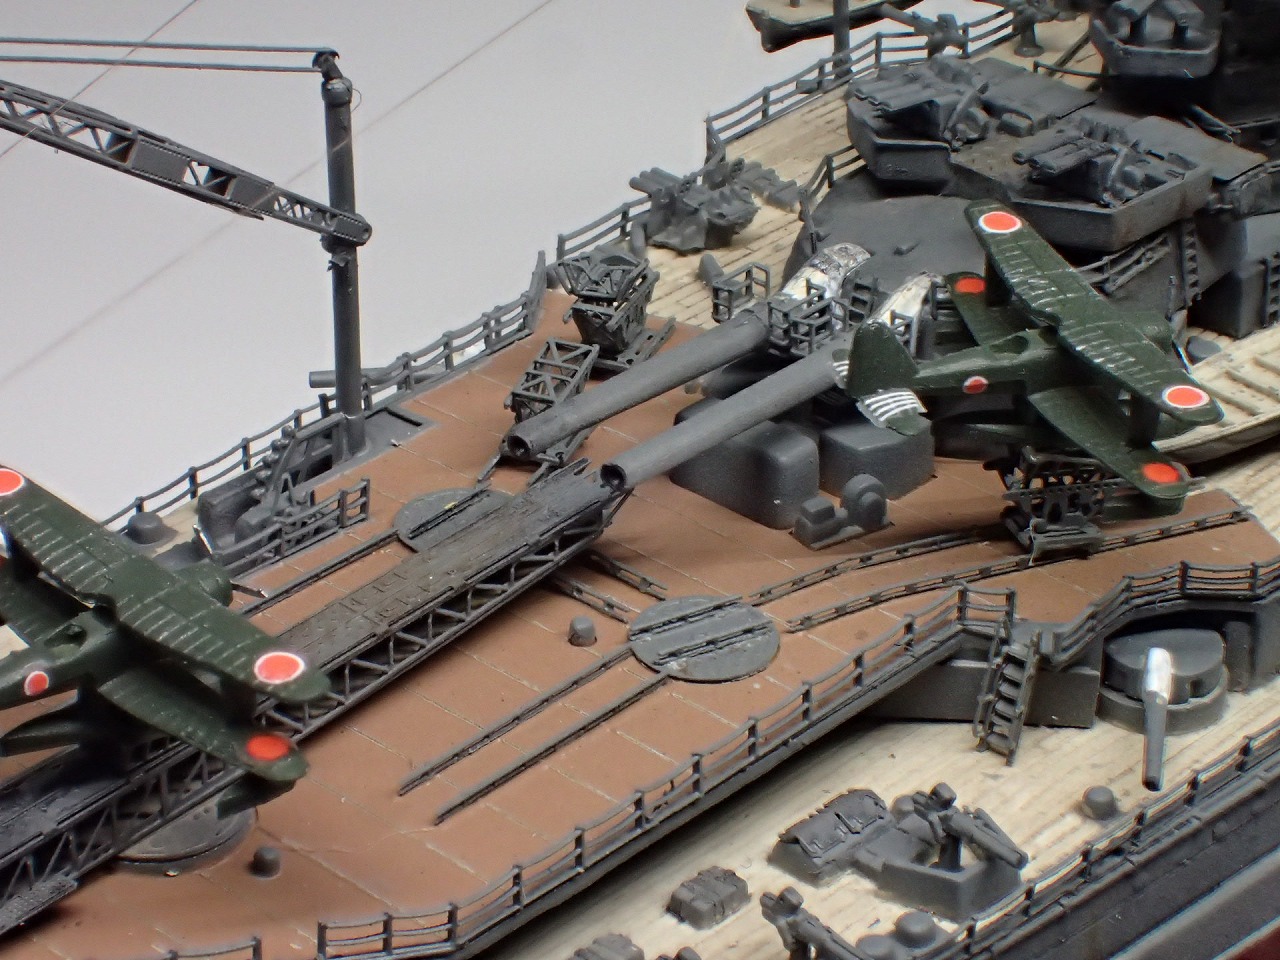
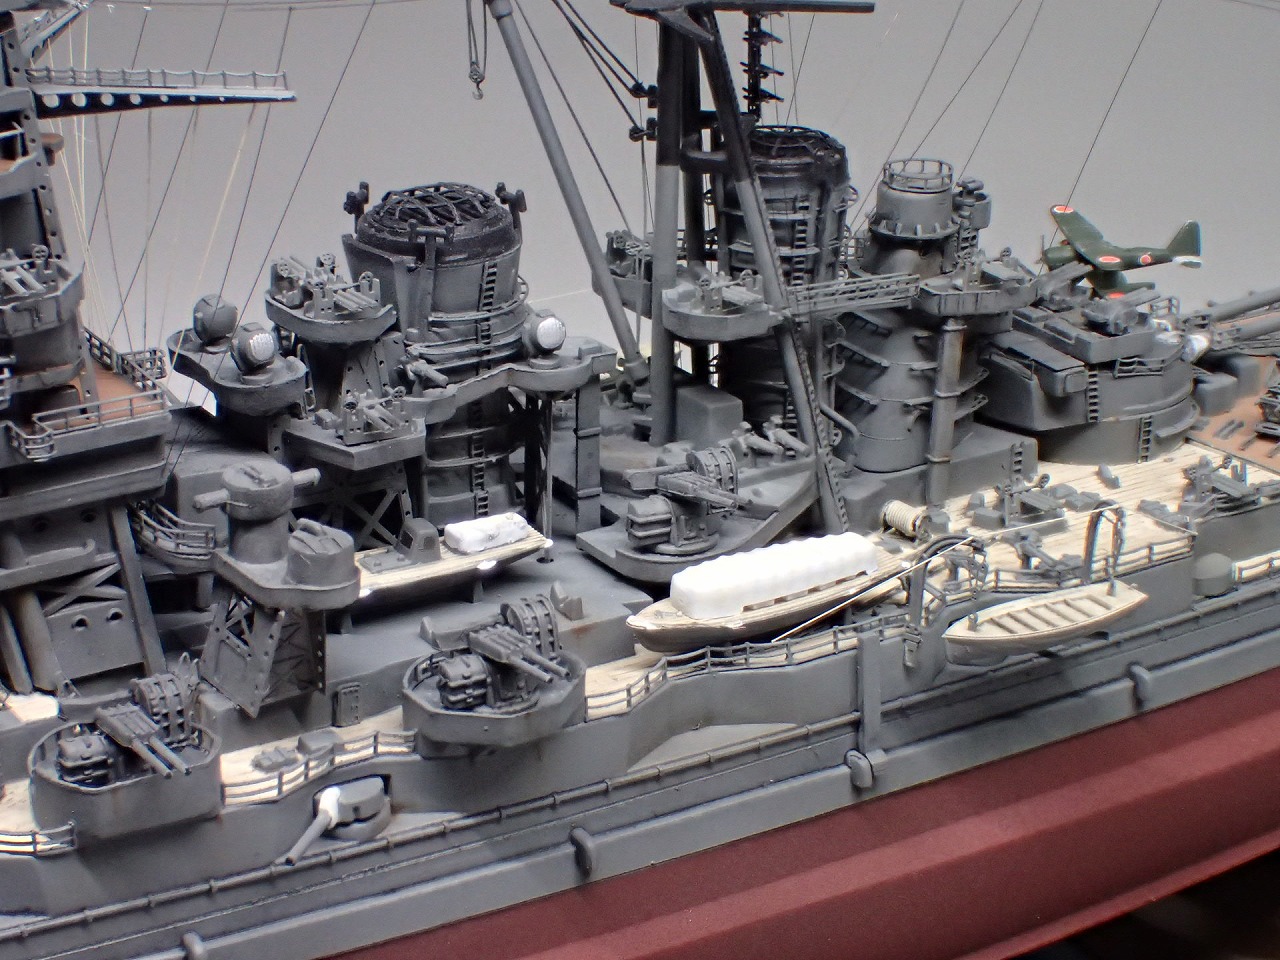
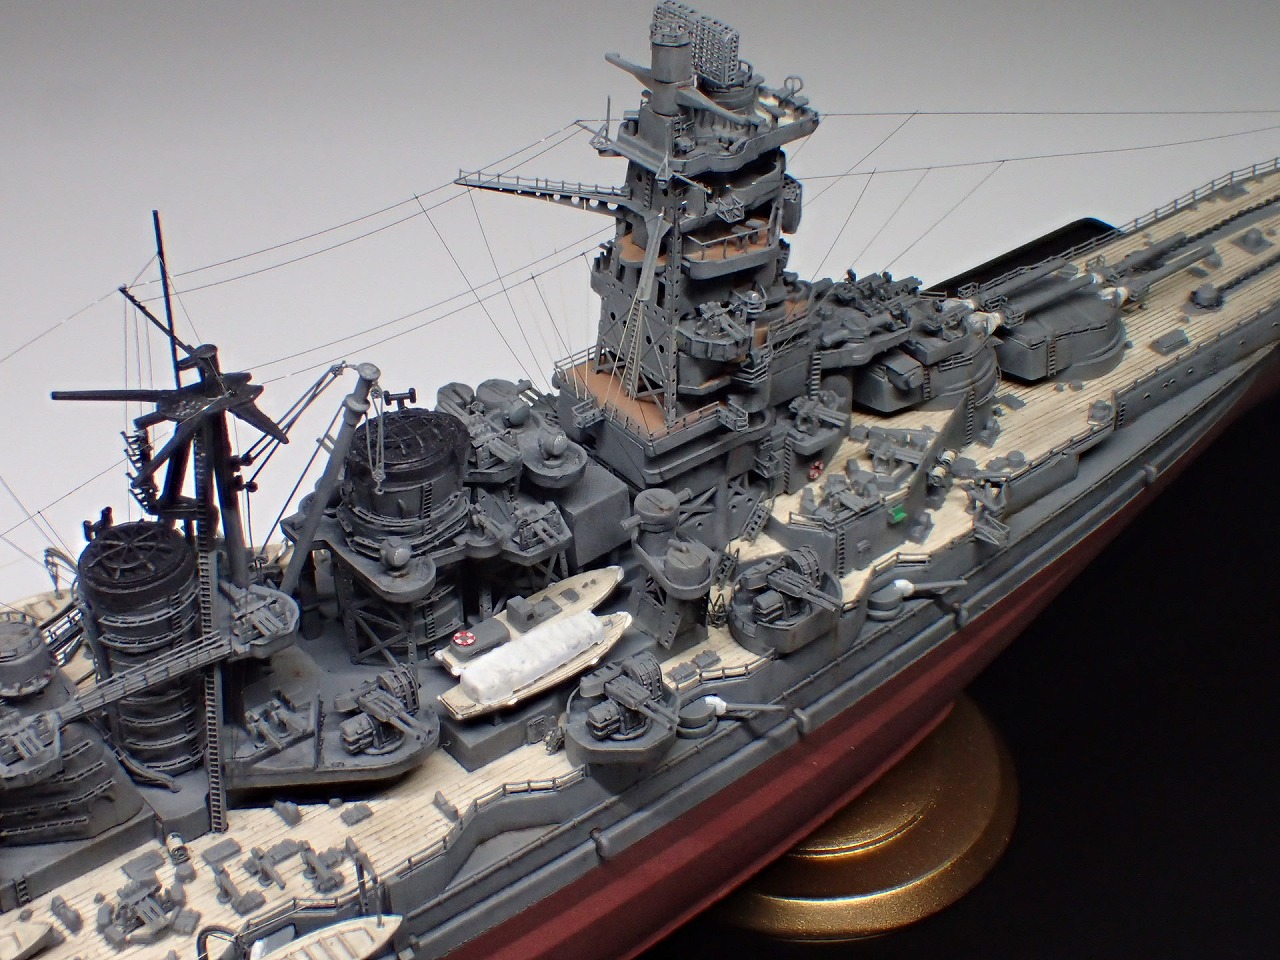
純正エッチングに運搬軌条が入っているのは、うれしいです。これだけで一気に精密度がアップします。
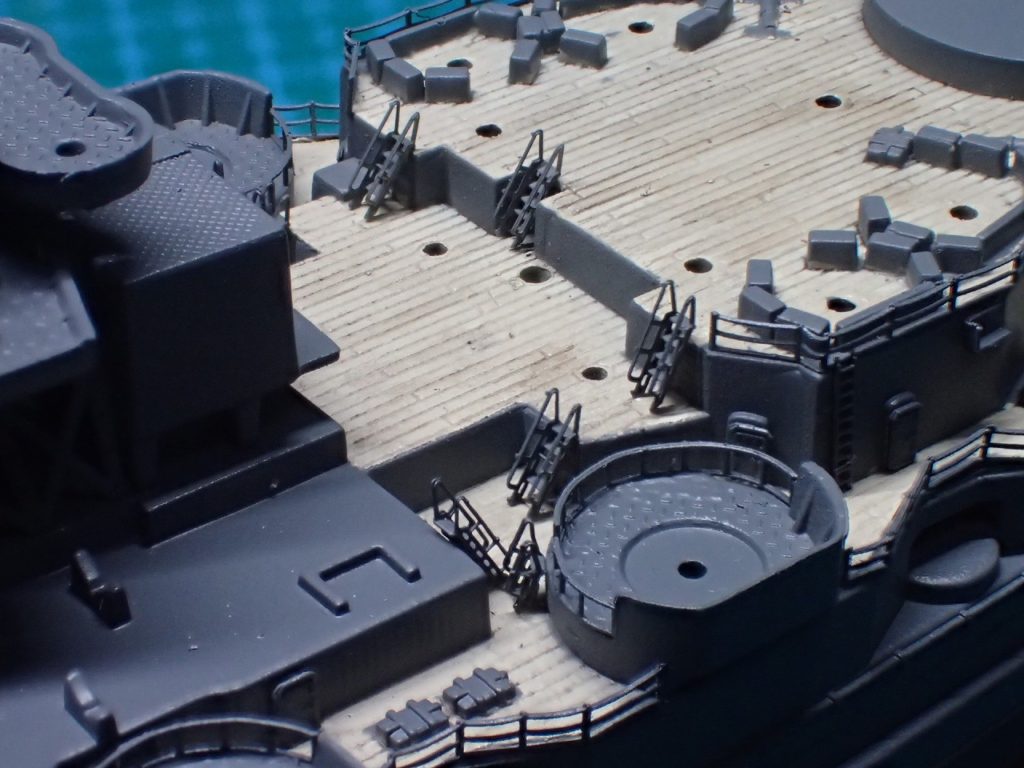
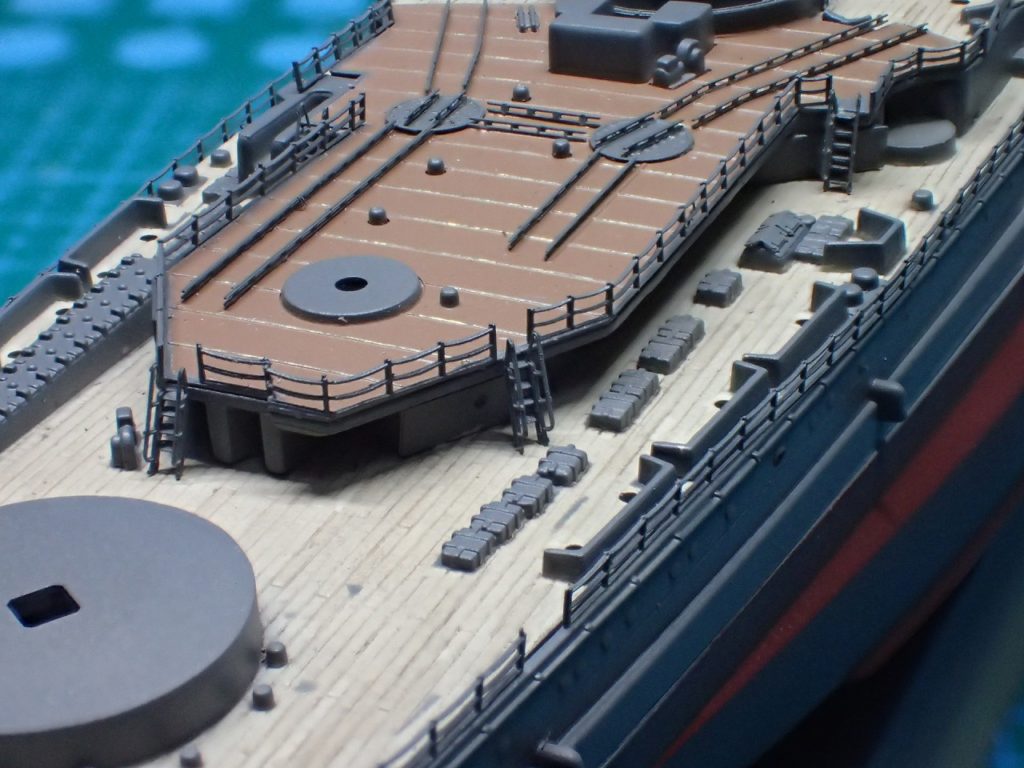
もちろん、ラッタルもエッチングパーツです。
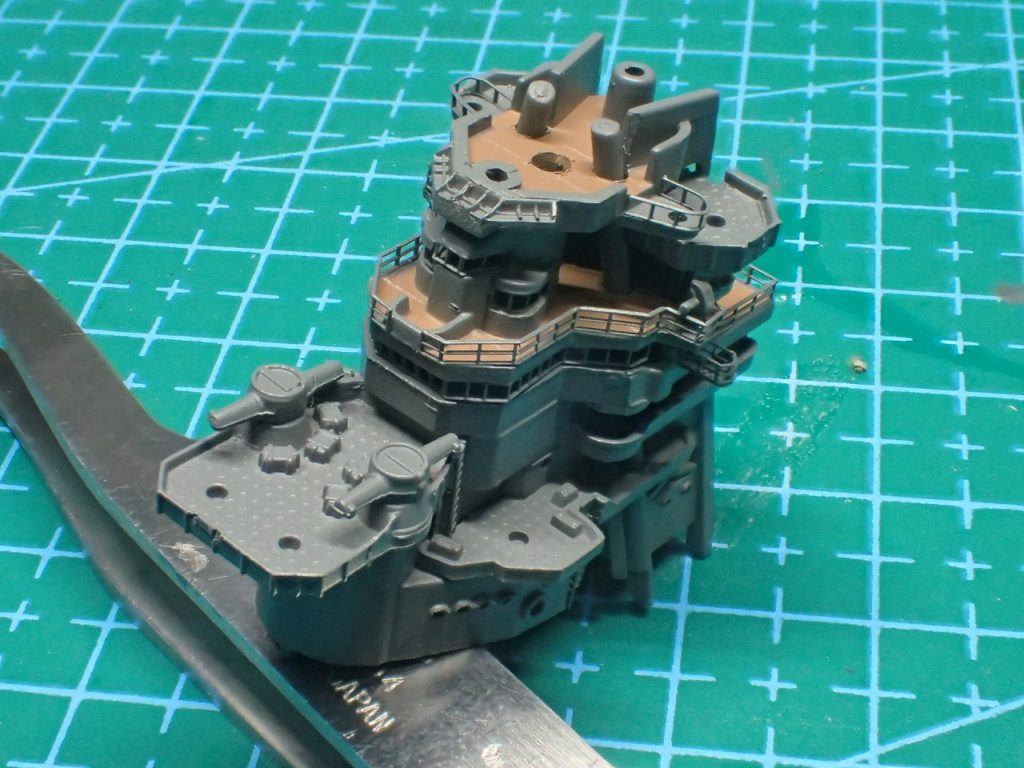
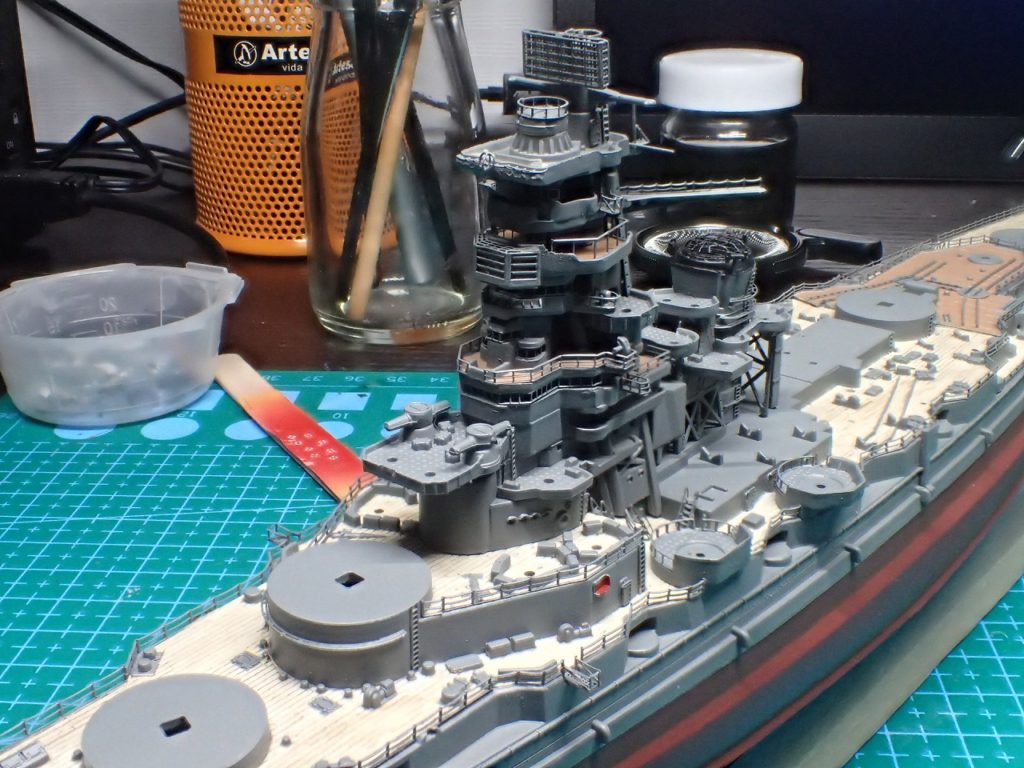
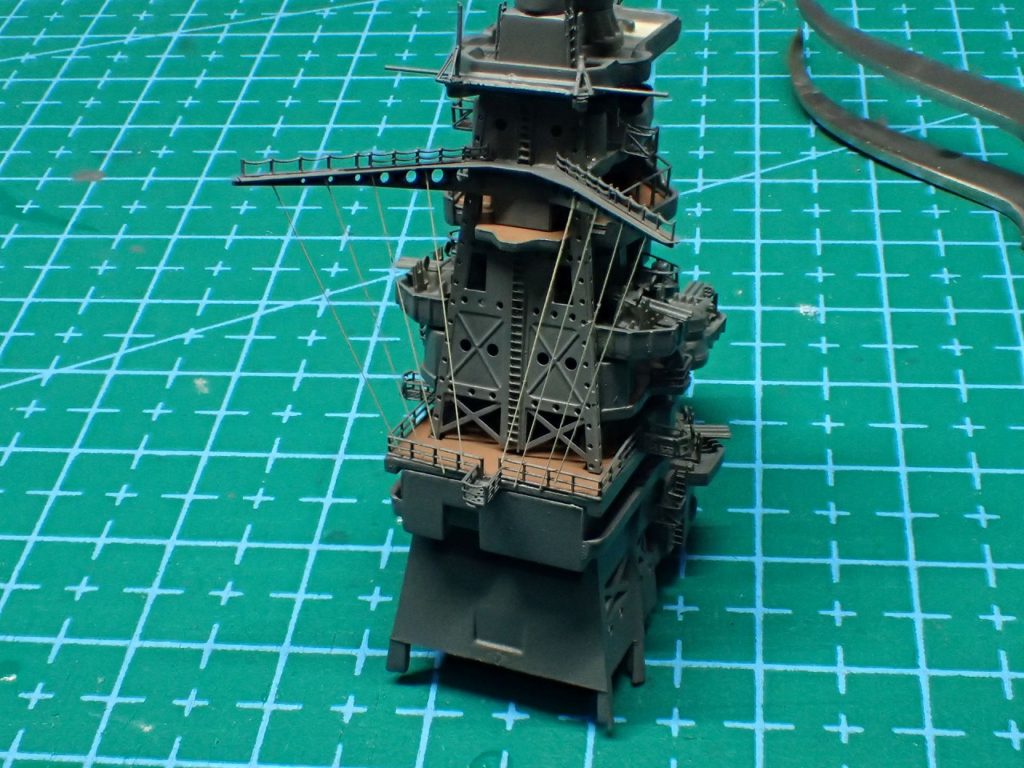
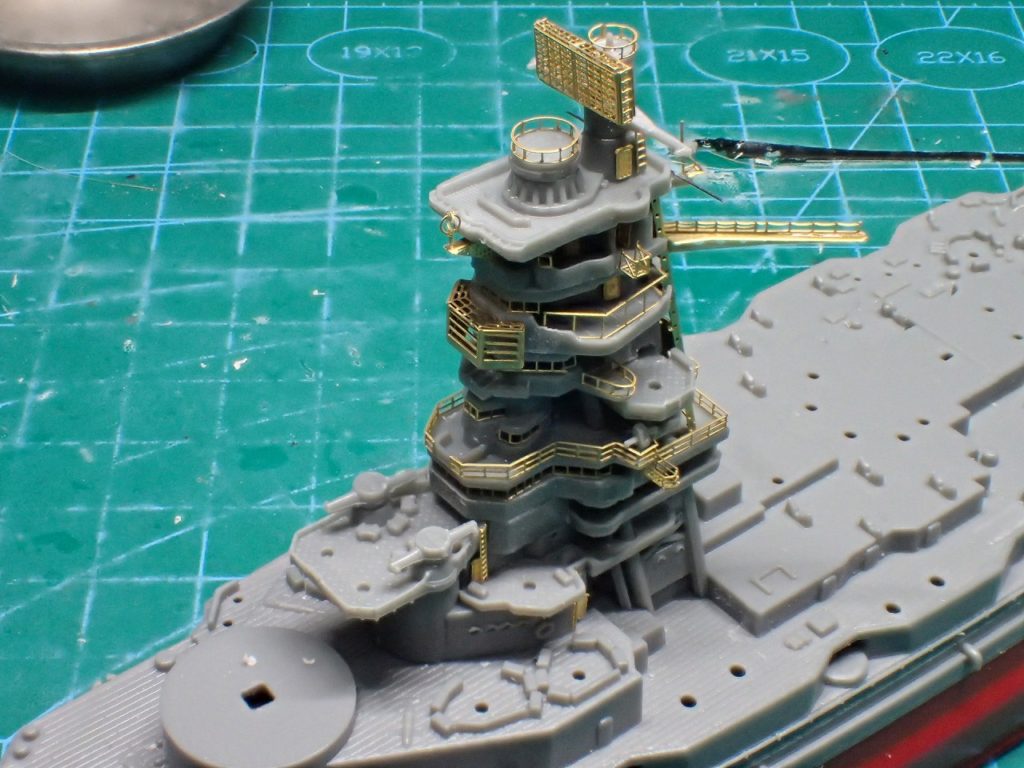
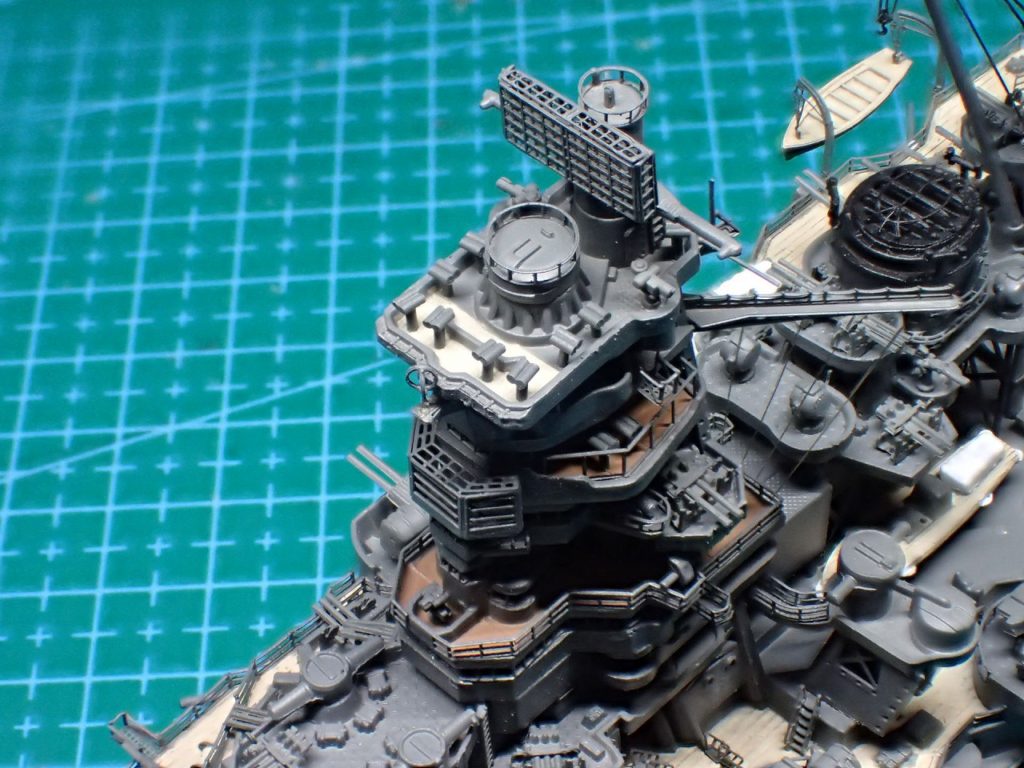
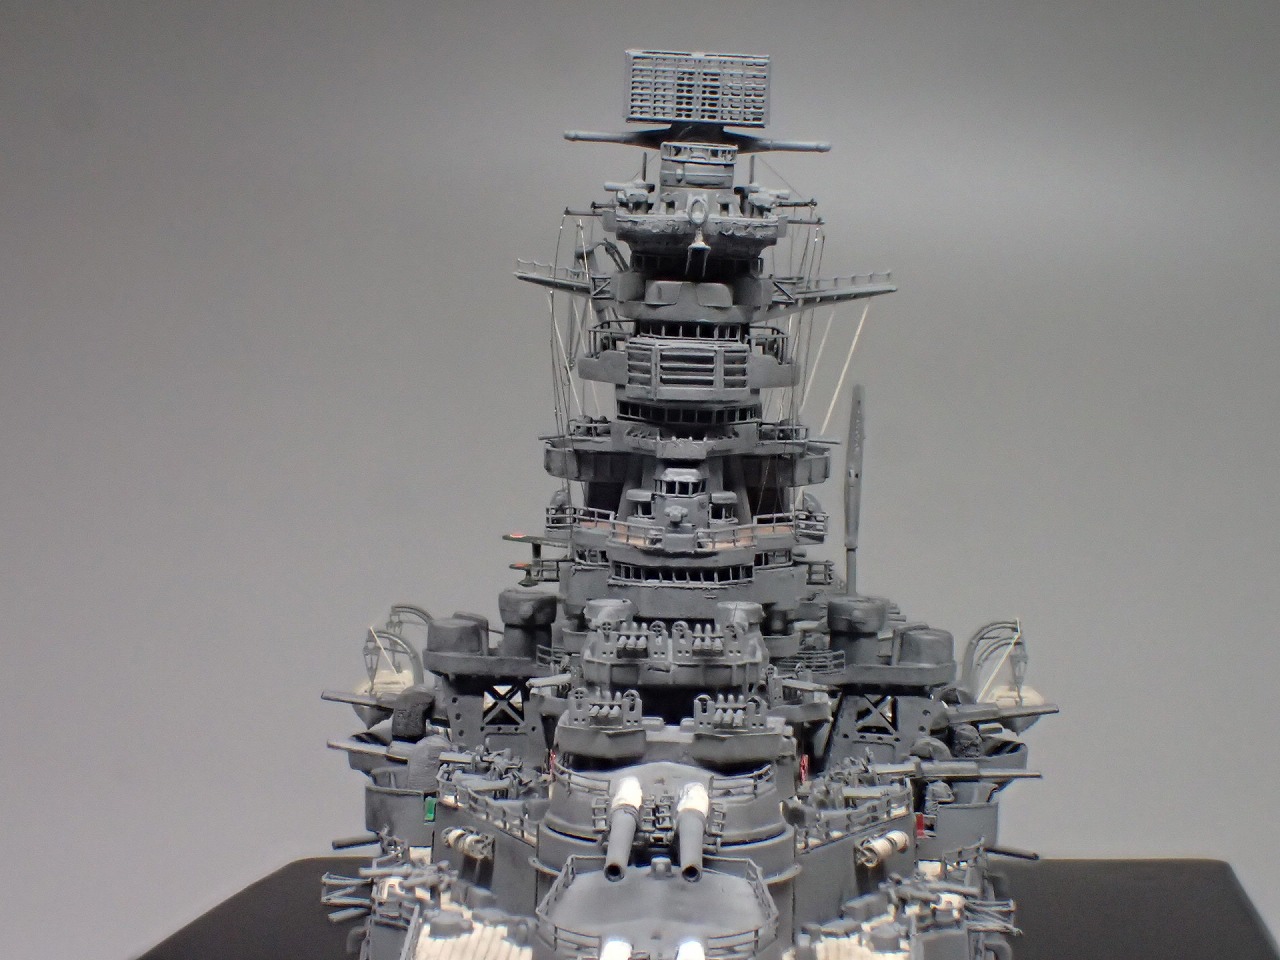
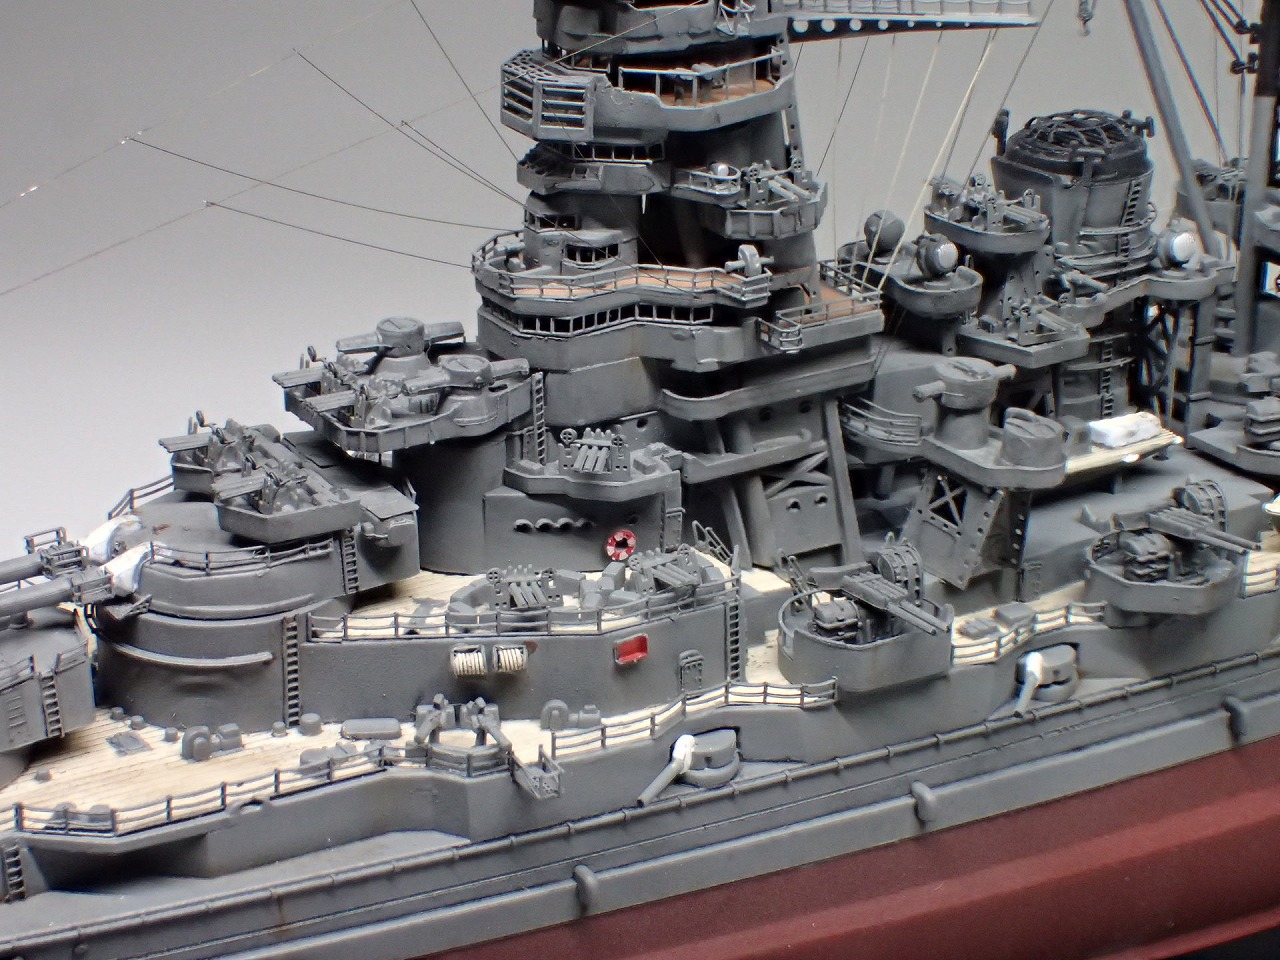
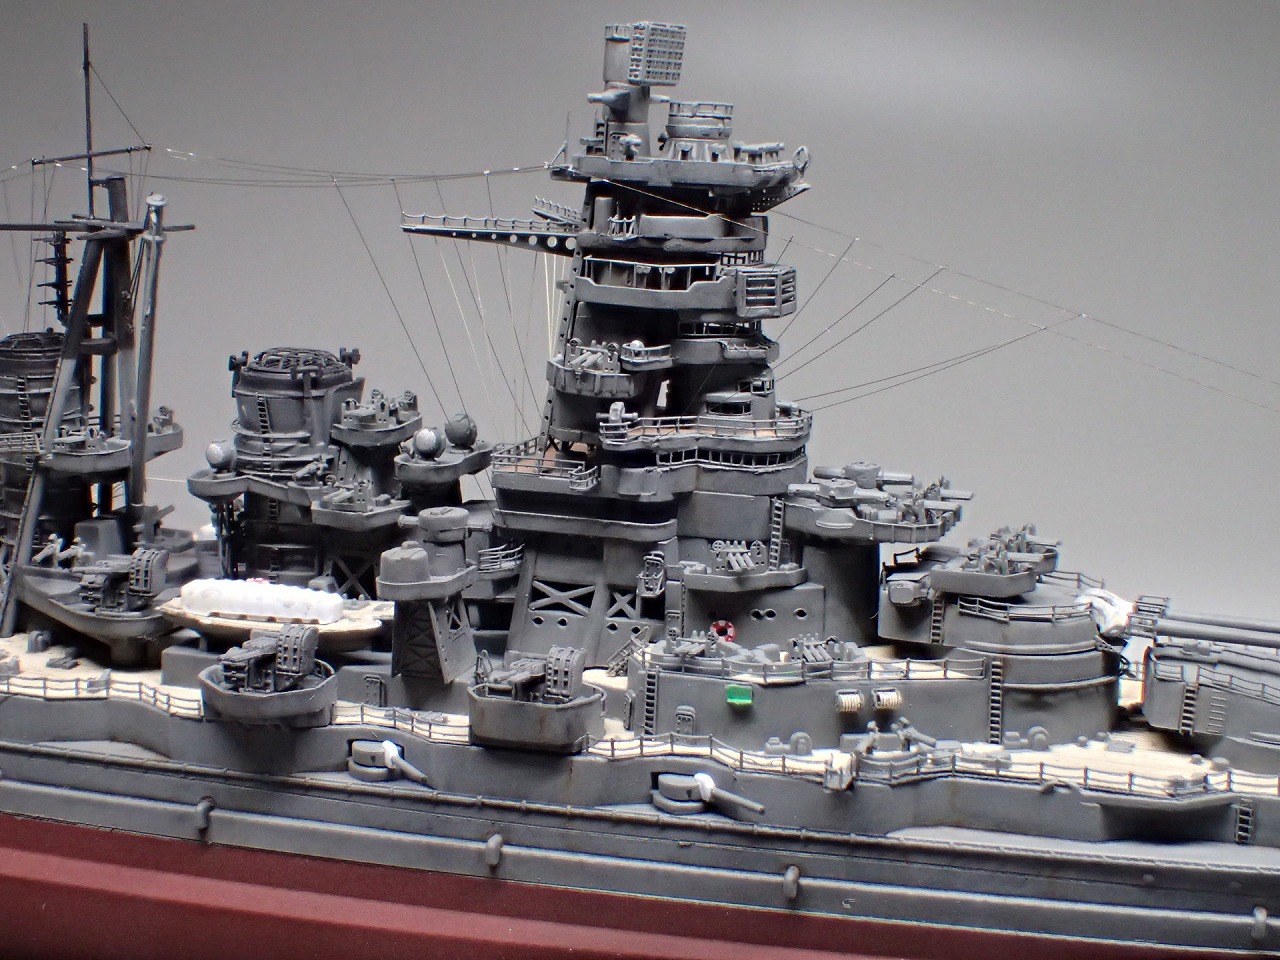
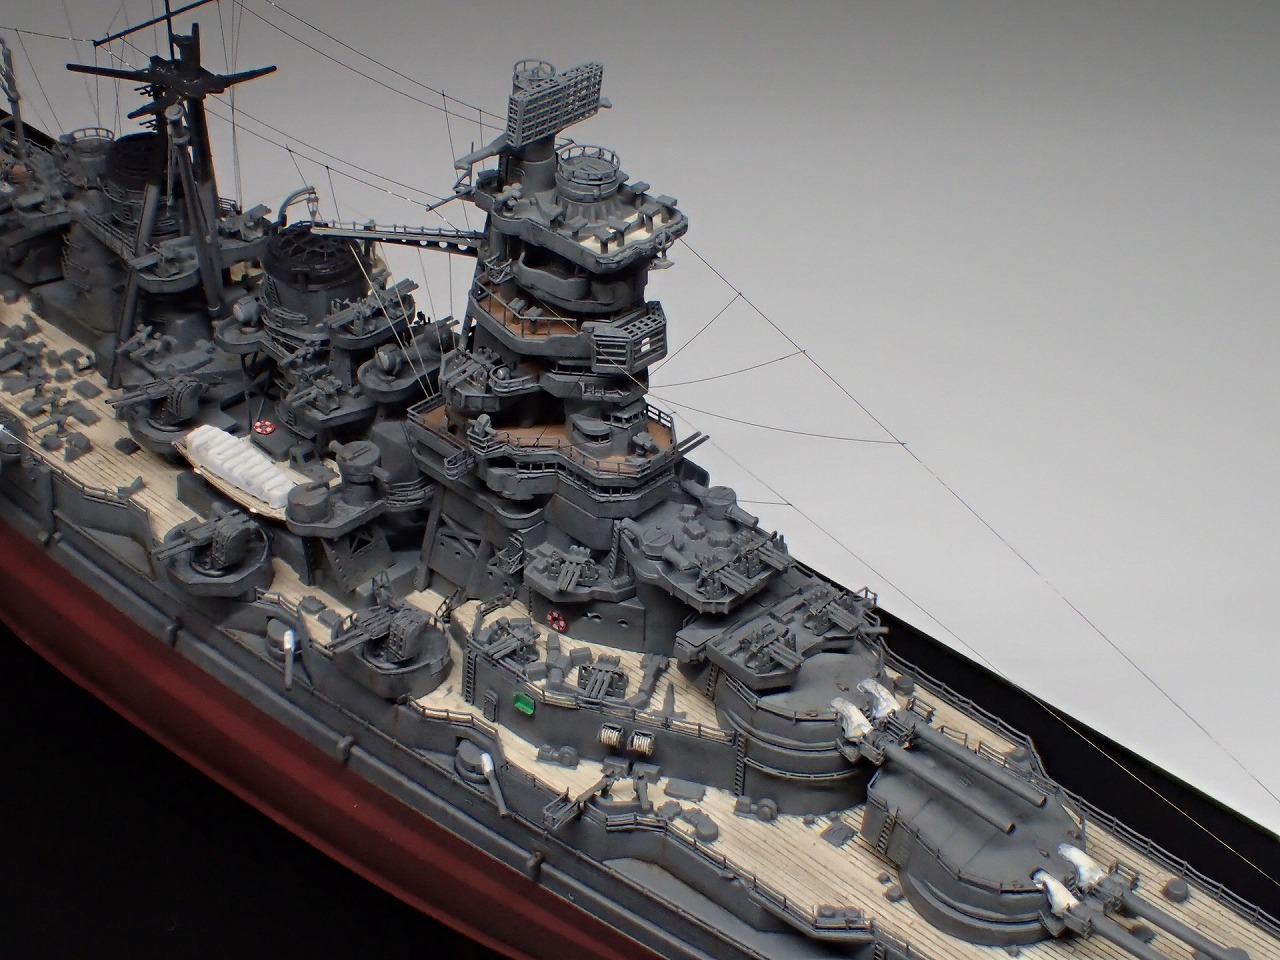
水平、垂直、平行に注意しながら艦橋を積み上げていきます。
3本の支柱を通す穴がきつかったので、位置の微調整をするために少し穴を広げておくと良いです。
信号旗索は、塗装した0.1号のメタルリギングを使用しました。


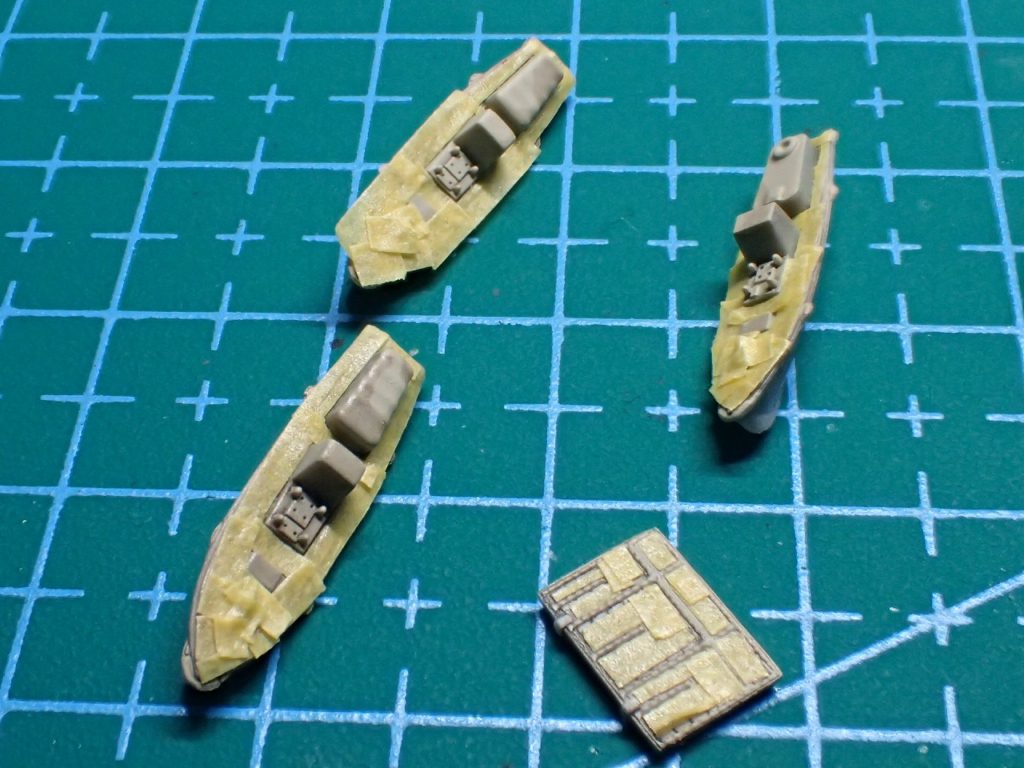
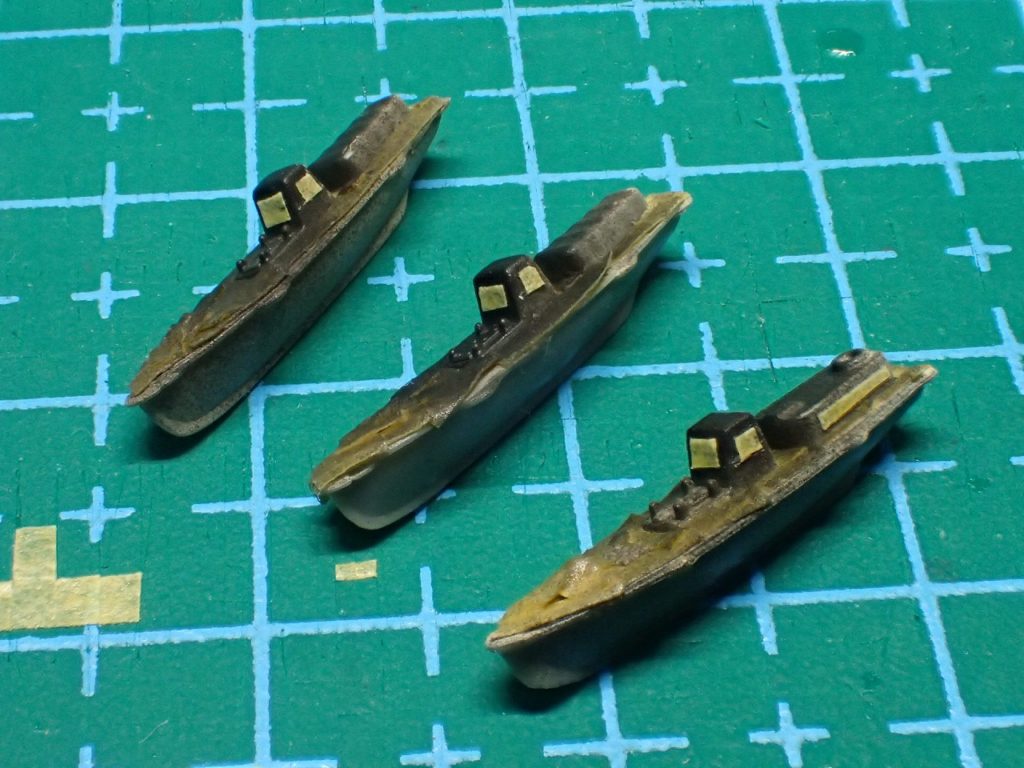
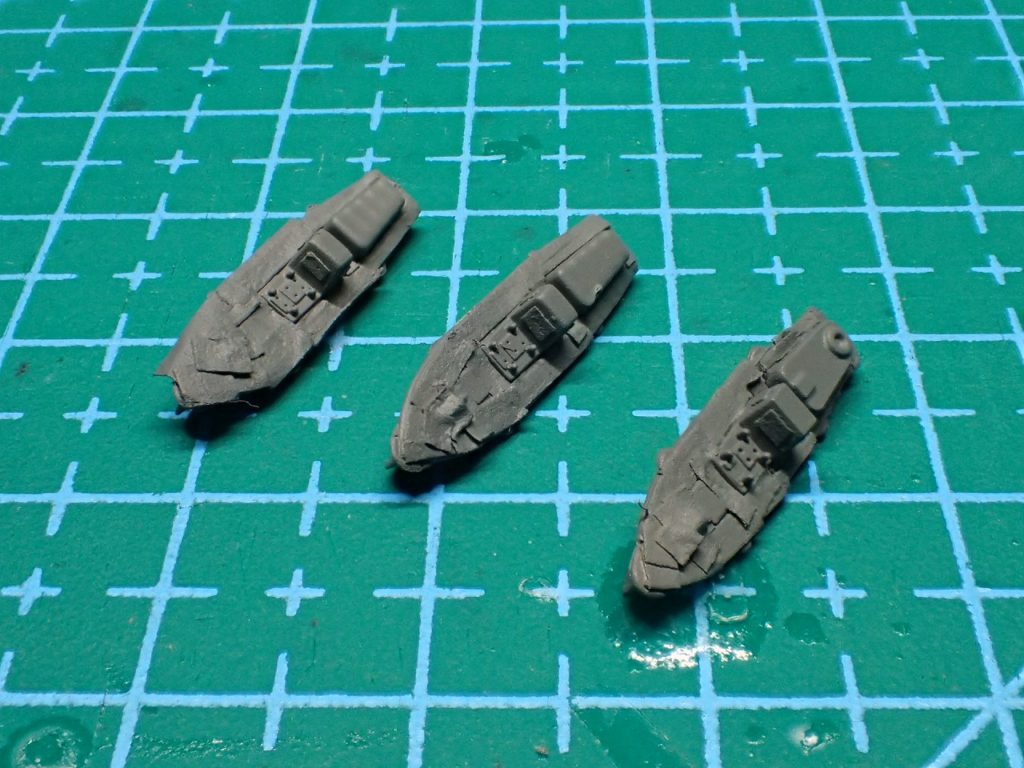
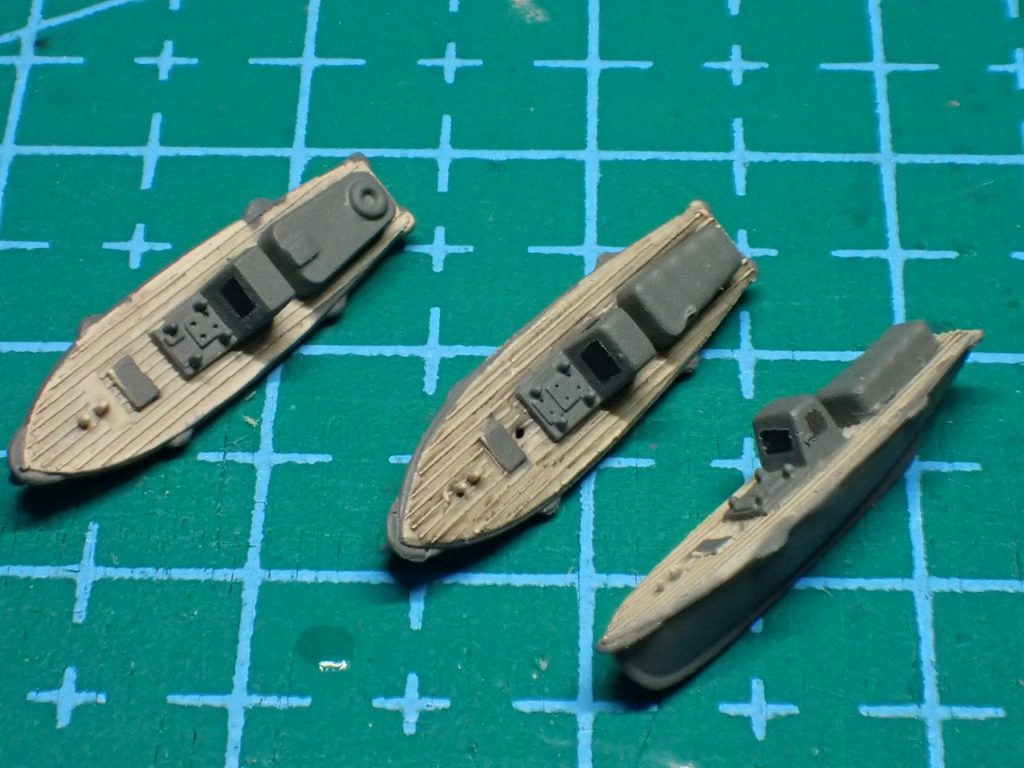

内火艇は、塗装で窓枠を再現しました。
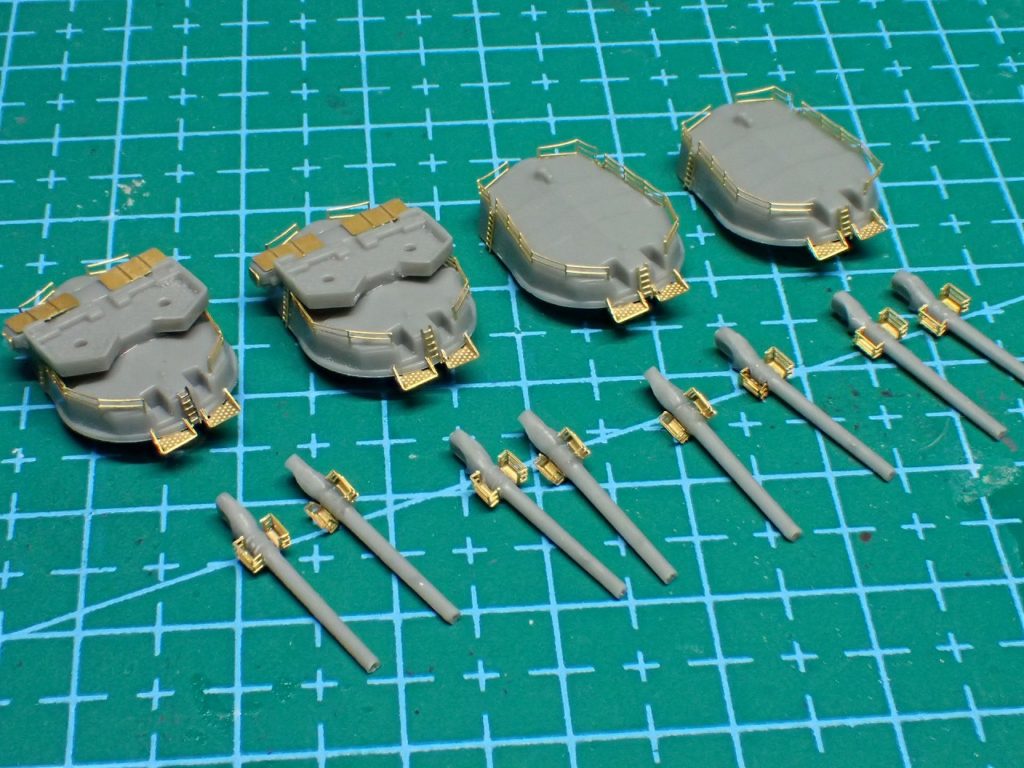
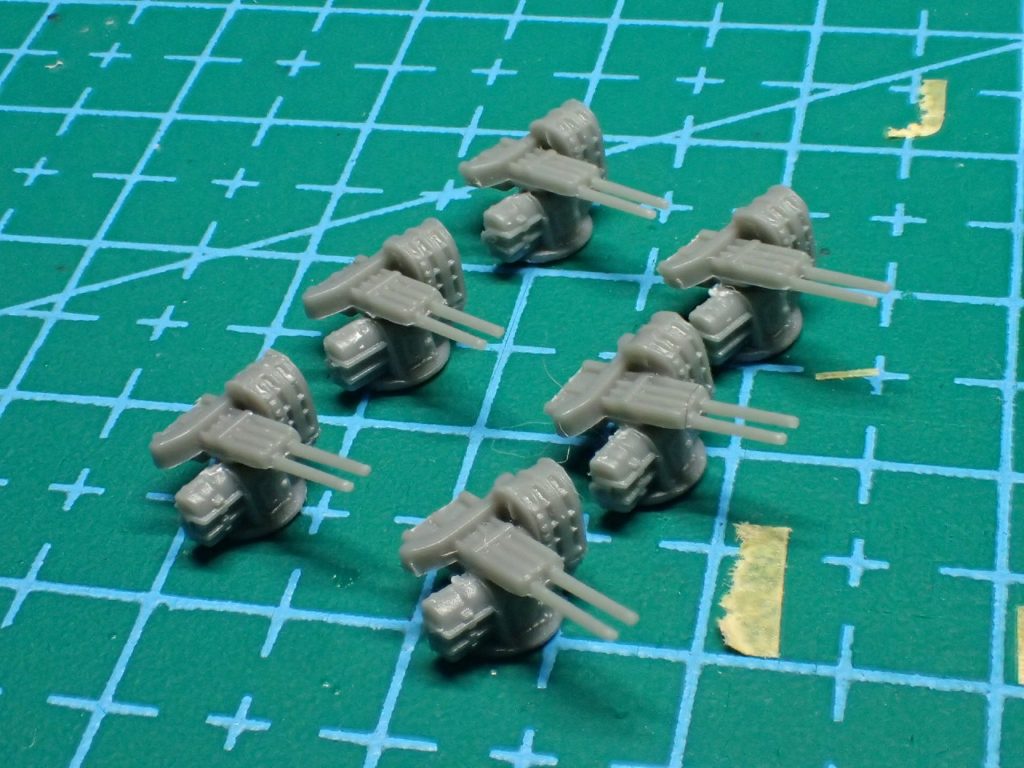

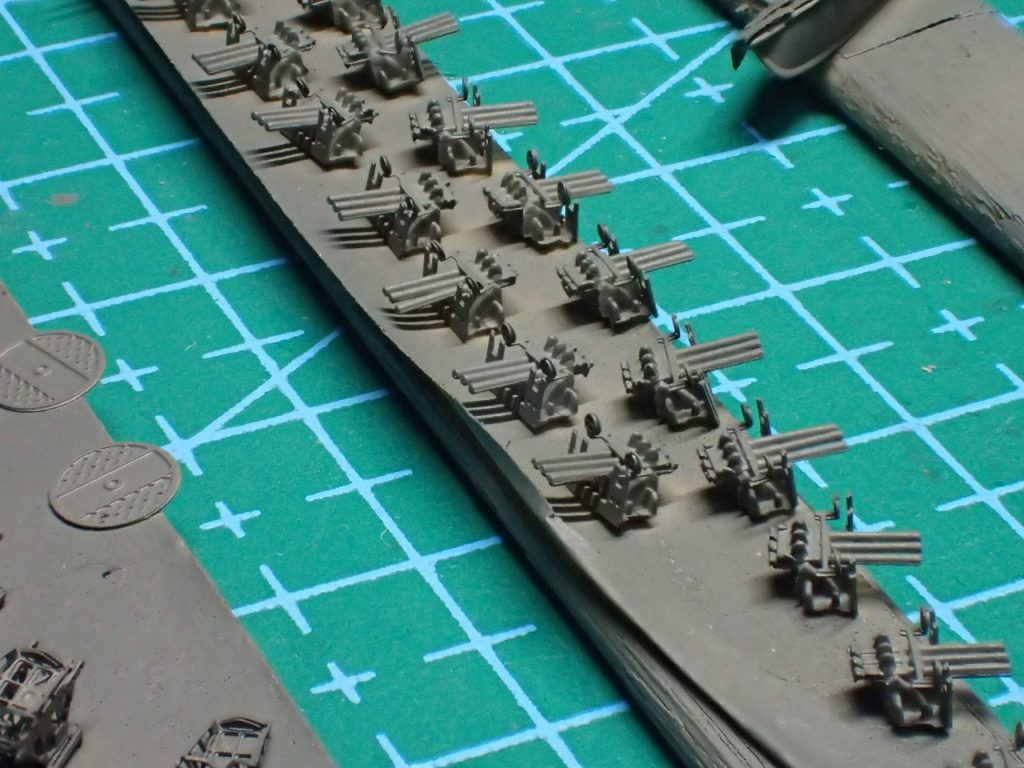

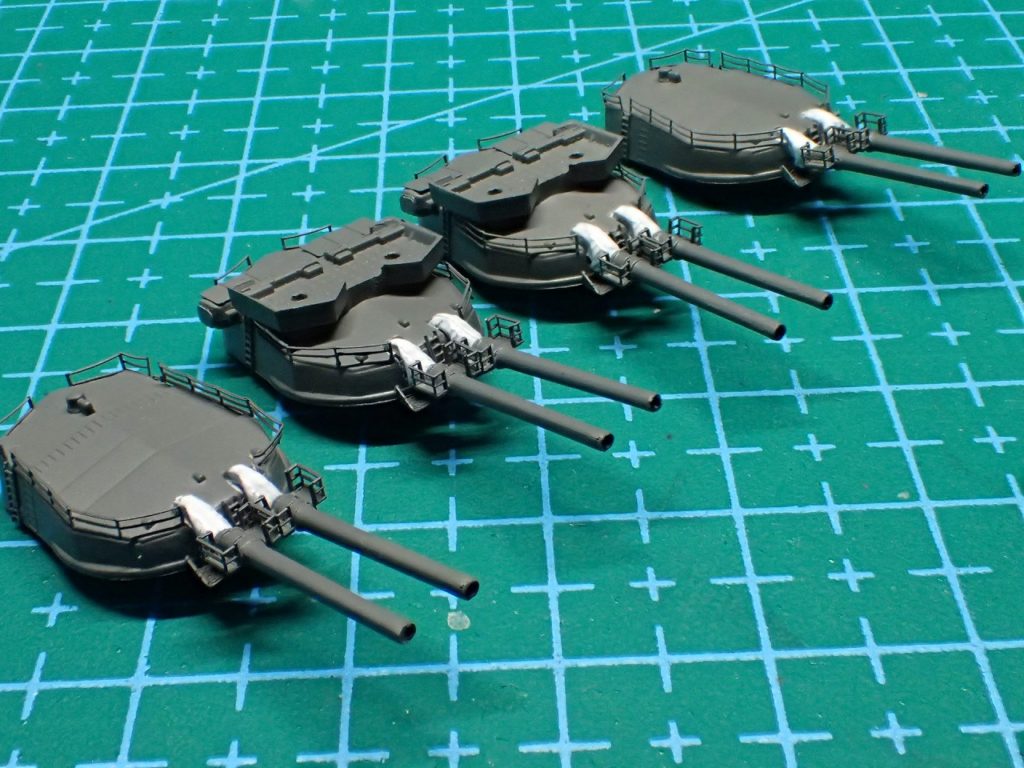
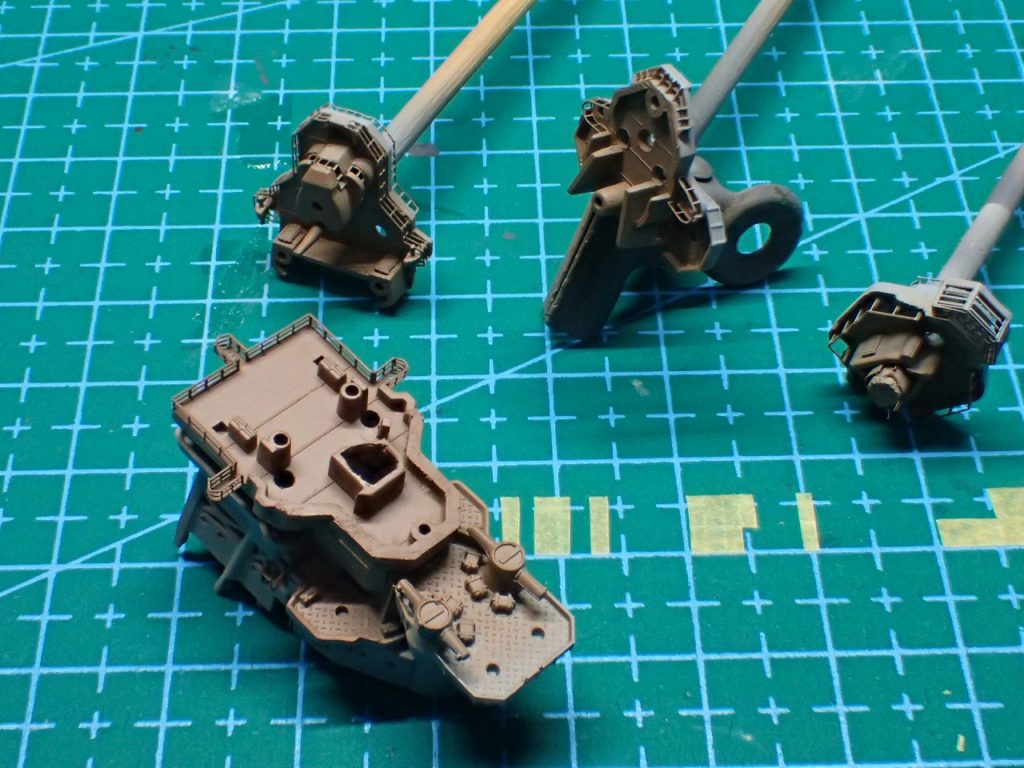
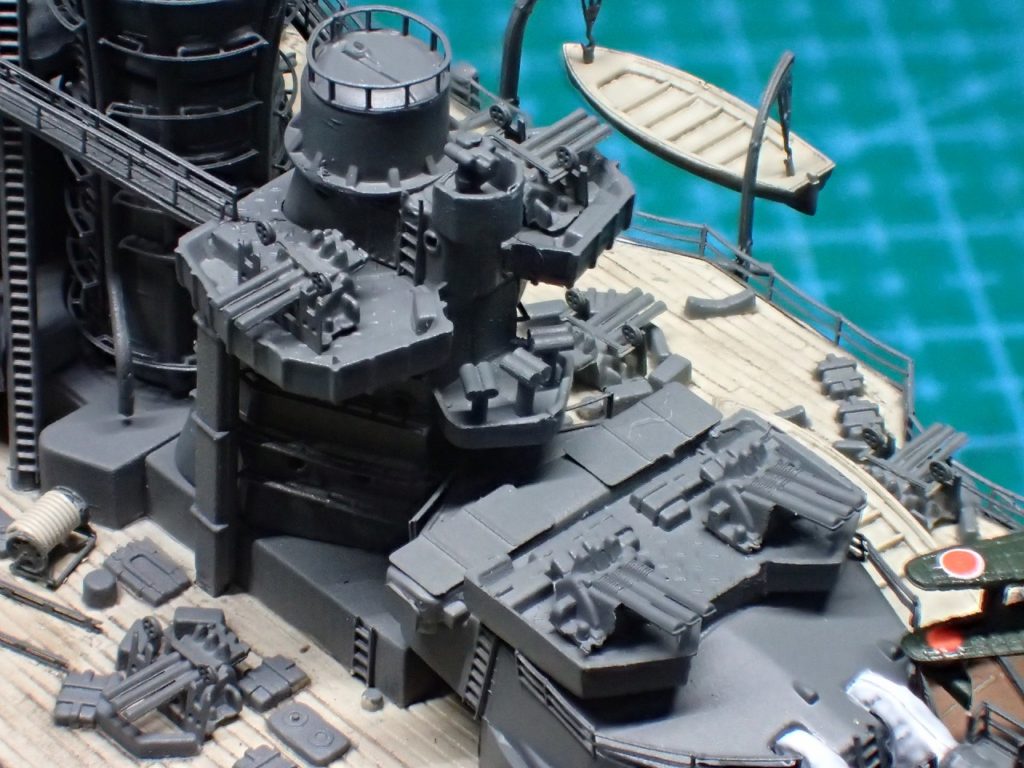
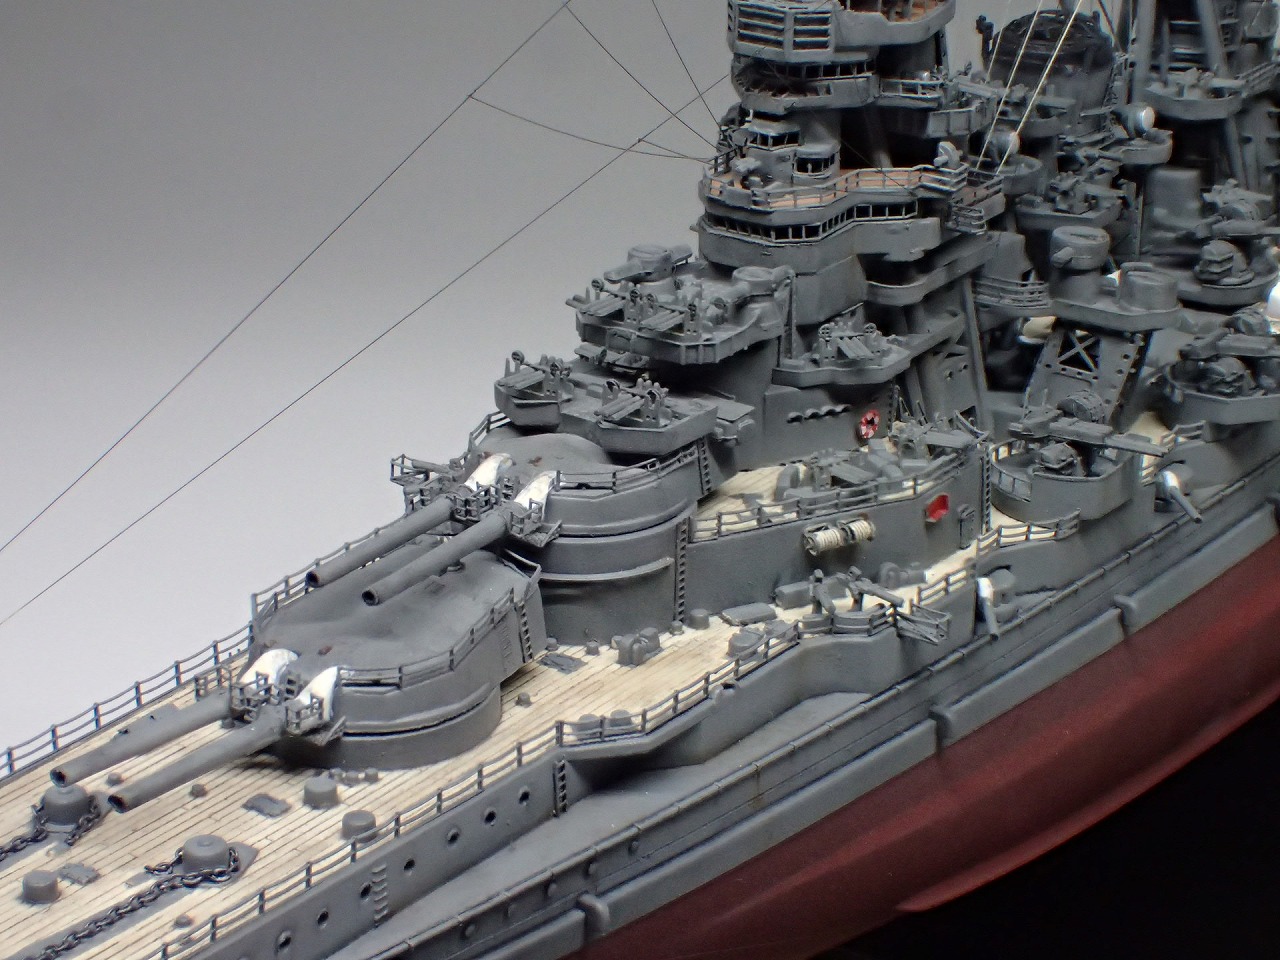
高角砲の砲身はただの棒ですが、筒に見るよう砲口部を黒で塗装しました。副砲も同じように処理してあります。その際は、砲口部にもパーティングラインが存在しているので、ヤスリで処理しておくと良いです。
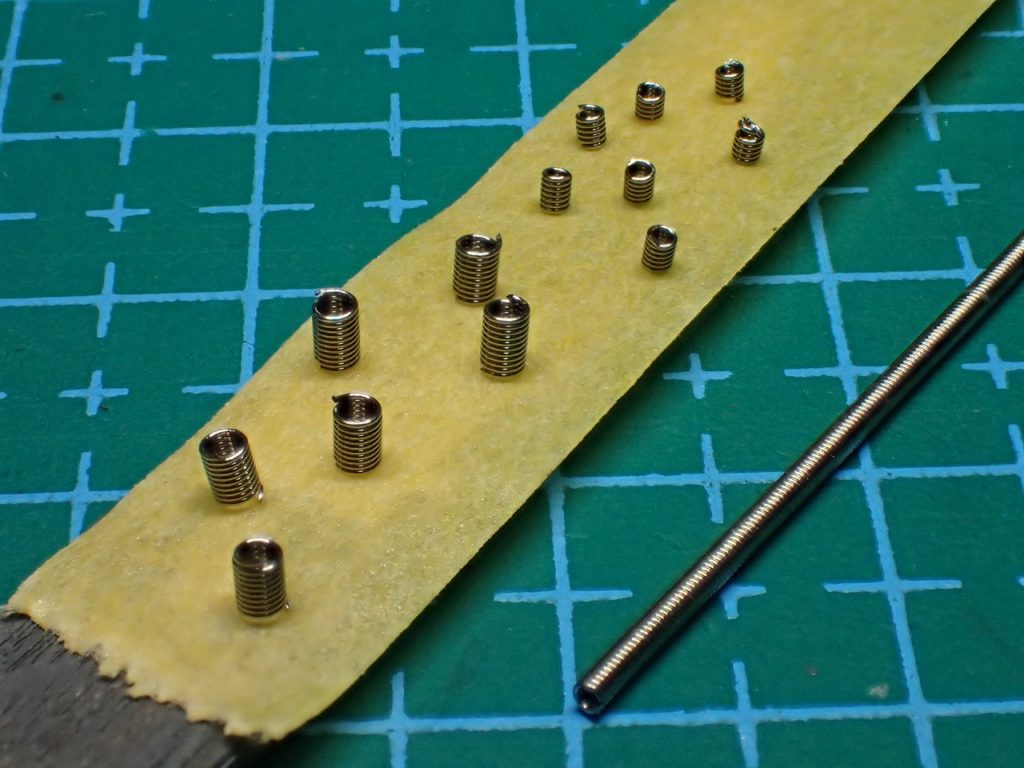
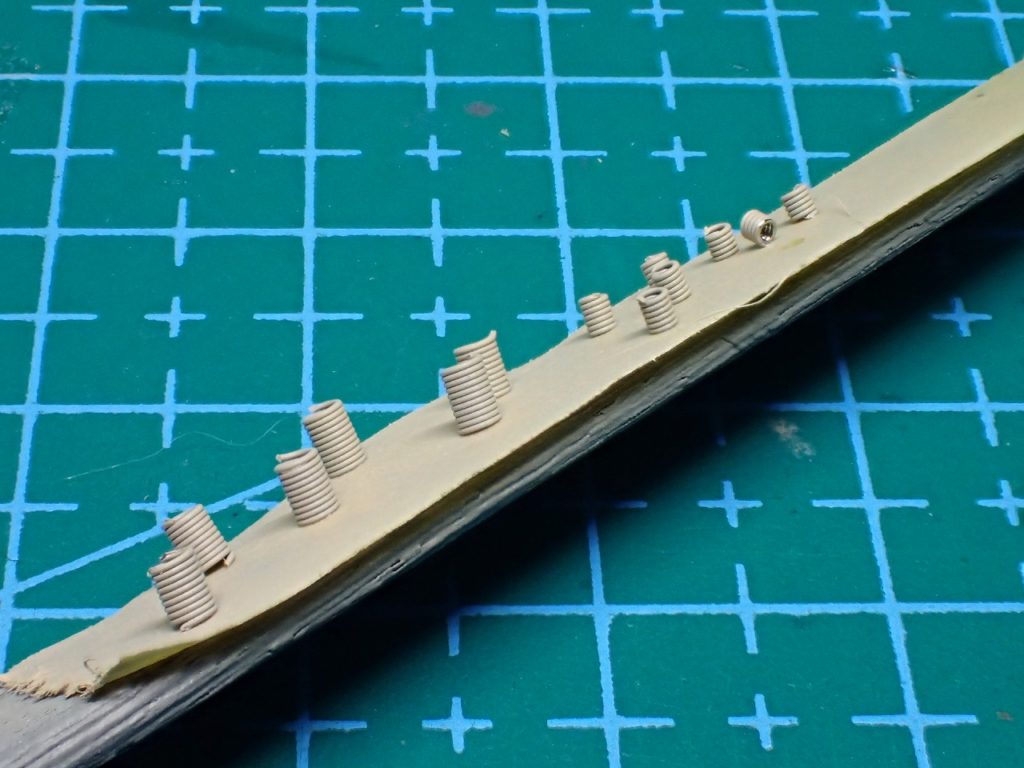
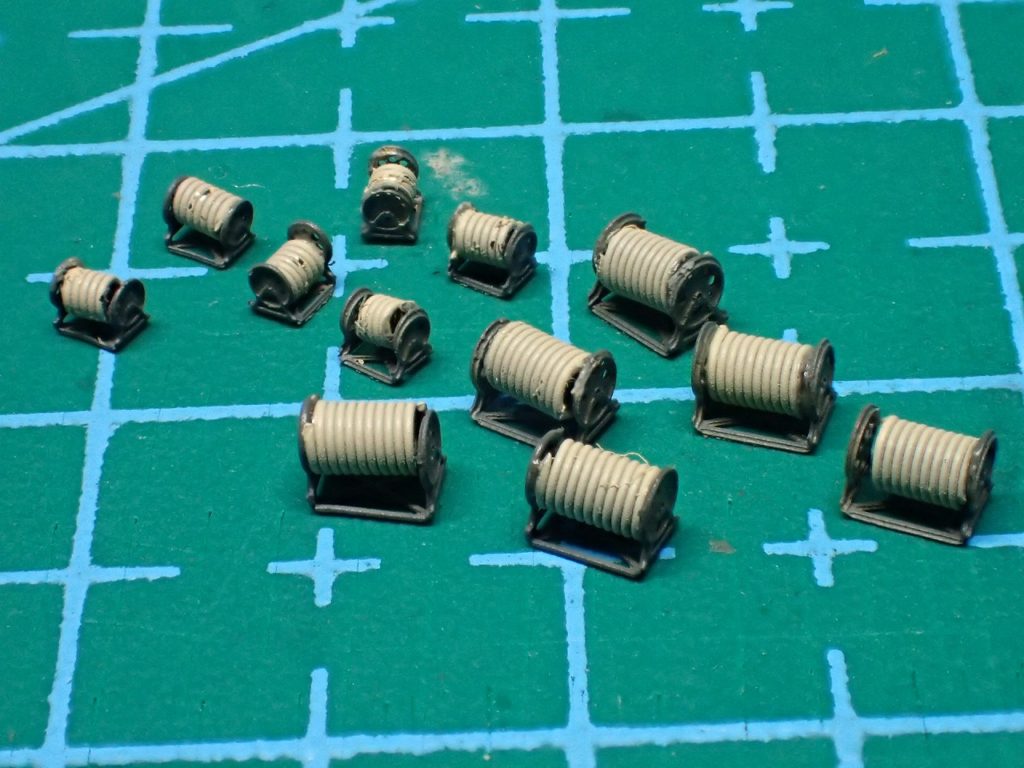
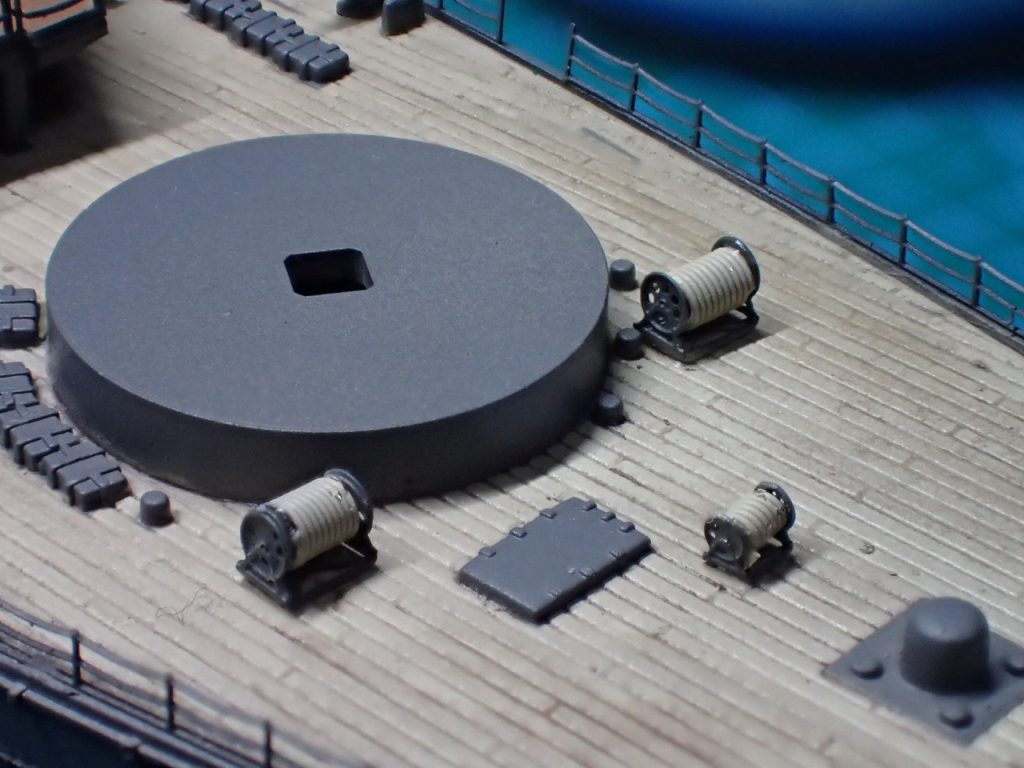
ホーサーリールのロープ部は、ウェブのスプリングで再現しました。
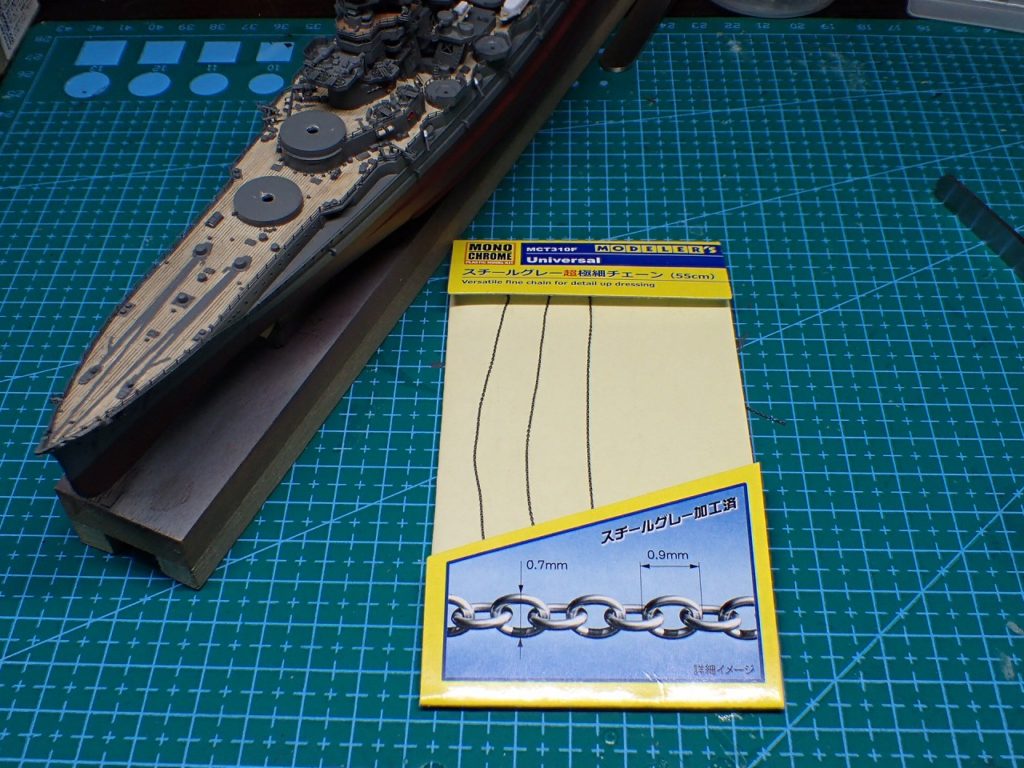

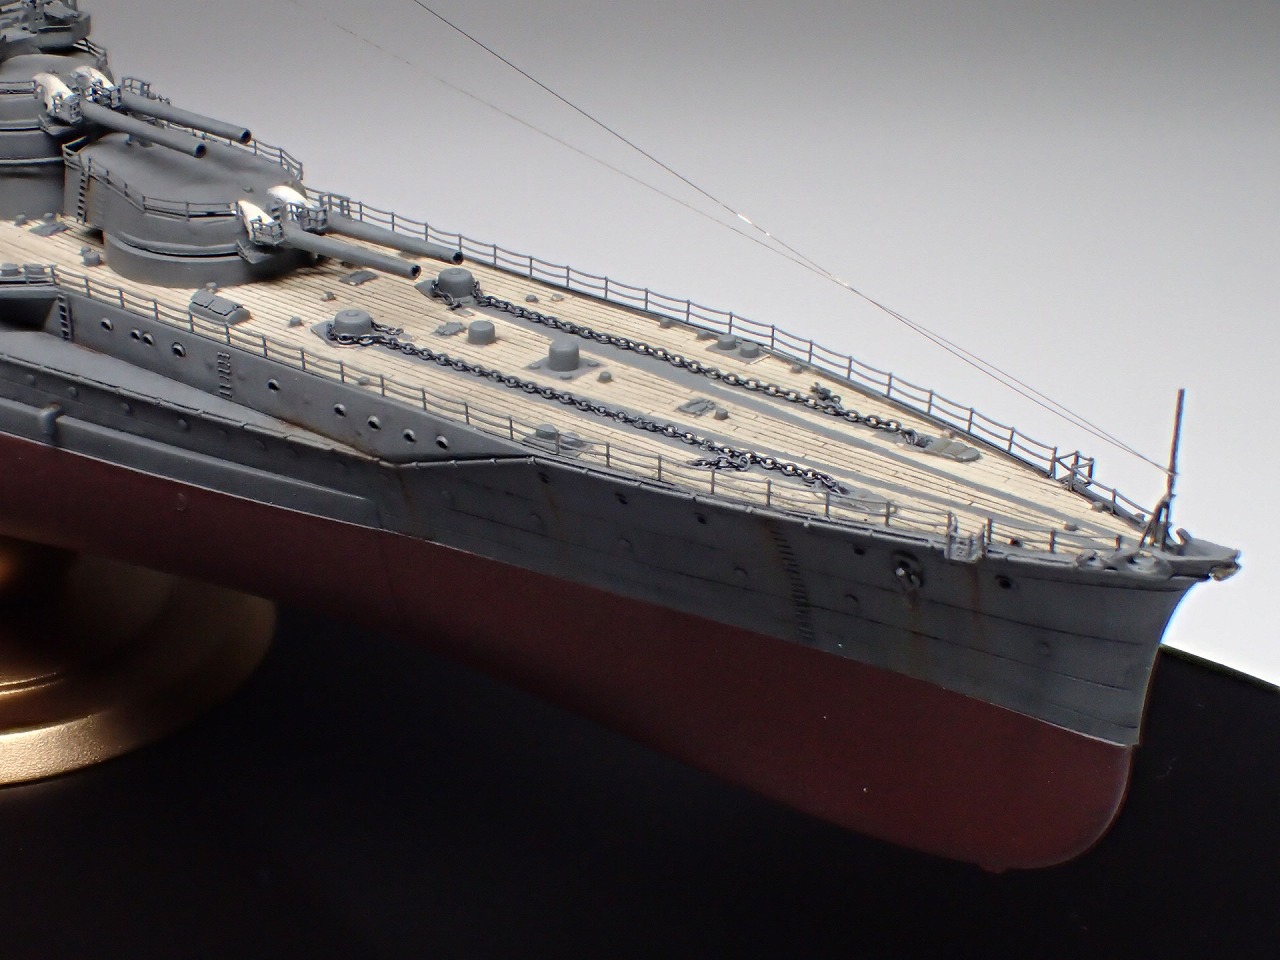
冒頭で触れたとおりアンカーチェーンだけはあまりにも残念だったので、インターアライドのスチールグレー超極細チェーンに置き換えました。


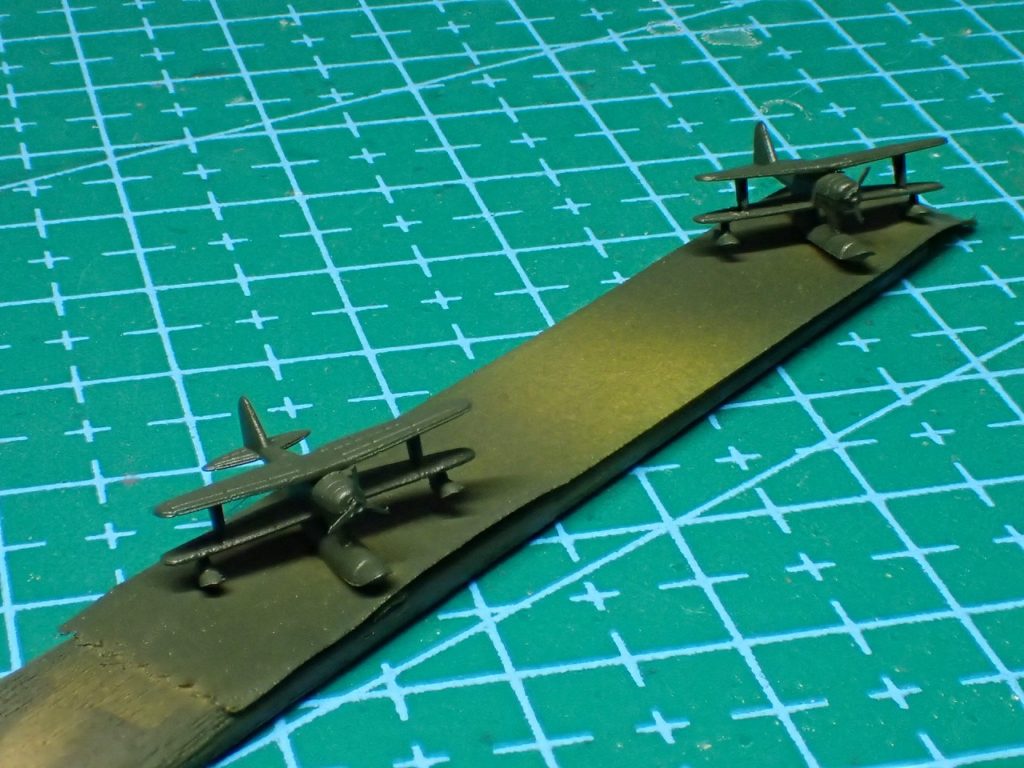
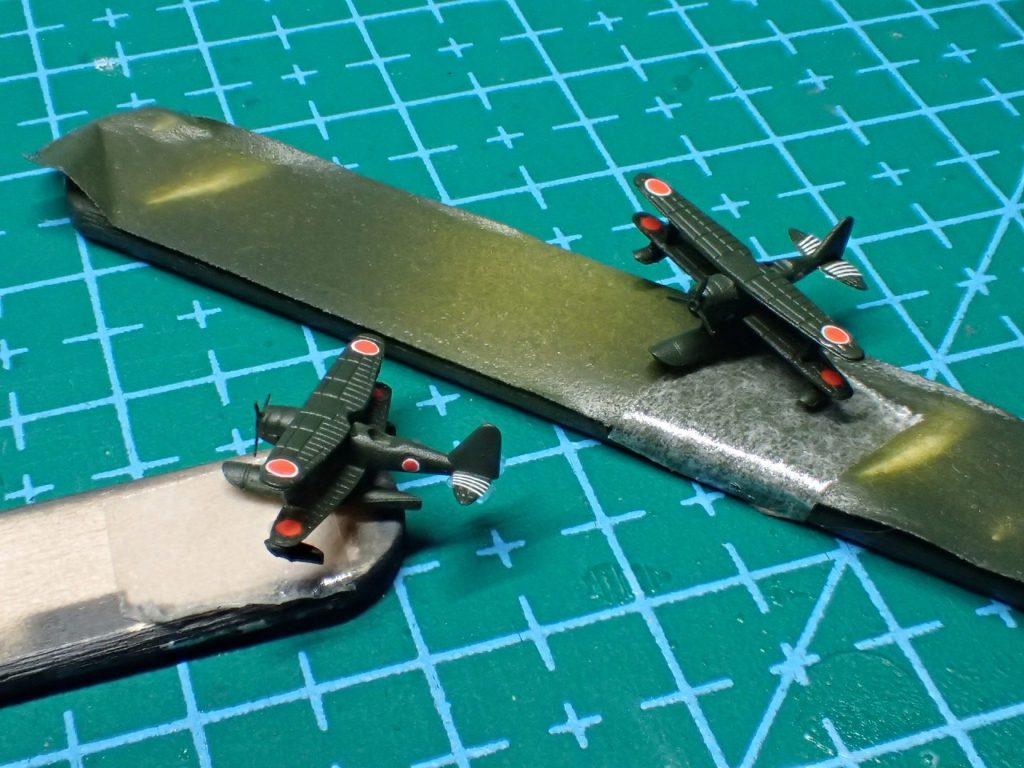
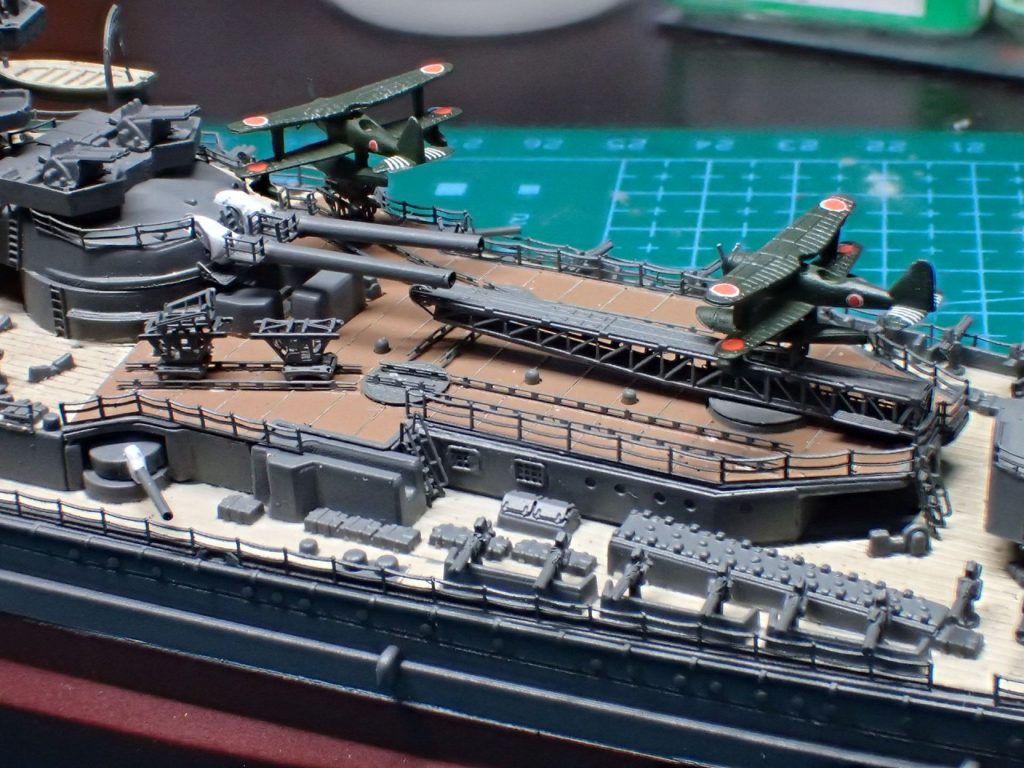
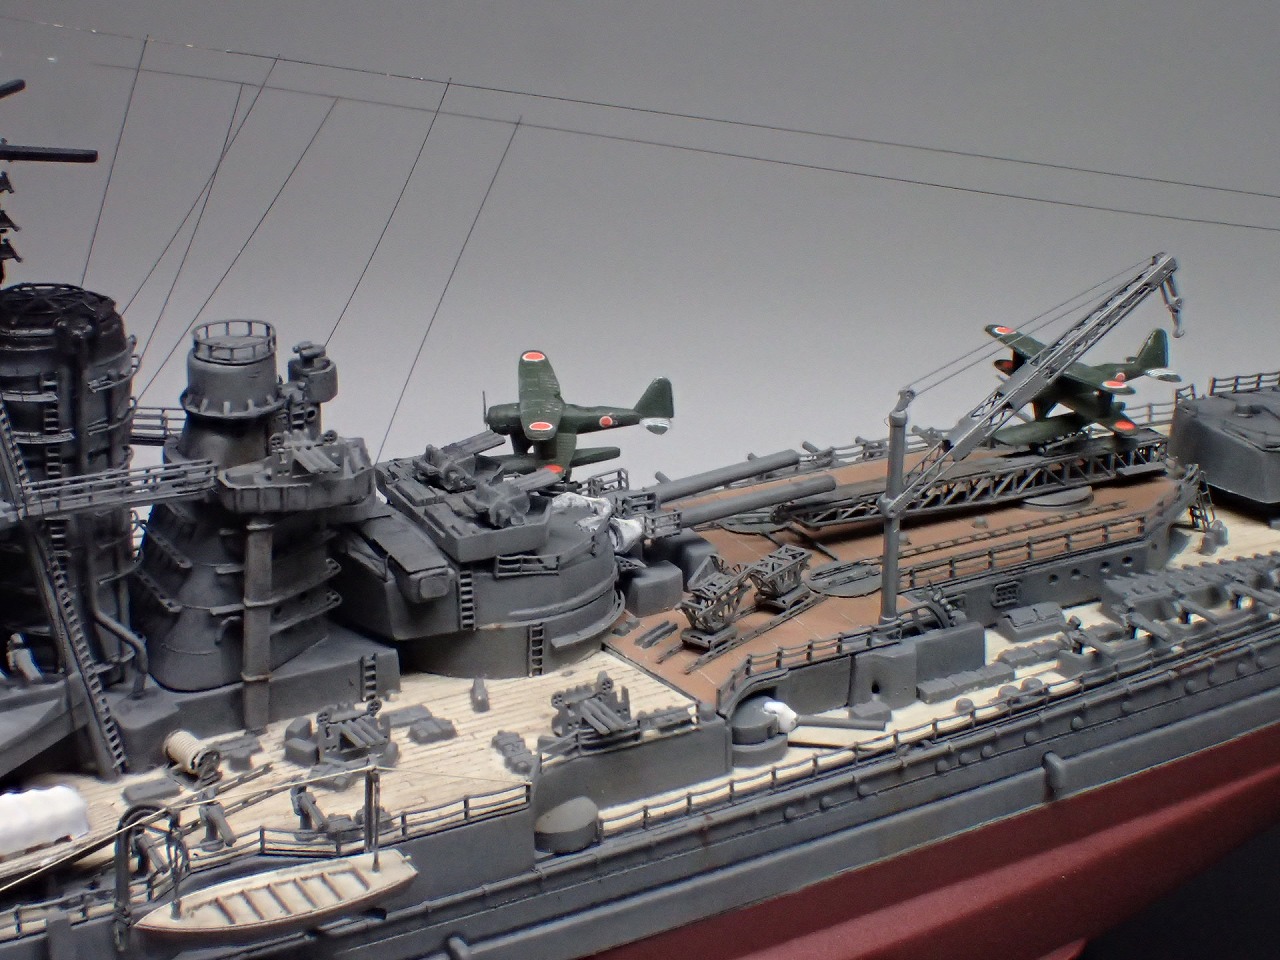
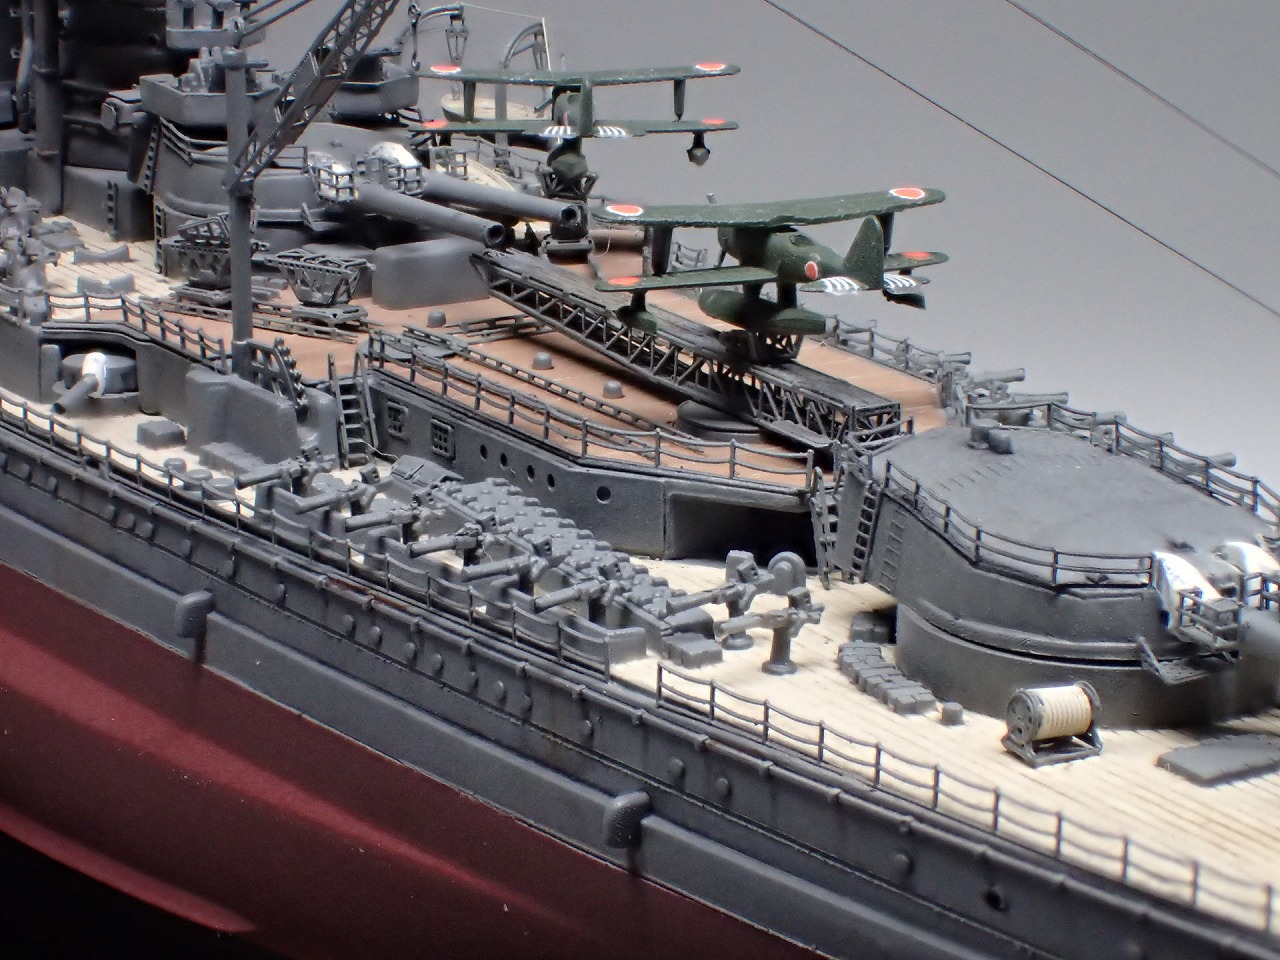
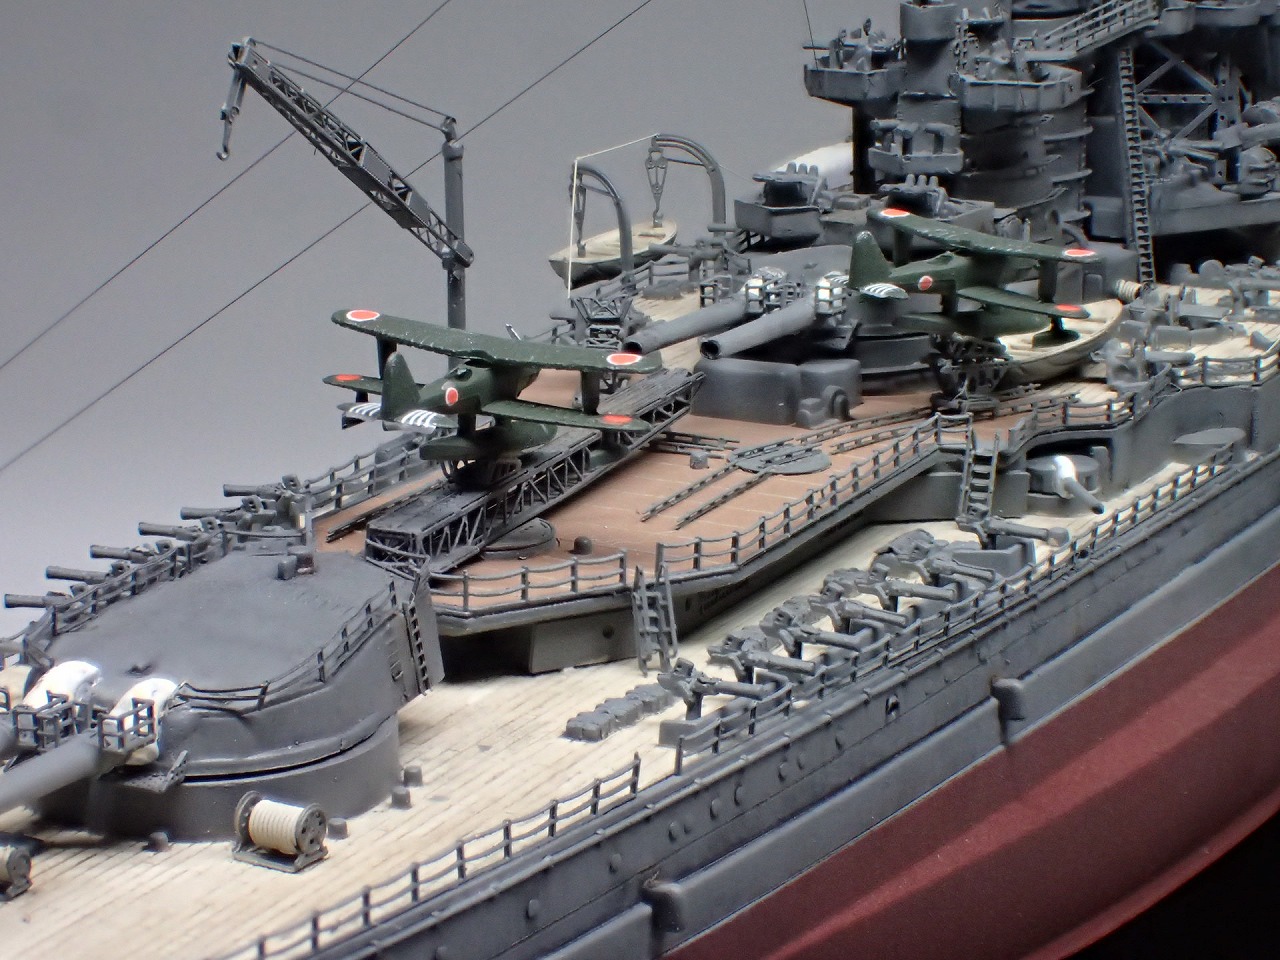
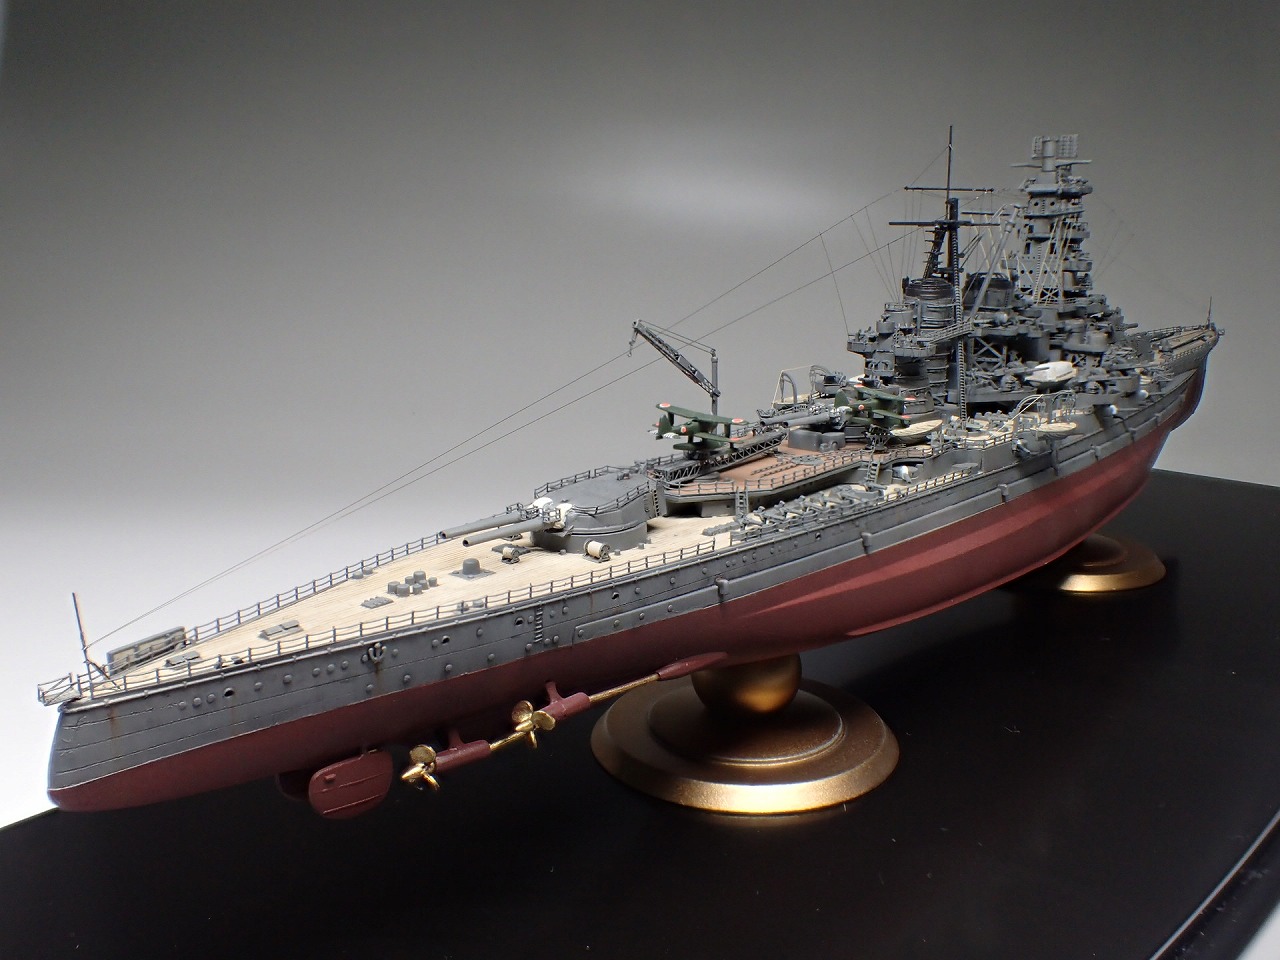
水上偵察機を取り付けました。
デカールは、マークソフターで軟化させて密着させました。


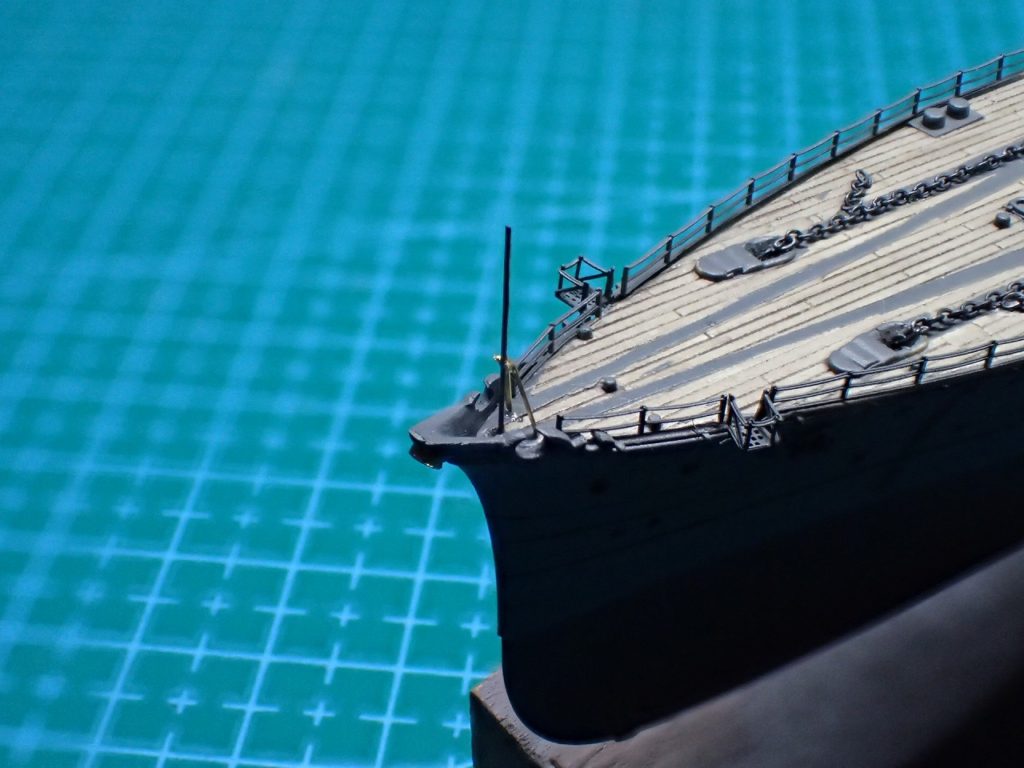
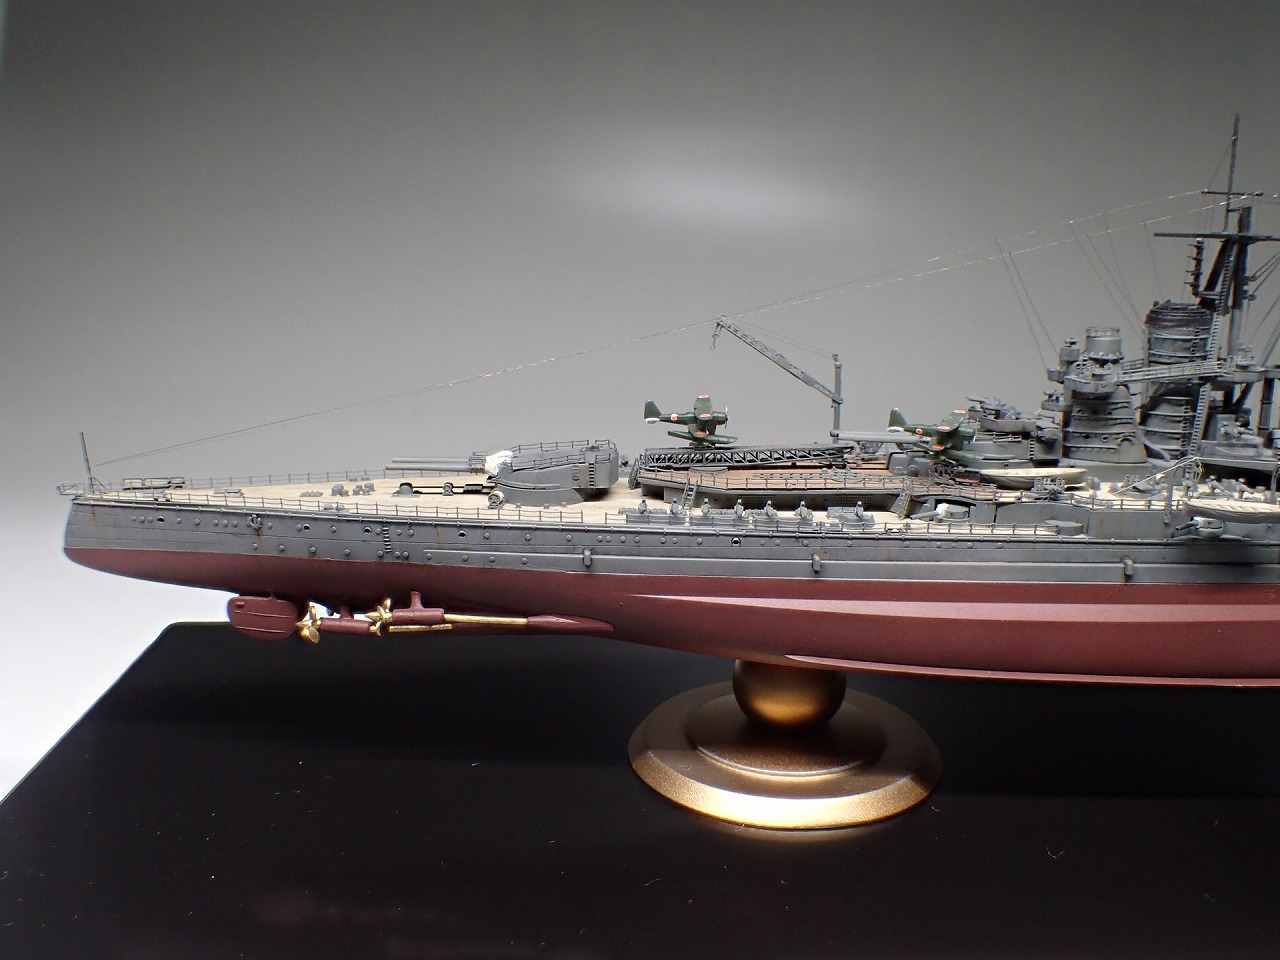
艦首竿は0.2mmのピアノ線を使用しました。
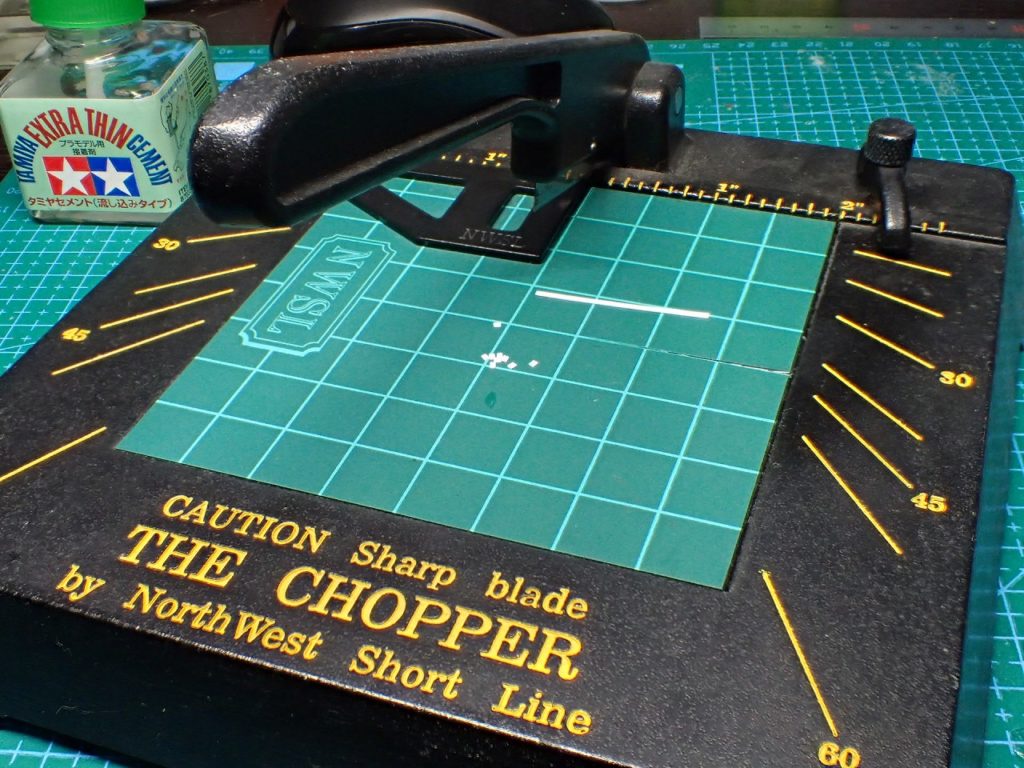
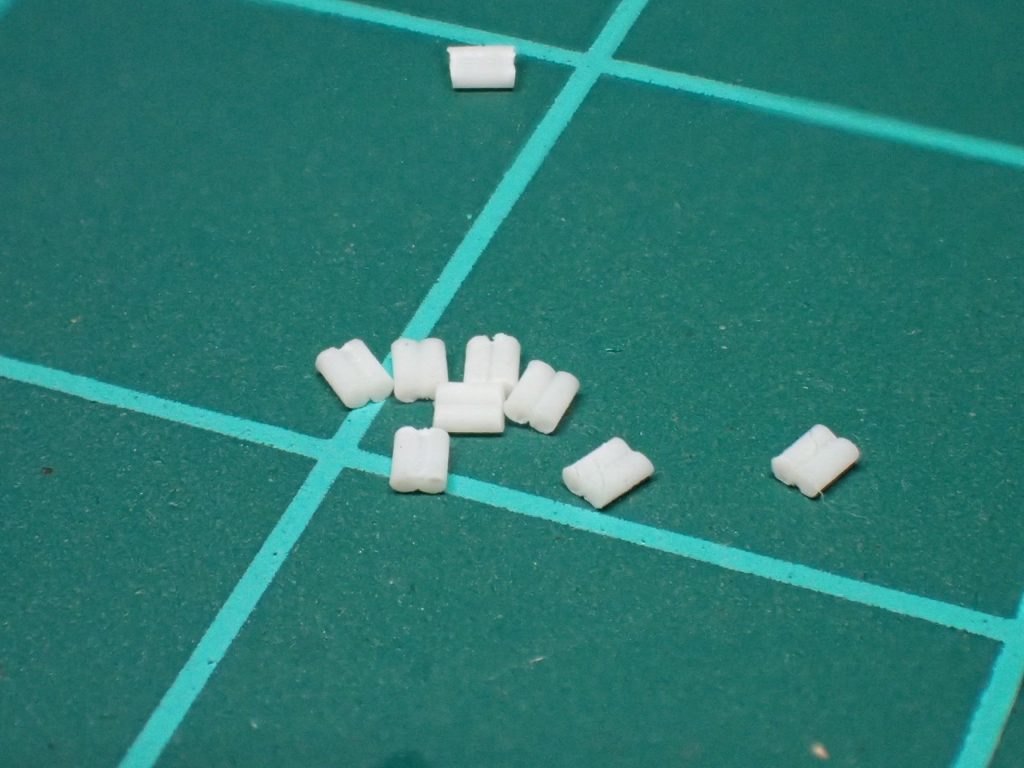
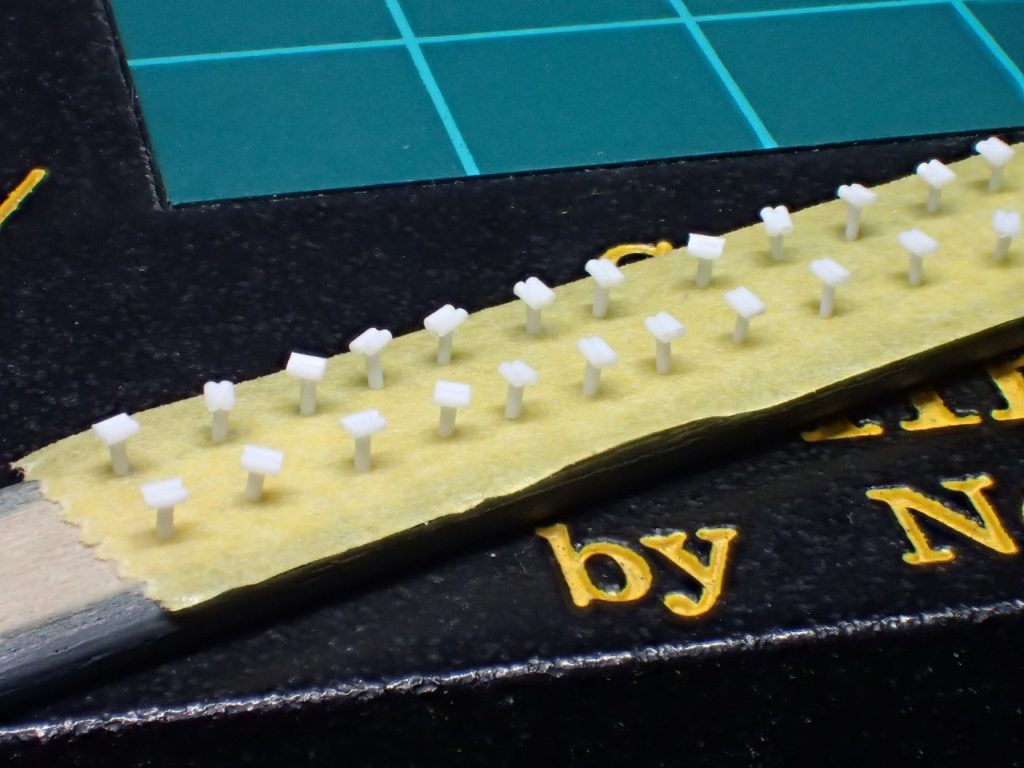
0.5mmのプラ棒を使って双眼鏡を自作しました。
同じサイズのプラ棒の切り出しにはチョッパー2型が便利です。
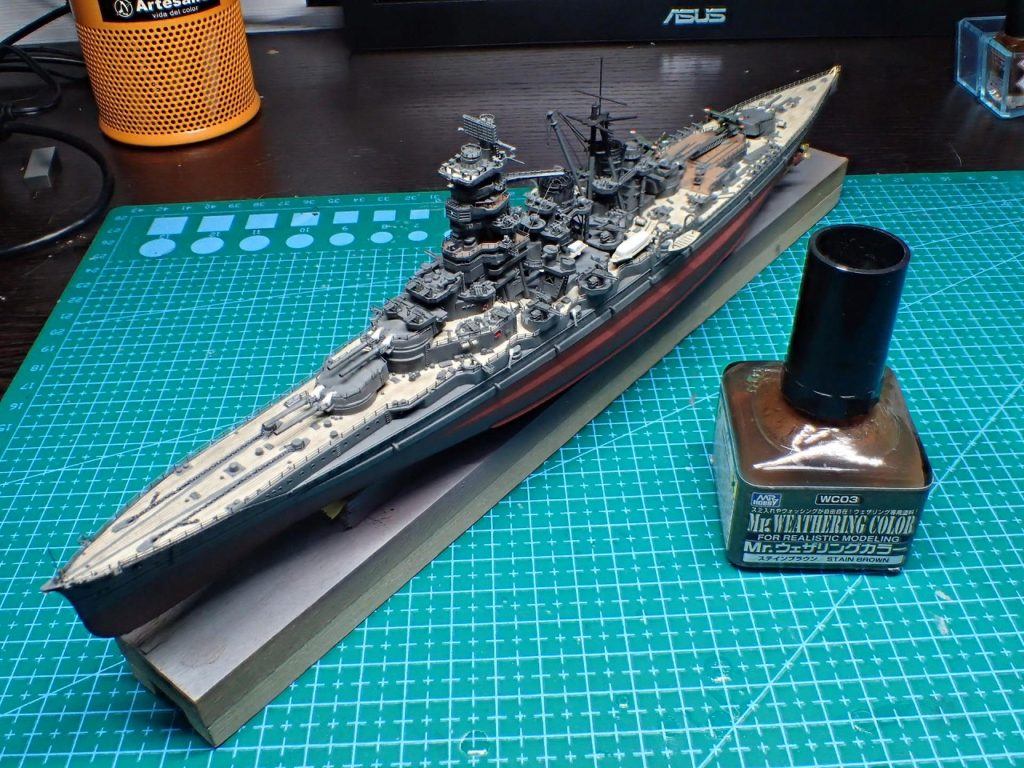
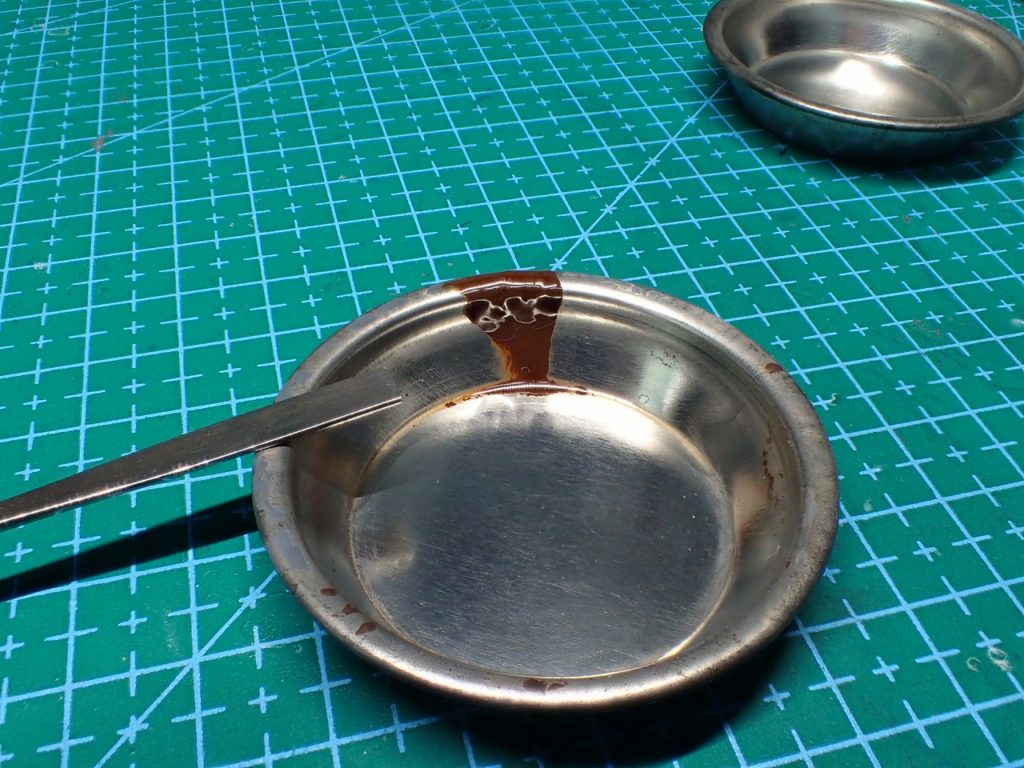
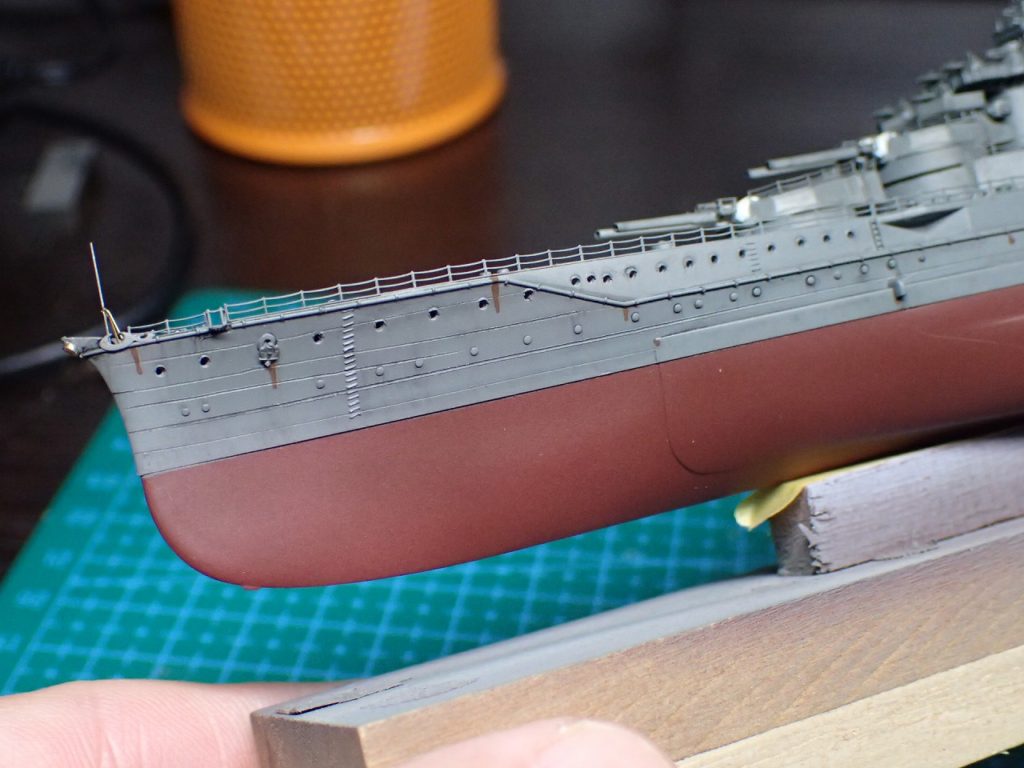
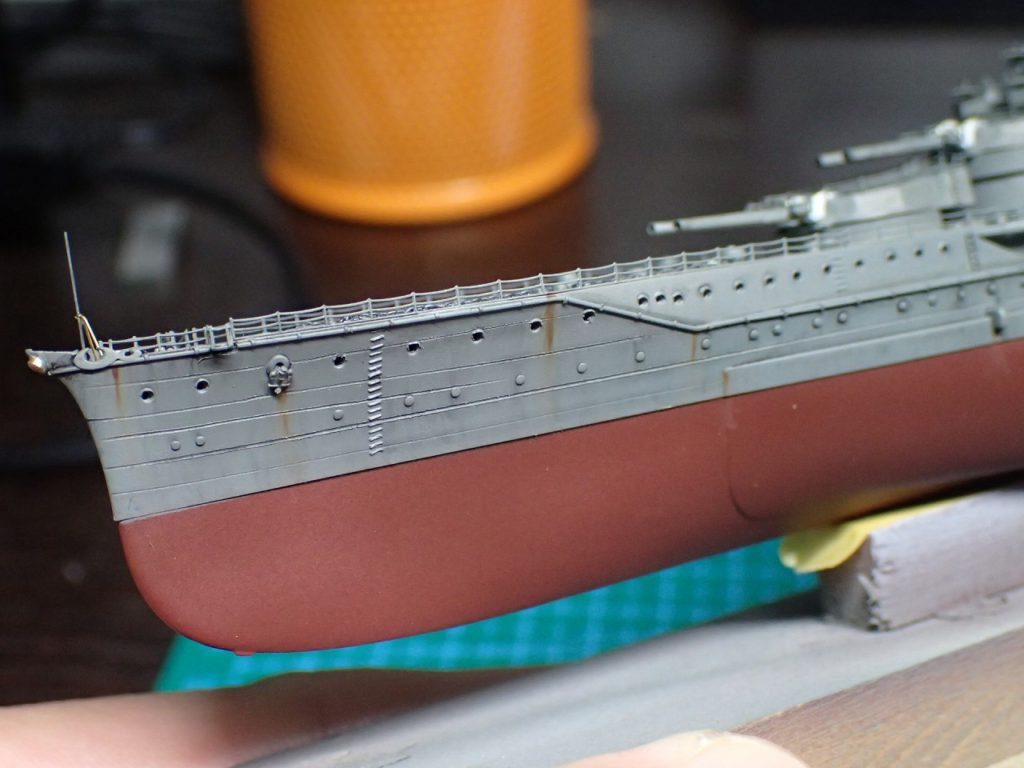
Mr.ウェザリングカラーのステインブラウンを使って、錆を表現しました。
撹拌せずに底に溜まった濃い塗料を皿にすくって使います。1/2程度錆を書き込んで残りは薄め液を含ませた筆で伸ばします。


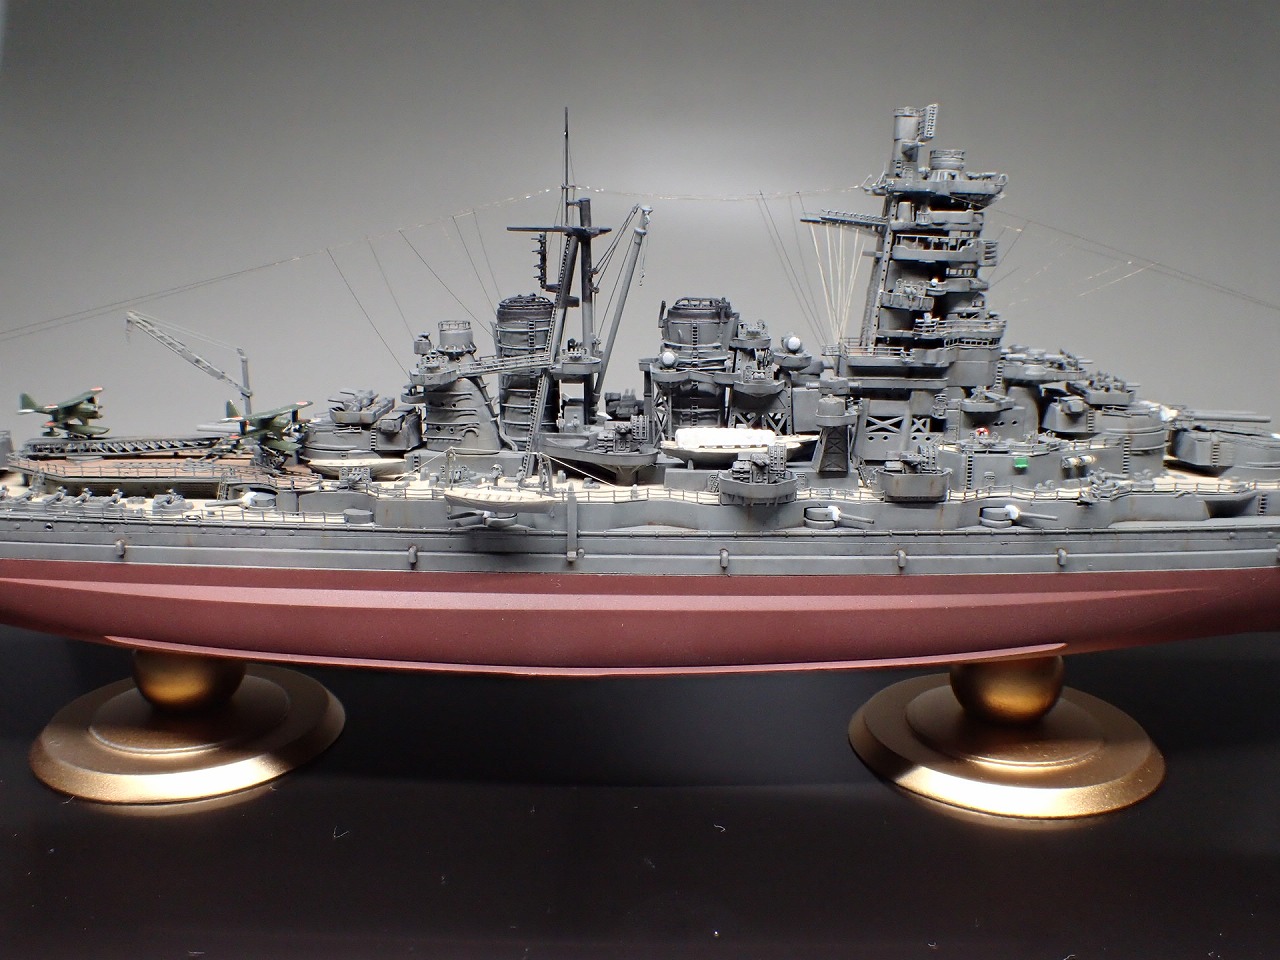
空中線はメタルリギングの0.06号を使用しました。


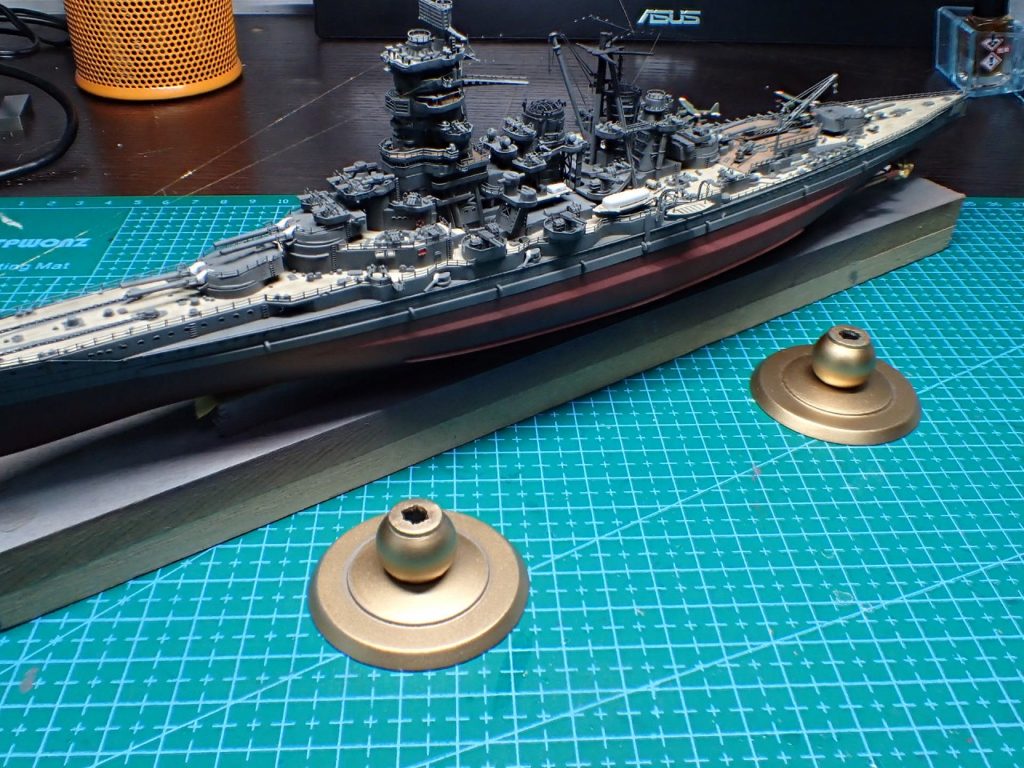

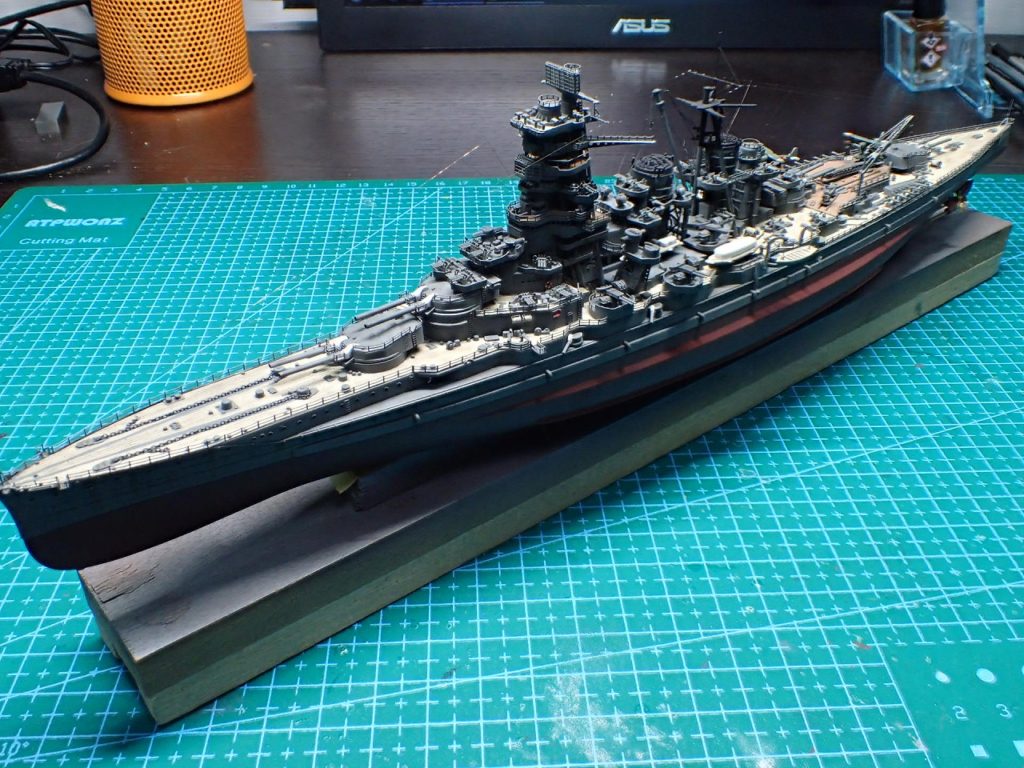
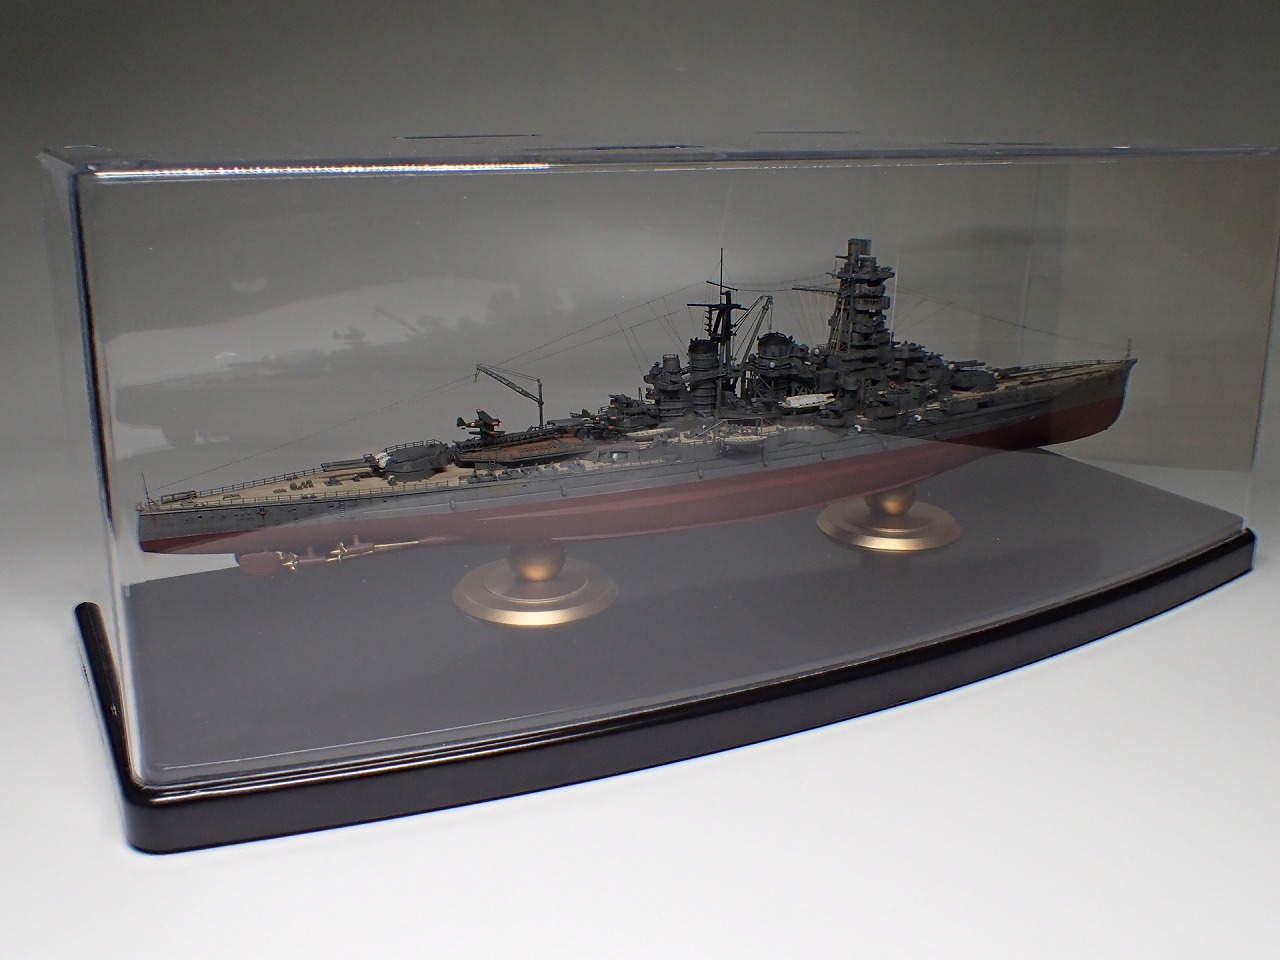
ケースに取り付けて、完成です。
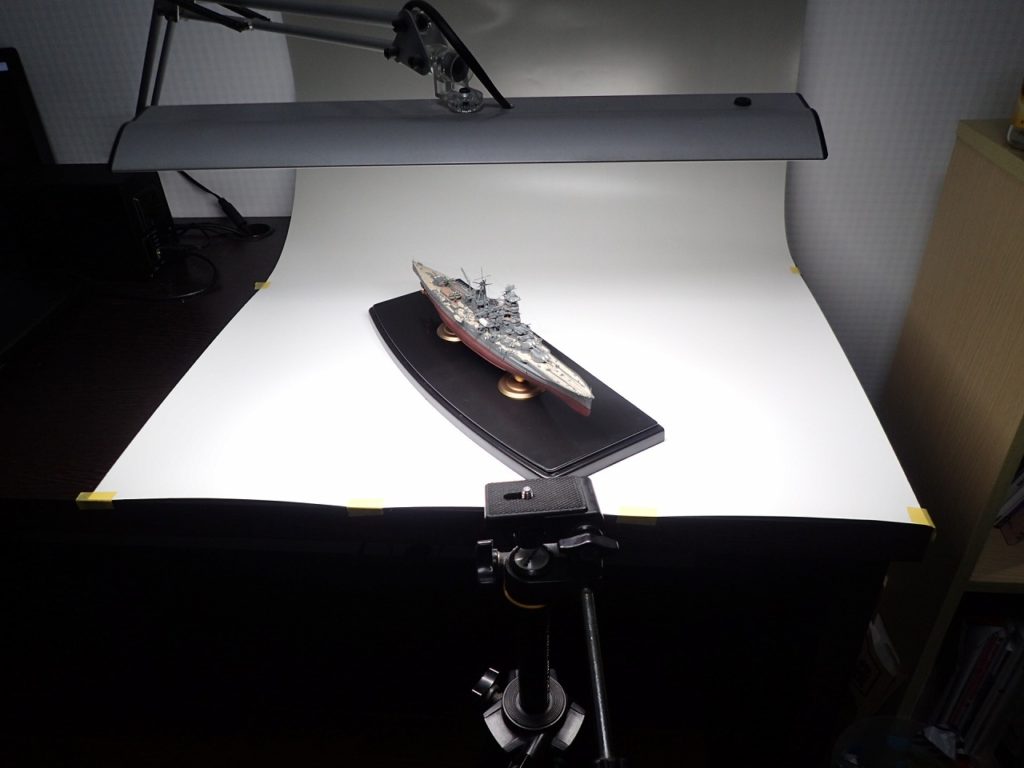
背景を付けて完成写真を撮影します。
完成写真


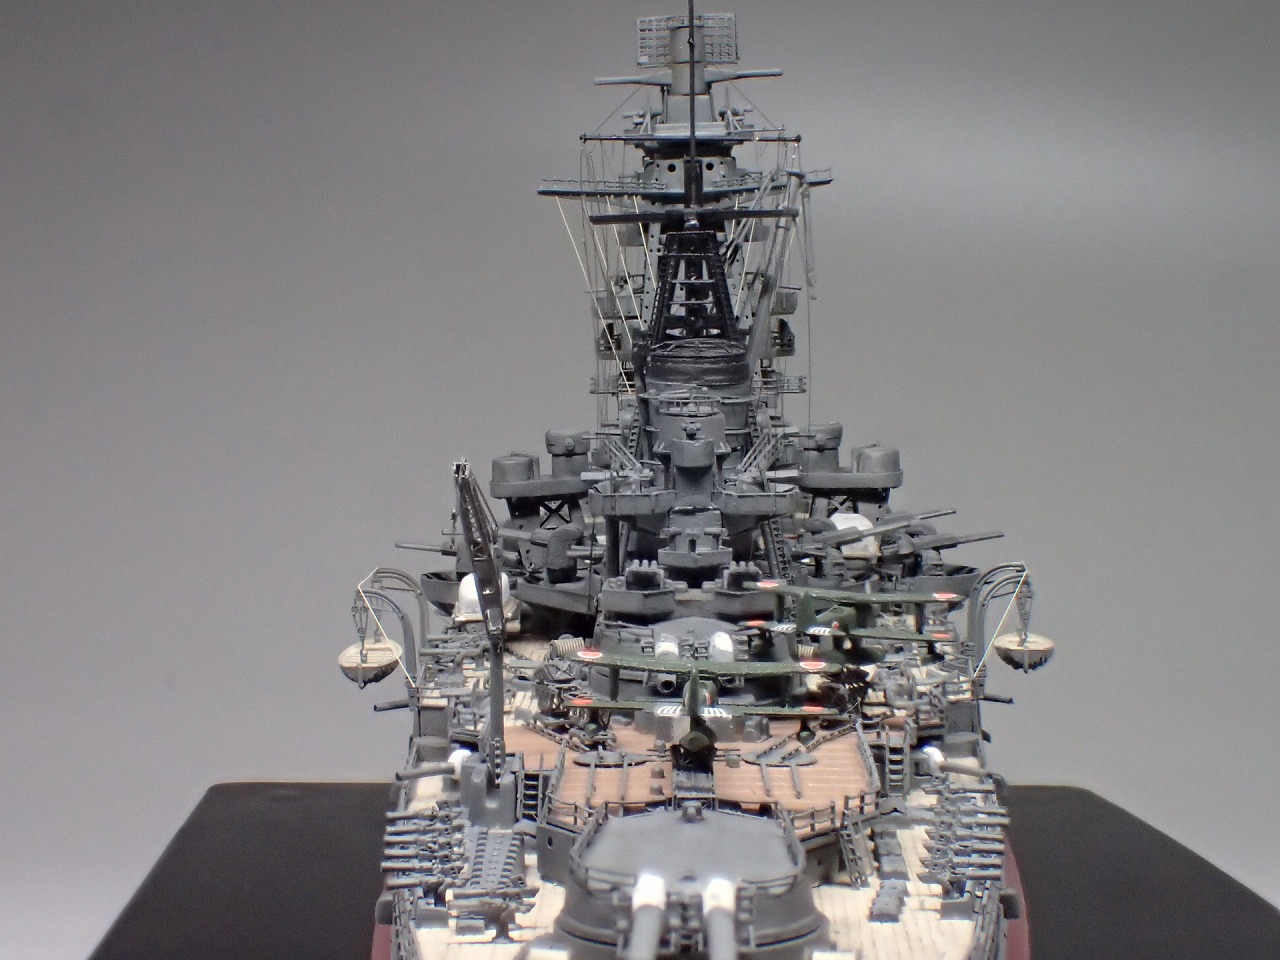


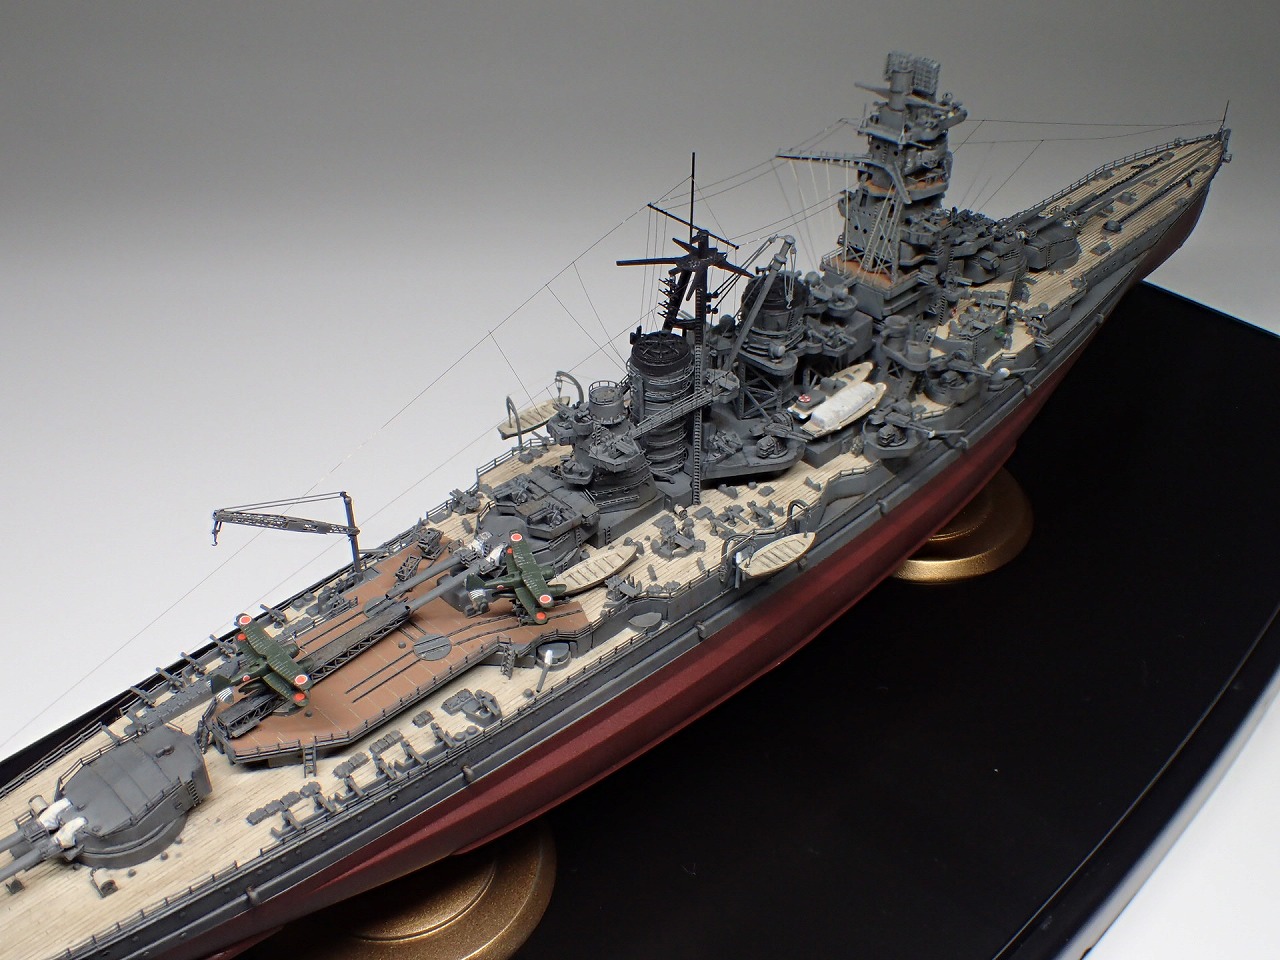

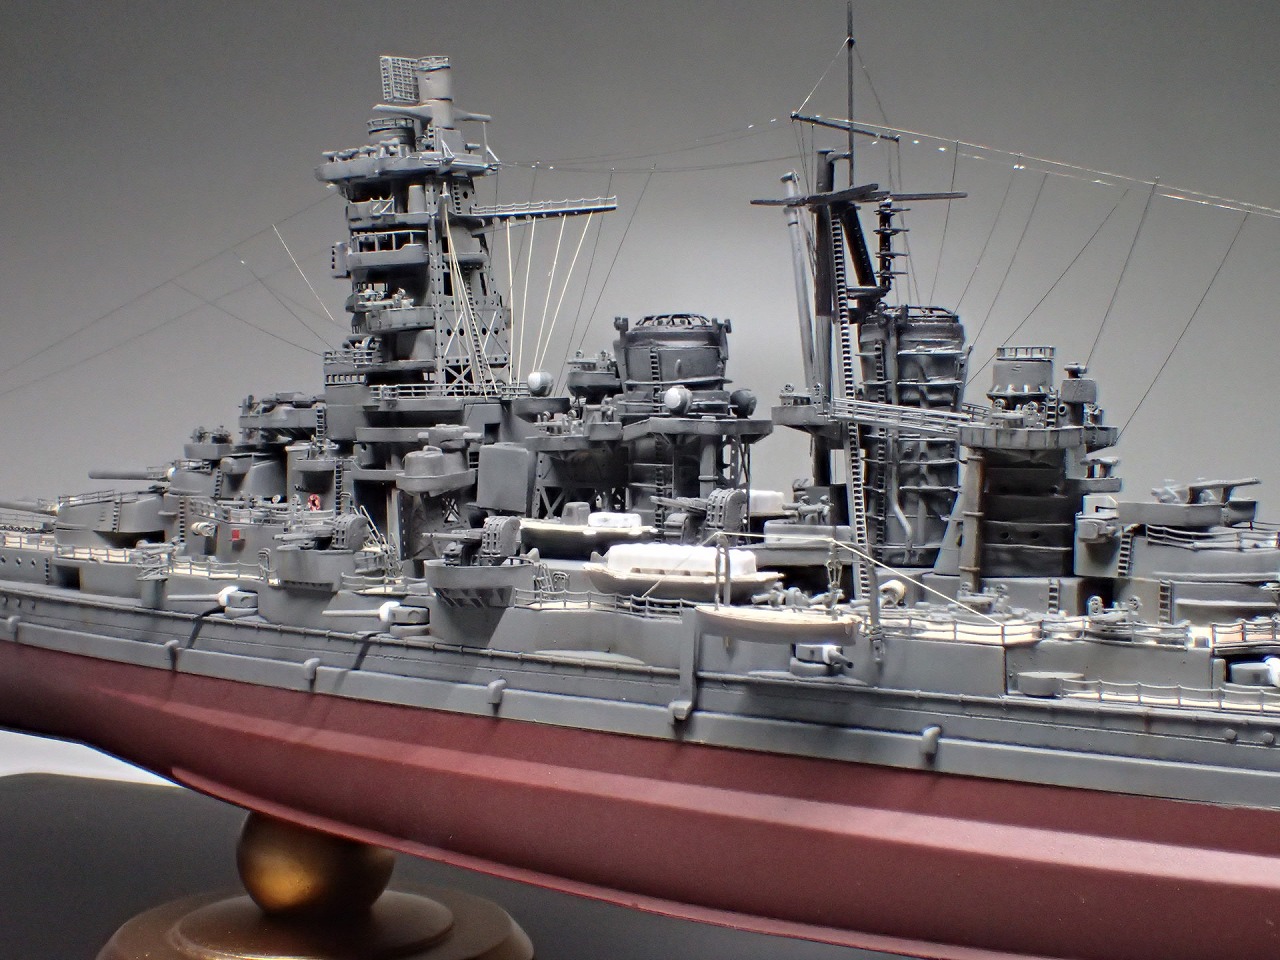
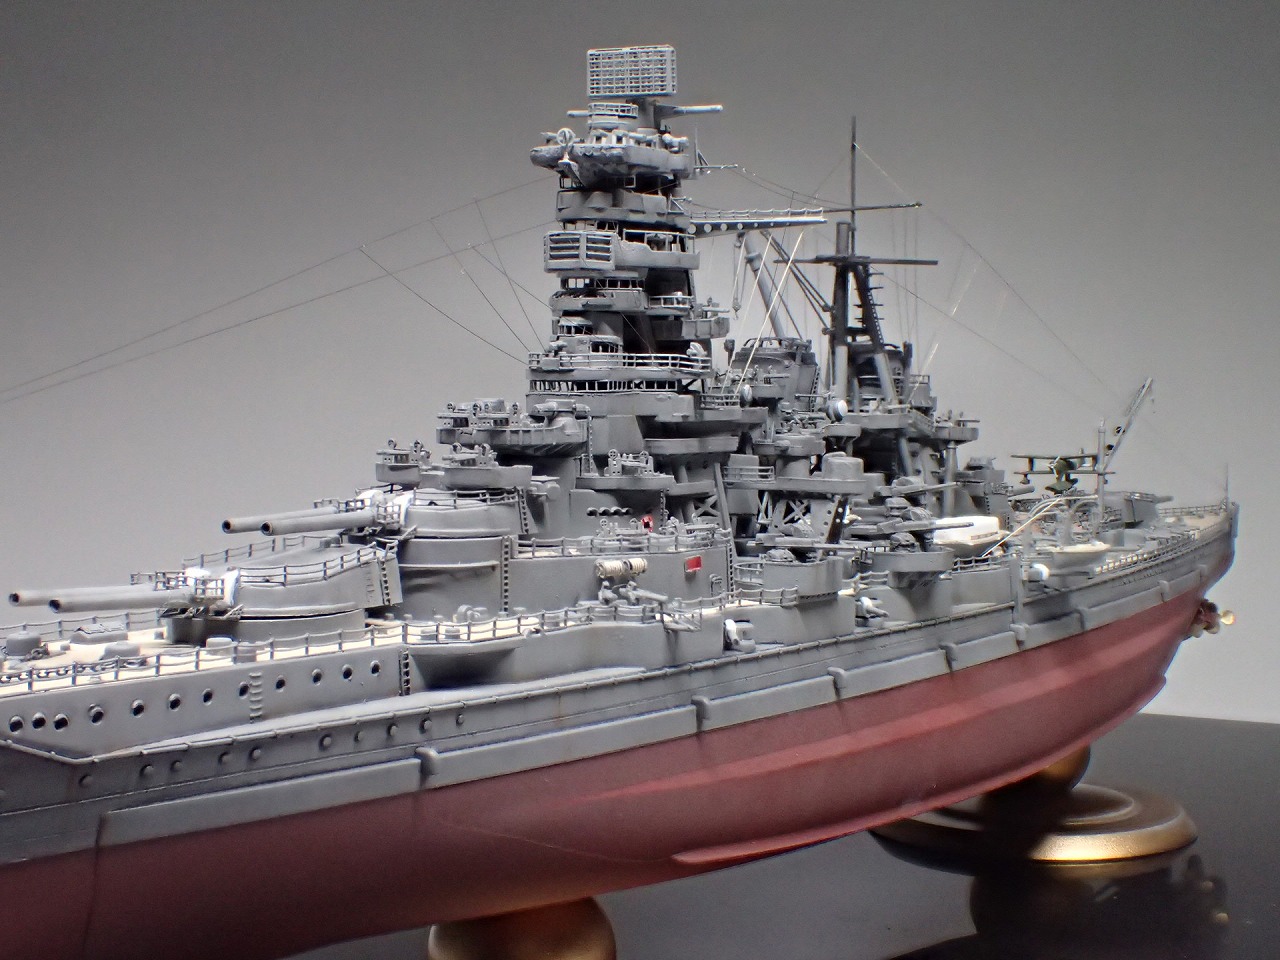

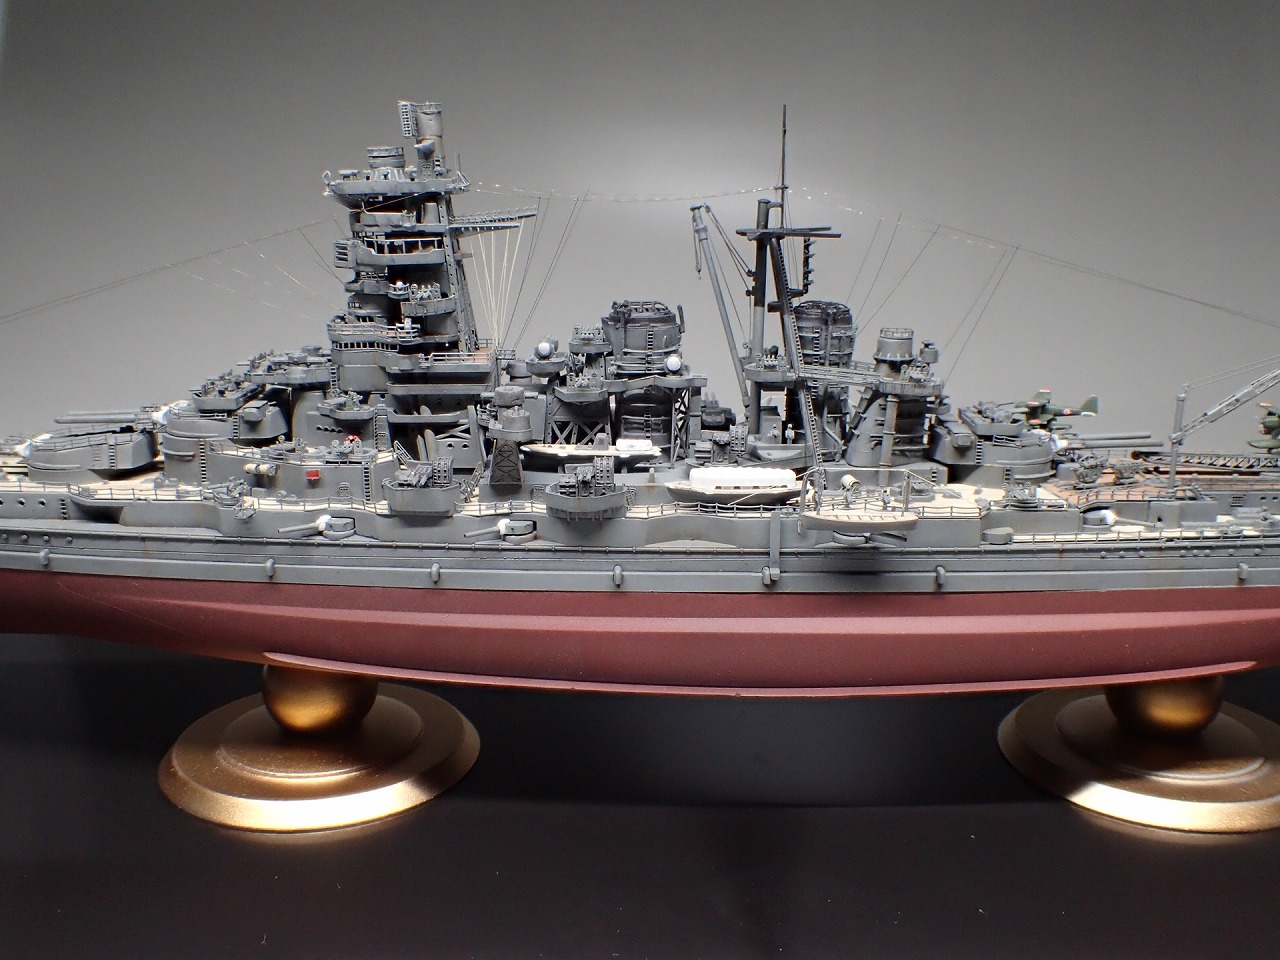

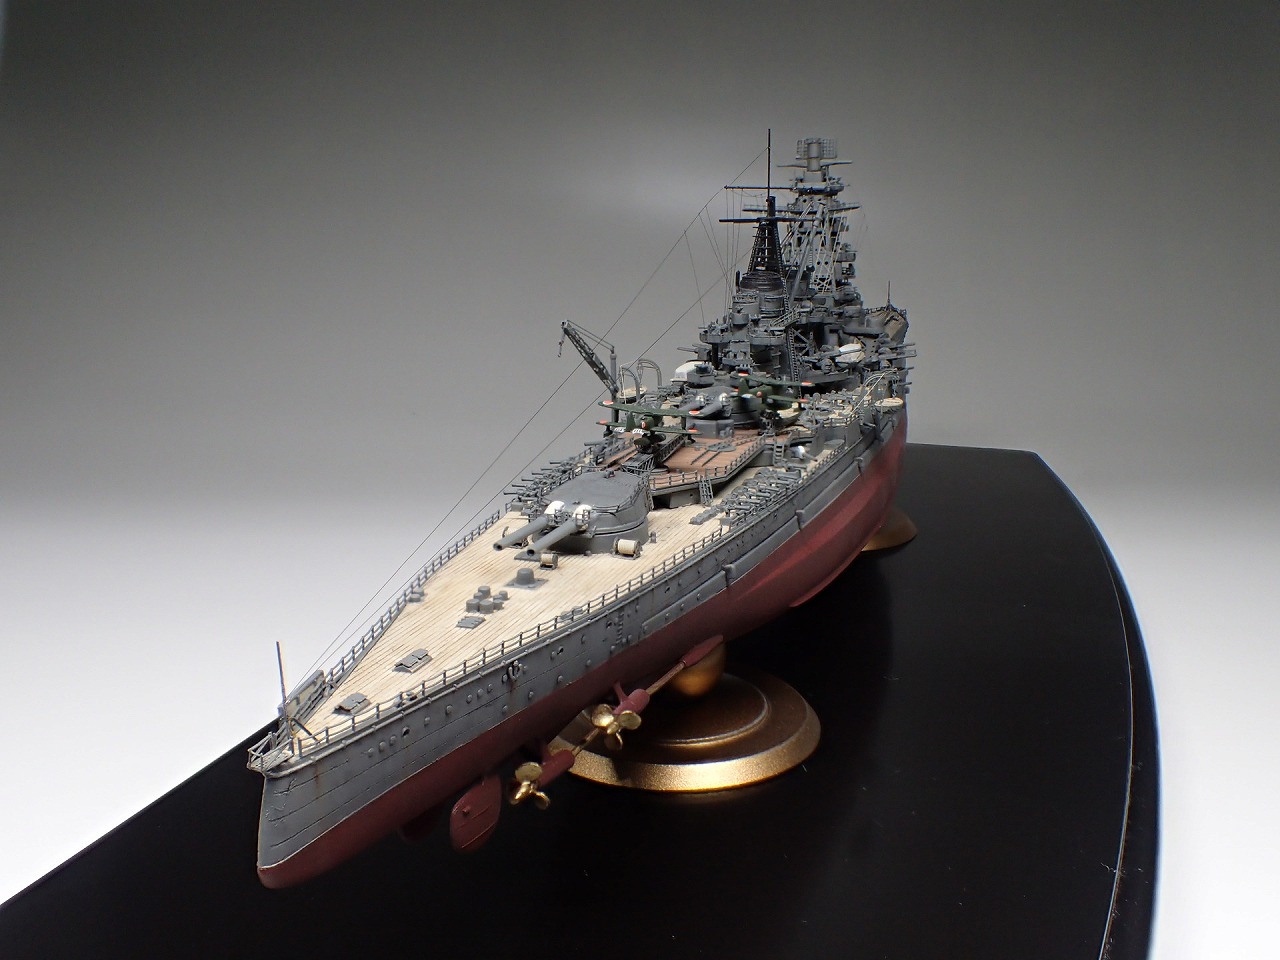


フジミ模型 帝国海軍シリーズ金剛の製作記は以上となります。
最後までご覧いただきありがとうございました。
コメント