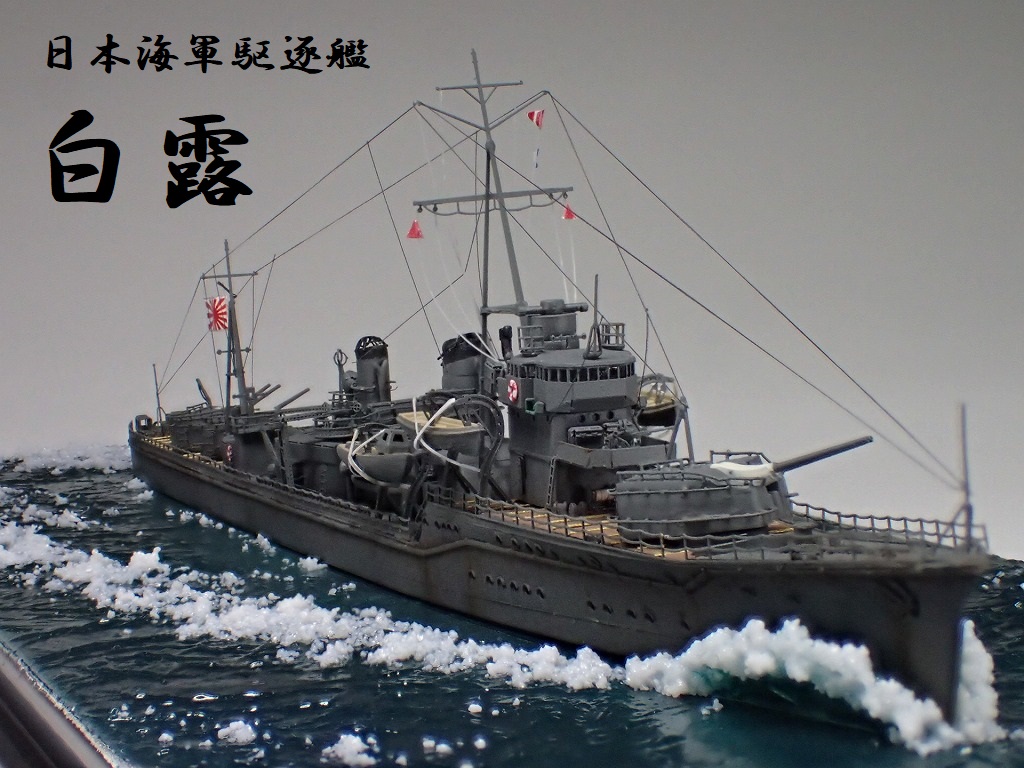
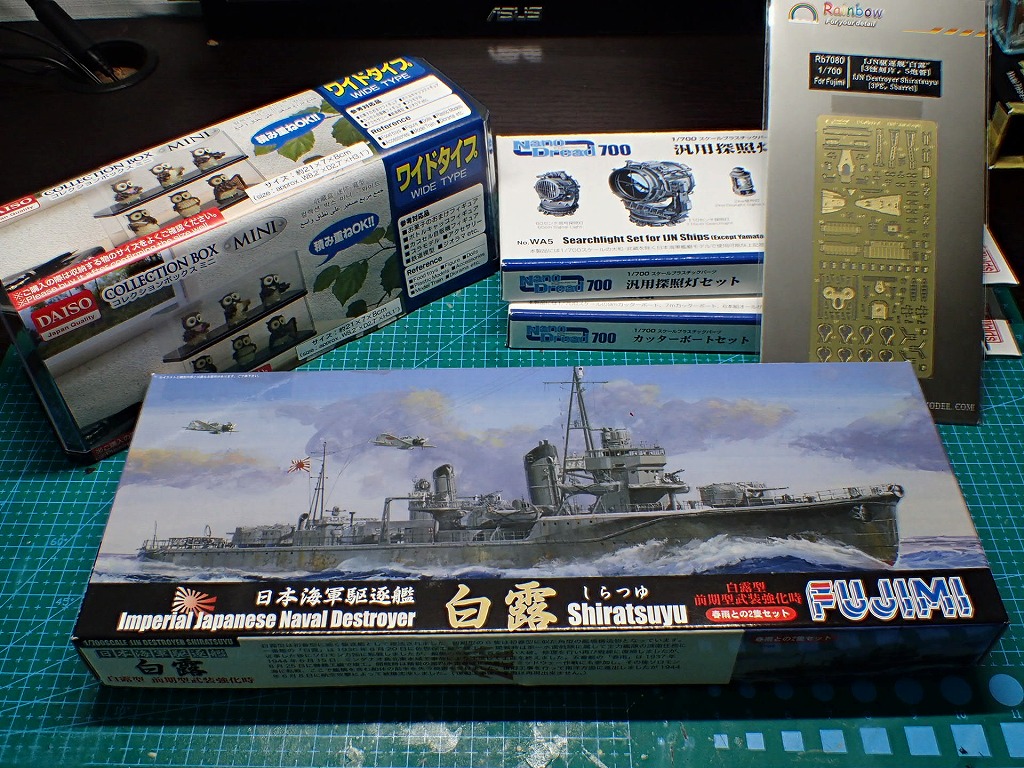
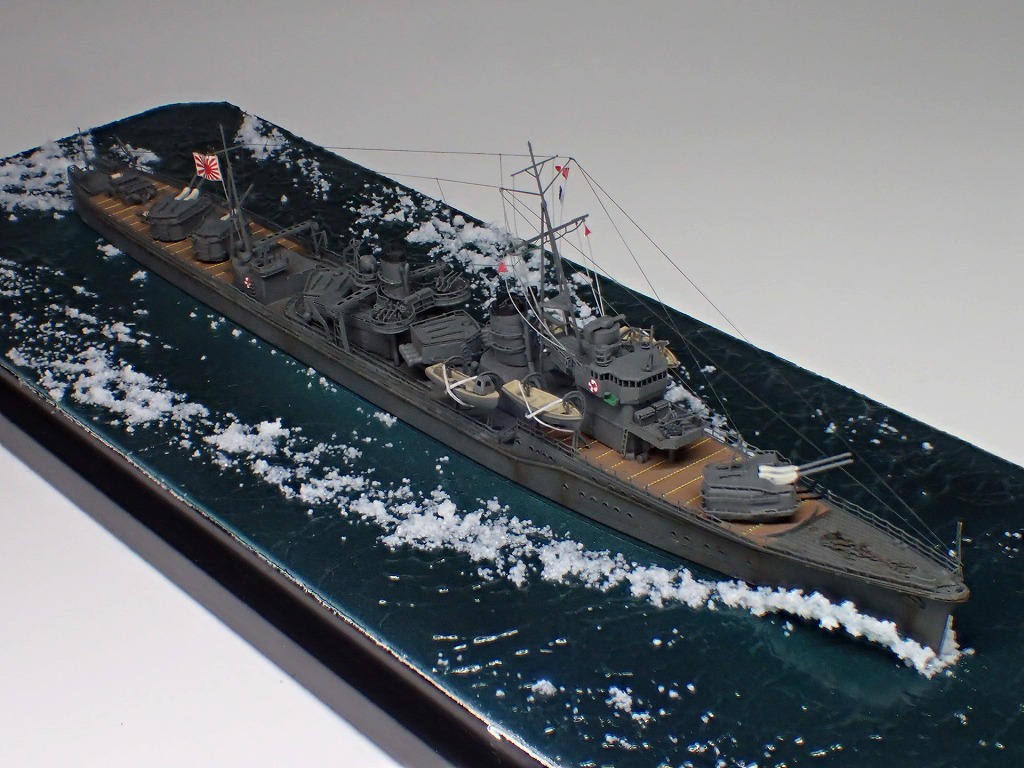
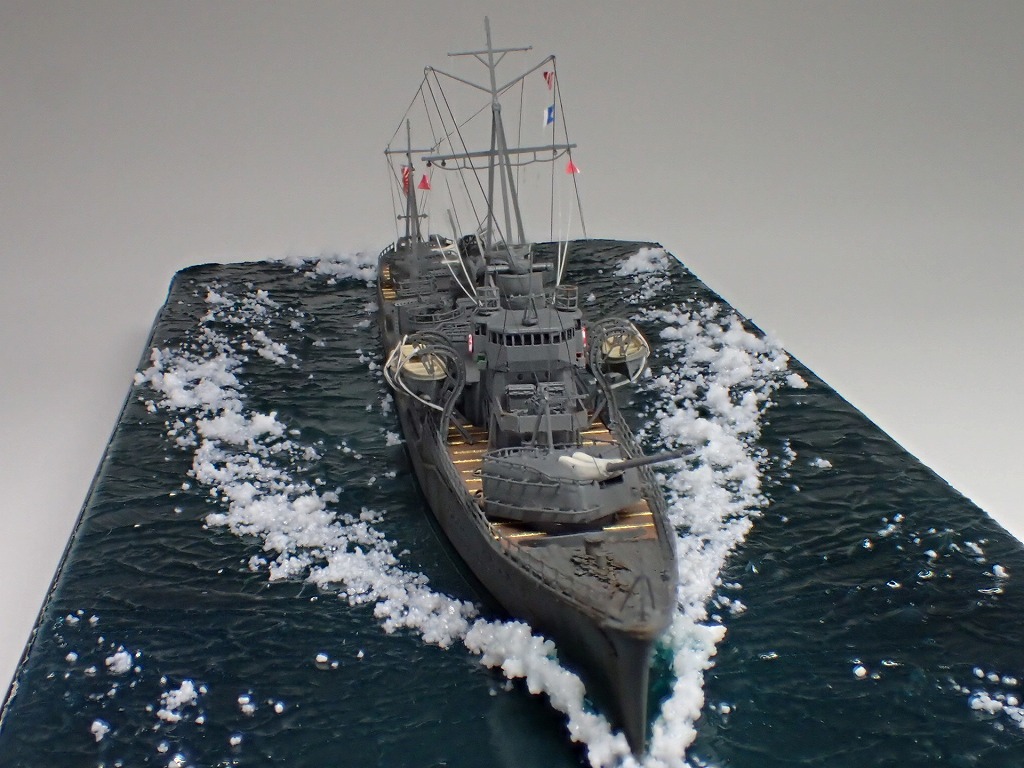
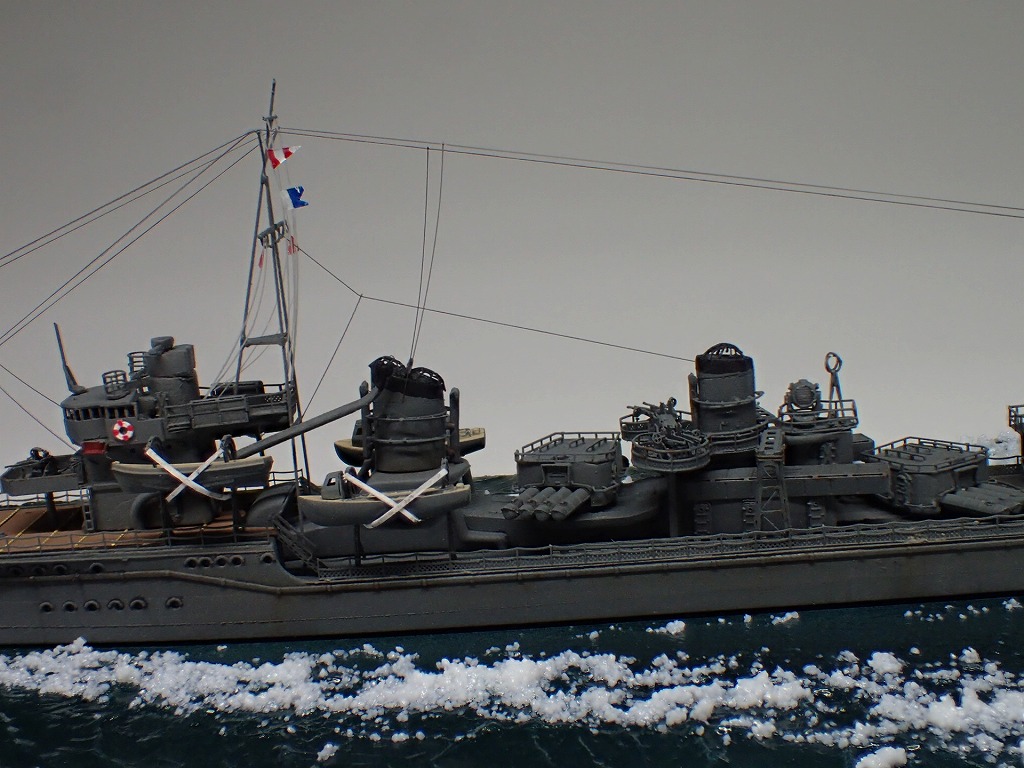
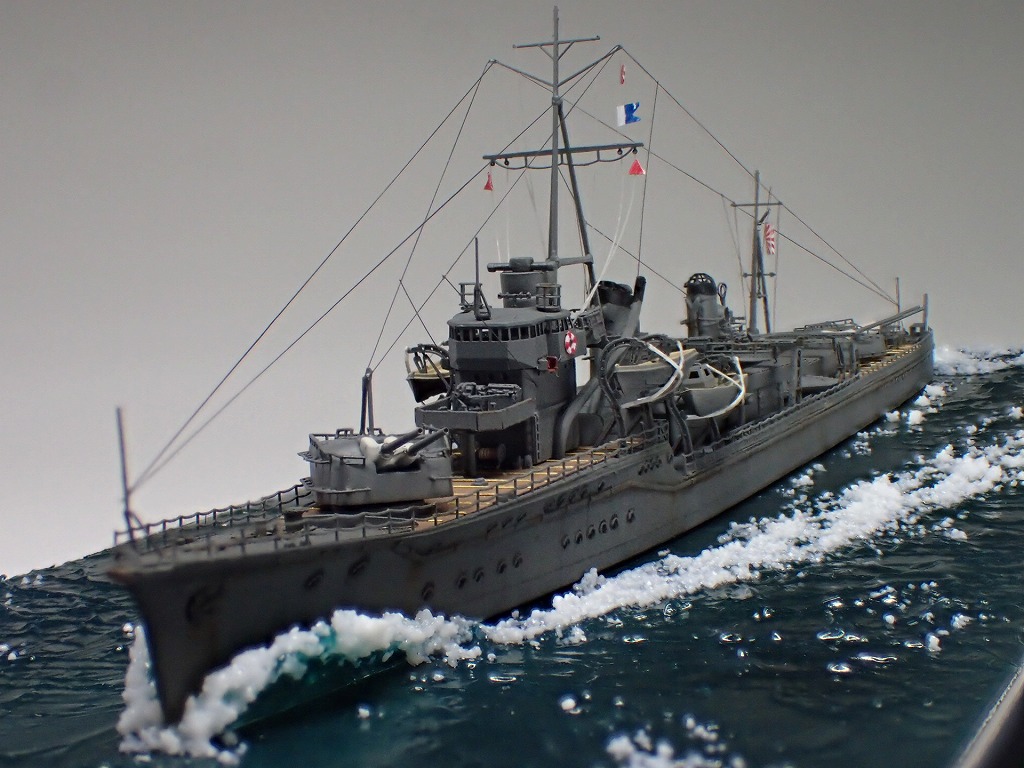
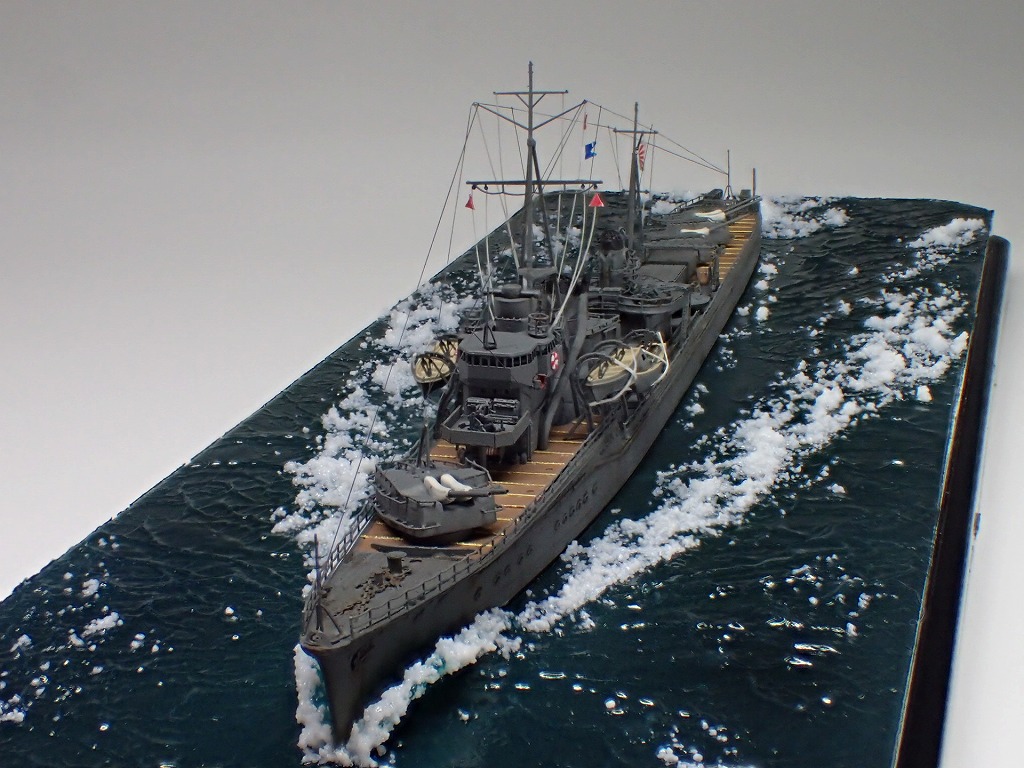
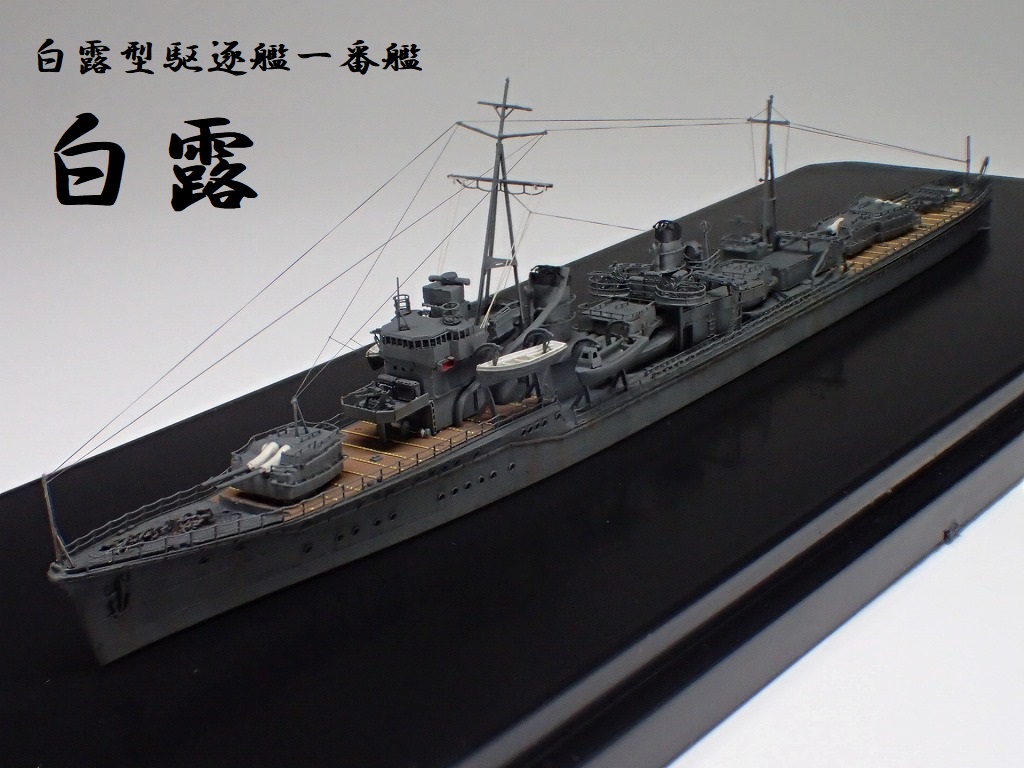
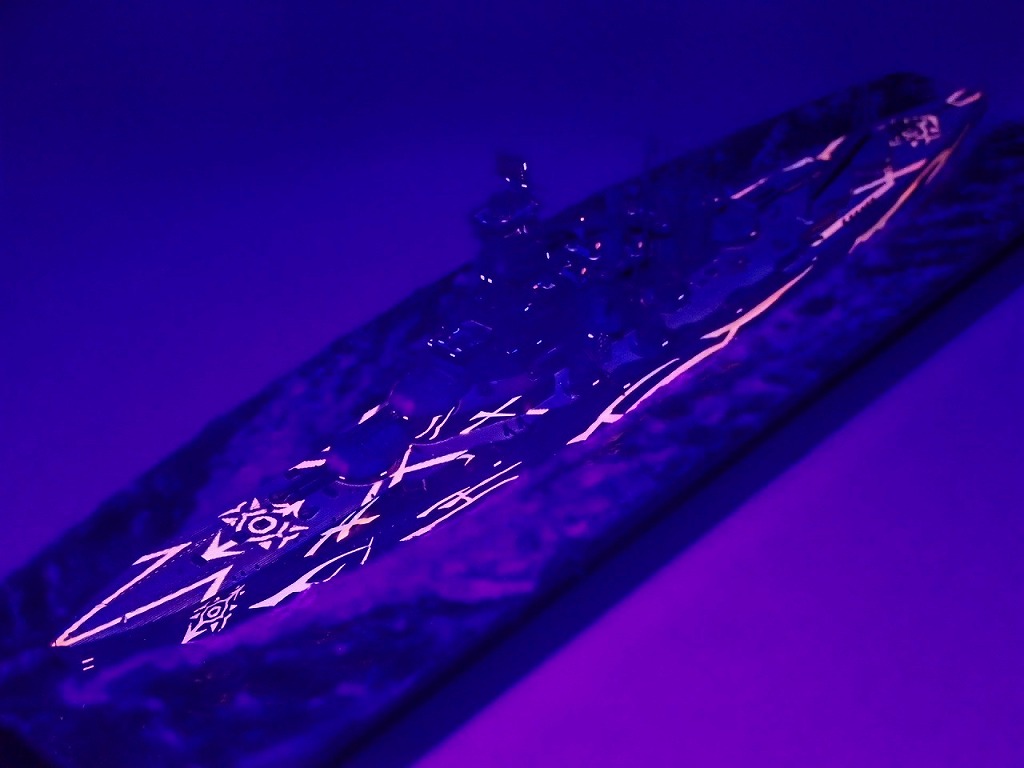
フジミの白露をレインボーのエッチングセットを使用して製作しました。今作は海洋ジオラマ仕様です。アプリで海面ジオラマを動かしてみましたので、大海原を航海する白露の勇姿をご覧ください。
![](http://ship-model.zbok.info/wp-content/uploads/2020/02/P1260340.jpg)
![](http://ship-model.zbok.info/wp-content/uploads/2020/02/P2020359.jpg)
![](http://ship-model.zbok.info/wp-content/uploads/2020/02/P2020363.jpg)
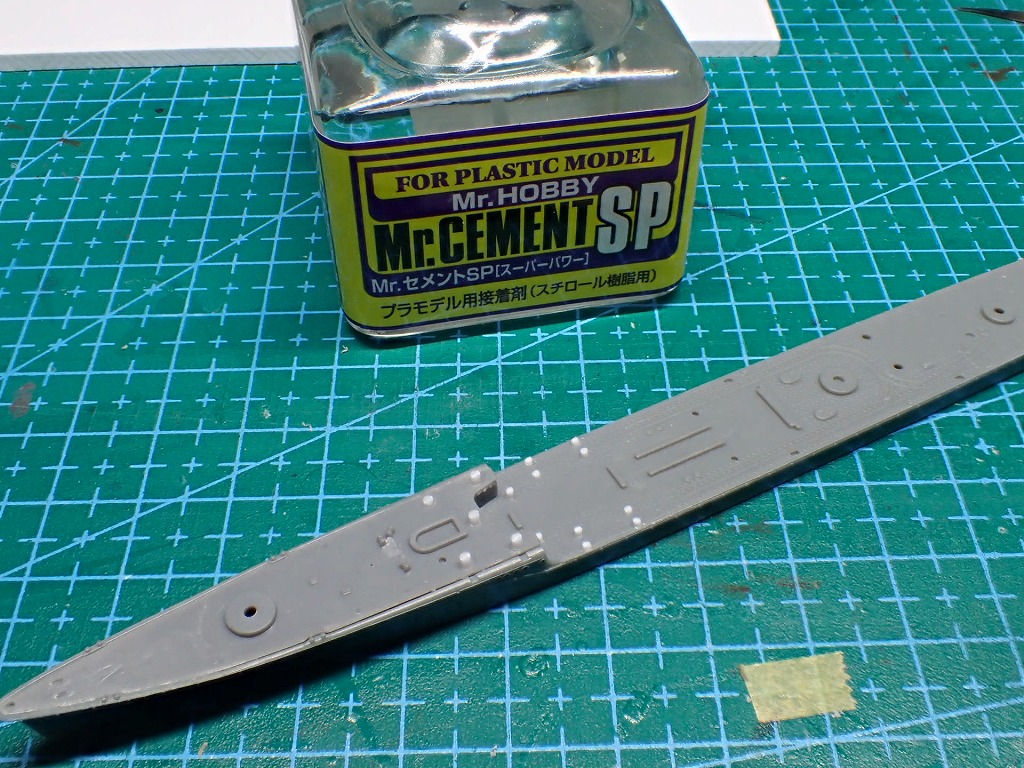
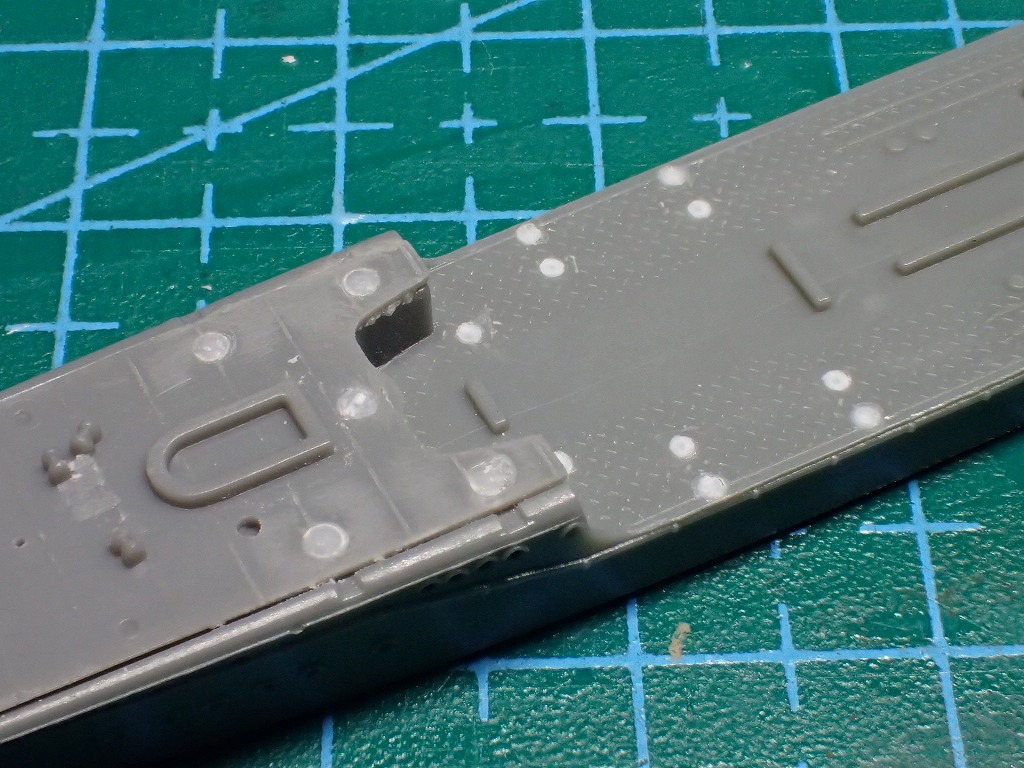
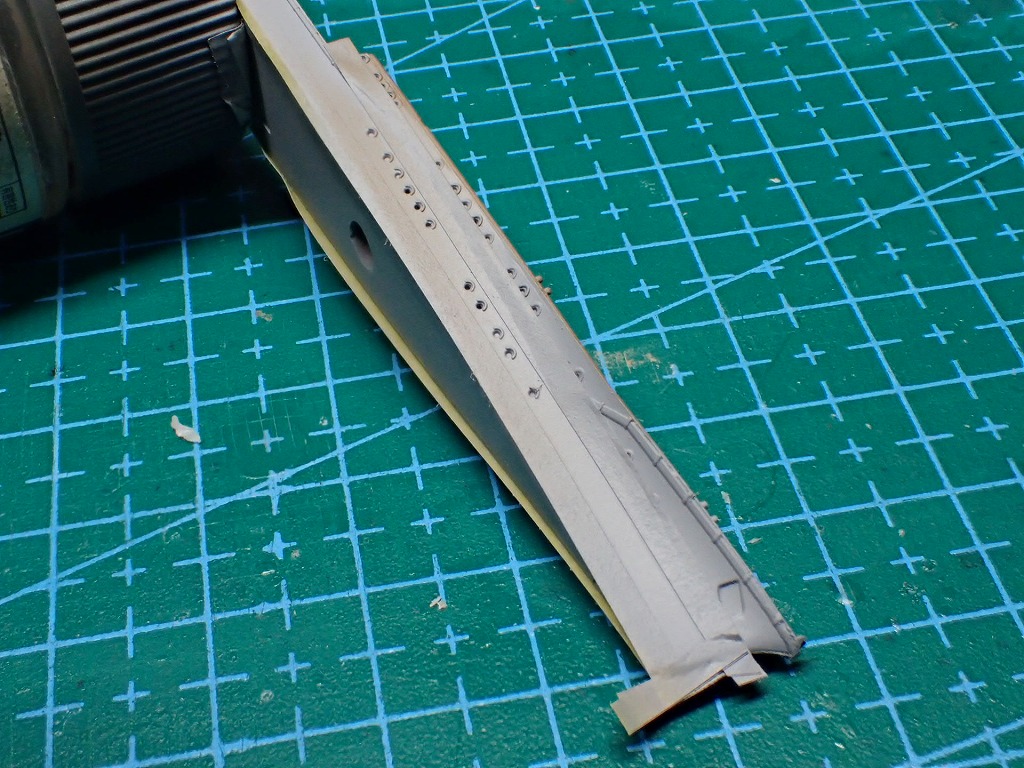
エッチングパーツに置き換える箇所のピン穴を処理します。
深い穴をラッカーパテで埋めると乾燥の待ち時間やヒケによる再処理が面倒なので、プラ棒を差して処理しました。
Mr.セメントSPは強力にプラを溶かしてくれる上、乾燥が早いので助かります。
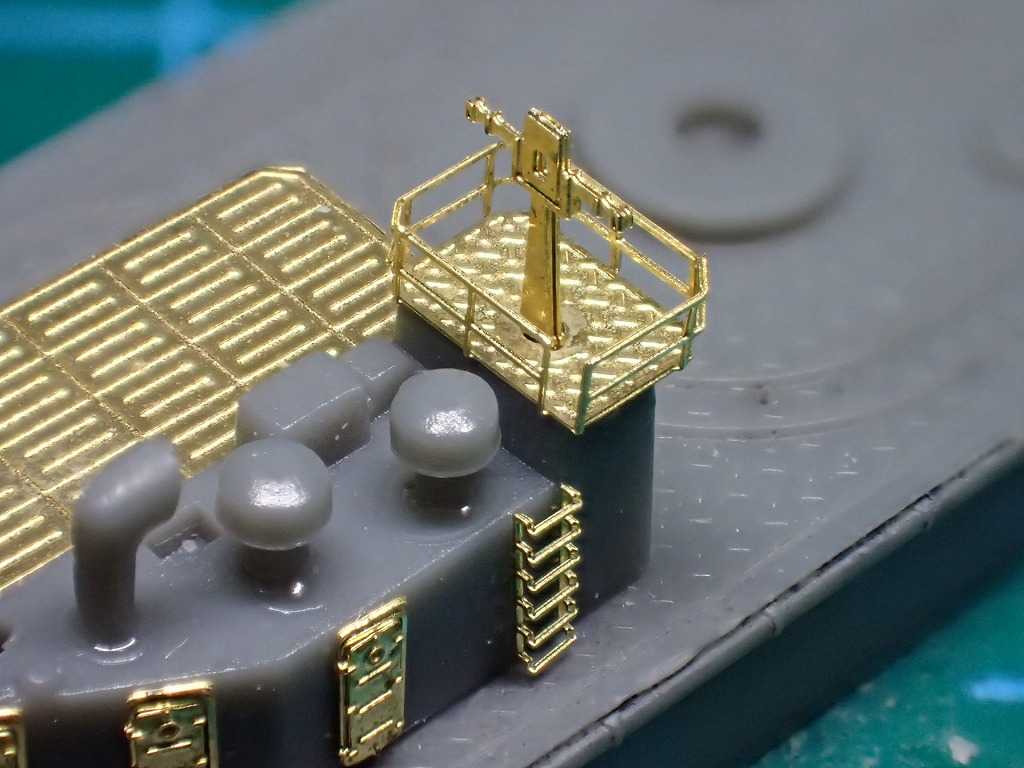
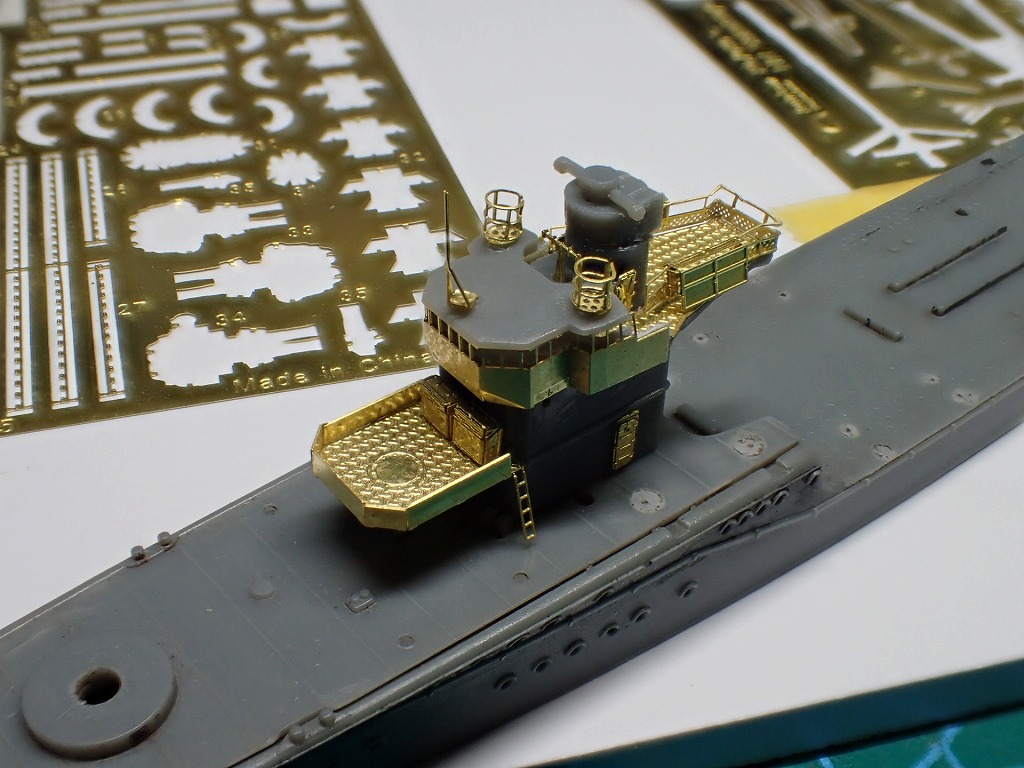
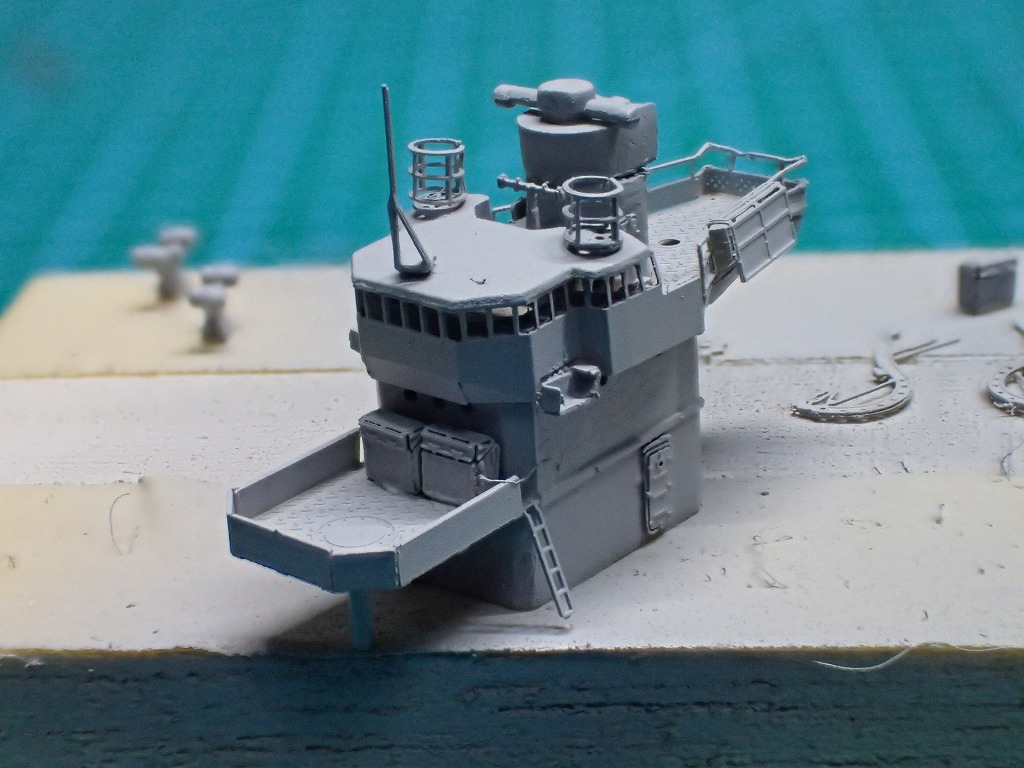
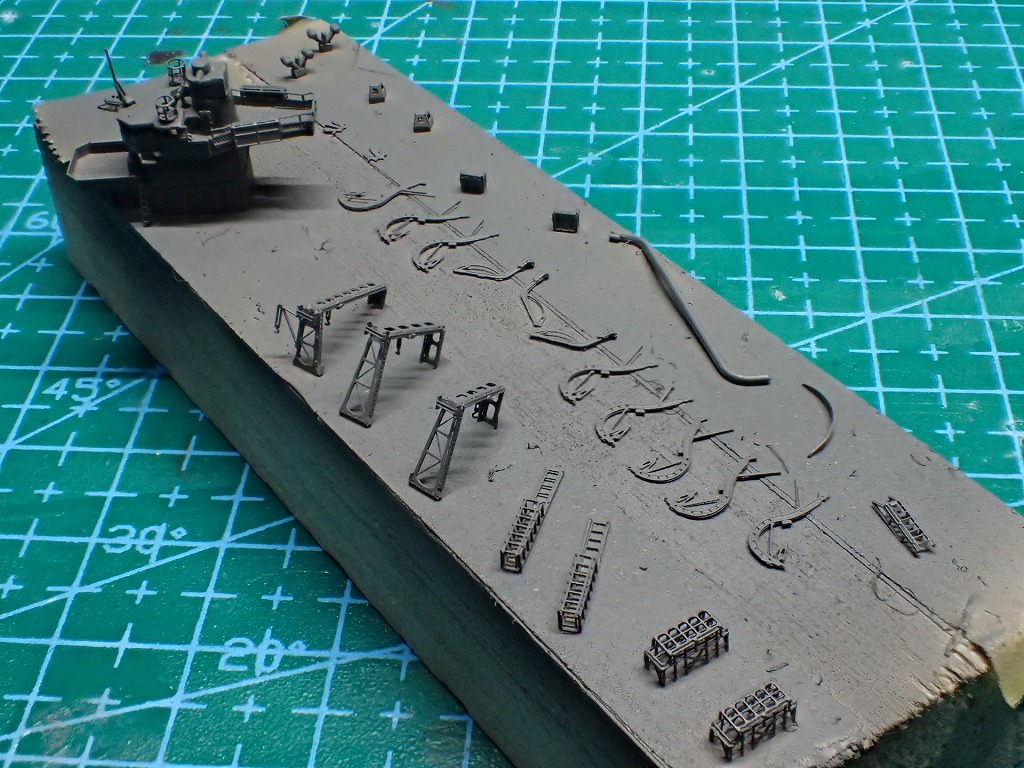
![](http://ship-model.zbok.info/wp-content/uploads/2020/02/P2060380.jpg)
![](http://ship-model.zbok.info/wp-content/uploads/2020/02/P2080397-1.jpg)
エッチングパーツを取り付けていきます。
![](http://ship-model.zbok.info/wp-content/uploads/2020/02/P2090427.jpg)
![](http://ship-model.zbok.info/wp-content/uploads/2020/02/P2090429.jpg)
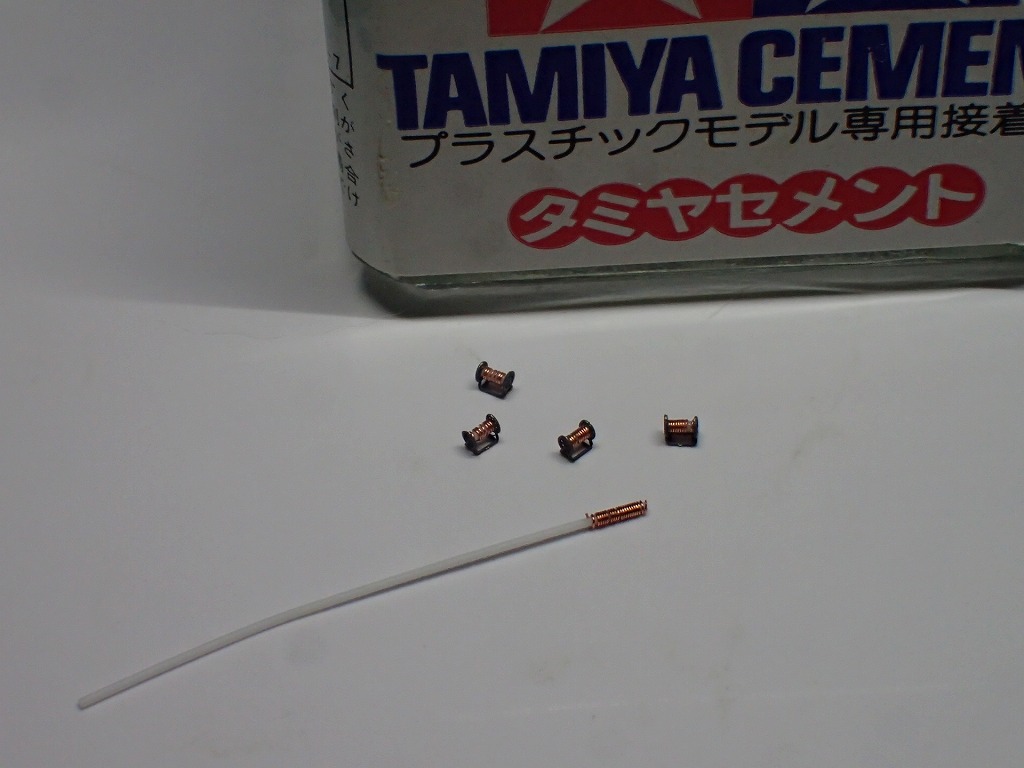
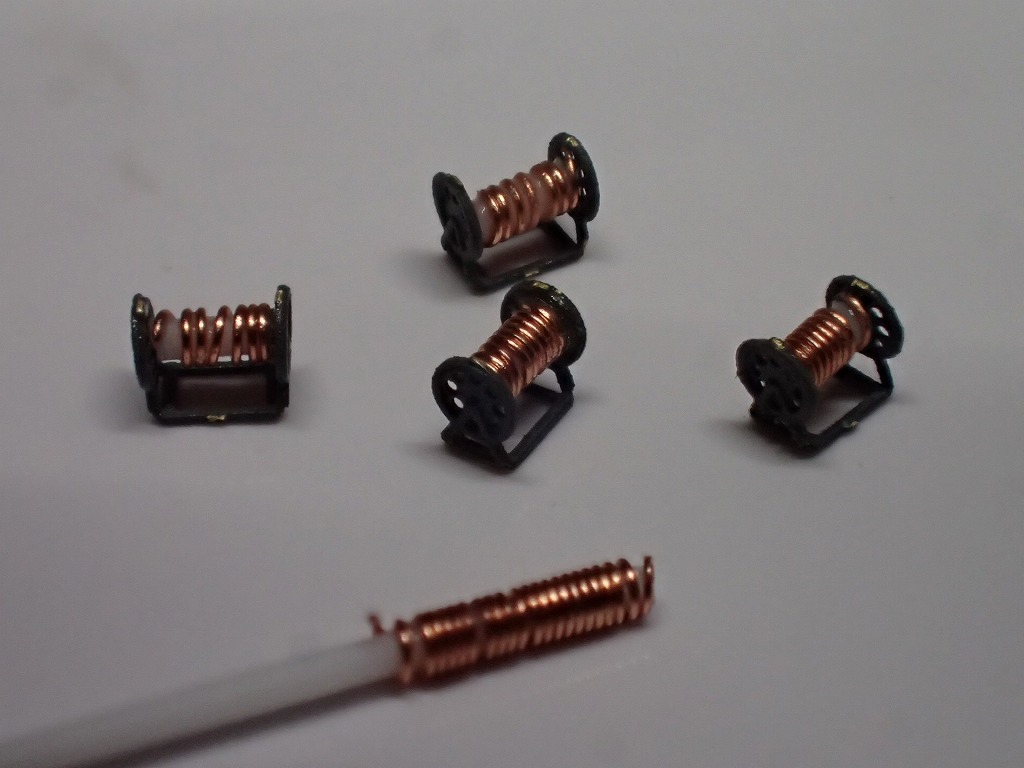
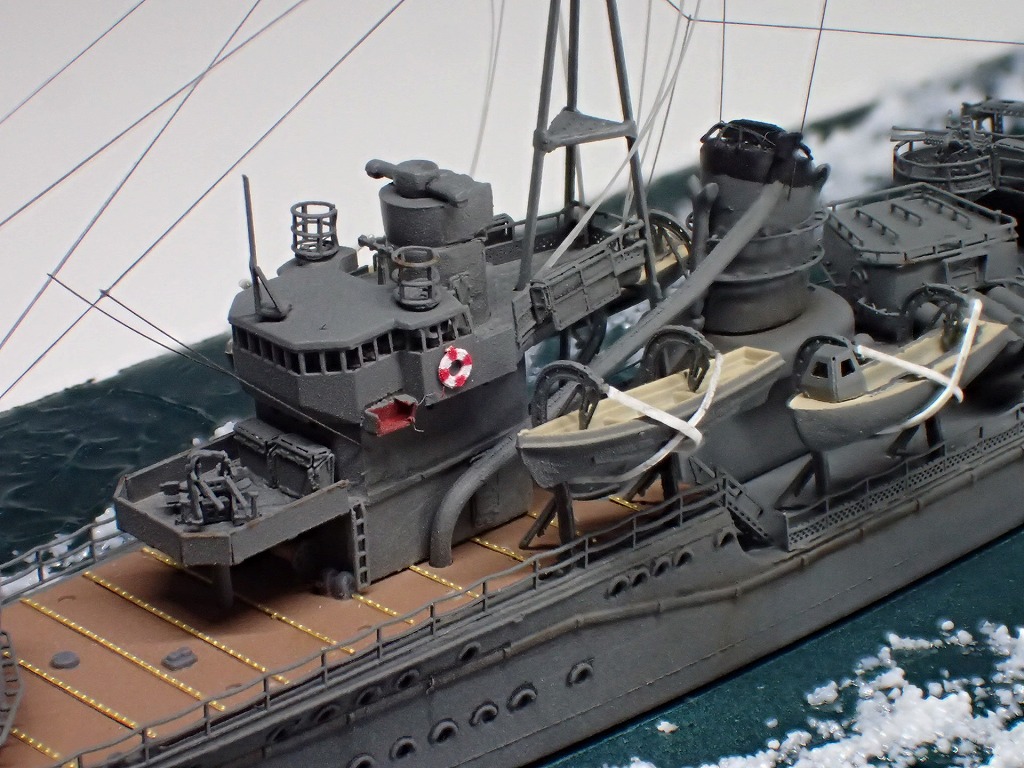
ホーサーリールのロープは、0.5mmの丸プラ棒に0.1mmのエナメル線を巻き付けて再現しました。
![](http://ship-model.zbok.info/wp-content/uploads/2020/02/P2080401.jpg)
![](http://ship-model.zbok.info/wp-content/uploads/2020/02/P2080403.jpg)
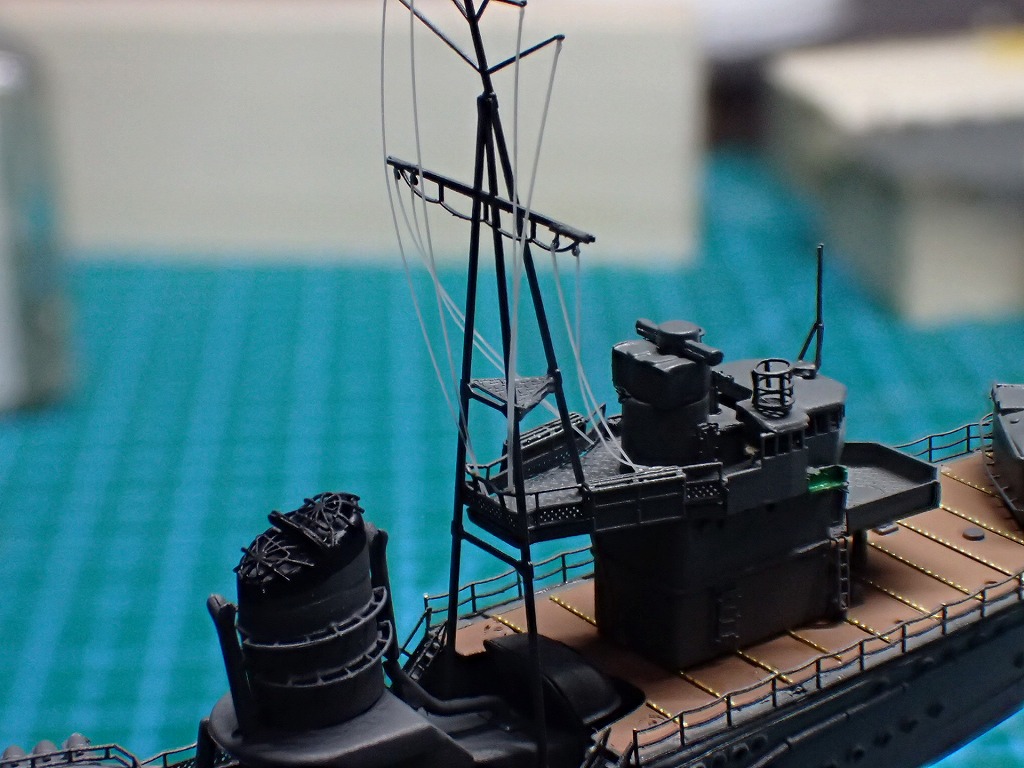
金属プライマーとサーフェイサーで下地処理をしてから、軍艦色を塗装しました。
![](http://ship-model.zbok.info/wp-content/uploads/2020/02/P2080411.jpg)
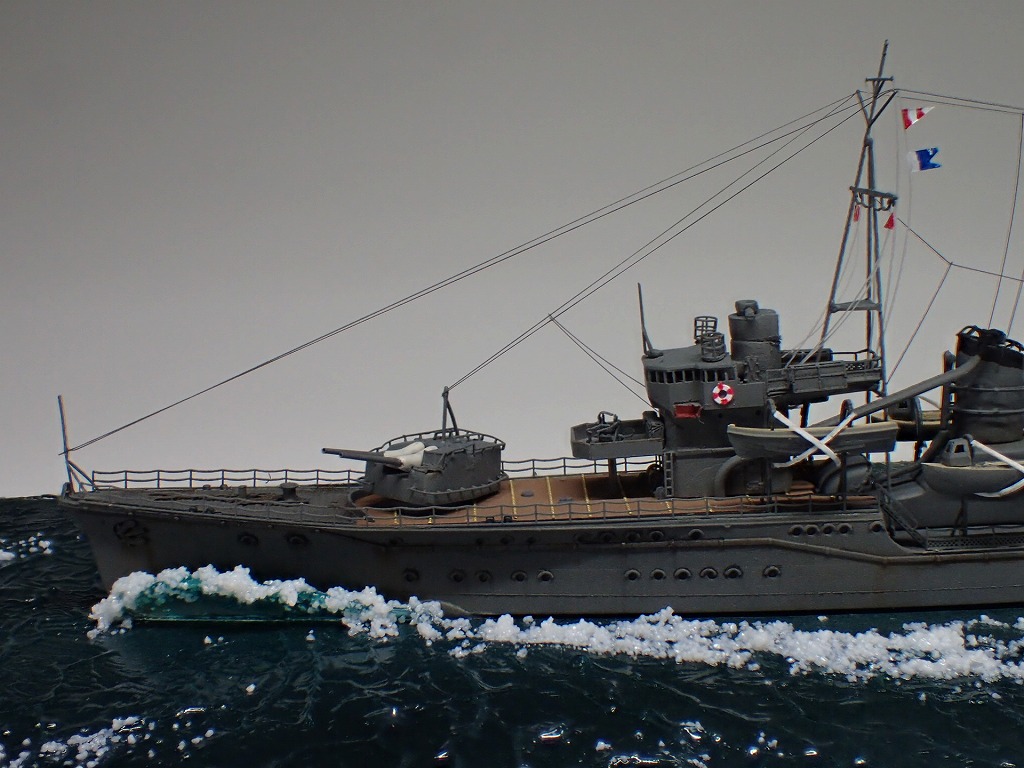
船体は、サーフェイサーの厚塗りで鉄板の継ぎ目を再現しました。
![](http://ship-model.zbok.info/wp-content/uploads/2020/02/P2080415.jpg)
![](http://ship-model.zbok.info/wp-content/uploads/2020/02/P2090417.jpg)
![](http://ship-model.zbok.info/wp-content/uploads/2020/02/P2090421.jpg)
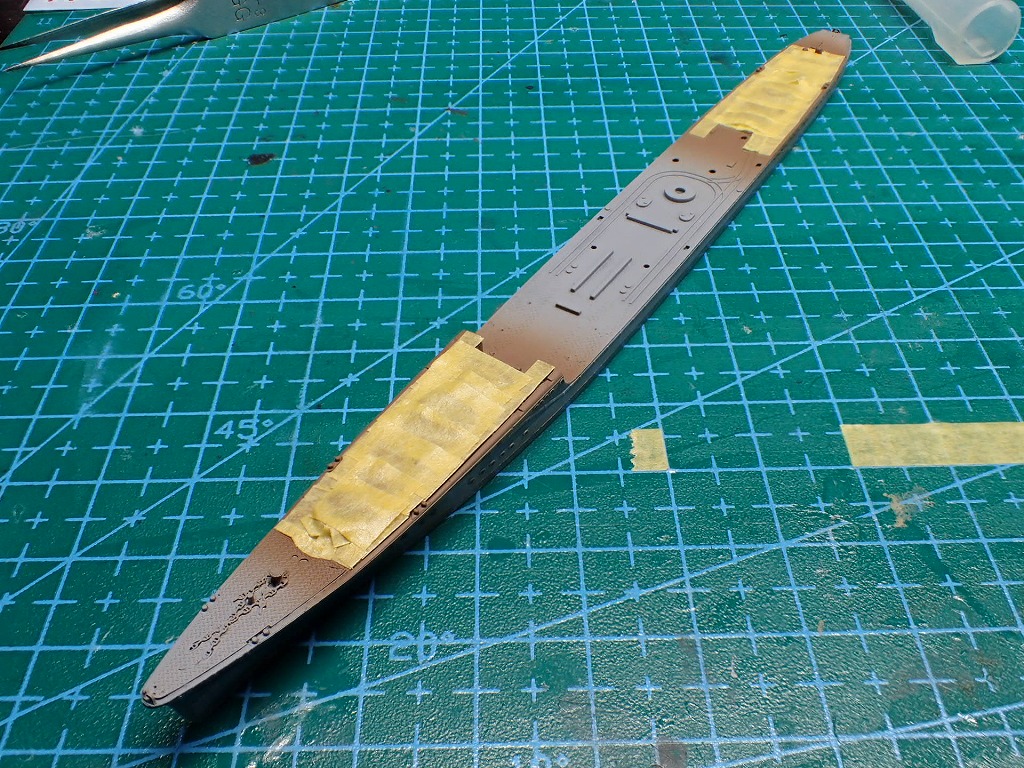
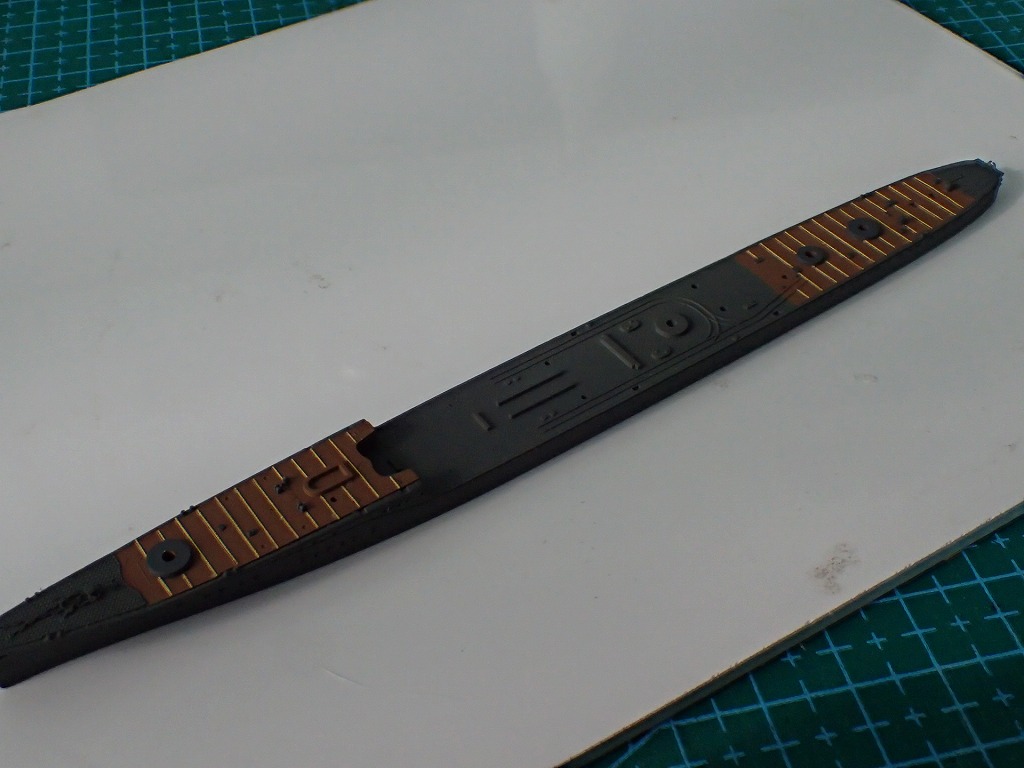
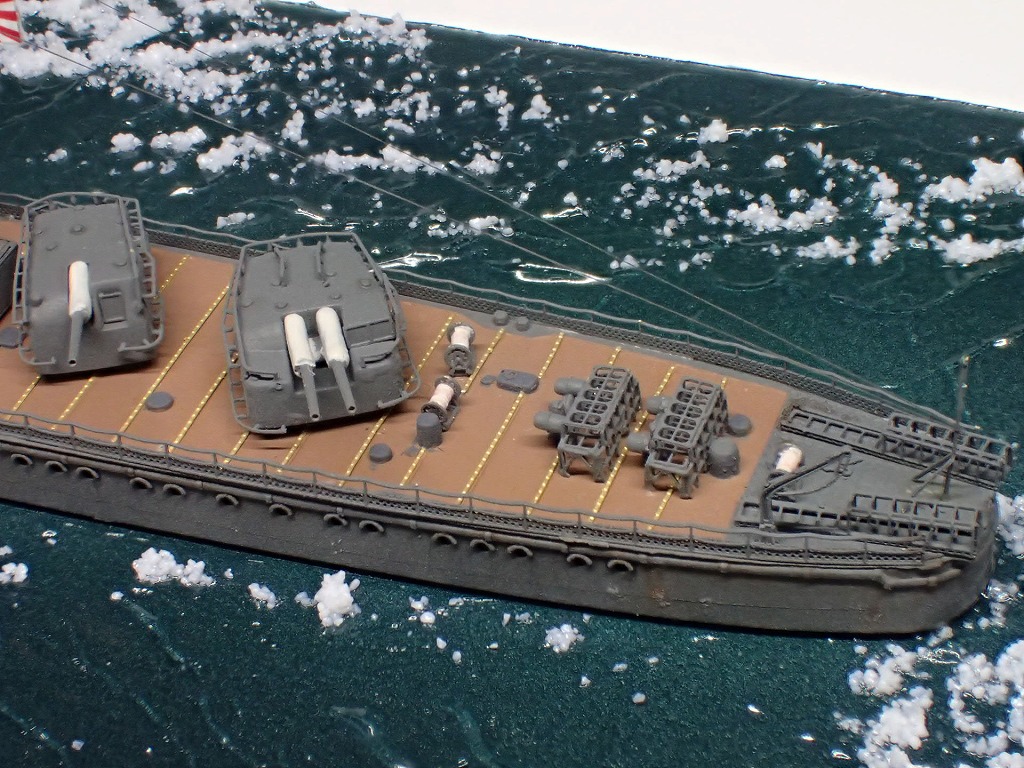
リノリウム甲板は、簡易マスキングで塗り分け、細かい甲板構造物は筆塗りで塗り分けました。
リノリウム押さえは、海魂のエッチングパーツを使用しました。
![](http://ship-model.zbok.info/wp-content/uploads/2020/02/P2080405.jpg)
![](http://ship-model.zbok.info/wp-content/uploads/2020/02/P2080407.jpg)
![](http://ship-model.zbok.info/wp-content/uploads/2020/02/P2080409.jpg)
![](http://ship-model.zbok.info/wp-content/uploads/2020/02/P2080413.jpg)
![](http://ship-model.zbok.info/wp-content/uploads/2020/02/P2090449.jpg)
![](http://ship-model.zbok.info/wp-content/uploads/2020/02/P2090451.jpg)
![](http://ship-model.zbok.info/wp-content/uploads/2020/02/P2100459.jpg)
![](http://ship-model.zbok.info/wp-content/uploads/2020/02/P2100461.jpg)
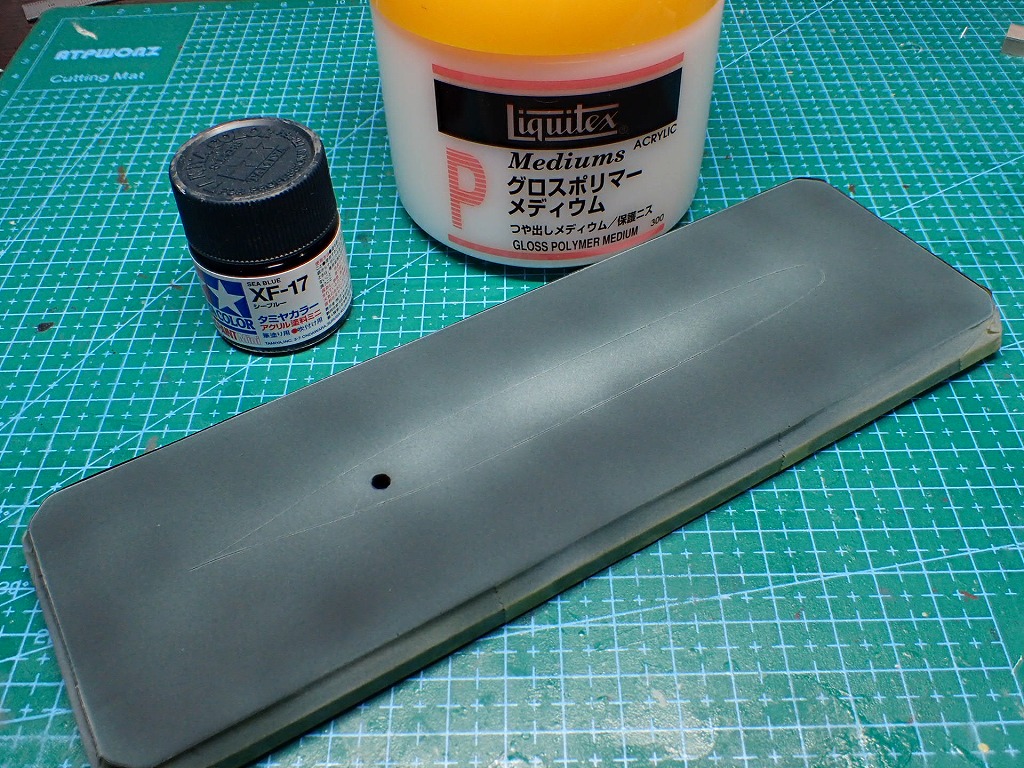
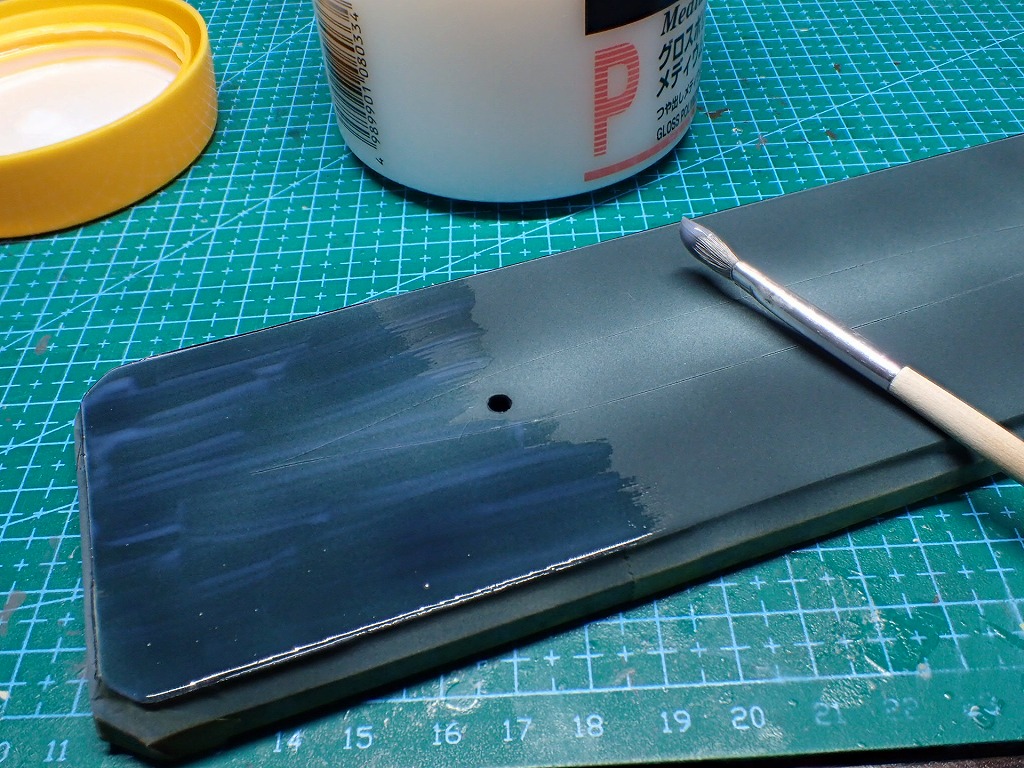
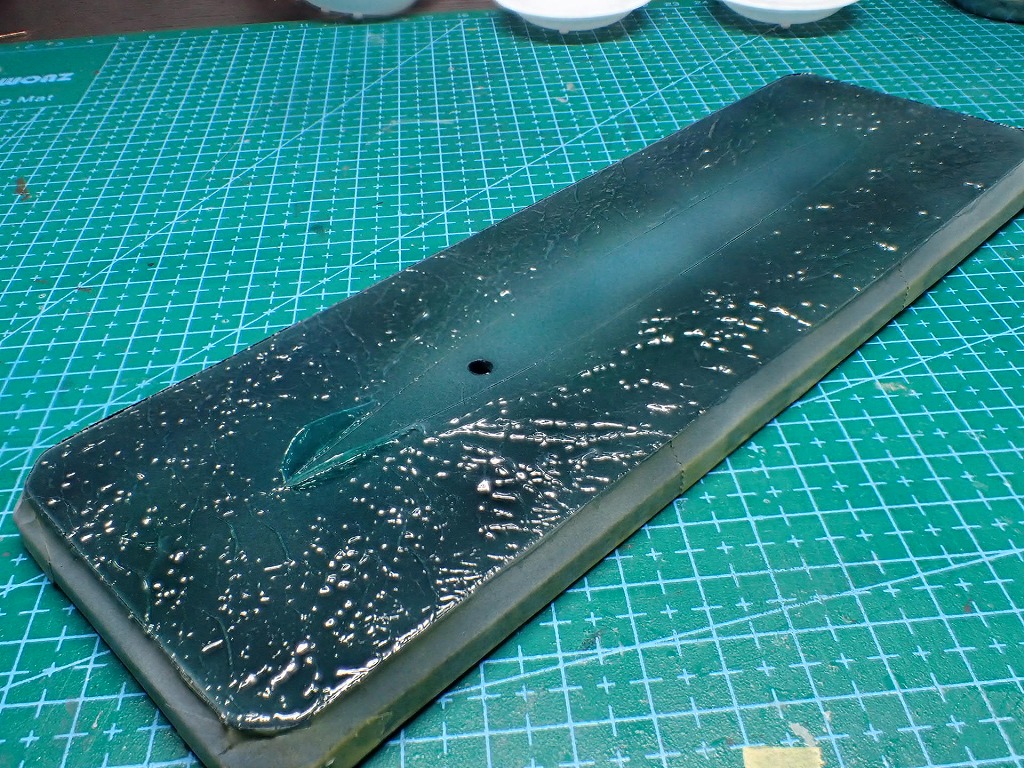
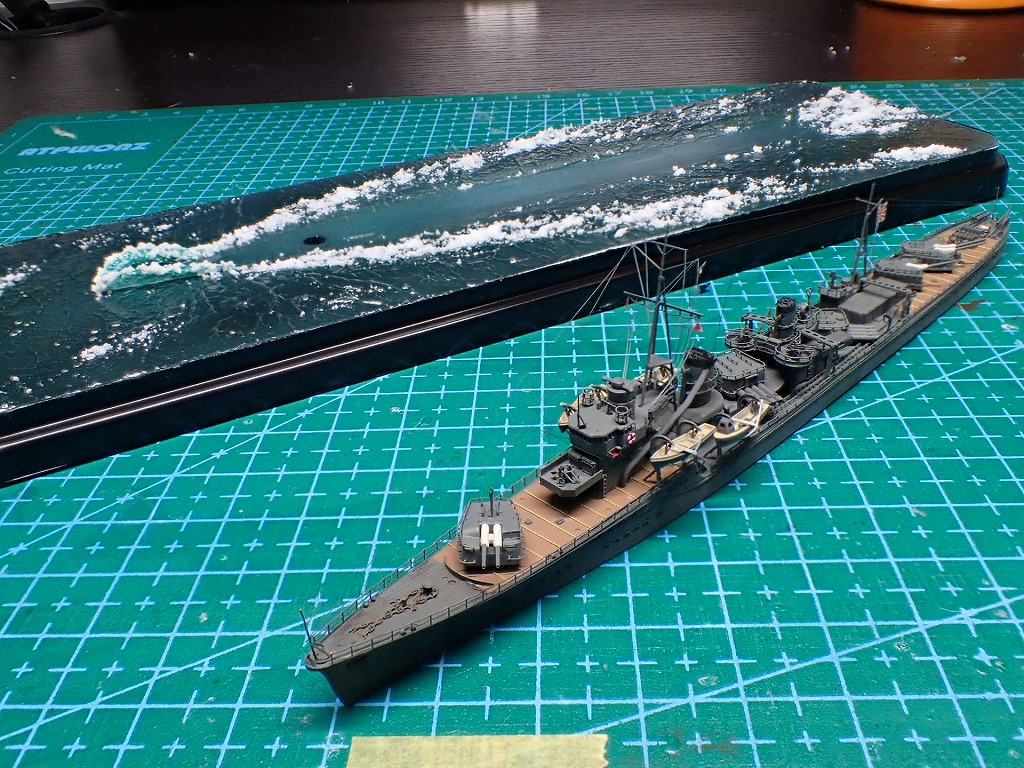
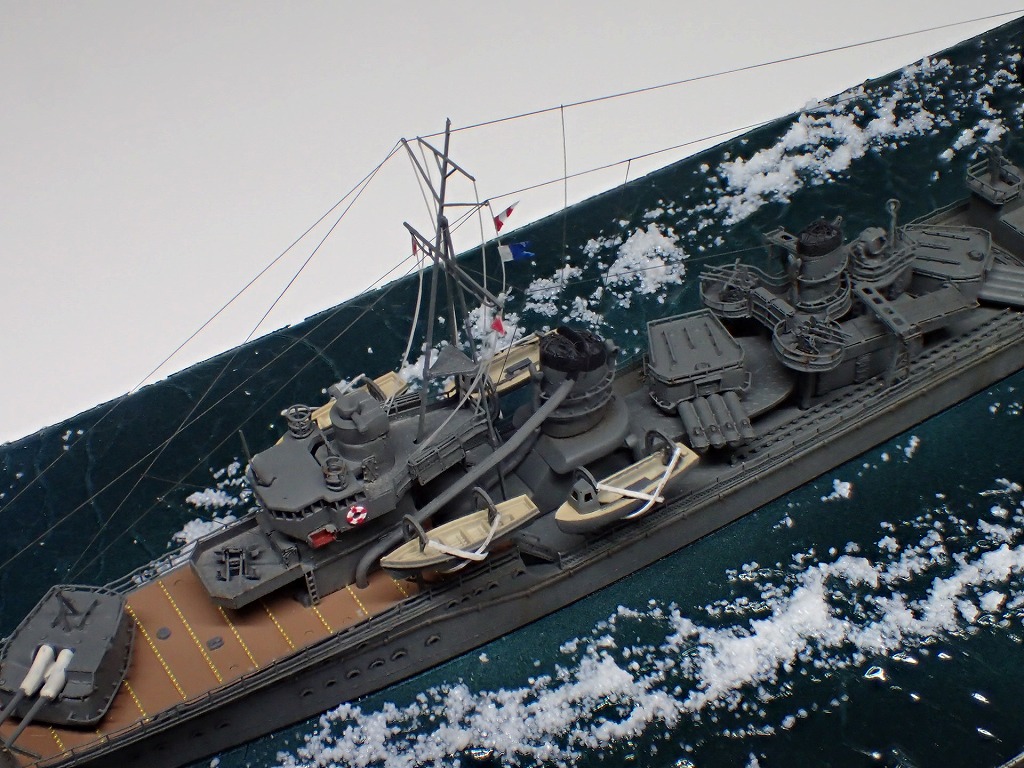
ベースカラーは、タミヤアクリルのシーブルーを使用しました。
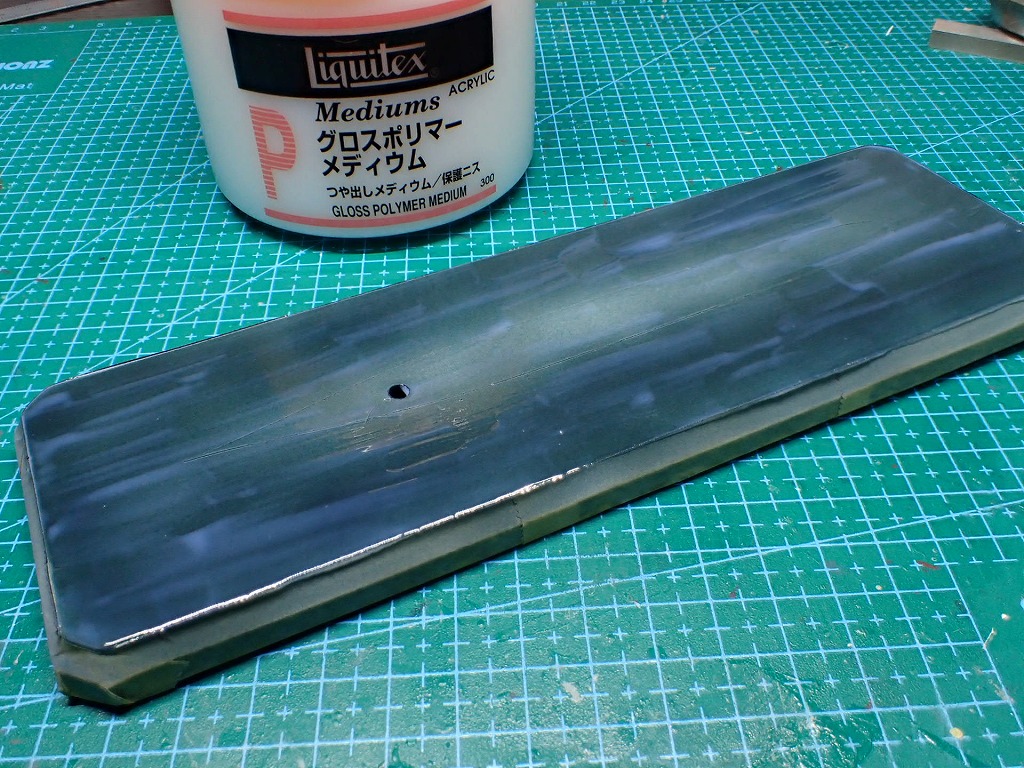
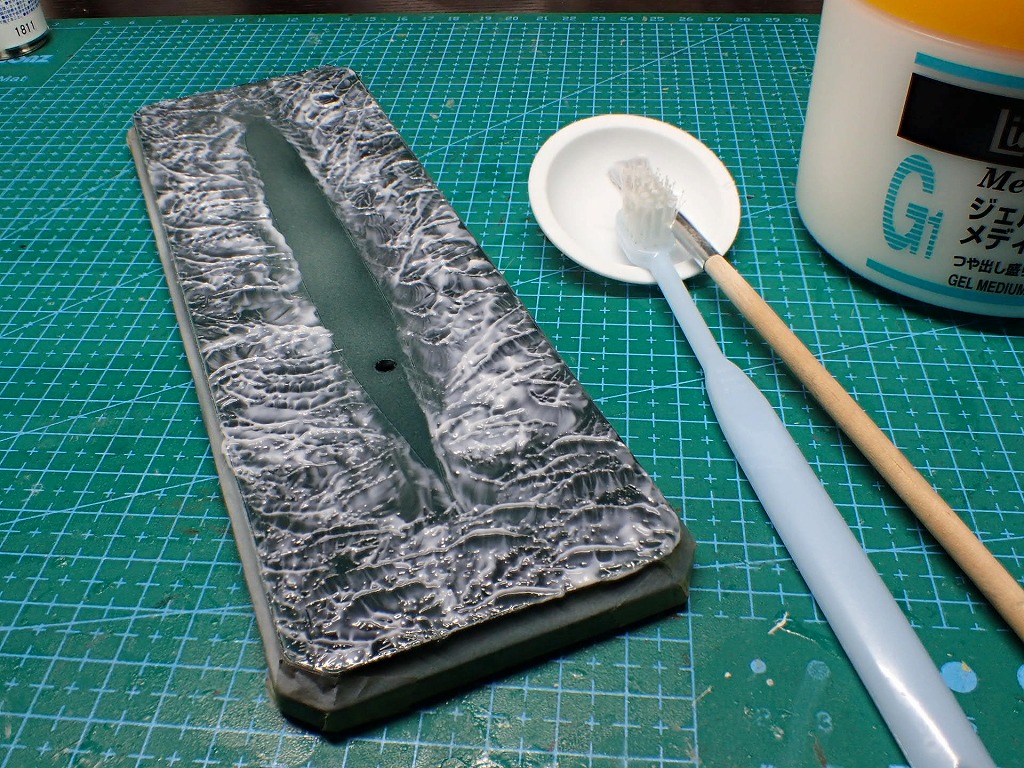
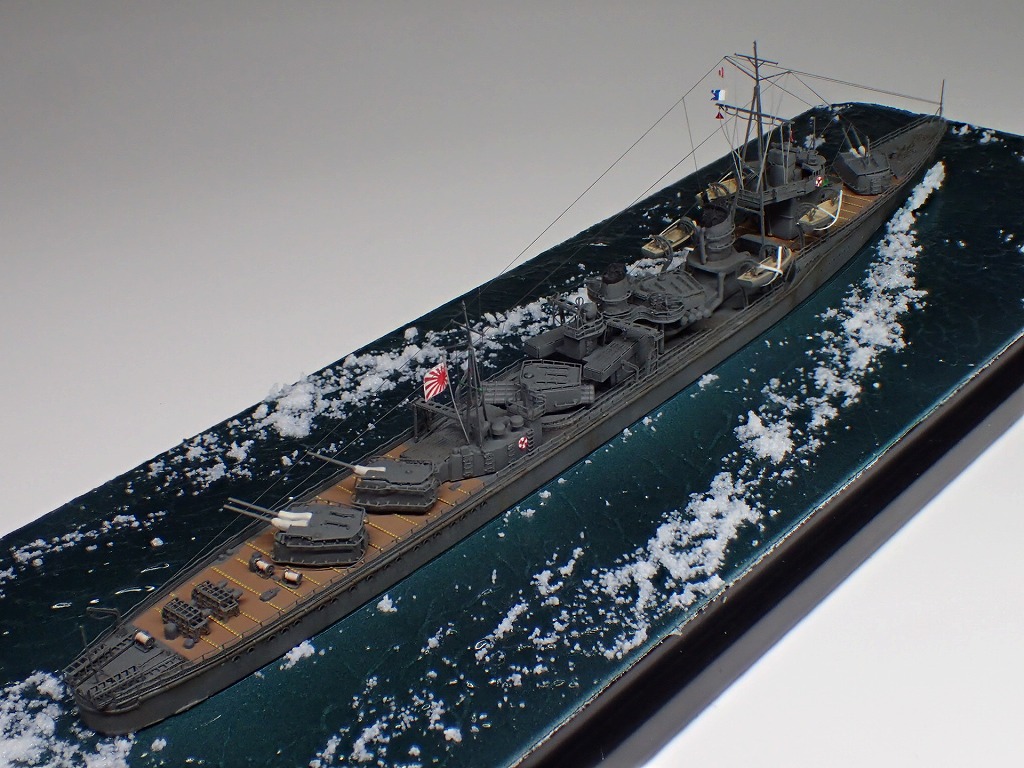
基本色の塗装後、グロスポリマーメディウムで艶を出してから、ジェルメディウムで波を再現しました。波の造形は、筆で全体にジェルメディウムを塗布してから、歯ブラシの面や角を使って成形しました。
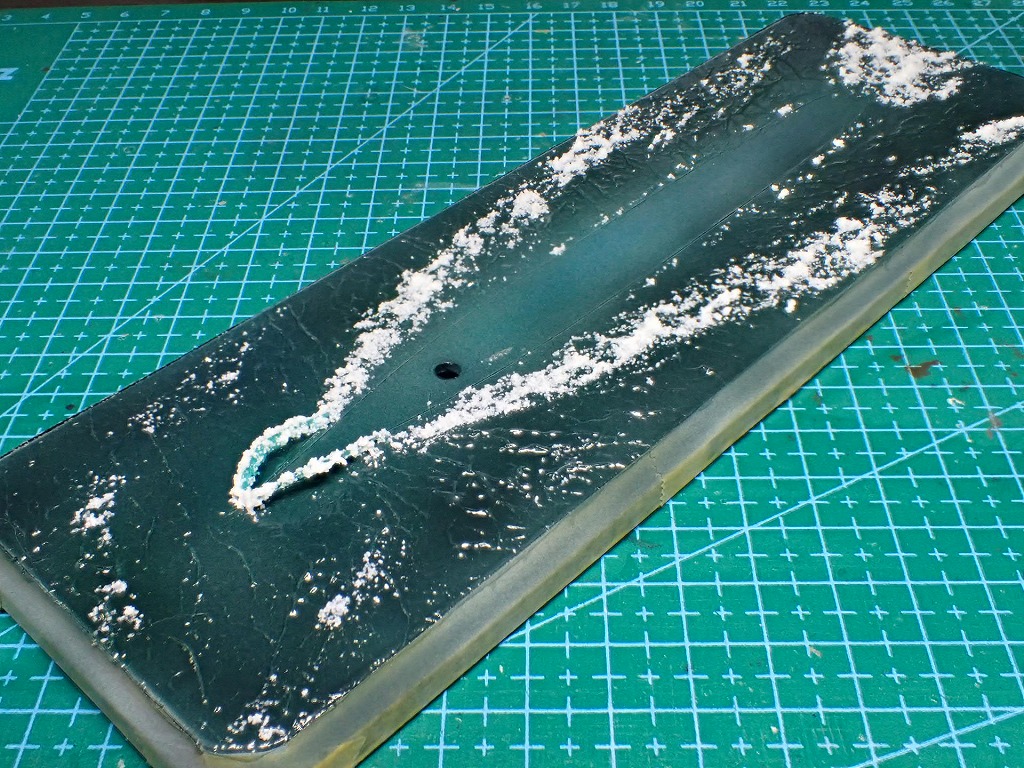
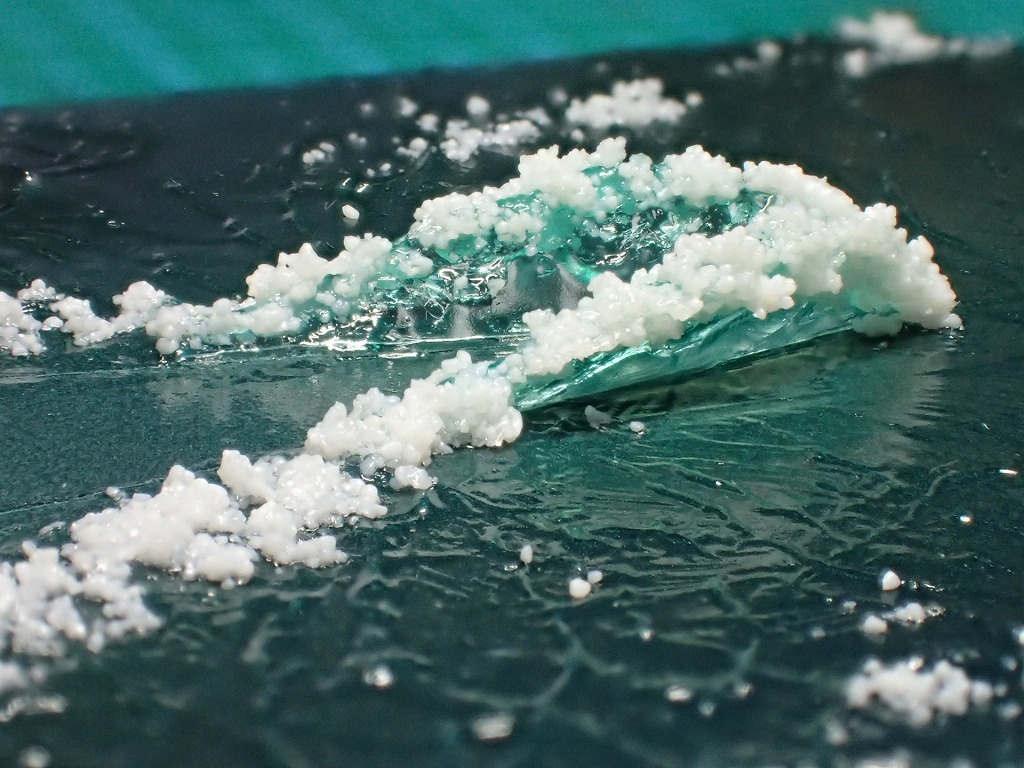
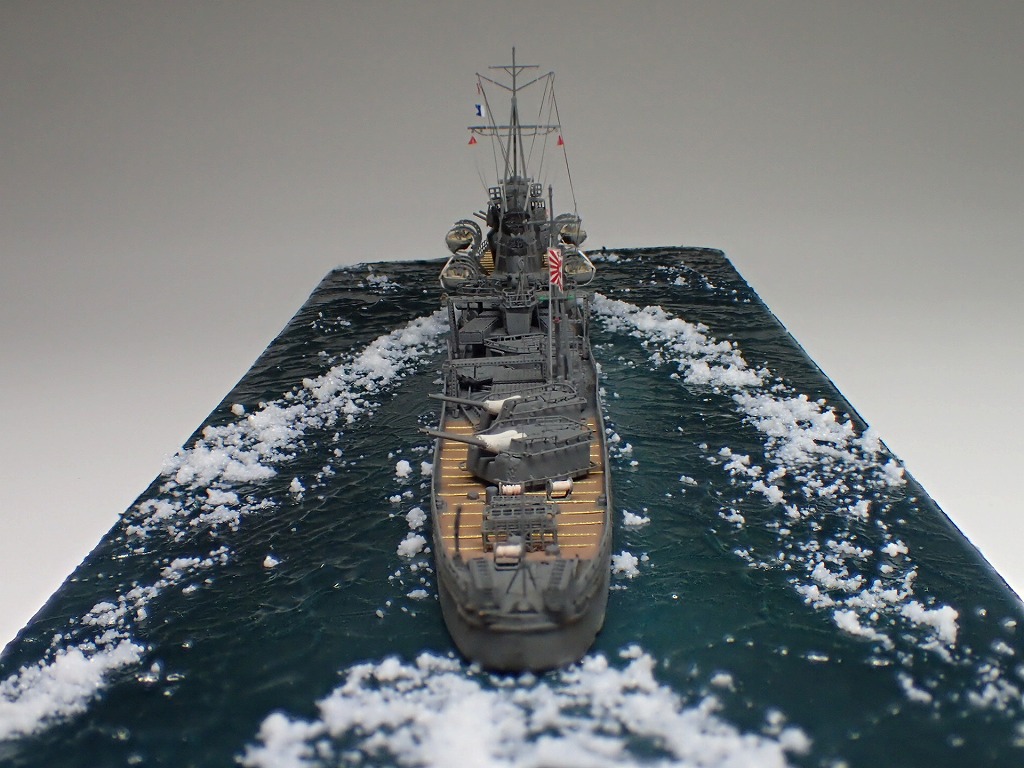
艦首波は、透明プラパンを使用しました。
白波は、水泡表現素材をジェルメディウムに混ぜて再現しました。
![](http://ship-model.zbok.info/wp-content/uploads/2020/02/P2090434.jpg)
![](http://ship-model.zbok.info/wp-content/uploads/2020/02/P2090437.jpg)
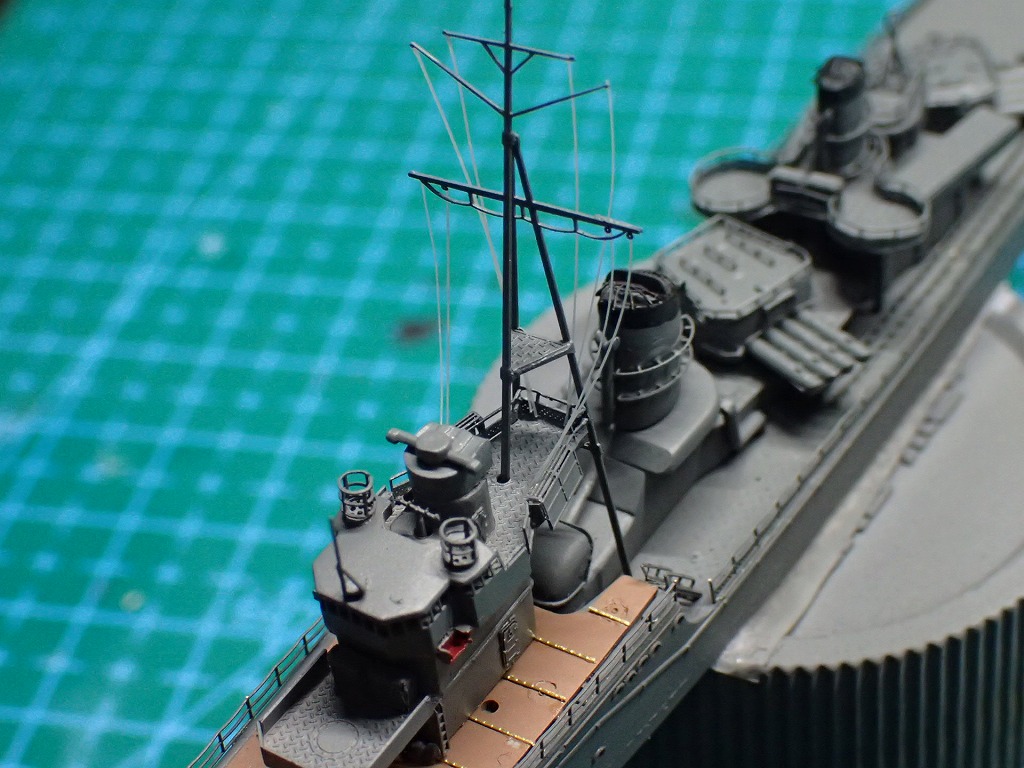
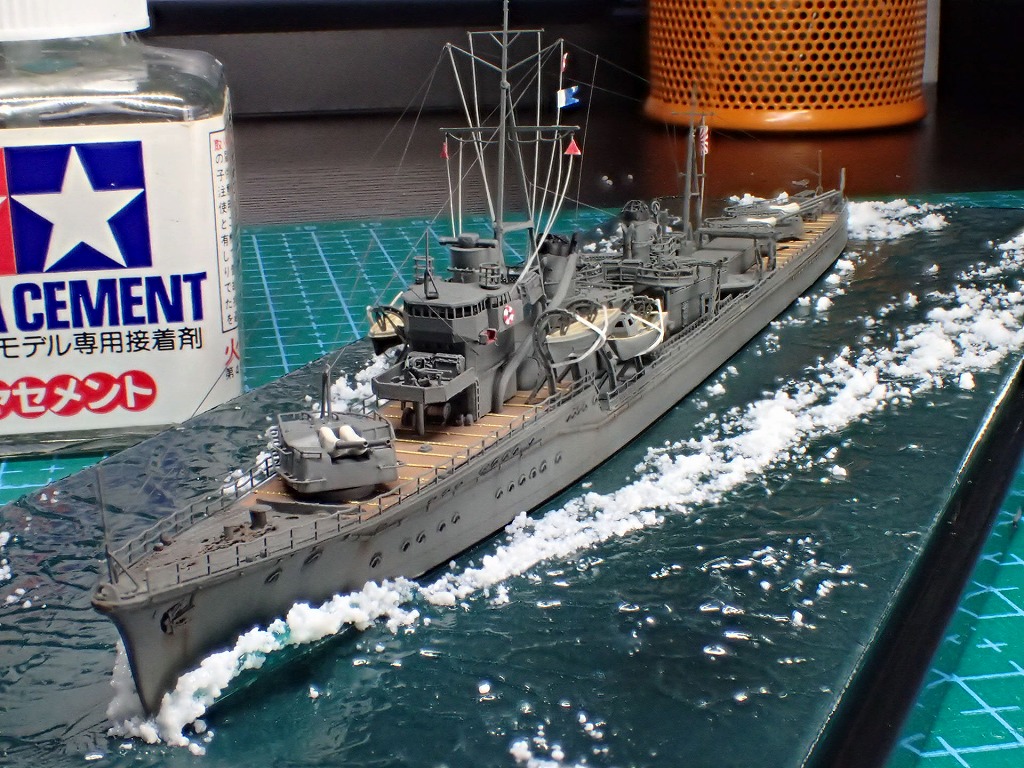
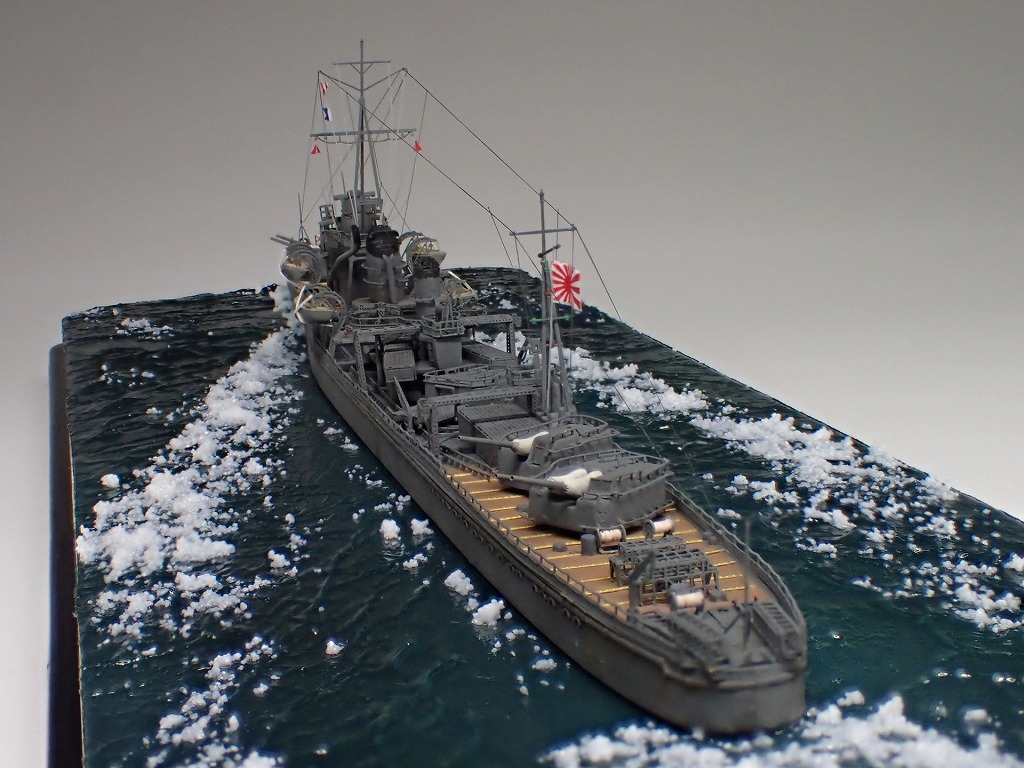
信号旗索は、伸ばしランナーを使用しました。今回はジオラマ仕上げですので、真っすぐに張るのではなく、全速航行でなびいている状態を再現しました。
![](http://ship-model.zbok.info/wp-content/uploads/2020/02/P2090443.jpg)
![](http://ship-model.zbok.info/wp-content/uploads/2020/02/P2090447.jpg)
![](http://ship-model.zbok.info/wp-content/uploads/2020/02/P2090445.jpg)
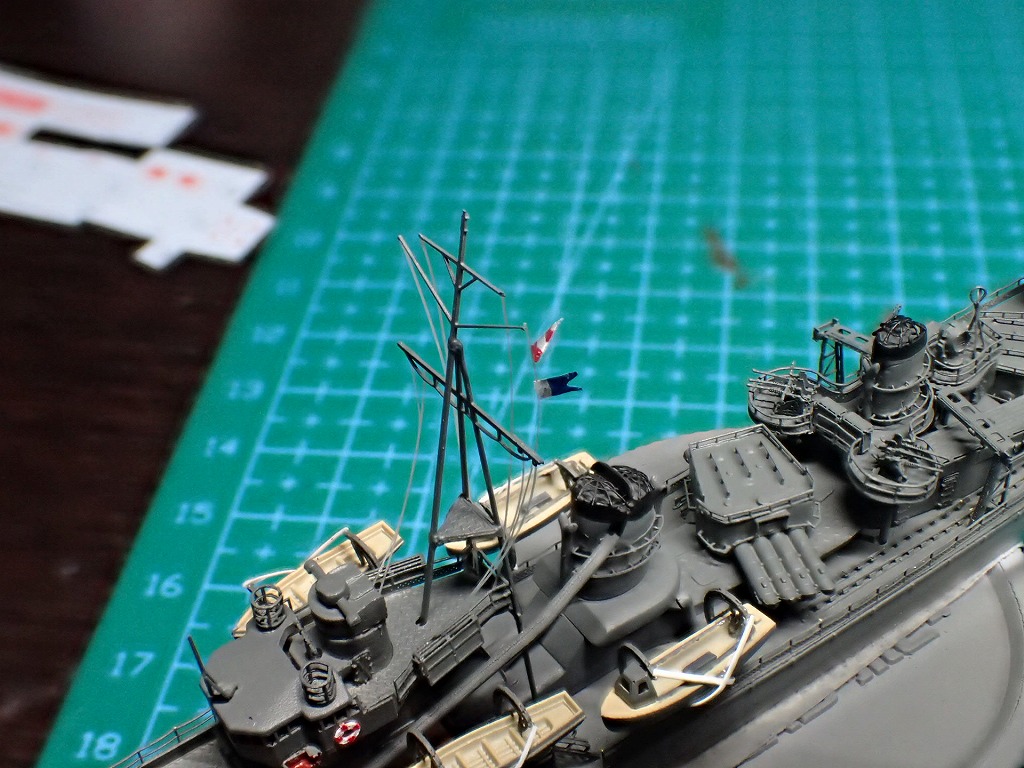
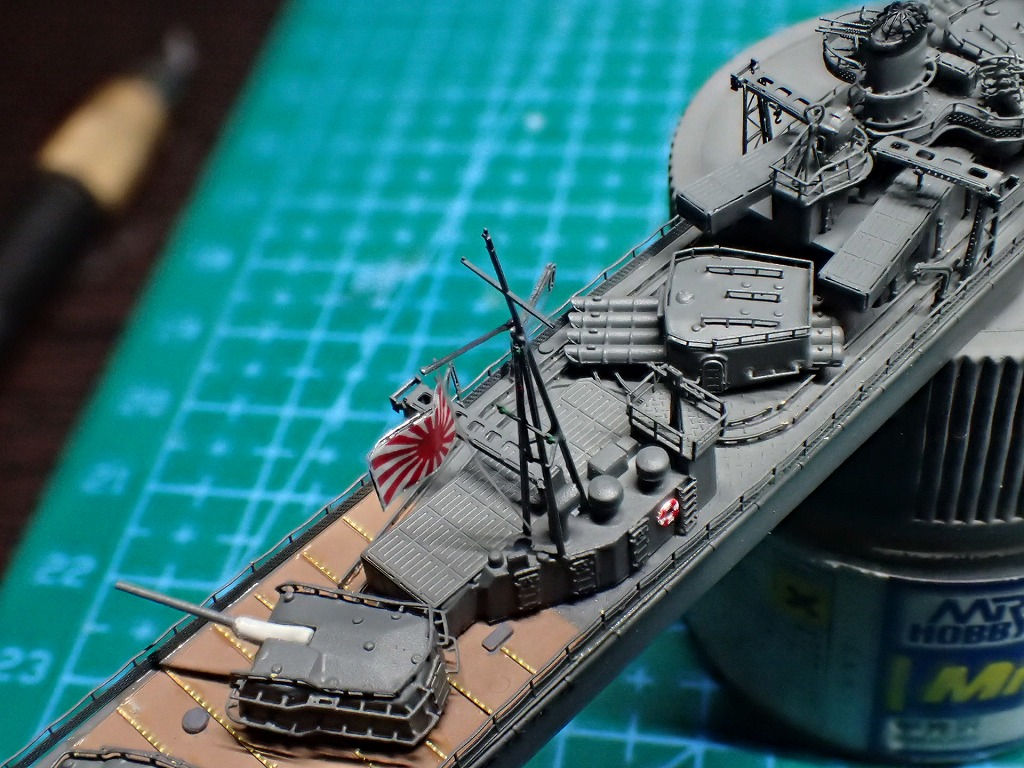
今回のジオラマは戦闘中という設定ですので、軍艦棋はメインマストに掲揚しました。軍艦棋はアルミ箔にデカールを貼り付けて、なびいている状態を再現しました。
信号旗は、アルミ箔に手書きで自作しました。
![](http://ship-model.zbok.info/wp-content/uploads/2020/02/P2100457.jpg)
![](http://ship-model.zbok.info/wp-content/uploads/2020/02/P2100463.jpg)
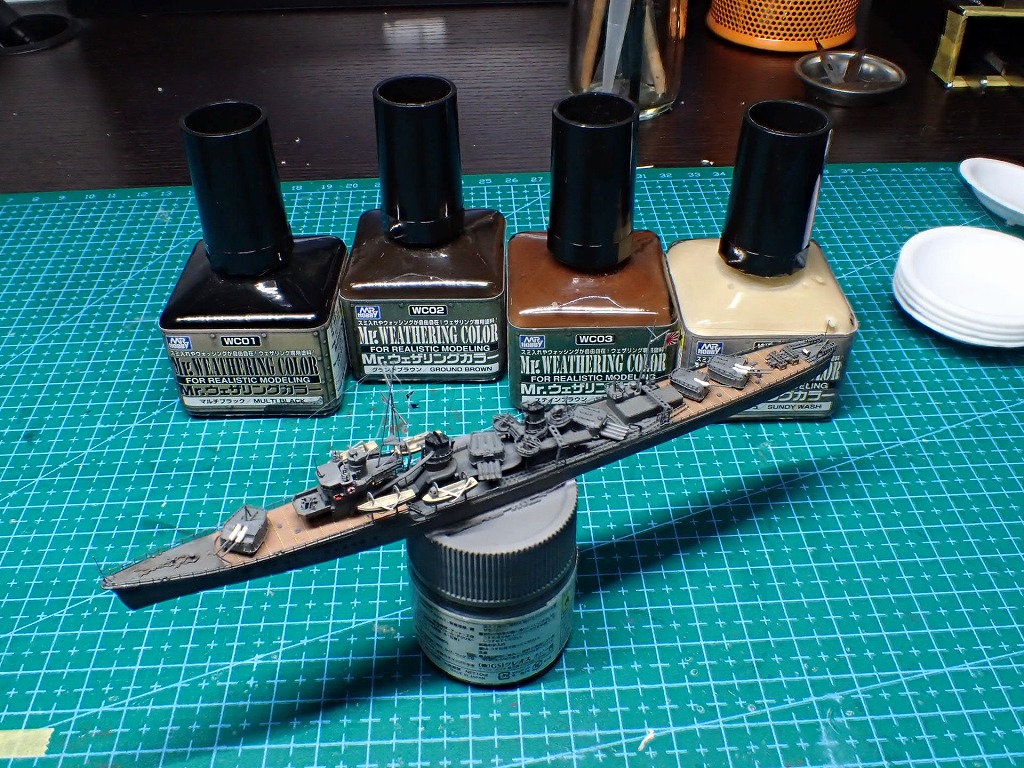
Mr.ウェザリングカラー各種でウォッシングを行いました。
マルチブラックは、スミイレ、雨だれ。ステインブラウンは錆。グランドブラウンは縞鋼板の油汚れ。サンディウォッシュは、軍艦色の退色表現に使用しました。
ウォッシング完了後、艶消しクリアで全体の艶を整えます。
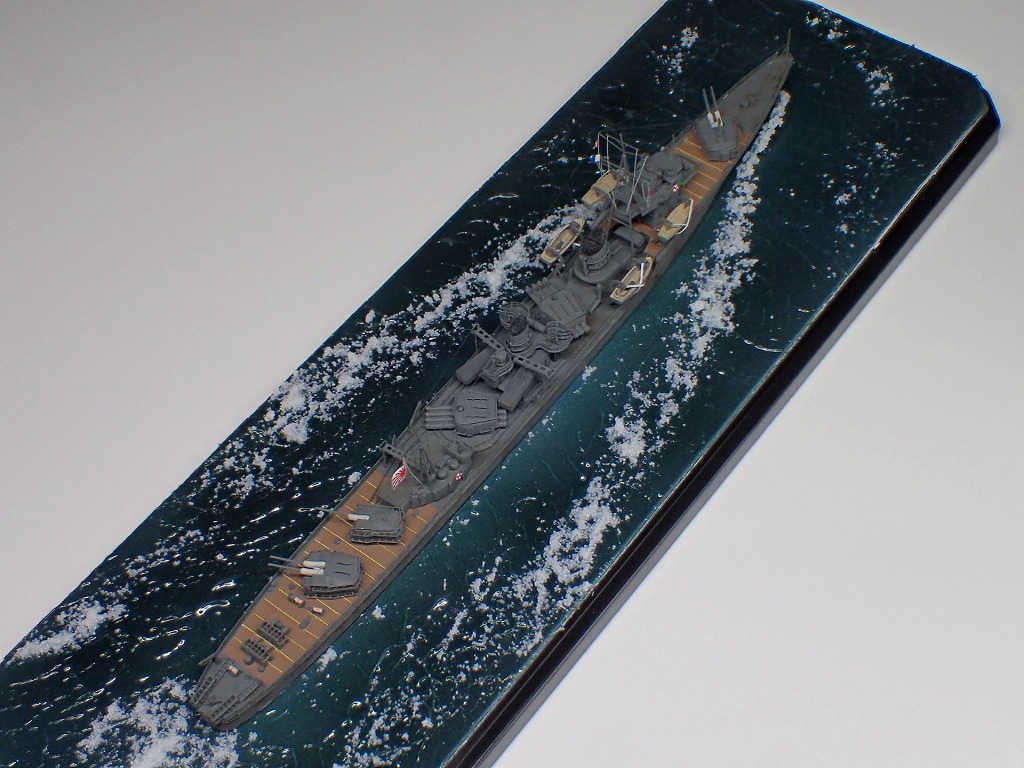
![](http://ship-model.zbok.info/wp-content/uploads/2020/02/P2100467.jpg)
![](http://ship-model.zbok.info/wp-content/uploads/2020/02/P2100475.jpg)
完成です。
船体と台座はネジ止め加工しておいたのですが、穴がズレていたので瞬着で固定しました。
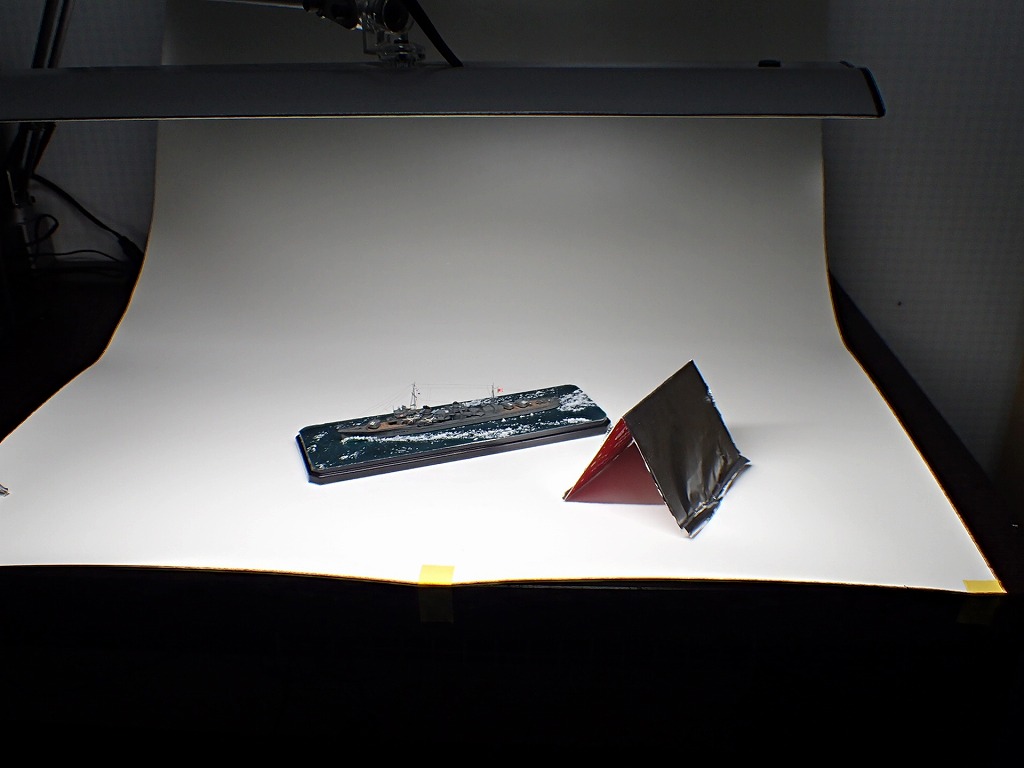
![](http://ship-model.zbok.info/wp-content/uploads/2020/02/P2100485.jpg)
背景を入れて、完成写真を撮影します。
照明が上からだけなので、アルミ箔を貼った簡易レフ版で側面にも光を当てました。
![](http://ship-model.zbok.info/wp-content/uploads/2020/02/P2100487.jpg)
![](http://ship-model.zbok.info/wp-content/uploads/2020/02/P2100489.jpg)
![](http://ship-model.zbok.info/wp-content/uploads/2020/02/P2100491.jpg)
![](http://ship-model.zbok.info/wp-content/uploads/2020/02/P2100493.jpg)
![](http://ship-model.zbok.info/wp-content/uploads/2020/02/P2100495.jpg)
![](http://ship-model.zbok.info/wp-content/uploads/2020/02/P2100497.jpg)
![](http://ship-model.zbok.info/wp-content/uploads/2020/02/P2100499.jpg)
![](http://ship-model.zbok.info/wp-content/uploads/2020/02/P2100501.jpg)
![](http://ship-model.zbok.info/wp-content/uploads/2020/02/P2100503.jpg)
![](http://ship-model.zbok.info/wp-content/uploads/2020/02/P2100505.jpg)
![](http://ship-model.zbok.info/wp-content/uploads/2020/02/P2100507.jpg)
![](http://ship-model.zbok.info/wp-content/uploads/2020/02/P2100509.jpg)
![](http://ship-model.zbok.info/wp-content/uploads/2020/02/P2100511.jpg)
![](http://ship-model.zbok.info/wp-content/uploads/2020/02/P2100513.jpg)
![](http://ship-model.zbok.info/wp-content/uploads/2020/02/P2100515.jpg)
![](http://ship-model.zbok.info/wp-content/uploads/2020/02/P2100517.jpg)
![](http://ship-model.zbok.info/wp-content/uploads/2020/02/P2100519.jpg)
![](http://ship-model.zbok.info/wp-content/uploads/2020/02/P2100521.jpg)
![](http://ship-model.zbok.info/wp-content/uploads/2020/02/P2100523.jpg)
![](http://ship-model.zbok.info/wp-content/uploads/2020/02/P2100525.jpg)
![](http://ship-model.zbok.info/wp-content/uploads/2020/02/P2100527.jpg)
![](http://ship-model.zbok.info/wp-content/uploads/2020/02/P2100529.jpg)
これにて製作記は終了です。
最後までご覧頂きありがとうございました。
製作メモ
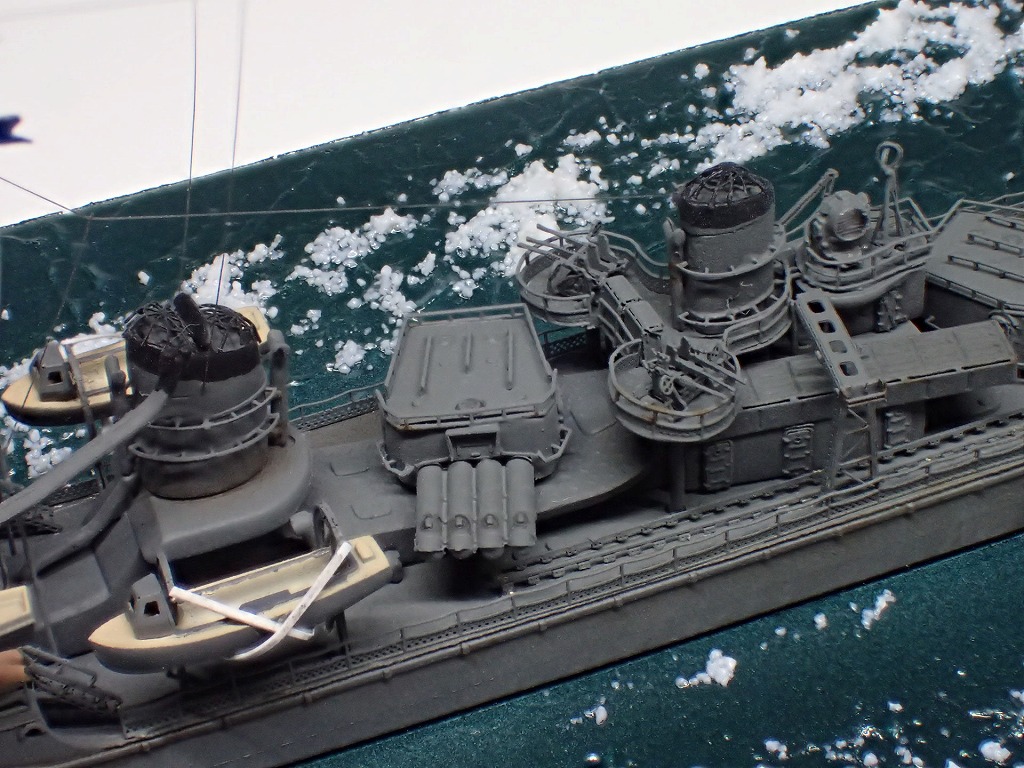
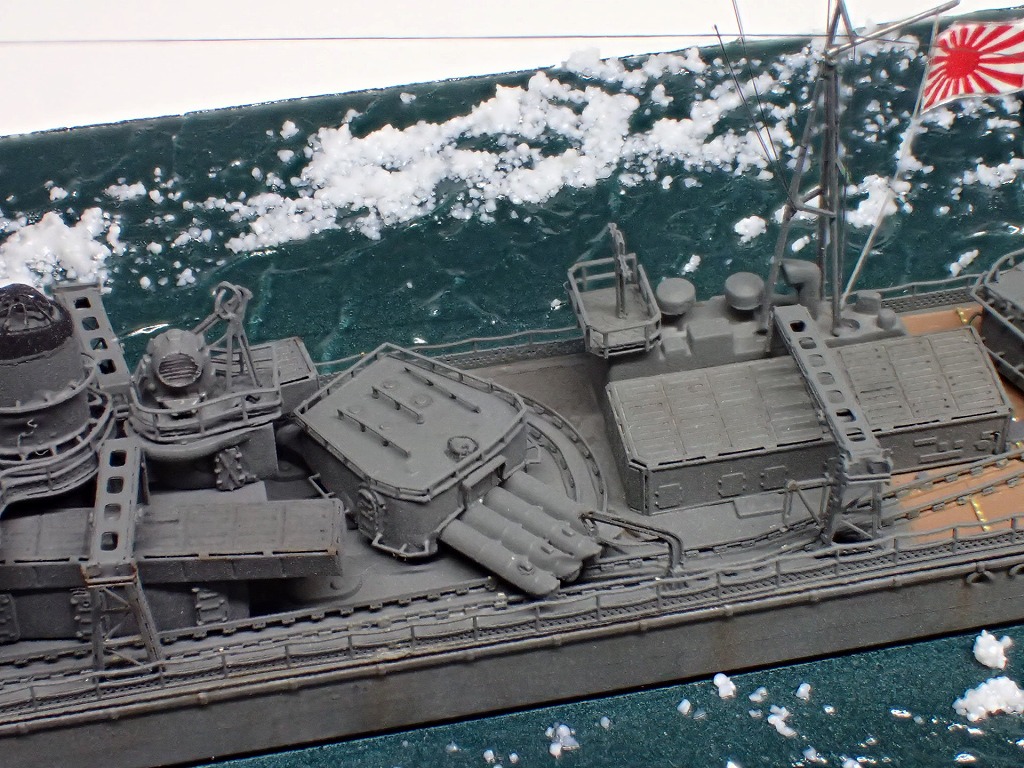
魚雷運搬軌条は、水密扉と干渉するので接着位置に注意する。
爆雷は投射機と装填台が干渉するため削って調整する。
艦首側の手すりの反りは、上段を切断して調整する。
張線をする場合は、第一主砲に支柱を追加する。
エッチングパーツを使用する場合は、8m内火艇のピン穴を処理する。
第2、第3主砲のジャッキステーが干渉するため、主砲の取り付け位置を調整できるよう穴を広げておく。
窓枠のエッチングパーツは先に天井パーツに接着する。
コメント